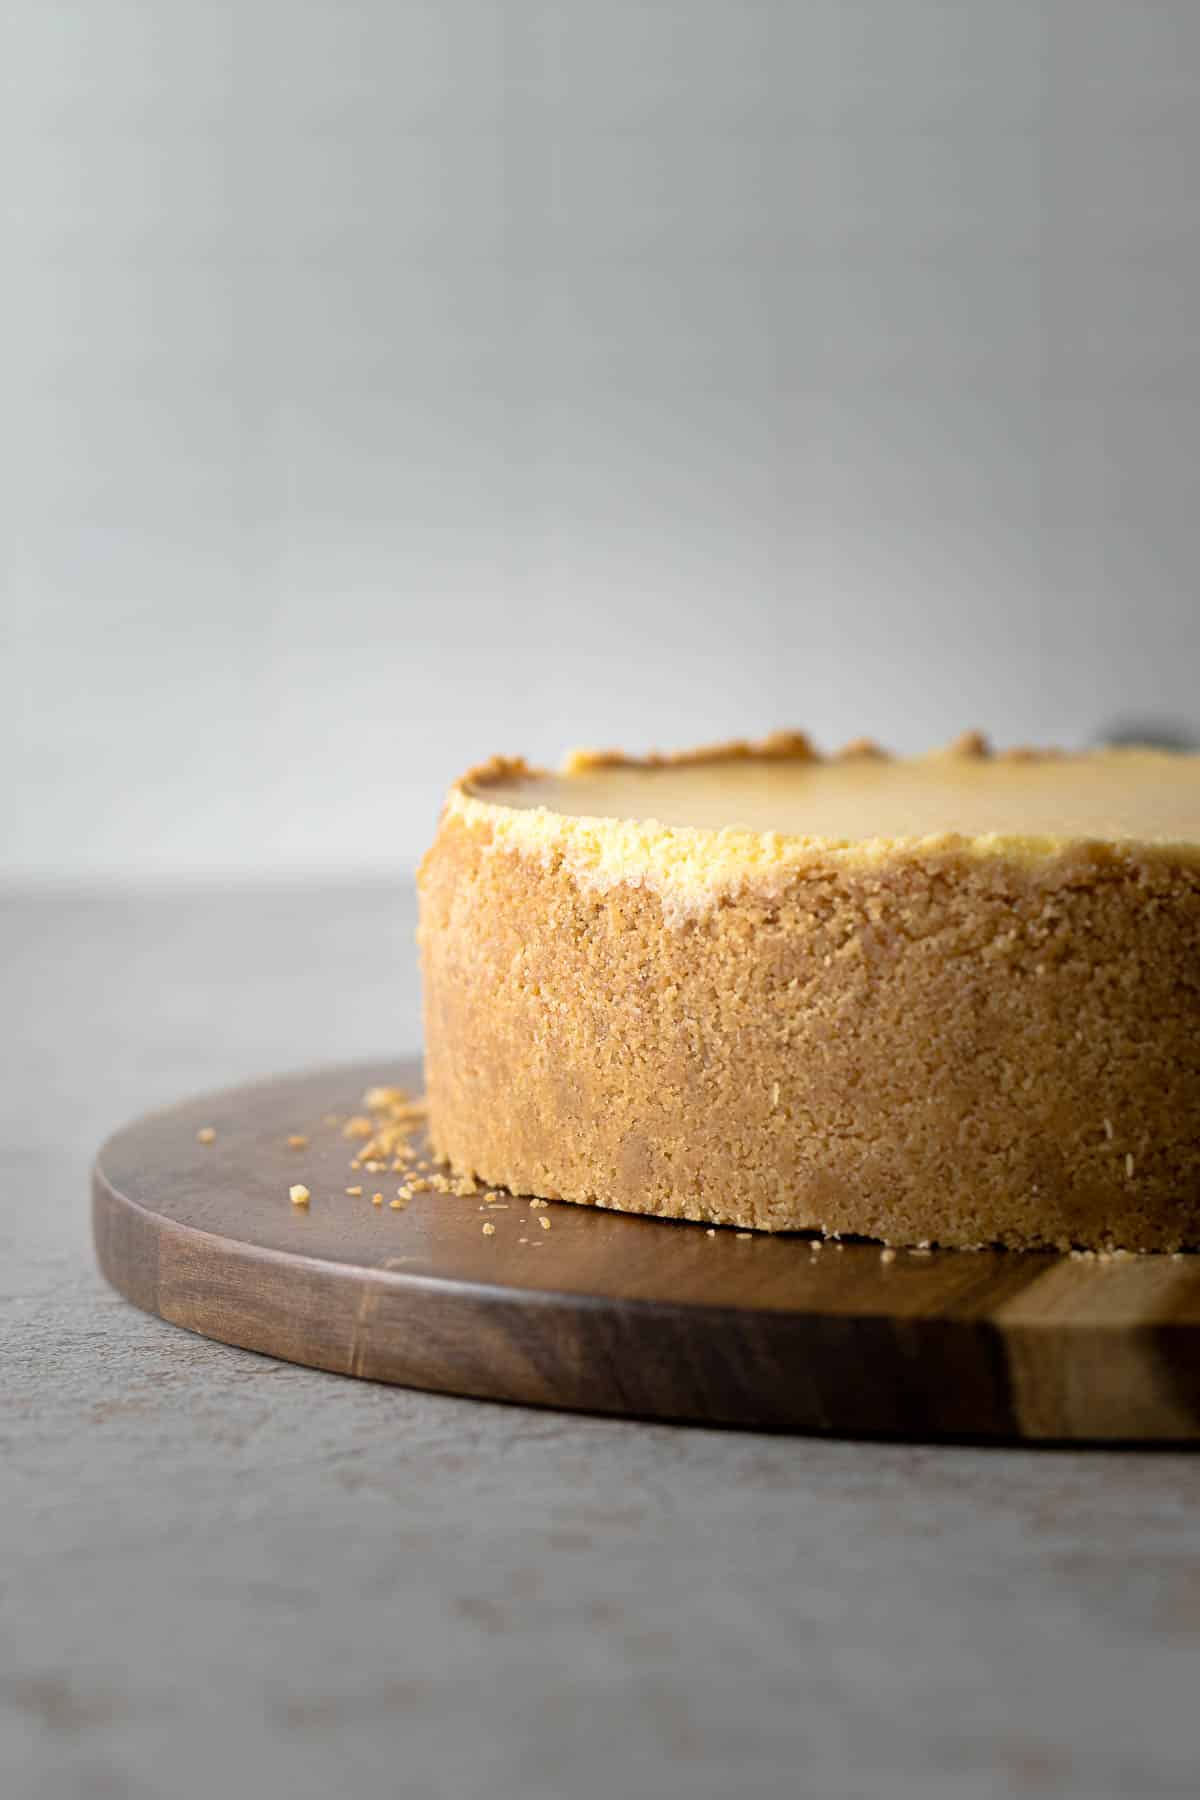
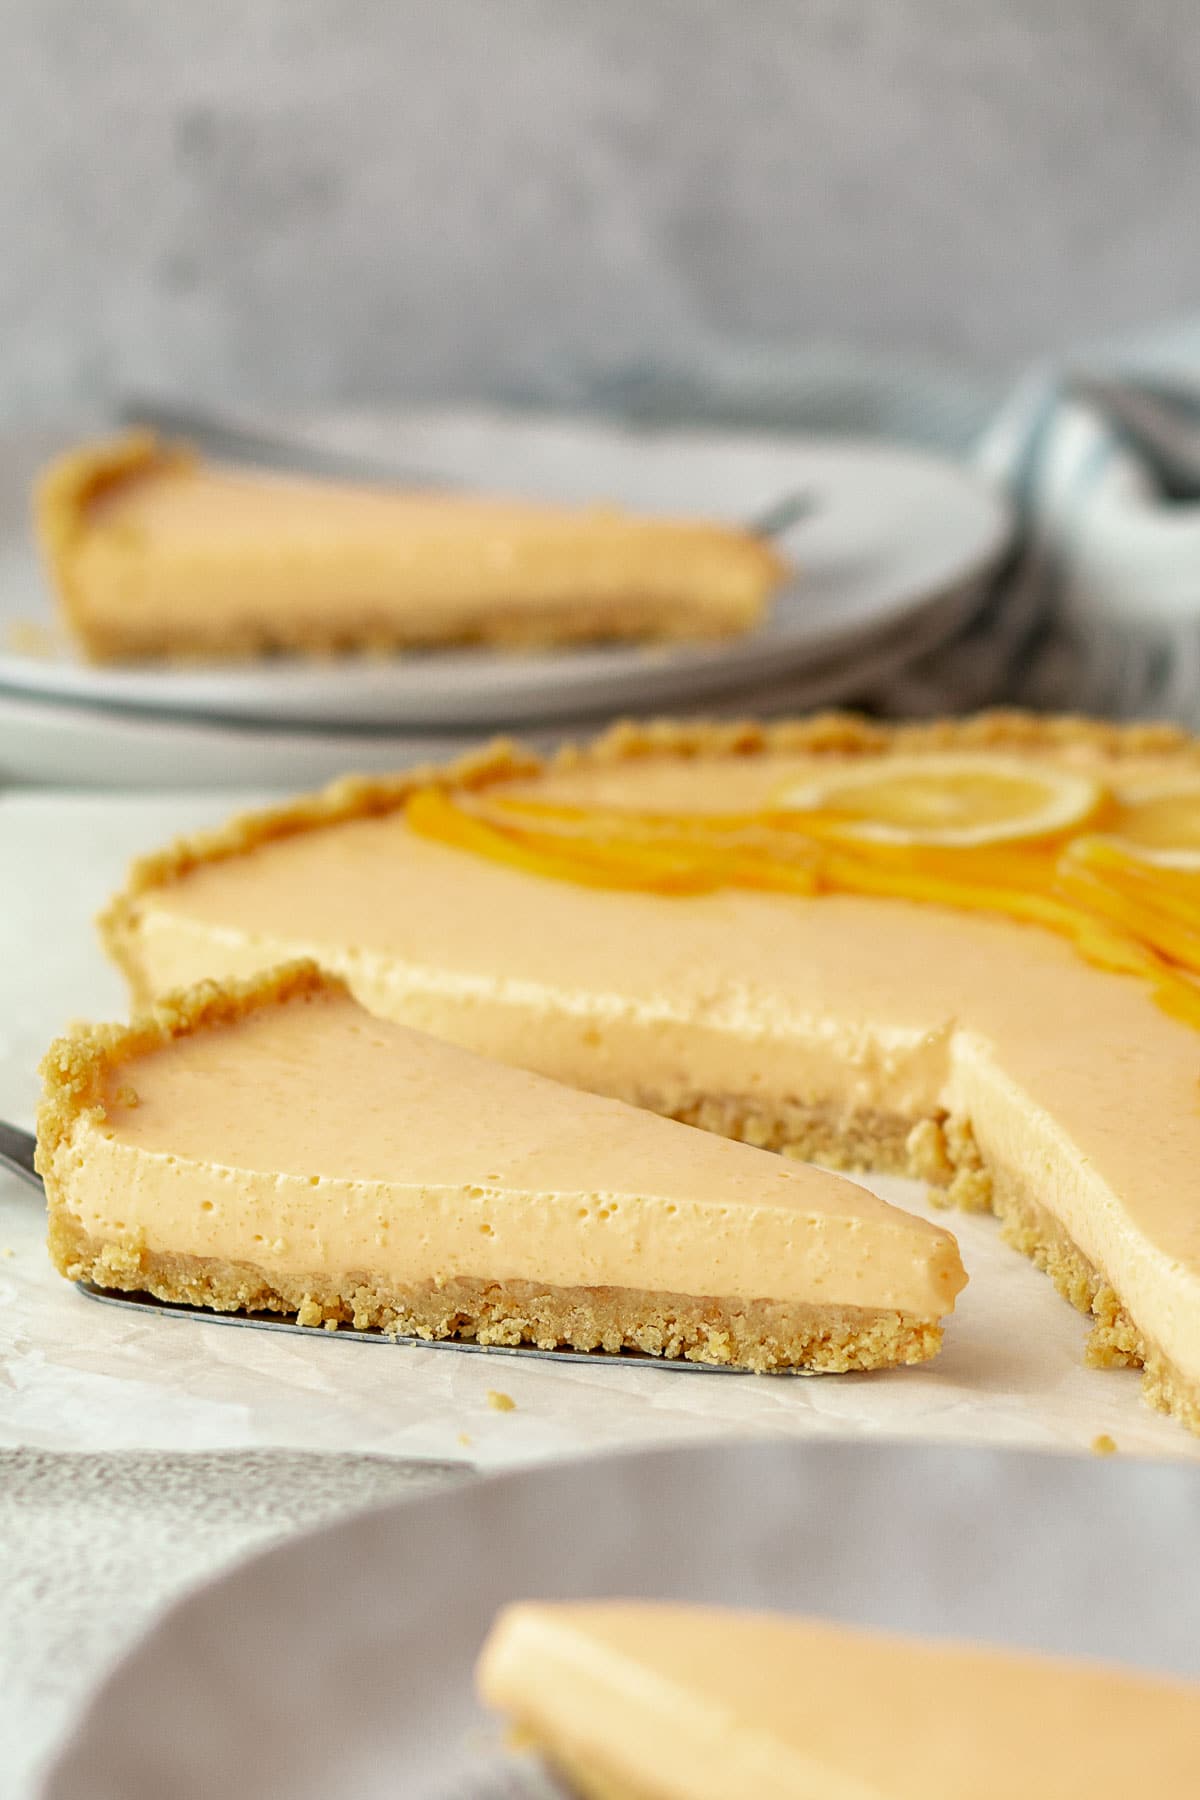
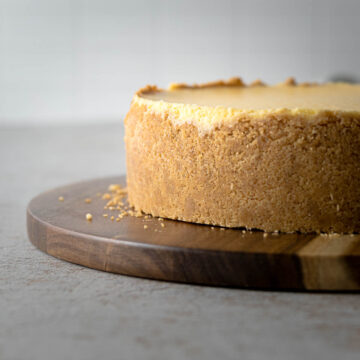
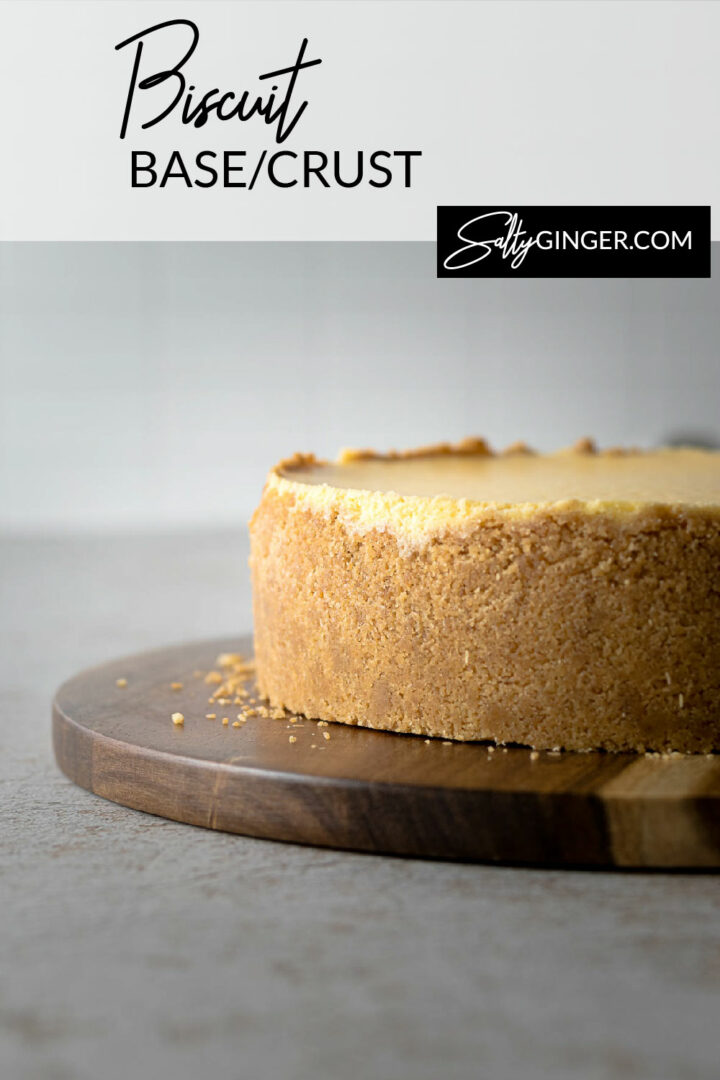
The perfect biscuit base consists of plain sweet biscuits and melted butter. This type of base, is typically used in cheesecakes, and sometimes tarts such as milk tarts or fridge tarts can be baked or simply chilled before use.
Biscuit bases or a biscuit crumb base may also be known as Graham cracker crust - which seems to be the go-to biscuit (or cracker?) used in North America.
But whatever type of biscuit you use, if you take your time and really press that crumb mixture into your prepared tin, you will have a great solid foundation for any sweet treat.
This post is also meant to be an ever-growing post, so as I use a different type of biscuit, I will update the recipe card to reflect additional ratios when needed.
Jump to:
Ingredients
Here are a few notes on the ingredients used in this recipe. Please refer to the recipe card for full details.
Different Types of Biscuit
When it comes to a delicious buttery biscuit base, there are a number of biscuits or cookies that can be used. I like to use the following:
- Marie Biscuits - a fairly plain biscuit, similar to a rich tea biscuit, and is also known as a Maria, Mariebon, or Marietta.
- Tennis Biscuits - coconut tea biscuit, popular in South Africa, and used in a variety of tarts (such as the peppermint crisp tart), cheesecakes, and milk tart.
- Nice Biscuits - In New Zealand and Australia, this is a popular plain biscuit and honestly my favorite Aus/Kiwi biscuit to use for this specific recipe. In other parts of the world, a Nice biscuit can be coconut flavored.
- Vanilla Wine Biscuits - plain sweet vanilla-flavored biscuits. Another favorite to use here in New Zealand.
- Digestive Biscuits - popular in the UK for this recipe. These delicious biscuits are semi-sweet, originating in Scotland, and I think another fantastic biscuit to use in this recipe.
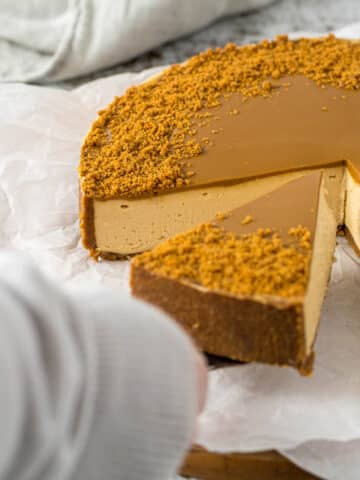
- Lotus Biscoff Biscuits - these cookies give a great flavor to the biscuit crust, and would pair very well with a plain cheesecake and go even better when baked and used for a Biscoff cheesecake. I would stick to the plain biscuits with no filling.
- Graham Crackers - if making Graham cracker crust, the general rule is to add 35 grams (3 tablespoons) of white or light brown sugar. So I would combine 2 cups of Graham cracker crumbs, with 3 tablespoons of sugar, and 8 tablespoons of butter.
NOTE - I have not yet perfected by Oreo cookie crust, but will update this post once I have. Similarly, I have not yet used a gluten-free biscuit, and when I have, again I will update this post.
Butter or Margarine
I like to use butter in all my recipes. I find the flavor is just much nicer, and when going to all the trouble to make something as decadent as a cheesecake I don't want to be let down by the flavor of the crust.
I use New Zealand butter in all my recipes that call for butter. This is similar to an Irish or European butter.
Growing up, most of our baking was done using baking margarine (vegan butter?). And these are also typically used in a lot of store-bought (think supermarket) baked goods. And honestly, it works perfectly fine. My only word of advice here would to be use a margarine that is specifically made for baking. A spread or something else will not work.
You can use salted or unsalted butter for this super easy biscuit crust. If using unsalted butter, feel free to add in a pinch of salt to balance out the flavors.
Detailed Step-By-Step Instructions
Step 1 - Preheat the oven to 180°/350°F.
Step 1 - Melt the butter or margarine. This can be done in the microwave in 10 to 15-second bursts, stirring in between until completely melted. Or it can be done over low heat in a small saucepan. Remove from the heat as soon as the butter has melted.
Step 2 - Let the butter cool down while you carry on with the biscuits.
Step 3 - Process or crush the biscuits until they have mostly fine crumbs, think a sand like texture. If crushing by hand, I like to place the biscuits into a ziplock bag or freezer bag, and then roll the rolling pin over the bag. My preferred method is to use my food processor/hand blender with chopping attachment.
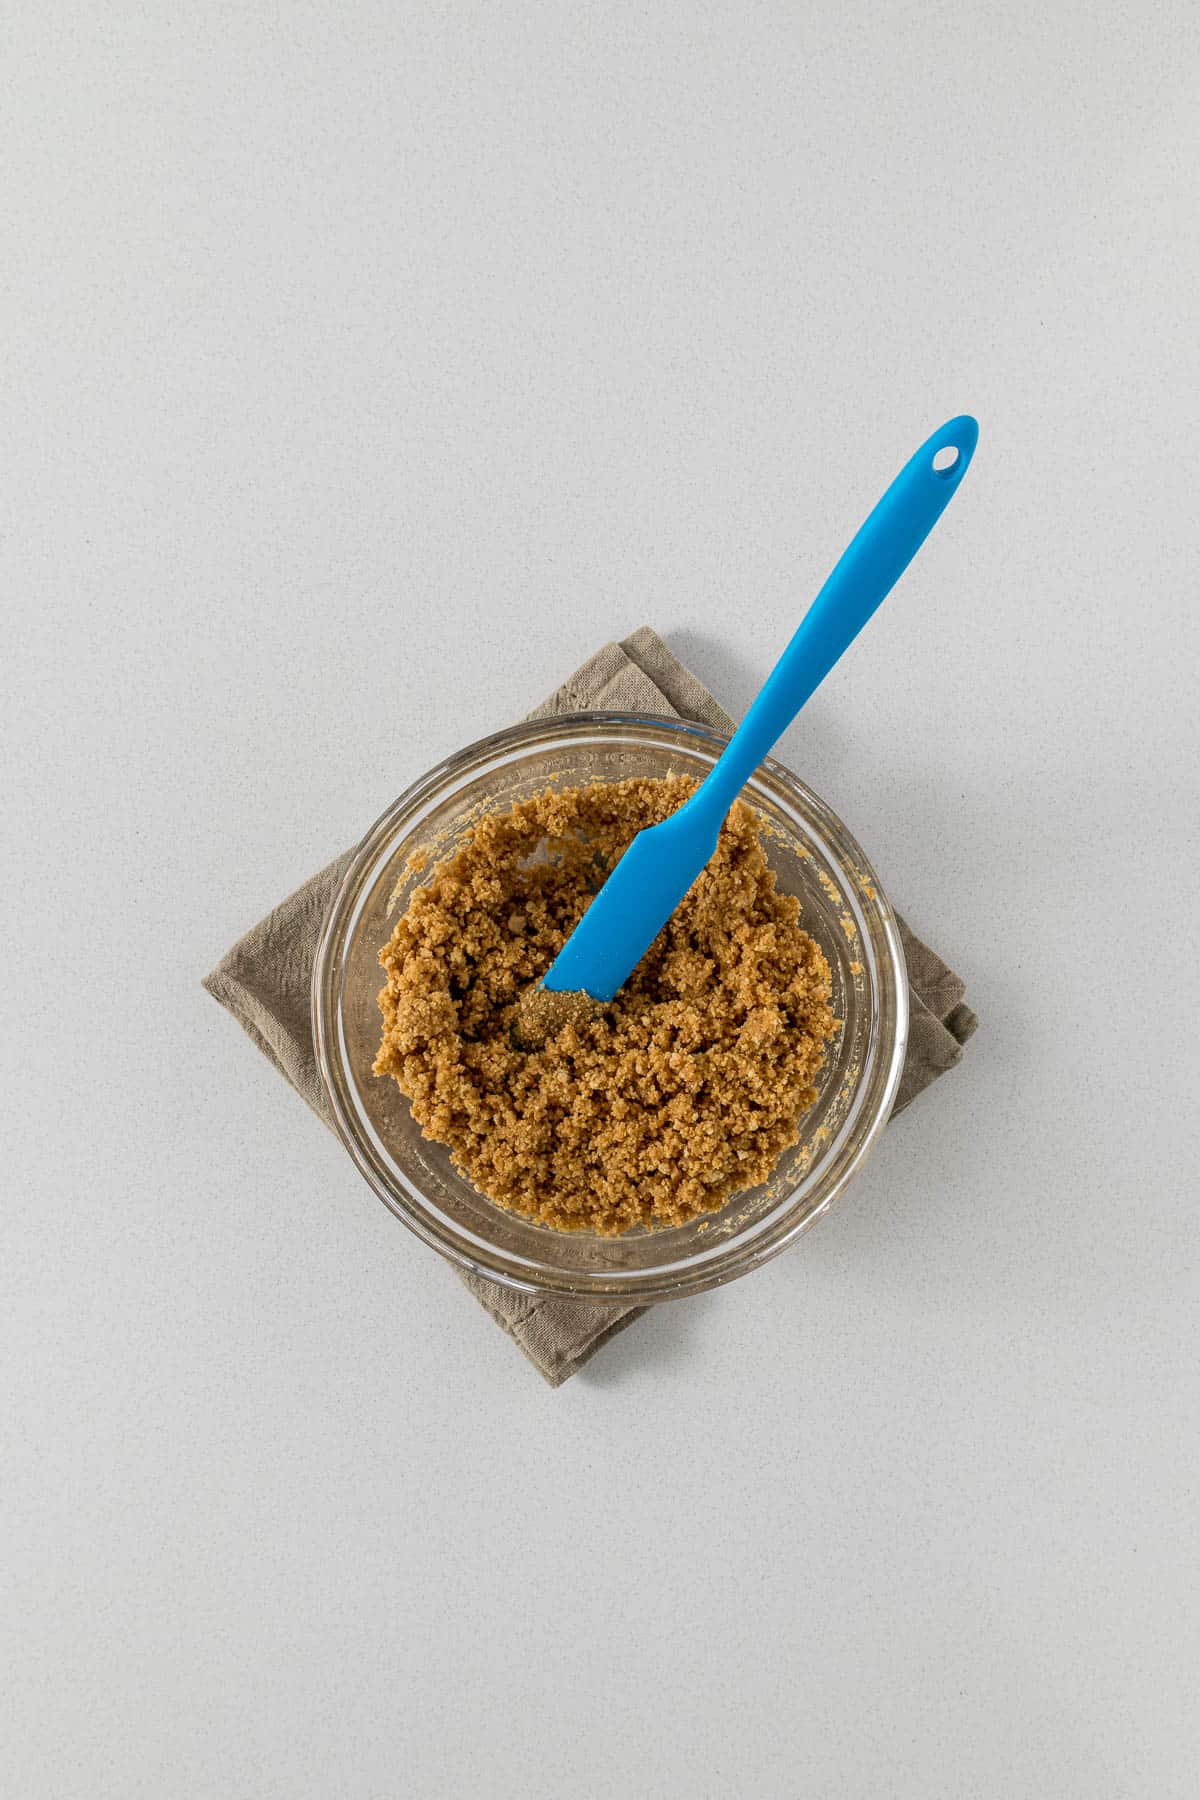
Step 4 - Stir the melted butter through the crushed biscuits until all the crumbs are coated in butter.
Step 5 - Prepare the cake tin/springform pan or tart pan. You can line the bottom of your pan with a layer of baking paper or parchment paper.
NOTE - When using a springform, I like to cut out a large piece of paper, then I crunch it into a ball and press it into the corners of the bottom piece before I clip the sides onto the bottom. This may require two hands and a bit of patience.
NOTE - When I use my loose-bottomed tin (loose-bottomed cake pan or tart pan or springform cake tin), I prepare the pan in any way or form. I just place the biscuit mix straight into the pan. I am yet to have an issue with it sticking when I want to remove it. But it does take a little bit of finesse, patience, a gentle hand, and a few large lifting spatulas.
Step 6 - Place the biscuit mixture into the bottom of your pan. Spread out evenly over the bottom. But do not press it in yet.
Step 7 - Using the back of a spoon (I usually use a soup spoon and/or a teaspoon), place the spoon about an inch (2.5cm) from the edge into the bottom of pan, pull the spoon towards the side (without scraping the bottom) and press the crumb mixture into the wall or side of the pan. Continue all the way around the pan. Don't worry if some pieces stick to your spoon or fall off. Just continue until you have a nice crust on the sides of the pan. This may take a few passes around the edge.
Step 8 - Using your spoon, redistribute the biscuit crumbs in the center of the pan over the entire bottom. Then either using the back of the spoon, an offset spatula, a small measuring cup, or the bottom of a glass, press the biscuit crumbs into the bottom of the pan. We want the biscuit to be packed in really nice and tightly. Sometimes you will need to go over it a few times to get it perfect.
Step 9 - To finish off the edges, I like to take my spoon or a teaspoon and run it around the inside corner.
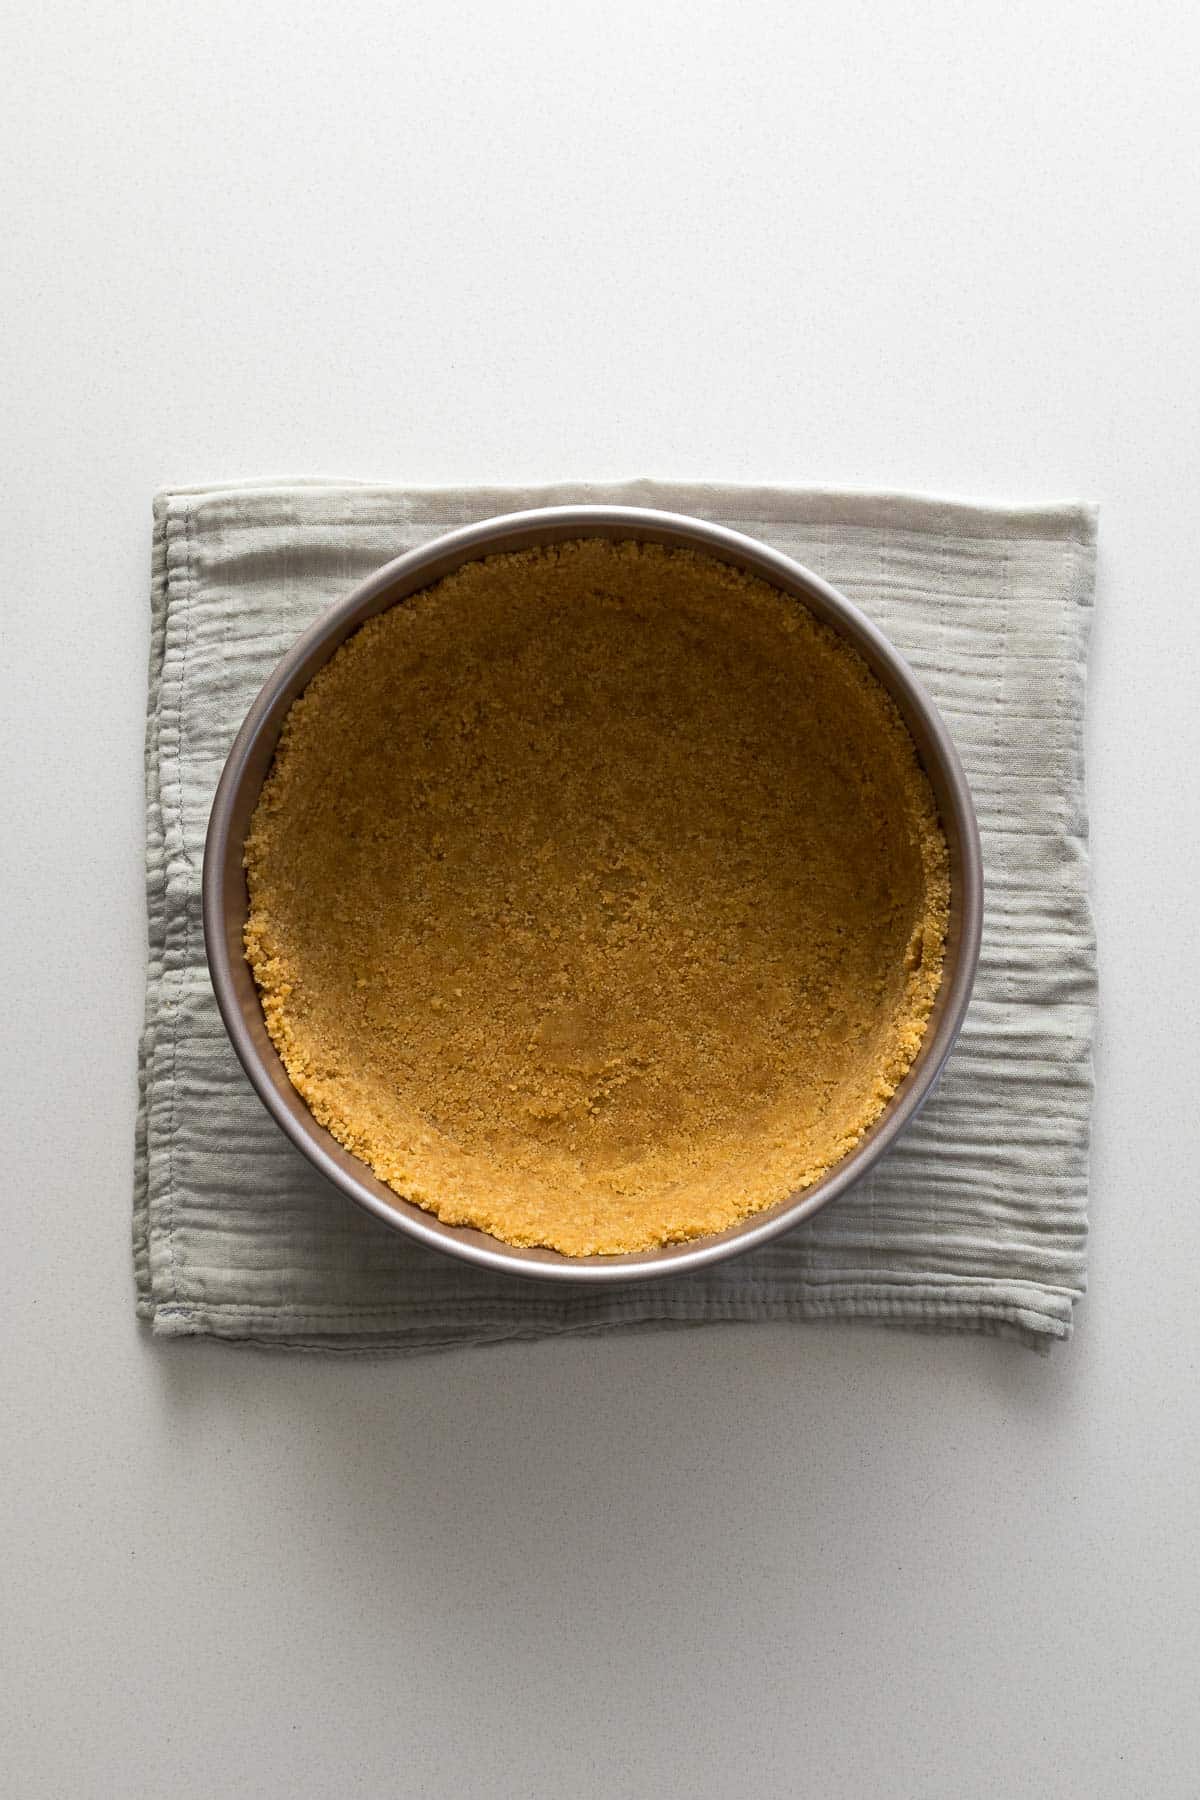
Step 10 - Bake the biscuit base in the preheated oven for 10 minutes (you can bump this up to 12 minutes for a no-bake recipe). Remove from the oven and allow to cool while you continue with the rest of your recipe.
Step 11 - If you don't want to bake the crust for your no-bake recipe, simply refrigerate for at least an hour before moving on.
Note - I honestly think that baking a biscuit base really adds a nice stability and flavor to the overall crust.
Pro Tips for the Perfect Biscuit Base
- Make sure the biscuits are properly processed or crushed. A nice homogenous mixture is much easier to press into the sides and bottom of the pan.
- Take your time to press the biscuits crumbs down. If the sides fall or the bottom sticks to your pressing device, just go slowly and repeat the process until it's done.
- A well-pressed biscuit base is essential to many cheesecakes, pies and tarts. If it's not pressed in properly, the base may leak or fall apart when slicing.
- Sometimes a different brand or different type of biscuit will require a bit more or a bit less butter in the biscuit: butter ratio.
- If for some reason the biscuit base feels too greasy, or too wet, you can always add an extra crushed/processed biscuit or two.
- Similarly, if the crumb mixture feels too dry, add in a bit more melted butter (start with an additional tablespoon at a time).
Other Recipes You May Like
Rate & Review!
If you made this recipe, please leave a star rating! It gives my readers and me helpful feedback. If you want more recipes, subscribe to my newsletter, and follow me on Instagram, Pinterest, and Facebook!
Recipe Card
Biscuit Base
Ingredients
Biscuit Base
- 250 grams biscuits (*Note 1)
- 115 grams butter (Between 115 - 125 grams/8-9 tablespoons *Note 2)
Graham Cracker Crust
- 240 grams Graham cracker crumbs
- 115 grams butter
- 35 grams white granulated sugar (or light brown sugar)
Instructions
- Preheat the oven to 180°/350°F.
- Melt the butter or margarine. This can be done in the microwave in 10 to 15-second bursts, stirring in between until completely melted. Or it can be done over low heat in a small saucepan. Remove from the heat as soon as the butter has melted.
- Let the butter cool down while you carry on with the biscuits.
- Process or crush the biscuits until they have mostly fine crumbs, think a sand like texture.
- Stir the melted butter (and sugar if using Graham crackers) through the crushed biscuits until all the crumbs are coated in butter.
- Prepare the cake tin/springform pan or tart pan. You can line the bottom of your pan with a layer of baking paper or parchment paper.
- Place the biscuit mixture into the bottom of your pan. Spread out evenly over the bottom. But do not press it in yet.
- Using the back of a spoon (I usually use a soup spoon and/or a teaspoon), place the spoon about an inch (2.5cm) from the edge into the bottom of pan, pull the spoon towards the side (without scraping the bottom) and press the crumb mixture into the wall or side of the pan. Continue all the way around the pan.
- Using your spoon, redistribute the biscuit crumbs in the center of the pan over the entire bottom. Then either using the back of the spoon, an offset spatula, a small measuring cup, or the bottom of a glass, press the biscuit crumbs into the bottom of the pan. We want the biscuit to be packed in really nice and tightly.
- To finish off the edges, I like to take my spoon or a teaspoon and run it around the inside corner.
- Bake the biscuit base in the preheated oven for 10 minutes (you can bump this up to 12 minutes for a no-bake recipe).
- If you don't want to bake the crust for your no-bake recipe, simply refrigerate for at least an hour before moving on.
Notes
- Biscuits that can be used include: Marie, Tennis, Nice, Vanilla Wine, Digestive, Biscoff biscuits (plain with no filling)
- Some biscuits will require a touch more butter that others, if the mixture is feeling a bit dry add in an additional tablespoon or two or melted butter. If the mixture feels too wet or greasy, add an additional crushed biscuit or two.
Nutrition
Nutrition information is an estimate. If scaling the recipe remember to scale your cook and bakeware accordingly. All temperatures stated are conventional, unless otherwise stated. Recipes tested in grams and at sea level.

Comments
No Comments