

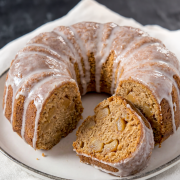


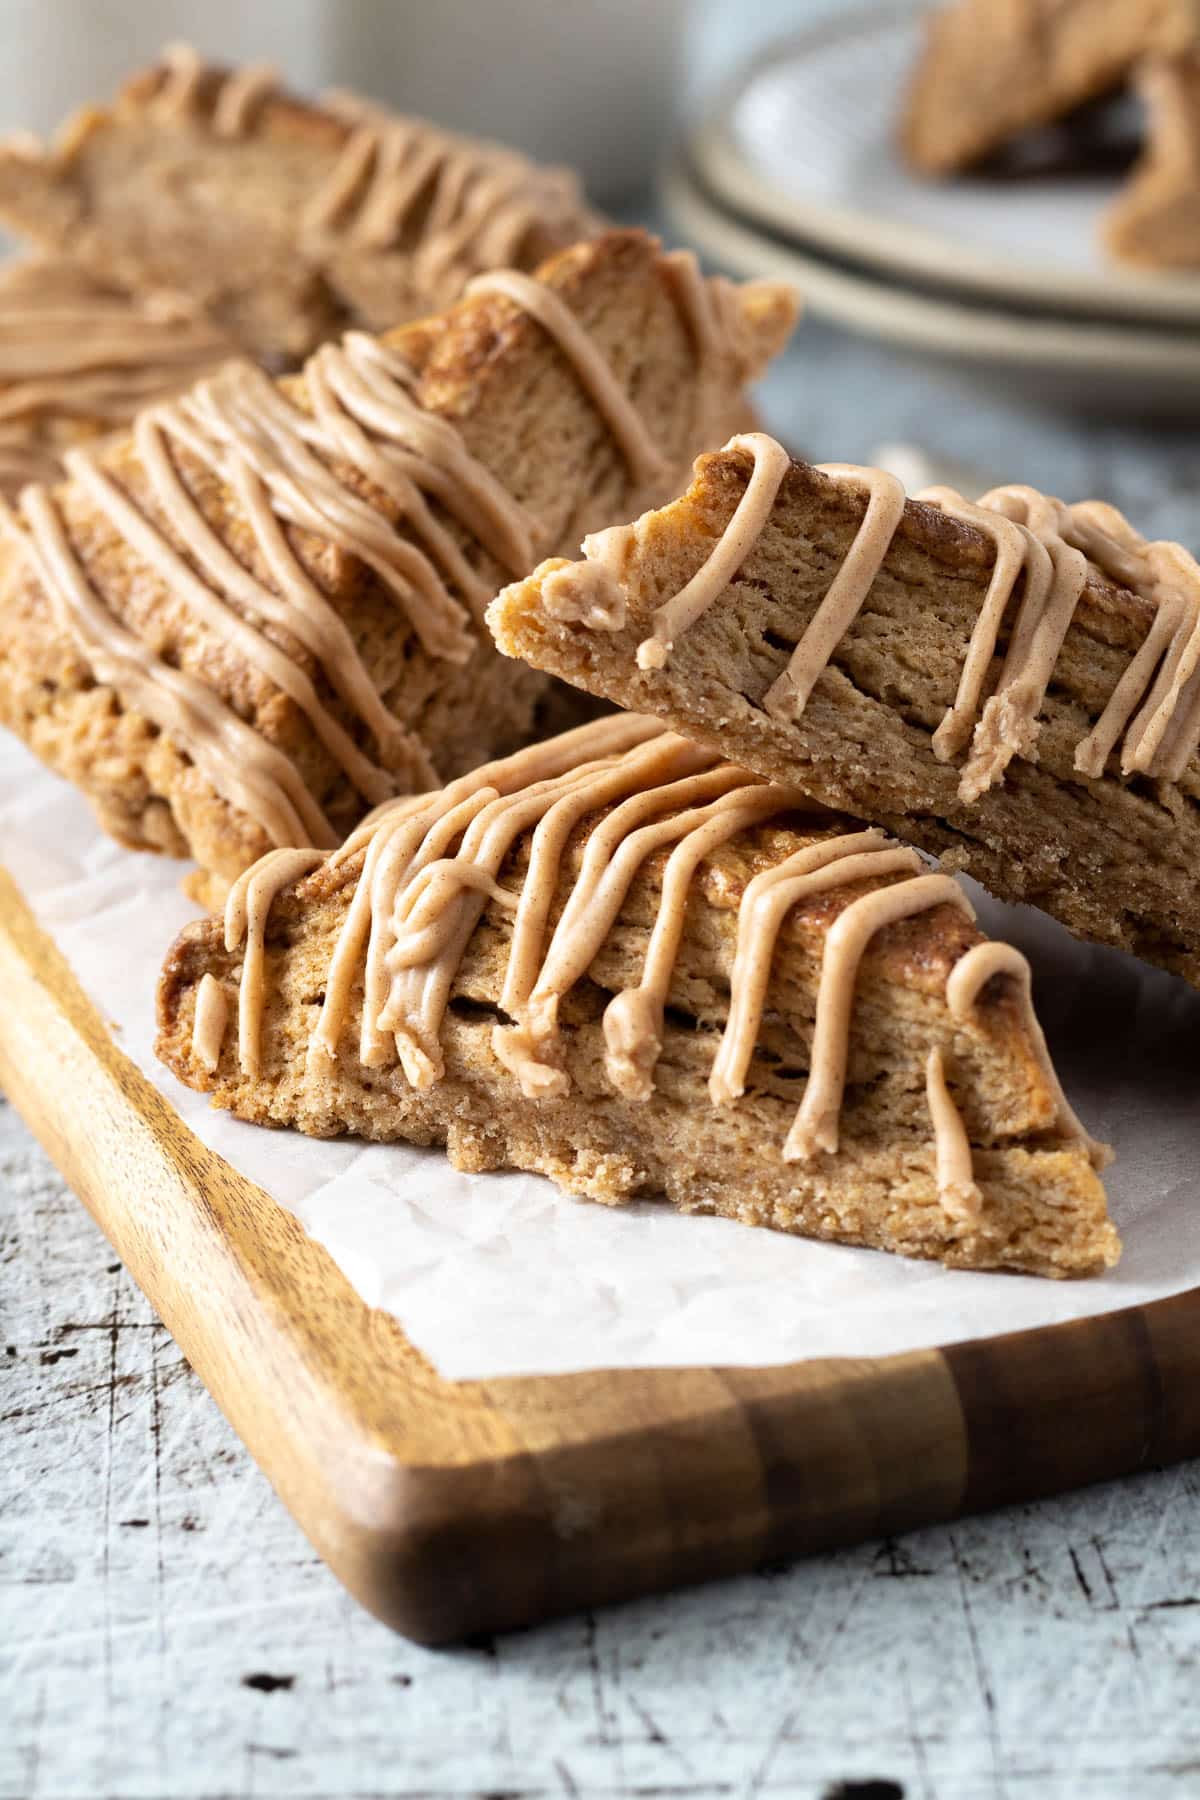
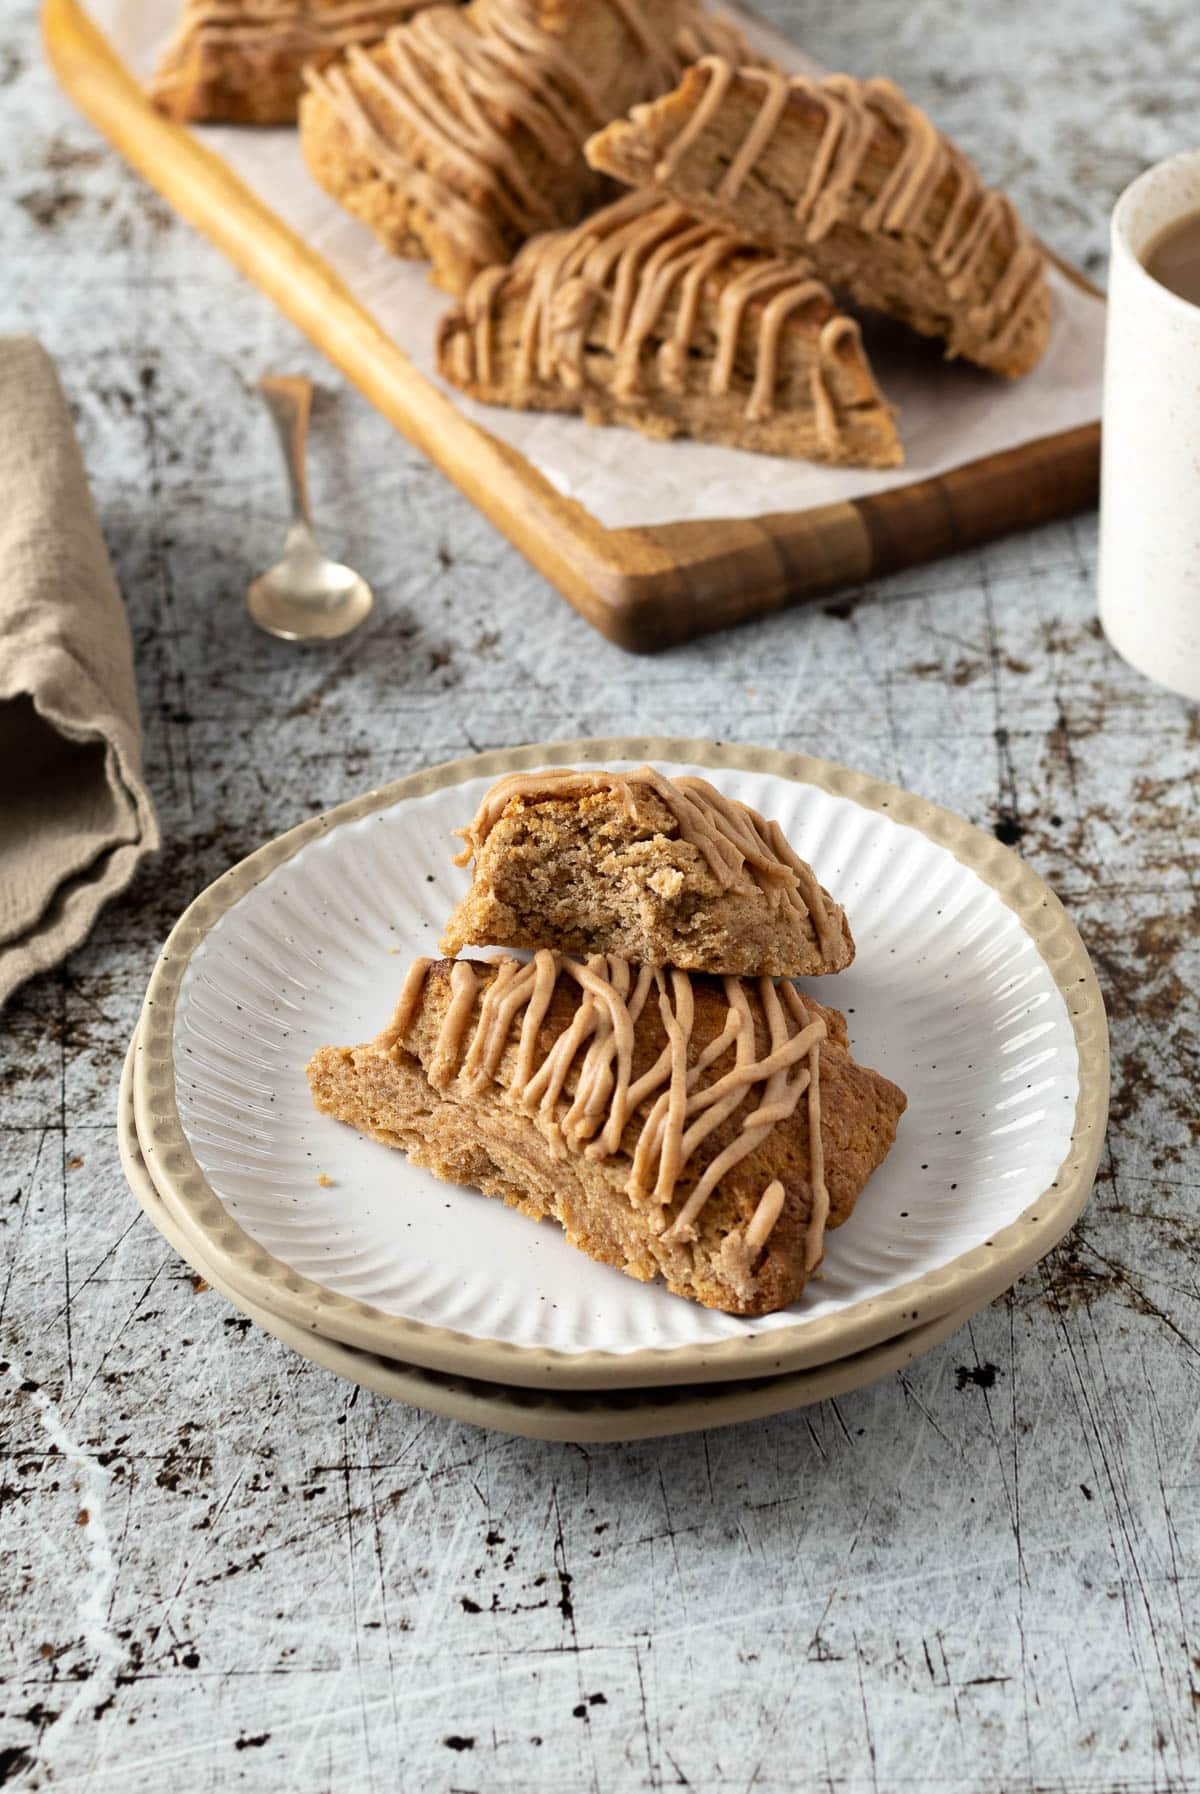
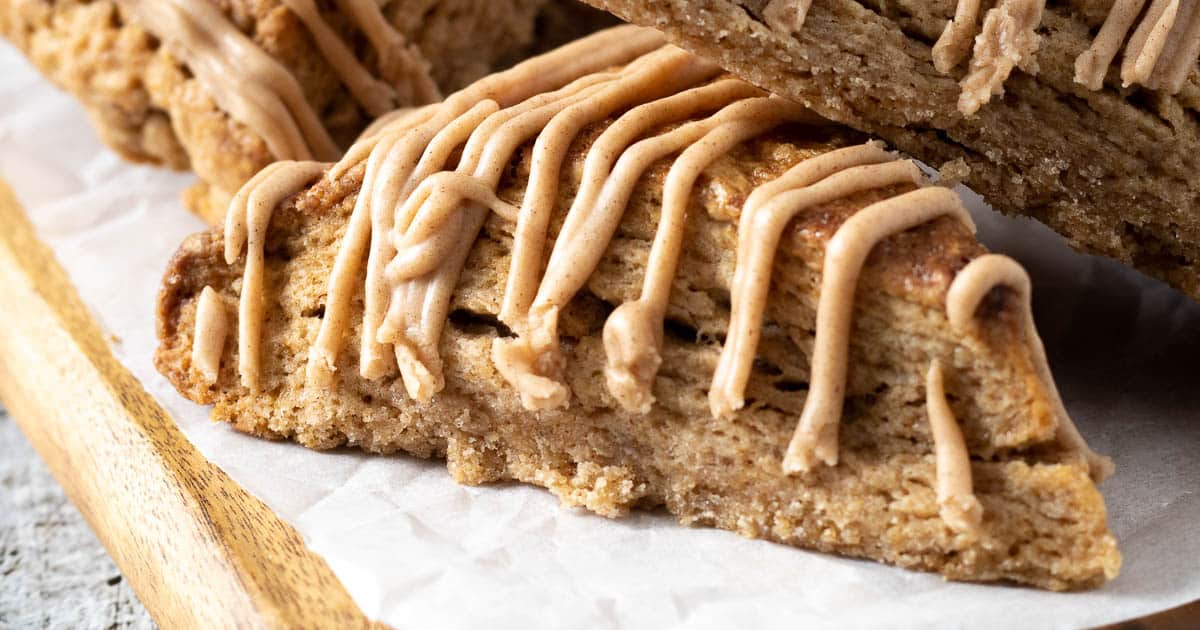
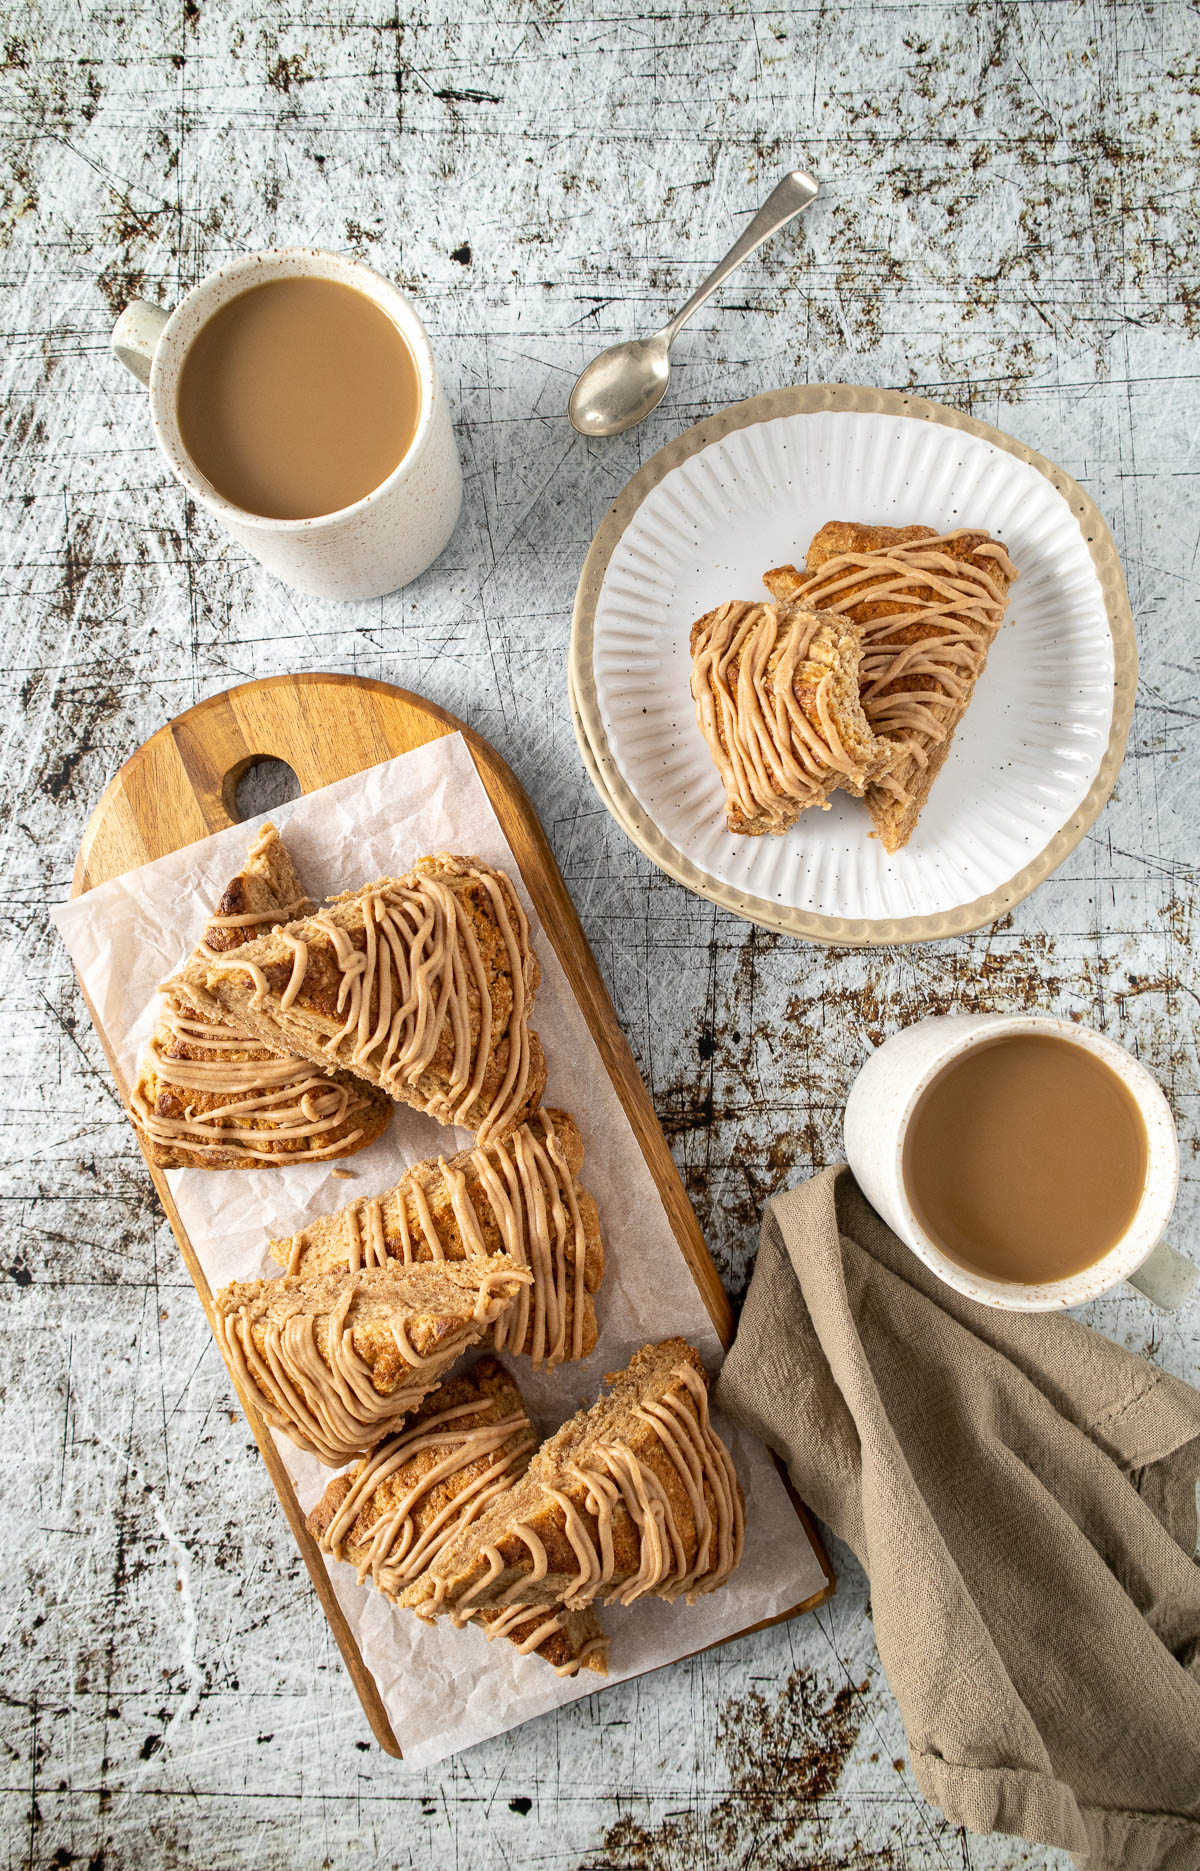
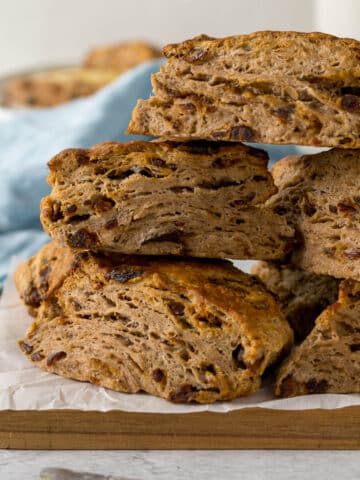
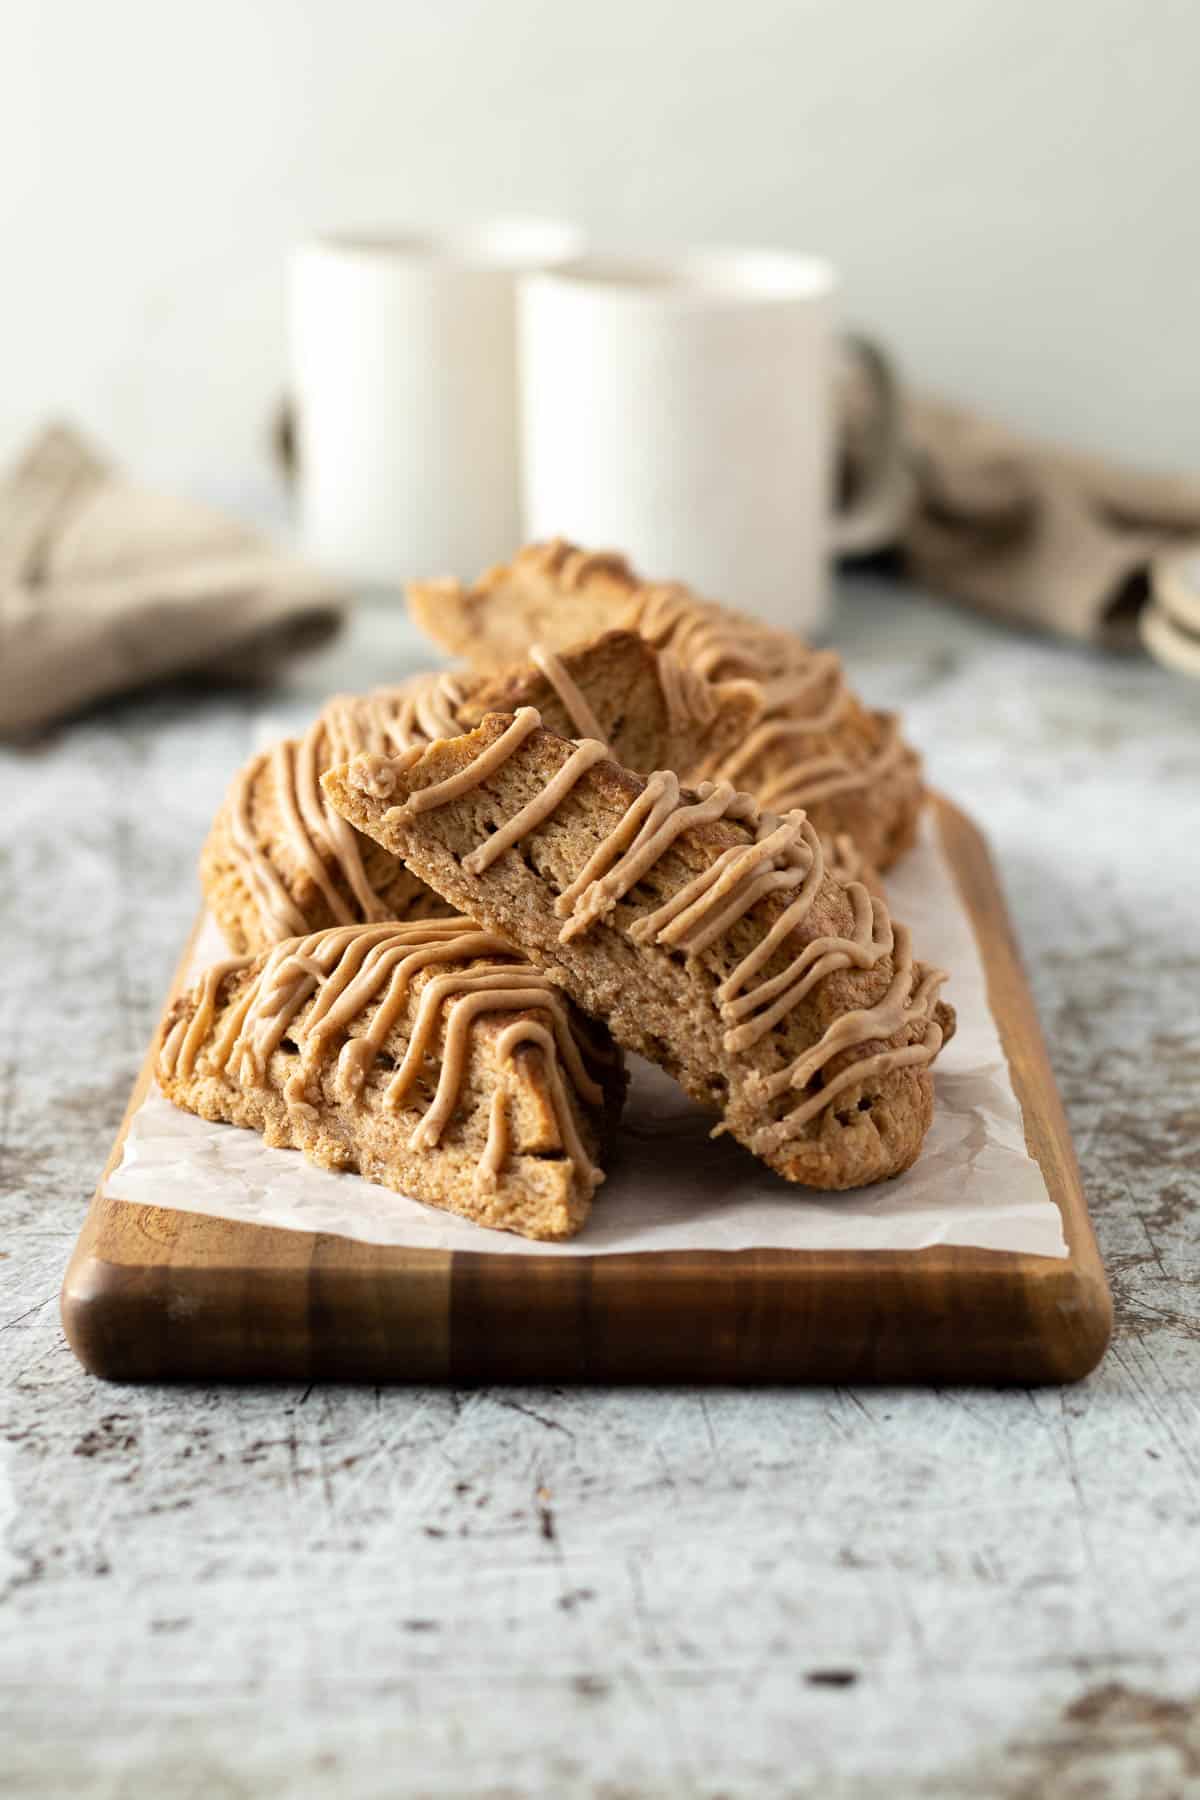
These delicious, easy cinnamon scones are flavored with ground cinnamon and topped with a cinnamon glaze. The perfect sweet treat to pair with your afternoon tea or cup of coffee.
Is there anything better than fresh homemade scones? No, and these buttery cinnamon scones will fill that scone craving any day of the week.
This post may contain affiliate or paid links. This means I earn a small commission from any sales at no extra cost to you. As an Amazon Associate, I earn from qualifying purchases.
Jump to:
American vs. British Scones
When I decided that I needed to add a cinnamon scone recipe to the site, I knew I needed to expand my scone skills into that of the American persuasion. I had made American-style scones before and knew that this method would pair better with the warm spice, and sweetness needed to make an all-in-one snack.
That being said - what is the difference between American scones and the other scone recipes on the site - which can be classed as English scones? The main difference between American scones and English scones is that they are more dense, have more butter and sugar, and made with cream instead of milk, are typically cut into wedges, and more often than not have a topping of some sort.
This means that the scone can be enjoyed by itself with no additional butter, jam, or cream. Think of it as more of a scone-on-the-go type snack.
This particular recipe is based on my date scones recipe - but I have swopped out the whole milk with cream, and the icing sugar with granulated sugar, and increased the butter content. Then added a cinnamon glaze to make the
Ingredients
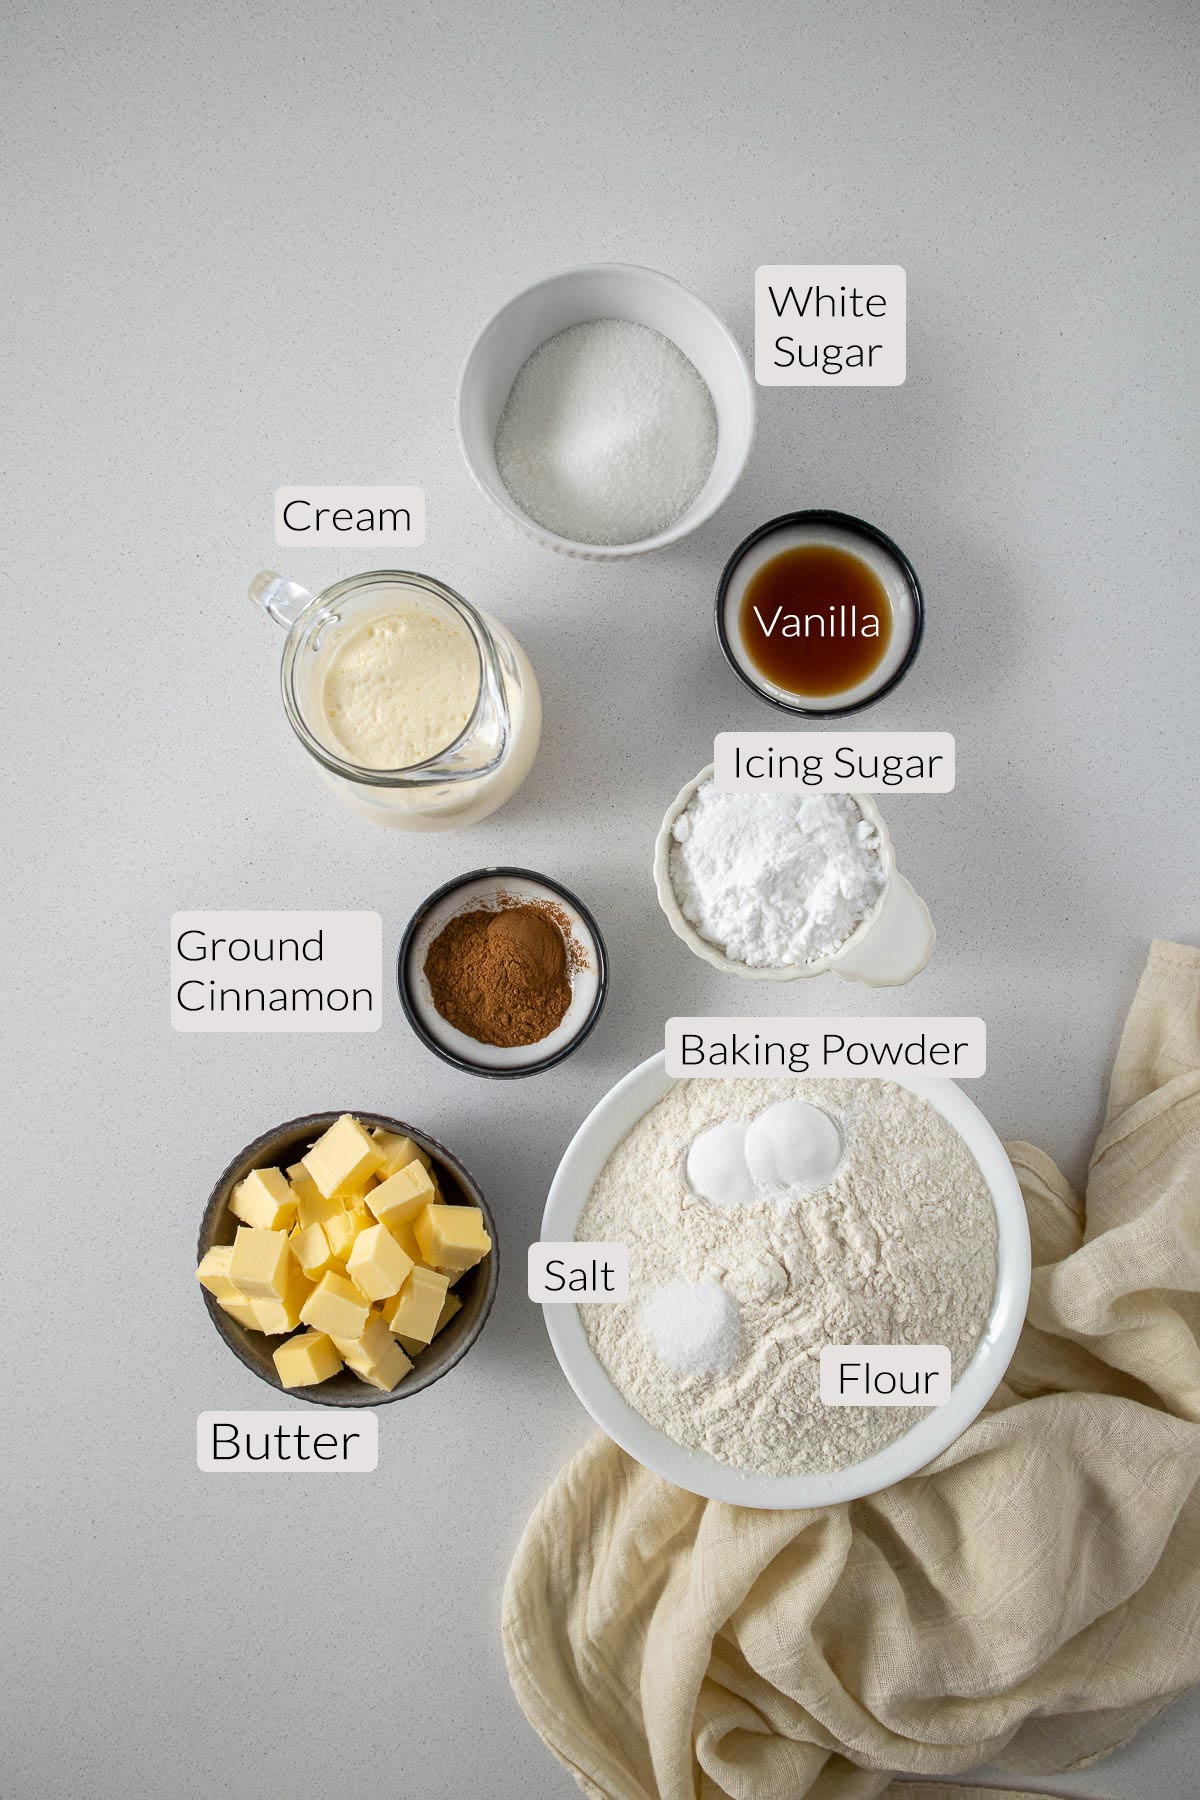
Cold Butter adds flavor, softness, and moisture and sometimes aids in the leavening of scones. I use New Zealand butter (salted/unsalted) in my recipes, which has approximately 82% butterfat and can be very yellow (similar to European or Irish butter). I highly recommend making scones with real butter, but baking margarine can be used. Do not use a spread!
Plain flour (all-purpose flour/standard grade flour) refers to flour that has a protein content of approximately 9.5-12%. For cakes, this can be replaced with cake flour. If measuring ingredients by cups, make sure to aerate the flour and then scoop it into the measuring cup using a spoon before leveling it off. Scooping directly out of the flour container will result in too much flour being added to the mixture. For this recipe, plain flour can be substituted with self-raising/rising flour on a one-to-one basis. Just leave out the additional baking powder.
White sugar (granulated sugar or caster sugar) adds sweetness without really impacting additional flavors in baked goods. Sugar doesn't only add sweetness, it adds moisture, slows down gluten formation, and enhances other flavors.
Vanilla extract enhances the flavors of the other ingredients in the recipe and is a cornerstone ingredient in baked goods and desserts containing eggs.
Cream - I've used fresh New Zealand cream which is similar to heavy cream or whipping cream - having approximately 35-37% milk fat. You can get away with using a cream with a lower fat content for this recipe.
Baking powder is used to create the rise in these scones. If using self-raising/self-rising flour, leave out the baking powder. Make sure you use fresh baking powder, if it has been sitting in the pantry for a while, give the container a shake, and then place ½ teaspoon into a cup or bowl. Pour ¼ cup of boiling water over the baking powder, if it fizzles and bubbles it is still fresh.
Salt is a crucial ingredient in all baked goods. I use table salt in all my recipes. One teaspoon of table salt equals 1.5 teaspoons of Morton Kosher Salt equals 2 teaspoons of Diamond Crystal.
Raw sugar/turbinado sugar for the cinnamon sugar topping.
For cinnamon raisin scones, toss in 1-1 ½ cups of raisins before pouring in the wet ingredients, and stirring through the flour mixture.
Weighing and Measuring Ingredients
Weighing ingredients with a kitchen scale is more accurate than using measuring cups. All my recipes are developed and tested using grams only.
However, I have activated the metric-to-cup conversions. Simply click on "USA/Cups" or "metric" for your preferred measurements. For these conversions, cups are equal to 240mL/8 fl oz, tablespoons are 15mL and teaspoons are 5mL.
Step-By-Step Instructions
1 - Line a baking tray/baking sheet/cookie sheet with baking paper/parchment paper.
2 - In a large mixing bowl, whisk together the flour, salt, baking powder, and ground cinnamon.
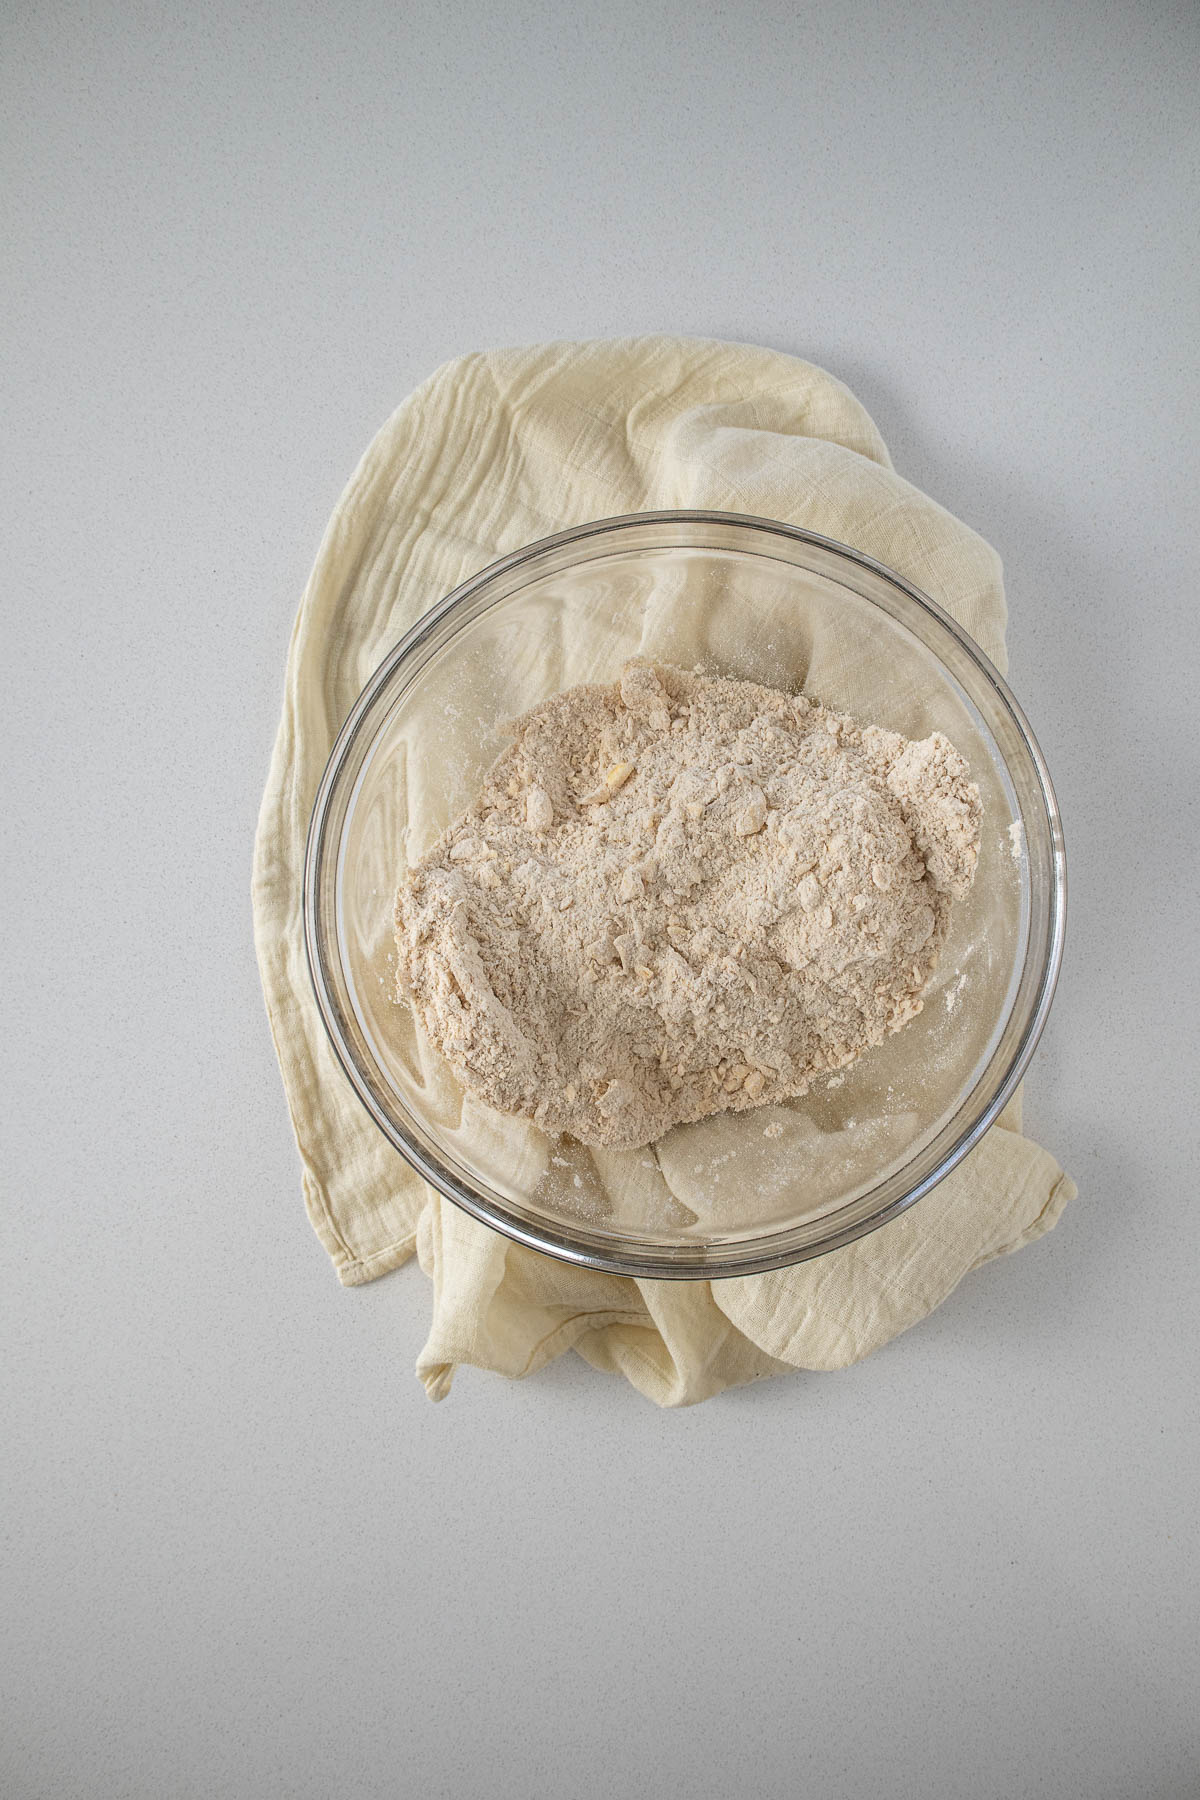
3 - Cut the cold butter into small blocks, or grate the butter using a box grater over the flour. Rub the butter into the flour until there are only pea-sized pieces of butter left. You can also use a pastry cutter or two knives to cut the butter into the flour, which is helpful if you have warm hands.
Note - You can use a stand mixer and the paddle attachment or pastry blender attachment on a low speed to work the butter into the flour.
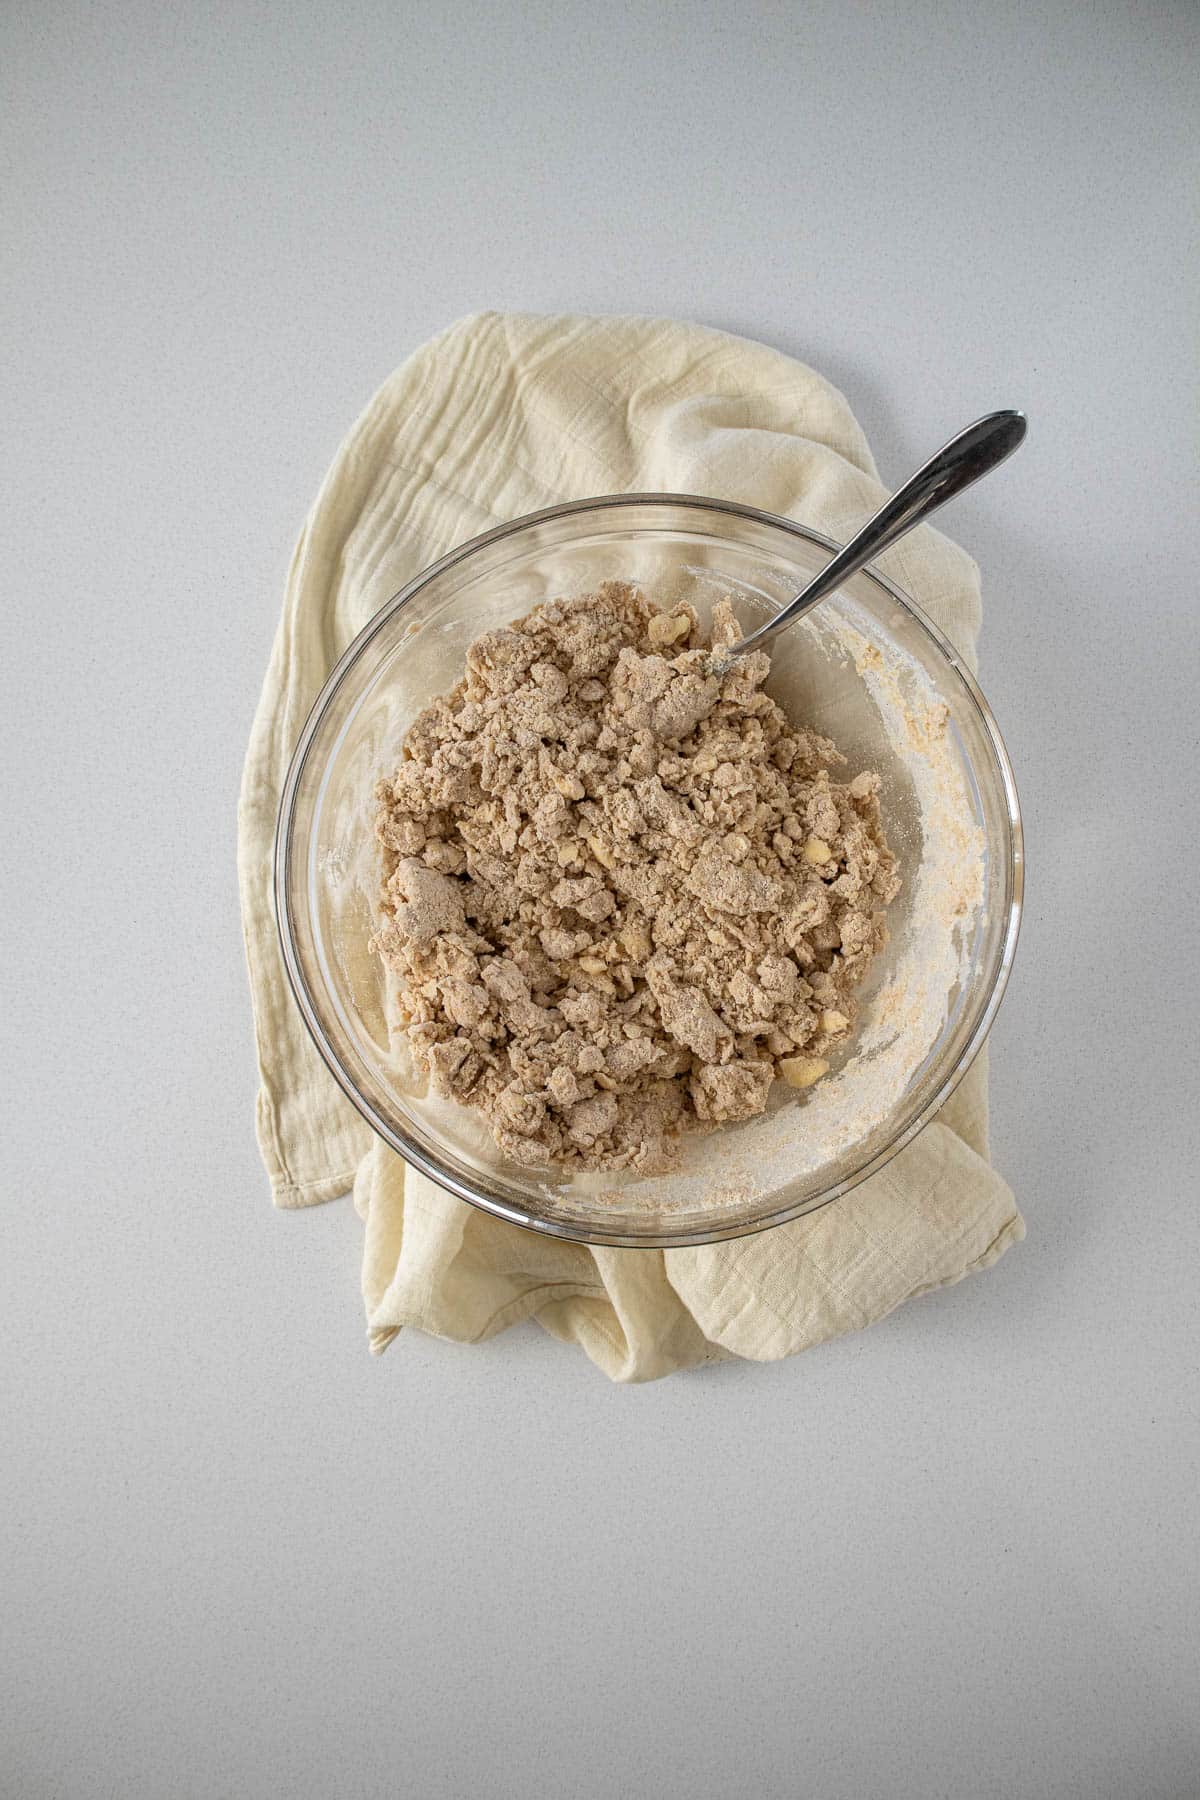
4 - Add in the sugar, and mix through with a fork. Pour in the cream and vanilla extract. Using a fork, mix the cream through until most of the flour seems to be moist.
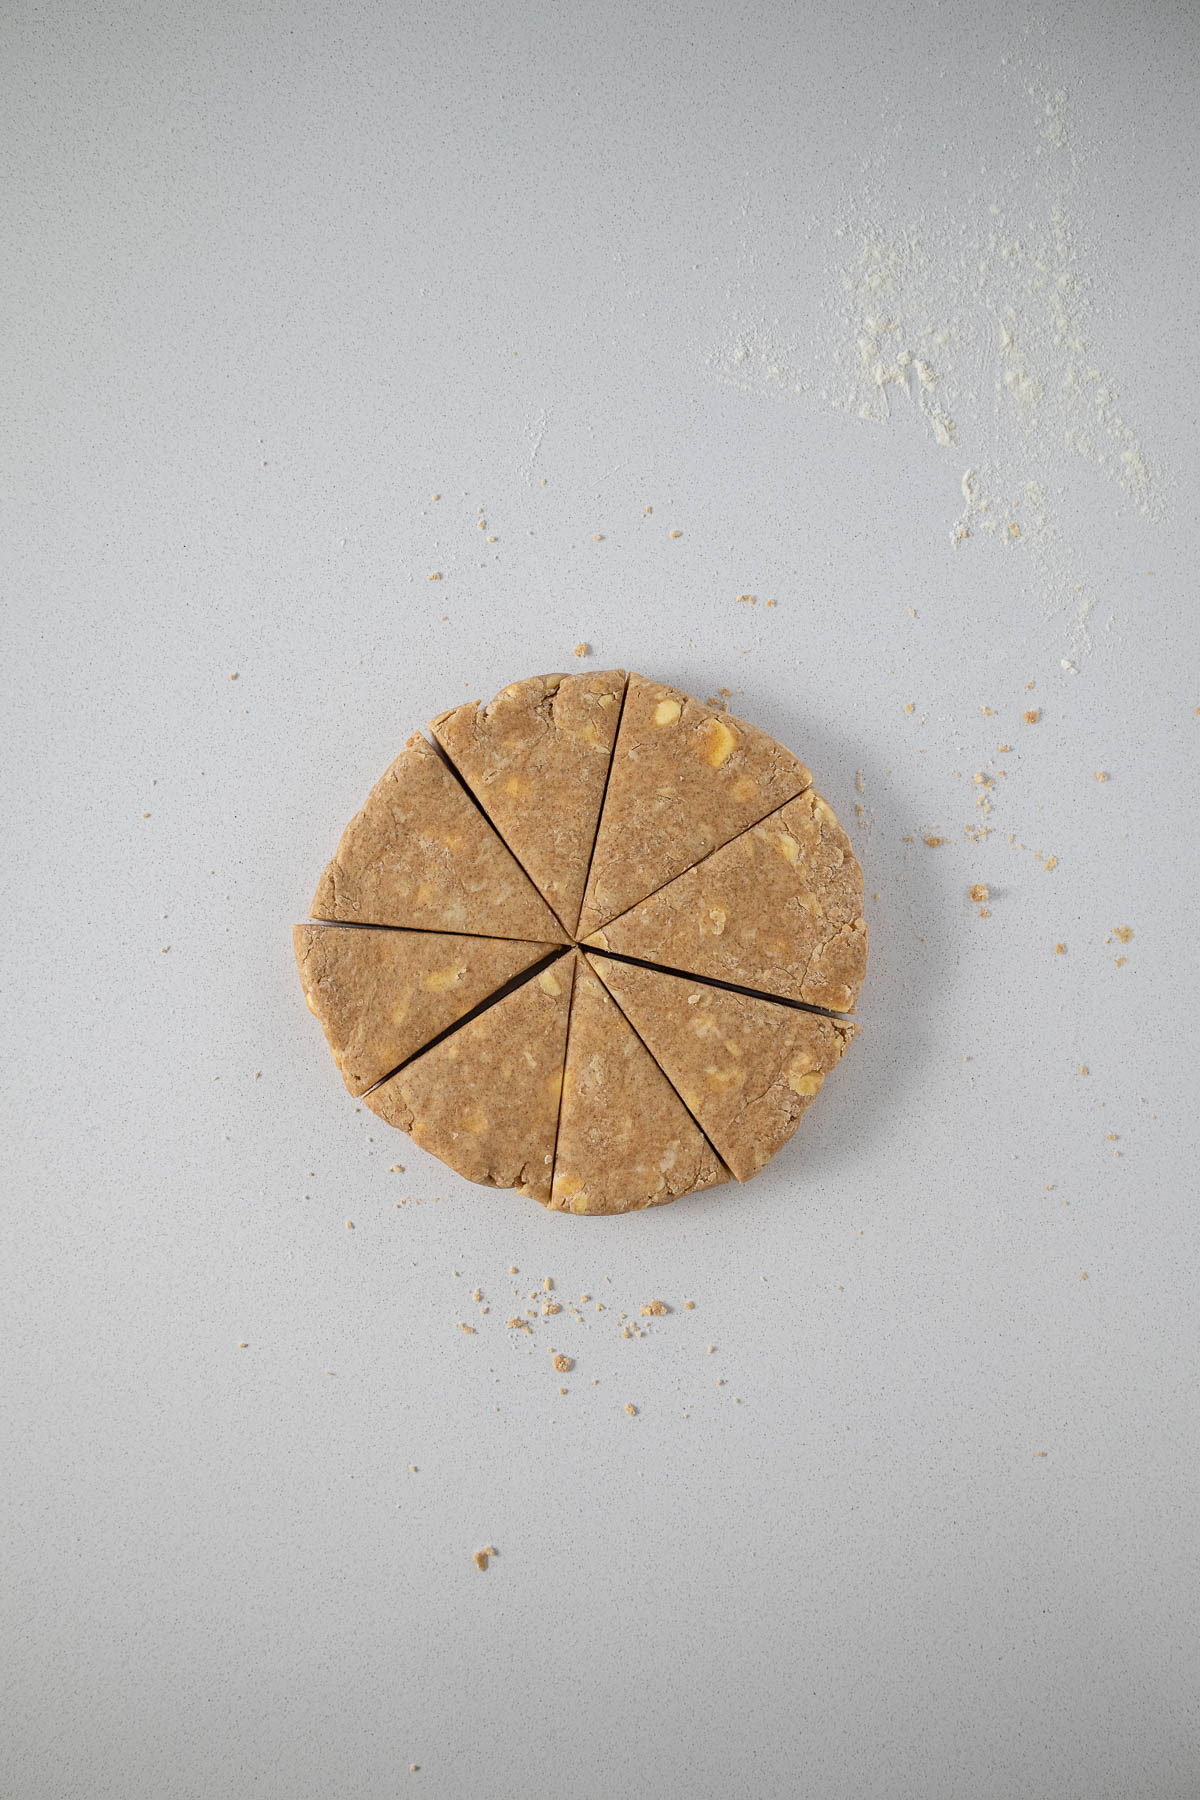
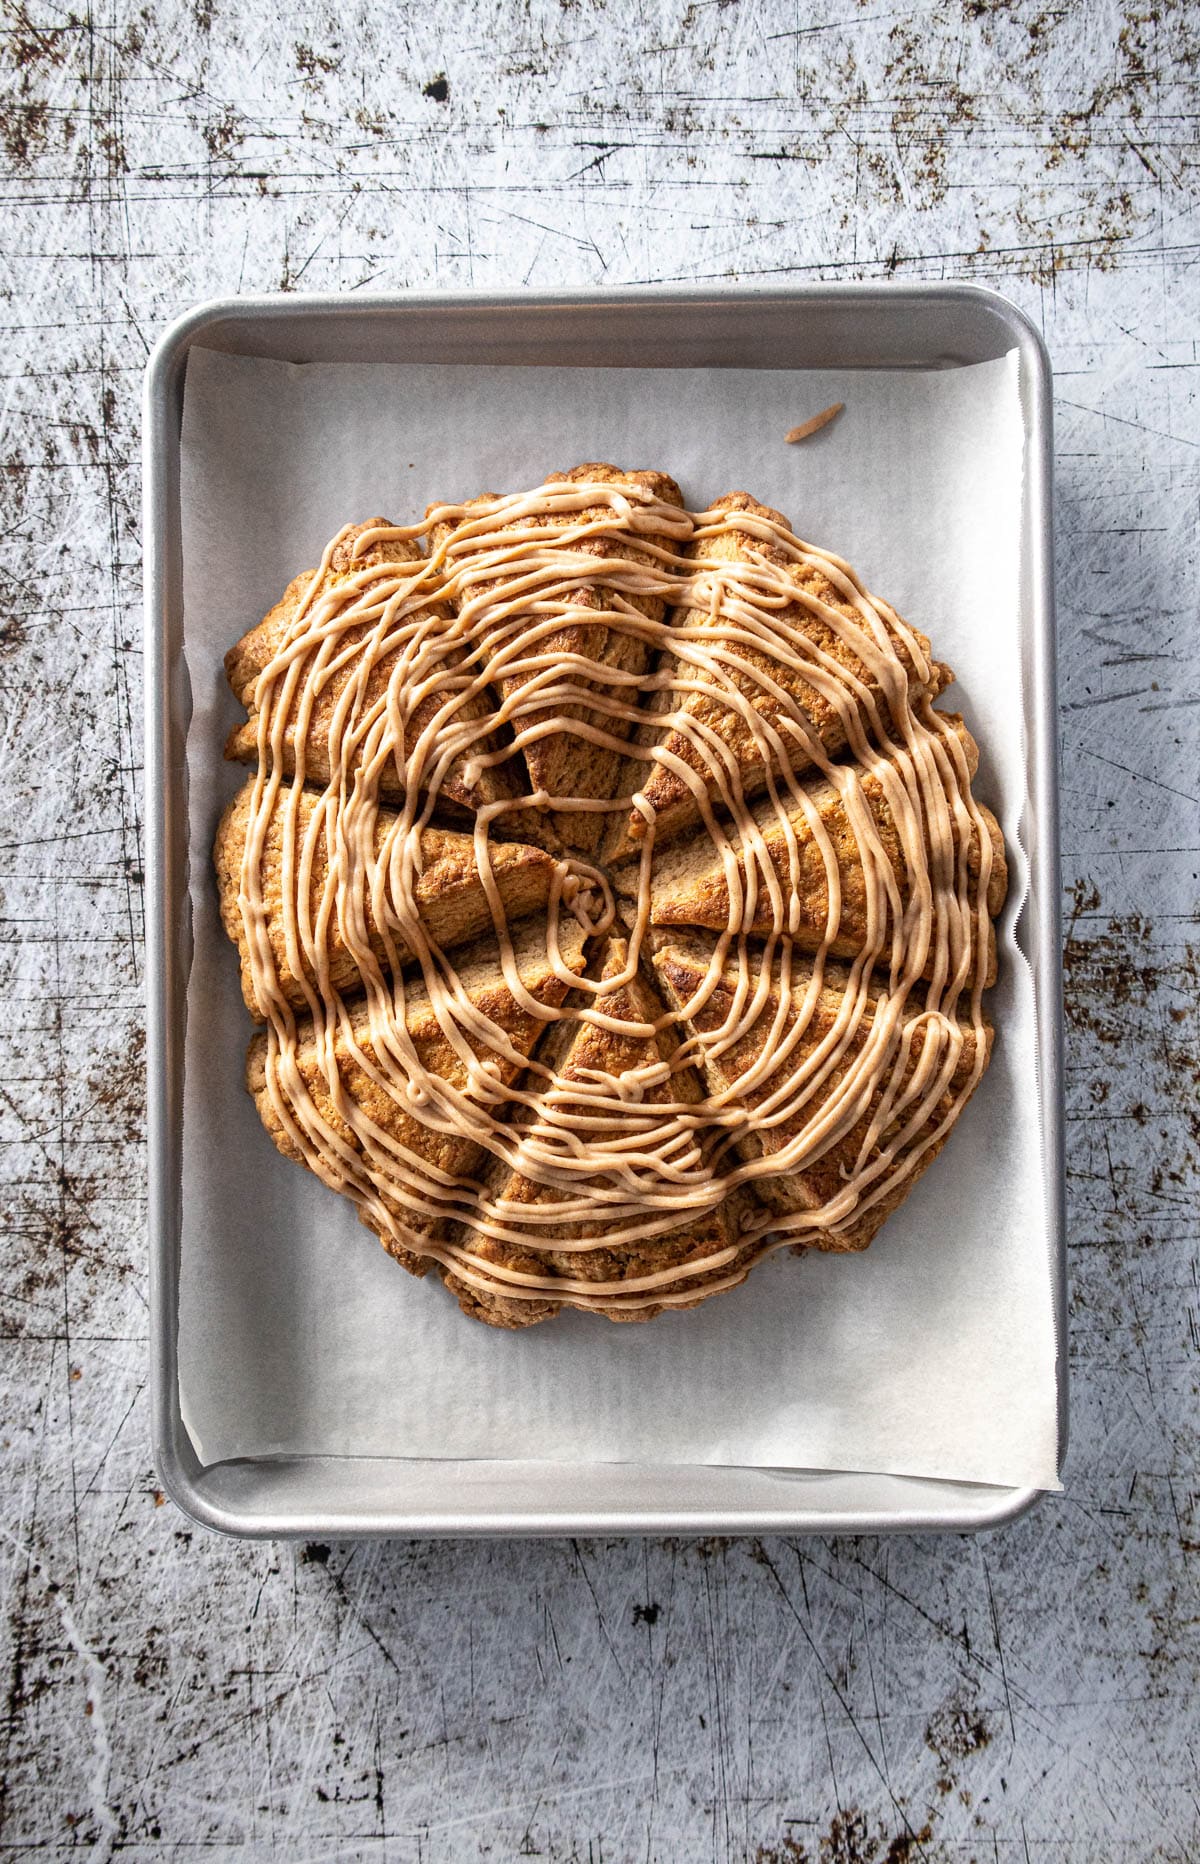
5 - Turn out the scone mixture onto a floured, clean work surface. Bring the dough together. The dough will look a bit dry, so using a bench scraper, fold the edges of the dough over into the middle. Then when it is mostly cohesive, cut the dough in half, place one half on the other, and press down. Then press the dough into a circle about 7 inches across, and about an inch tall. Cut into 8 wedges. Transfer the dough by the large scones onto the prepared baking sheet, with approximately 2cm of space between each scone. Refrigerate the scones for 30 minutes.
6- While the scones are resting, preheat the oven to 200°C/400°F.
7 - Brush the tops of the refrigerated scones with 3-4 tablespoons of cream. Bake for 25 minutes or until the scones are a beautiful golden brown.
8 - Remove from the oven and allow to cool for 10-15 minutes, before placing on a wired rack to cool completely.
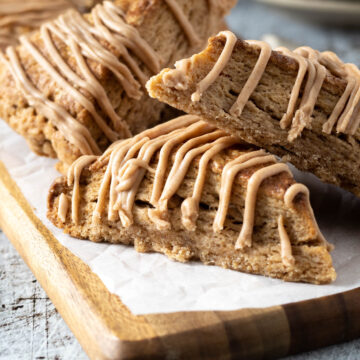
9 - While the scones are cooling, stir together the icing sugar, vanilla, cinnamon, and cream. Drizzle the glaze over the buttery scones and then serve.
Additional Recipe Notes
For mini scones - if you are after mini scones, you can divide the scone dough into two before shaping it into two discs about an inch tall, and then cutting those into 8 wedges each. The baking time for the smaller scones will be about 15-20 minutes.
For cinnamon raisin scones, toss in 1-1 ½ cups of raisins before pouring in the wet ingredients, and stir through the flour mixture.
Make ahead of instructions - make the scones up until step 6, and then cover and refrigerate overnight to bake the following morning for fresh scones at breakfast/brunch.
Expert Tips for This Recipe
For the perfect scone you need:
- cold ingredients - If it is warm, or you have handled the butter a little bit too long during preparation, pop it into the fridge to get cold again before moving onto the rubbing-in stage.
- handle the dough as little as possible, and preferably with cold hands.
- preheat the oven properly - a hot oven is essential to the tall rise of the scone. It also allows the steam from the butter to escape acting as an additional leavening agent in the scones.
Ovens and Air-Fryers
The temperatures stated are for conventional ovens. For convection, fan-forced, fan-assisted, or air-fryers, the temperature must be reduced by 20°C/25°F.
For baking, make sure the oven is fully preheated, and that the rack is in the middle of the oven. Open the oven as little as possible. For best baking results use an oven thermometer.
Remember that all ovens work slightly differently and bake times may need to be adjusted for your specific oven.
Storage and Freezing
Store the cool scones in an airtight container at room temperature for 2 days, or up to 5 days in the refrigerator. They can be freshened up by popping them in the microwave for 20-30 seconds before serving.
Scones dough can be frozen (for up to 2 months) and baked from frozen but may need a couple more minutes to completely bake through. Or thaw in the fridge overnight and follow the baking instructions on the recipe card.
Scones can also be frozen after being baked before topping with any glaze. Place them in an airtight container and freeze for up to 2 months. Allow to defrost before warming up in the microwave (20-30 seconds) before serving.
Cinnamon Scones FAQ
Yes. If making the scone dough in advance, complete the steps up until shaping and cutting. Place in the fridge, cover overnight. Or freeze the scones and bake them from frozen.
Scones can be brushed with cream, a beaten egg or even milk before baking. This gives them a nice golden brown hue when baked.
You can cut the scones in any of these shapes. It's a personal choice.
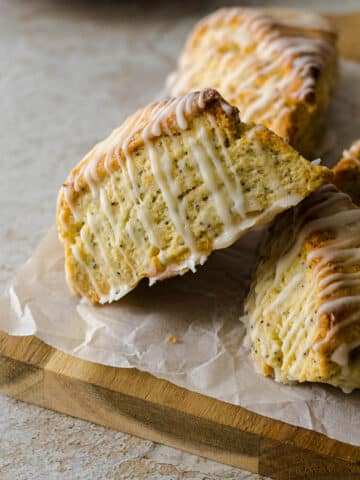
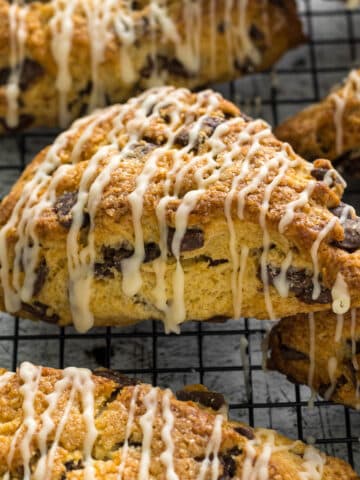
Other Scone Recipes You May Like

Rate & Review!
If you made this recipe, please leave a star rating! It gives my readers and me helpful feedback. If you want more recipes, subscribe to my newsletter, and follow me on Instagram, Pinterest, and Facebook!
Recipe Card
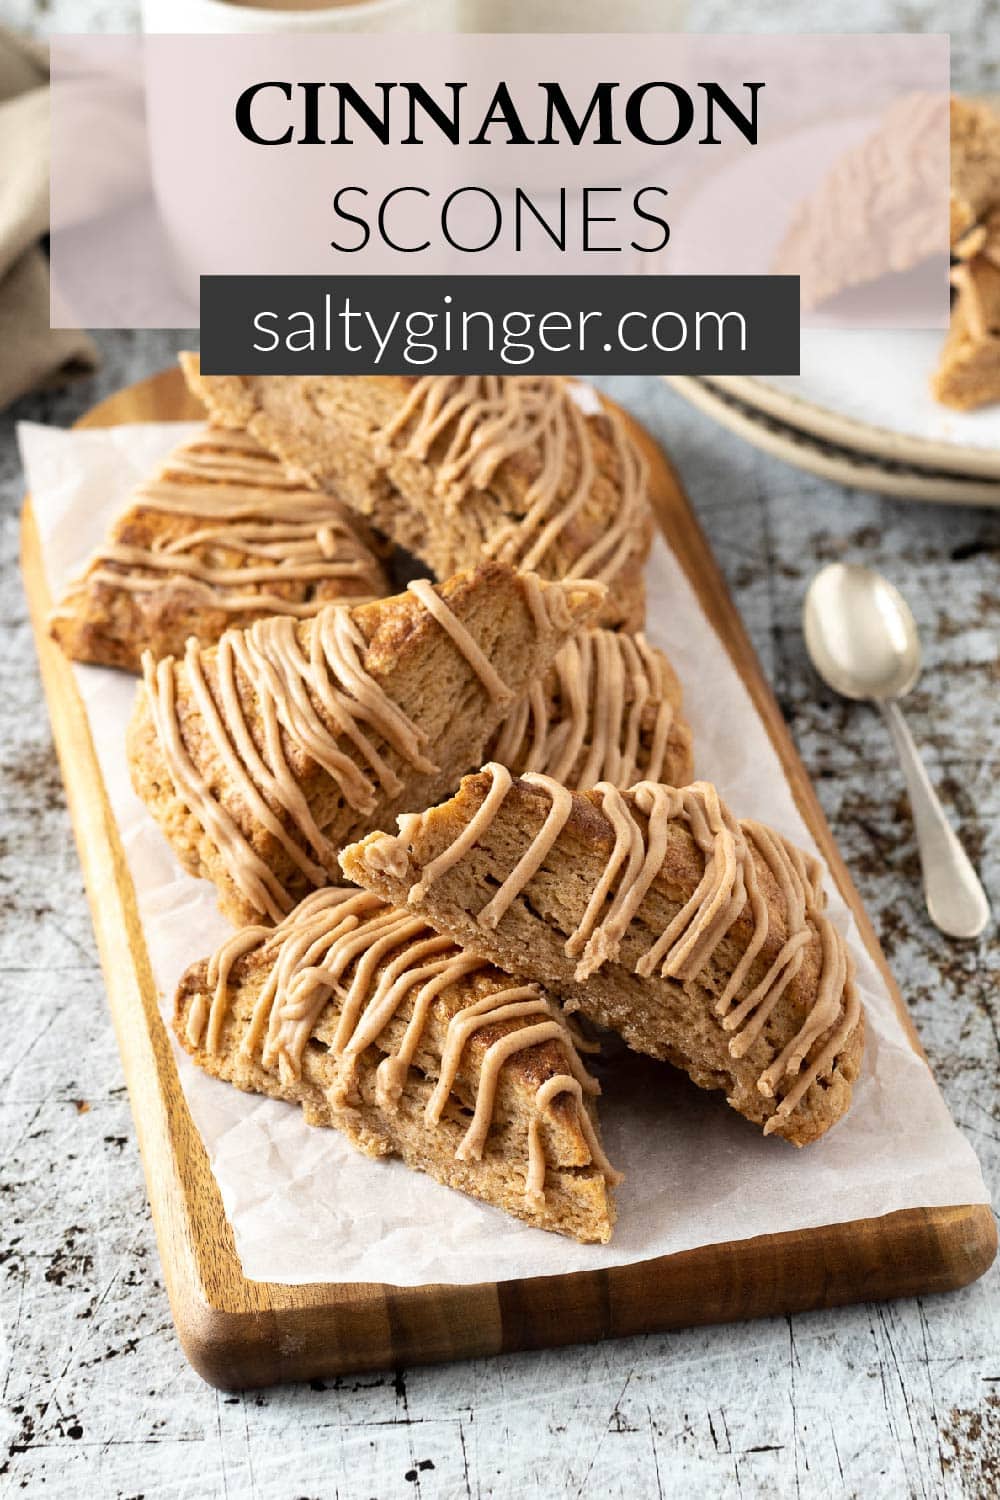
Cinnamon Scones
Equipment
- Baking Tray
- Bench Scraper
- Mixing Bowls
- Pastry brush
Ingredients
Cinnamon Scones
- 2 cups plain flour (standard grade/all-purpose flour)
- ½ teaspoon table salt
- 2 teaspoons baking powder
- 2 teaspoons ground cinnamon
- 8 tablespoons butter (cold - note 1)
- ⅓ cup white granulated sugar (granulated sugar/caster sugar)
- ⅔ cup cream (heavy/whipping/fresh)
- 1 tablespoons vanilla extract
- 4 tablespoons cream (brushing the tops of scones)
Glaze (optional extra)
- ½ cup icing sugar (powdered sugar)
- ½ teaspoon vanilla extract
- ½ tablespoon cream (heavy/whipping/fresh)
- 1 teaspoon ground cinnamon
Instructions
- Line a baking tray/baking sheet/cookie sheet with baking paper/parchment paper.
- In a large mixing bowl, whisk together the flour, salt, baking powder, and ground cinnamon.2 cups plain flour, ½ teaspoon table salt, 2 teaspoons baking powder, 2 teaspoons ground cinnamon
- Cut the cold butter into small blocks, or grate the butter using a box grater over the flour. Rub the butter into the flour until there are only pea-sized pieces of butter left. You can also use a pastry cutter or two knives to cut the butter into the flour, which is helpful if you have warm hands. *Note 28 tablespoons butter
- Add in the sugar, and mix through with a fork. Pour in the cream and vanilla extract. Using a fork, mix the cream through until most of the flour seems to be moist.⅓ cup white granulated sugar, ⅔ cup cream, 1 tablespoons vanilla extract
- Turn out the scone mixture onto a floured, clean work surface. Bring the dough together. The dough will look a bit dry, so using a bench scraper, fold the edges of the dough over into the middle. Then when it is mostly cohesive, cut the dough in half, place one half on the other, and press down. Then roll/press the dough into a circle about 7 inches across, and about an inch tall. You may need to scoot the edges in as your press down again to make a nice disc. Cut into 8 wedges. Transfer the dough by the large scones onto the prepared baking sheet, with approximately 2cm of space between each scone. Refrigerate the scones for 30 minutes.
- While the scones are resting, preheat the oven to 200°C/400°F.
- Brush the tops of the refrigerated scones with 3-4 tablespoons of cream. Bake for 25 minutes or until the scones are a beautiful golden brown.4 tablespoons cream
- Remove from the oven and allow to cool for 10-15 minutes, before placing on a wired rack to cool completely.
- While the scones are cooling, stir together the icing sugar, vanilla, cinnamon and cream. Drizzle the glaze over the buttery scones and then serve.½ cup icing sugar, ½ teaspoon vanilla extract, ½ tablespoon cream, 1 teaspoon ground cinnamon
Notes
- ½ cup of butter (8 tablespoons) is equal to 115 grams/ 1 stick of butter. This is 2 tablespoon less than a metric ½ cup of butter.
- You can use a stand mixer and the paddle attachment or pastry blender attachment on a low speed to work the butter into the flour.
Storage and Freezing
Store the cool scones in an airtight container at room temperature for 2 days, or up to 5 days in the refrigerator. They can be freshened up by popping them in the microwave for 20-30 seconds before serving. Scones dough can be frozen (for up to 2 months) and baked from frozen but may need a couple more minutes to completely bake through. Or thaw in the fridge overnight and follow the baking instructions on the recipe card. Scones can also be frozen after being baked before topping with any glaze. Place them in an airtight container and freeze for up to 2 months. Allow to defrost before warming up in the microwave (20-30 seconds) before serving.Nutrition
Nutrition information is an estimate. If scaling the recipe remember to scale your cook and bakeware accordingly. All temperatures stated are conventional, unless otherwise stated. Recipes tested in grams and at sea level.
Pin For Later
Comments
No Comments