


Baking is a delicate mix of art and science. The correct oven temperature is one of the crucial steps required for producing a great baked product.
Jump to:
- Oven Temperature Conversions
- Oven Dial Symbols
- Conventional vs Convection/Fan-Assisted & Fan-Forced
- Oven Rack Position
- Oven Thermometers
- Dialing into Your Oven Temperature Dial
- The Importance of Preheating Your Oven
- The Best Oven Temperature for Your Recipe
- When to Check on Your Baked Goods
- Can I Bake in an Air Fryer?
- Cleaning Your Oven
- Community Comments
Oven Temperature Conversions
Here is a table that I regularly use for oven temperature conversions when I'm writing up my recipes. I have also included the conversion from low/slow/medium and hot in case you have come across a recipe that calls for slow/low or quick oven. This is more common in very old recipes, usually, the ones that have 3 lines of instructions.
| Celsius | Fahrenheit | Gas | Low/Med/Hot |
| 110°C | 230°F | ¼ | very slow/cool |
| 130°C | 265°F | ½ | very slow/low |
| 140°C | 285°F | 1 | very slow/low |
| 150°C | 300°F | 2 | slow/low |
| 160°C | 320°F | 3 | moderate/medium |
| 180°C | 355°F | 4 | moderate/medium |
| 190°C | 375°F | 5 | moderate hot |
| 200°C | 390°F | 6 | quick/fairly hot |
| 220°C | 430°F | 7 | hot |
| 230°C | 445°F | 8 | very hot |
| 240°C | 465°F | 9 | very hot |
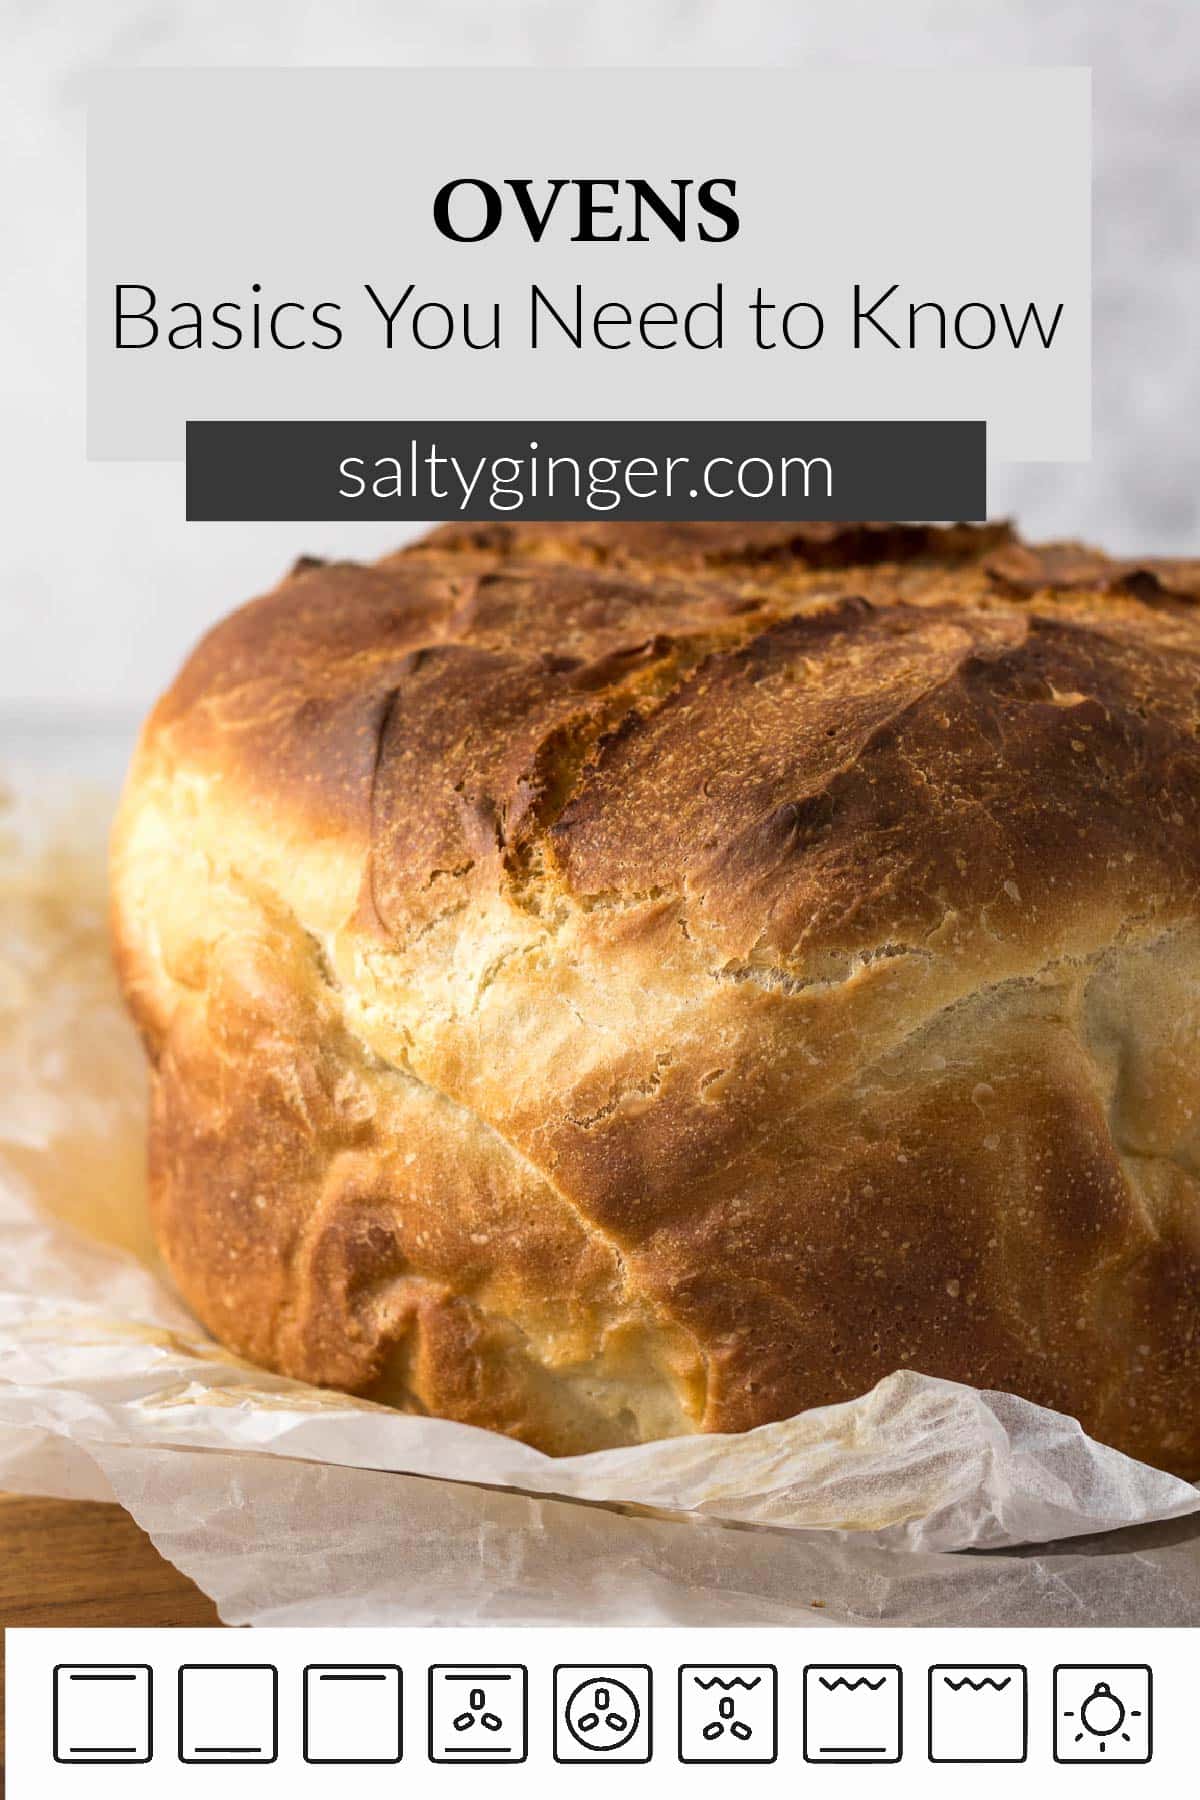
Oven Dial Symbols
Conventional oven: This is the most widely used setting when it comes to baking. The oven heats from both the top and bottom elements. This is a nice even gentle heat within the oven.
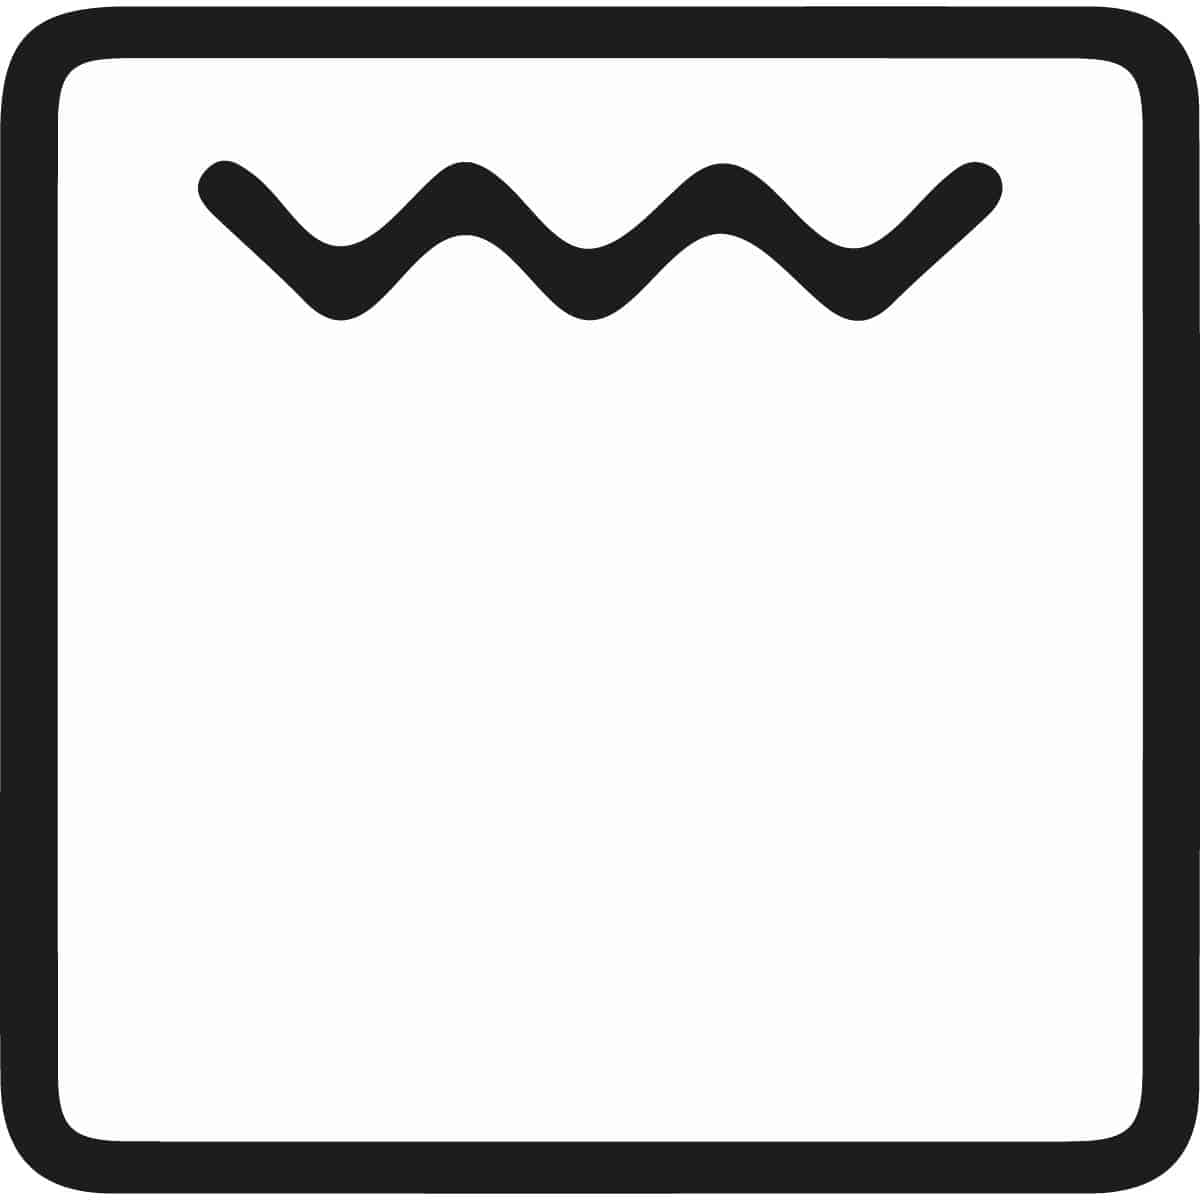
Convection/Fan-assisted oven: This is when the fan is circulating continuously while the top and bottom elements heat the oven.
Fan-forced oven: When using this particular setting, the heating element around the fan is on, and the fan is circulating continuously while cooking.
Fan-grill/Fan Broil: Both the fan and the grill/broil are on, this means that the hot air from the grill/broil is also distributed throughout the oven during the grilling or broiling.
Grill/Broil: High heat from the top element that grills/sears/chars the food. Some ovens will have a half grill/broil as well as a full grill/broil symbol. Some ovens require the oven to be open and some closed during the grilling/broiling process.
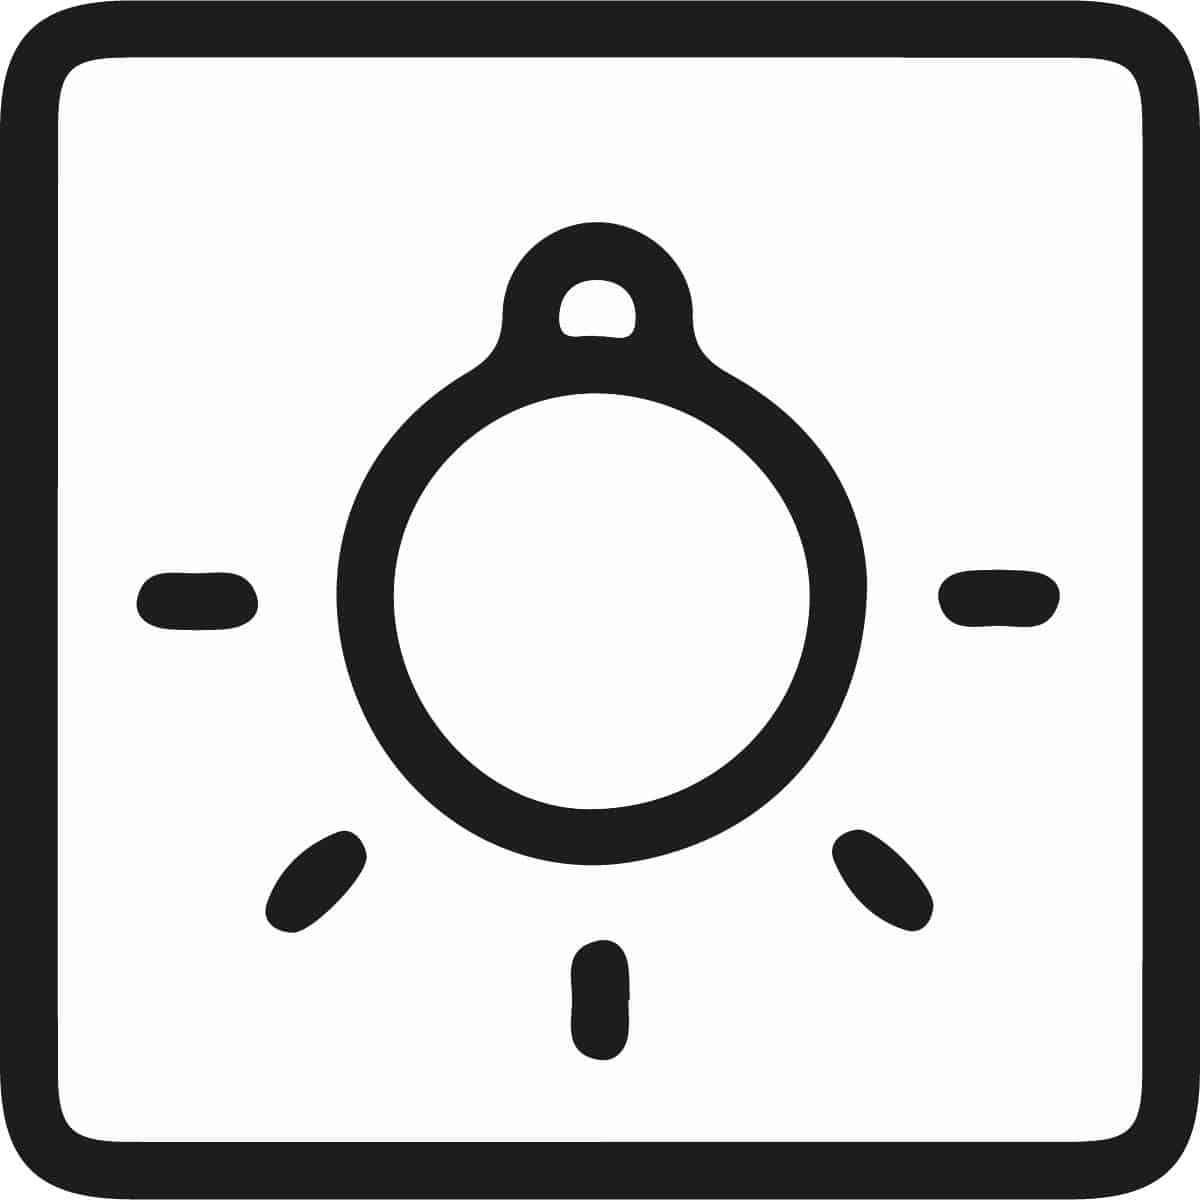
Oven Light: Some ovens allow for the ability to have the oven light on independent of any heat.
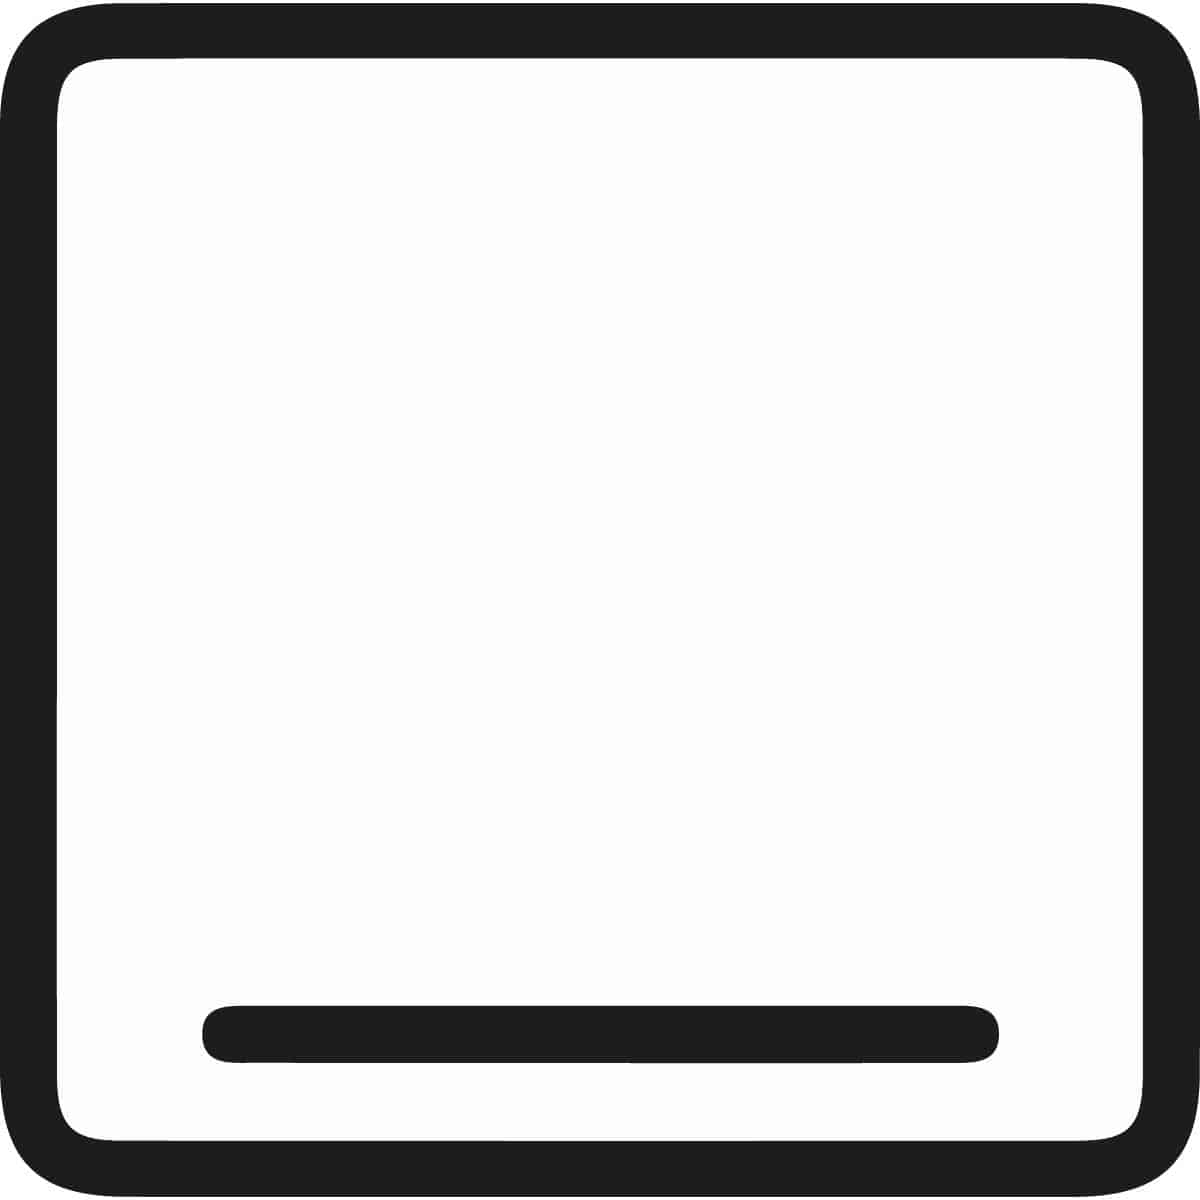
Bottom Element: When only the bottom element will be used to heat the oven. Typically used for cooking stews or casseroles.
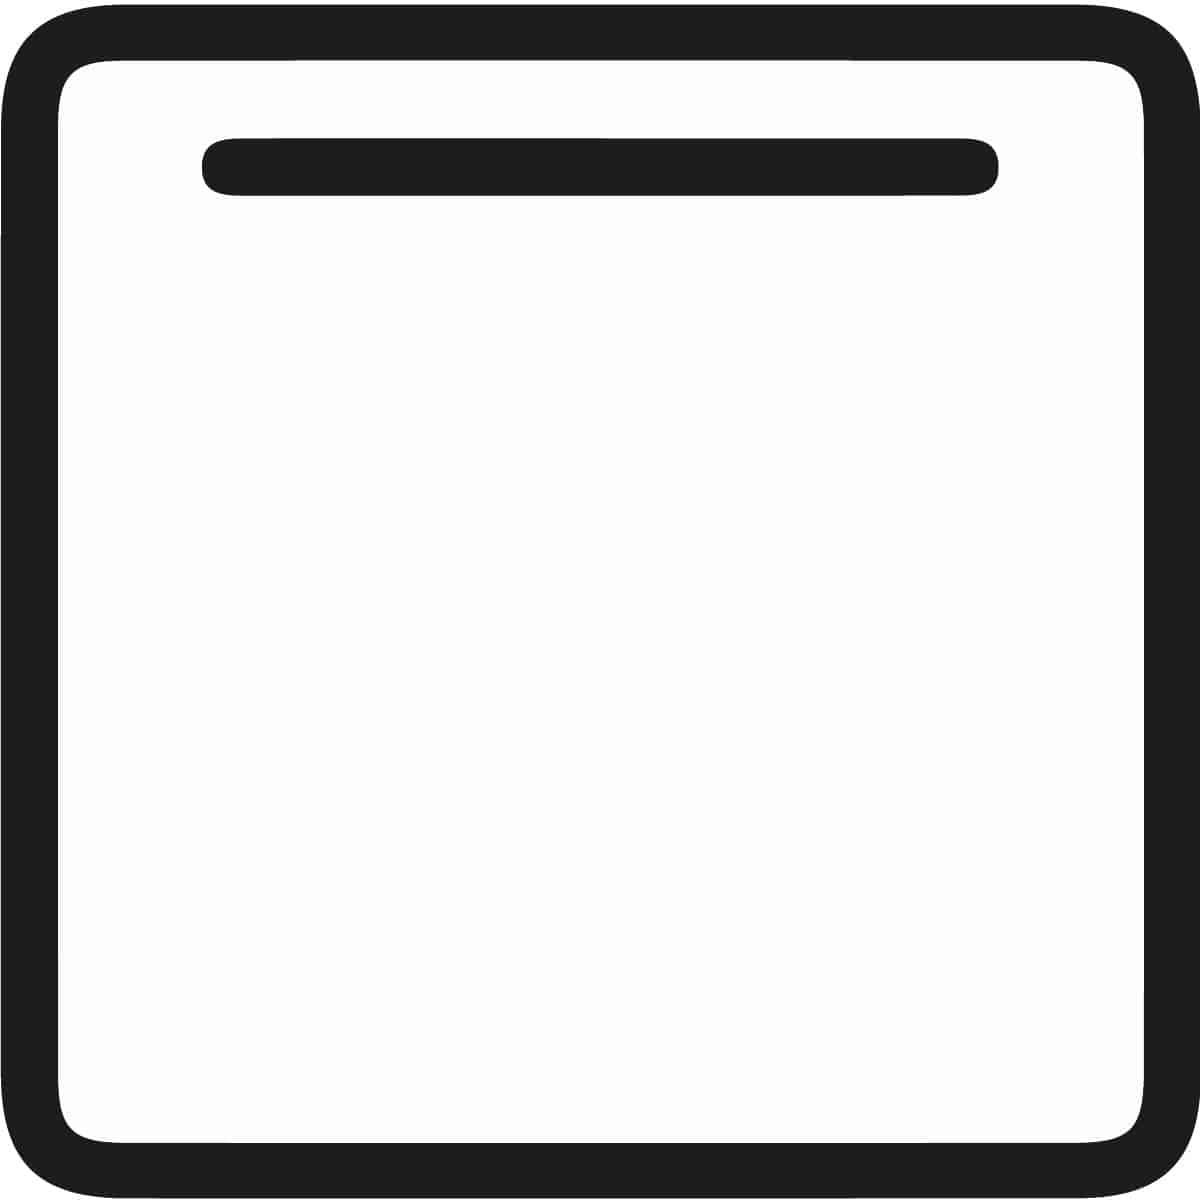
Top Element: When only the top element will be used to heat the oven. This is used for browning foods after cooking.
Some ovens have additional functionalities such as eco, defrost, steam, pizza mode, warmer, or pyrolytic cleaning. Please refer to your oven's manual to fully understand the capabilities of your oven.
Conventional vs Convection/Fan-Assisted & Fan-Forced
Many bakers will tell you to not use a fan-assisted or fan-forced oven because it will result in a dry overbaked muffin, cake, cupcake, etc. And I'm here to tell you that in my experience this is not the case. However, the temperature must be decreased by 20°C/25°F or gas mark 1.
Convection/Fan-Assisted/Fan-Forced ovens essentially cook or bake faster than a conventional oven because they are moving the hot air around the oven as well as removing the cold air away from the food that is cooking/baking. To slow down the cooking or baking process we must decrease the oven temperature.
Oven Rack Position
Typically, the middle rack is the perfect place for baking. It sits evenly between the top and bottom elements.
For baking here...I bake roughly in the middle, using only the middle rack. I can just fit 2x 8"(20cm) round cake tins next to each other, without touching. The biggest baking tray I can fit in my oven is Nordic Ware Jelly Roll Pan which is 15"x10.5" (40cm x 28.5cm).
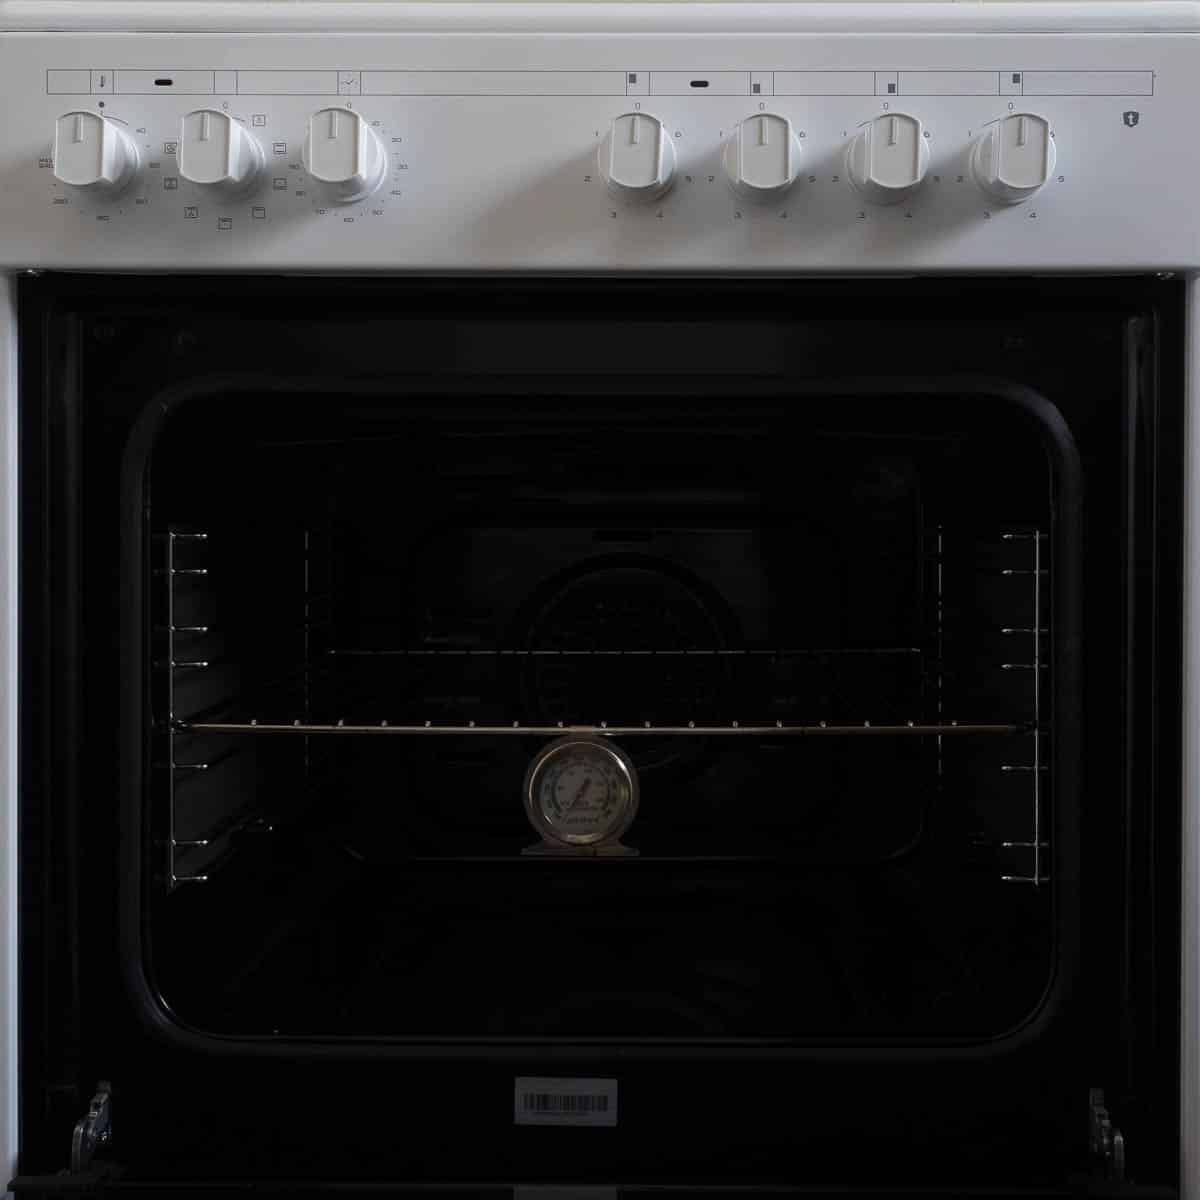
Oven Thermometers
Ever heard the term "this oven runs hot" or "this oven runs cold"? Or wonder why a recipe's baking time is either way too short or way too long? Well, your temperature dial may not be 100% correct.
This is why I use an oven thermometer (standard stainless steel thermometer) to make sure my oven gets to the right temperature for baking. My oven rack is placed in the middle of my oven, and the oven thermometer hangs off of the shelf in the middle of the oven.
If you have a small oven, place the thermometer on top of the rack in the middle and remove it before baking.
Top Tip - Make sure the oven rack is pushed completely to the back of the oven, as the thermometer will not display the correct temperature if it is touching the glass.
Dialing into Your Oven Temperature Dial
When we moved into the house we are now living in, it came with a brand-new oven. Which made my little heart sing. However, even though the oven is new, the temperature dial is not 100% accurate. This is how I figured it out.
Step 1 - Place your oven rack in the middle of the oven.
Step 2 - Place the oven thermometer in the middle of the rack in the center of the oven. Either hanging off the rack, on the rack, or underneath the rack.
Step 3 - Put the oven dial to 180°C/350°F. Set a timer for 10 minutes.
Step 4 - Take note of the temperature on the dial at 10 minutes. And then at 20 minutes, and at 30 minutes.
Step 5 - With on oven mitt you can move the thermometer around the oven to gauge the temp and see if there are any hot or cool spots. Note the temp after 10 minutes.
Step 6 - Repeat the process for 200°C/400°F.
If your oven is a bit fancier than mine, you may be able to calibrate the dial by removing the plastic/metal knob and then adjusting it using a screwdriver. But please refer to the manual and tutorials before making any adjustments.
The Importance of Preheating Your Oven
Most recipes begin with the words "preheat to X°C/°F" and the reason for this is that ovens take time to heat up. And different baked goods require different temperatures in order to achieve the desired results. See the section below for the best oven temperature for your recipe.
Proper pre-heating usually takes between 20 to 30 minutes. But is dependent on your oven. Reaching and obtaining the correct temperature is also a balancing act between the type of glass your oven door is made out of, how well the door seals, and if the elements and thermostats are working correctly.
The Best Oven Temperature for Your Recipe
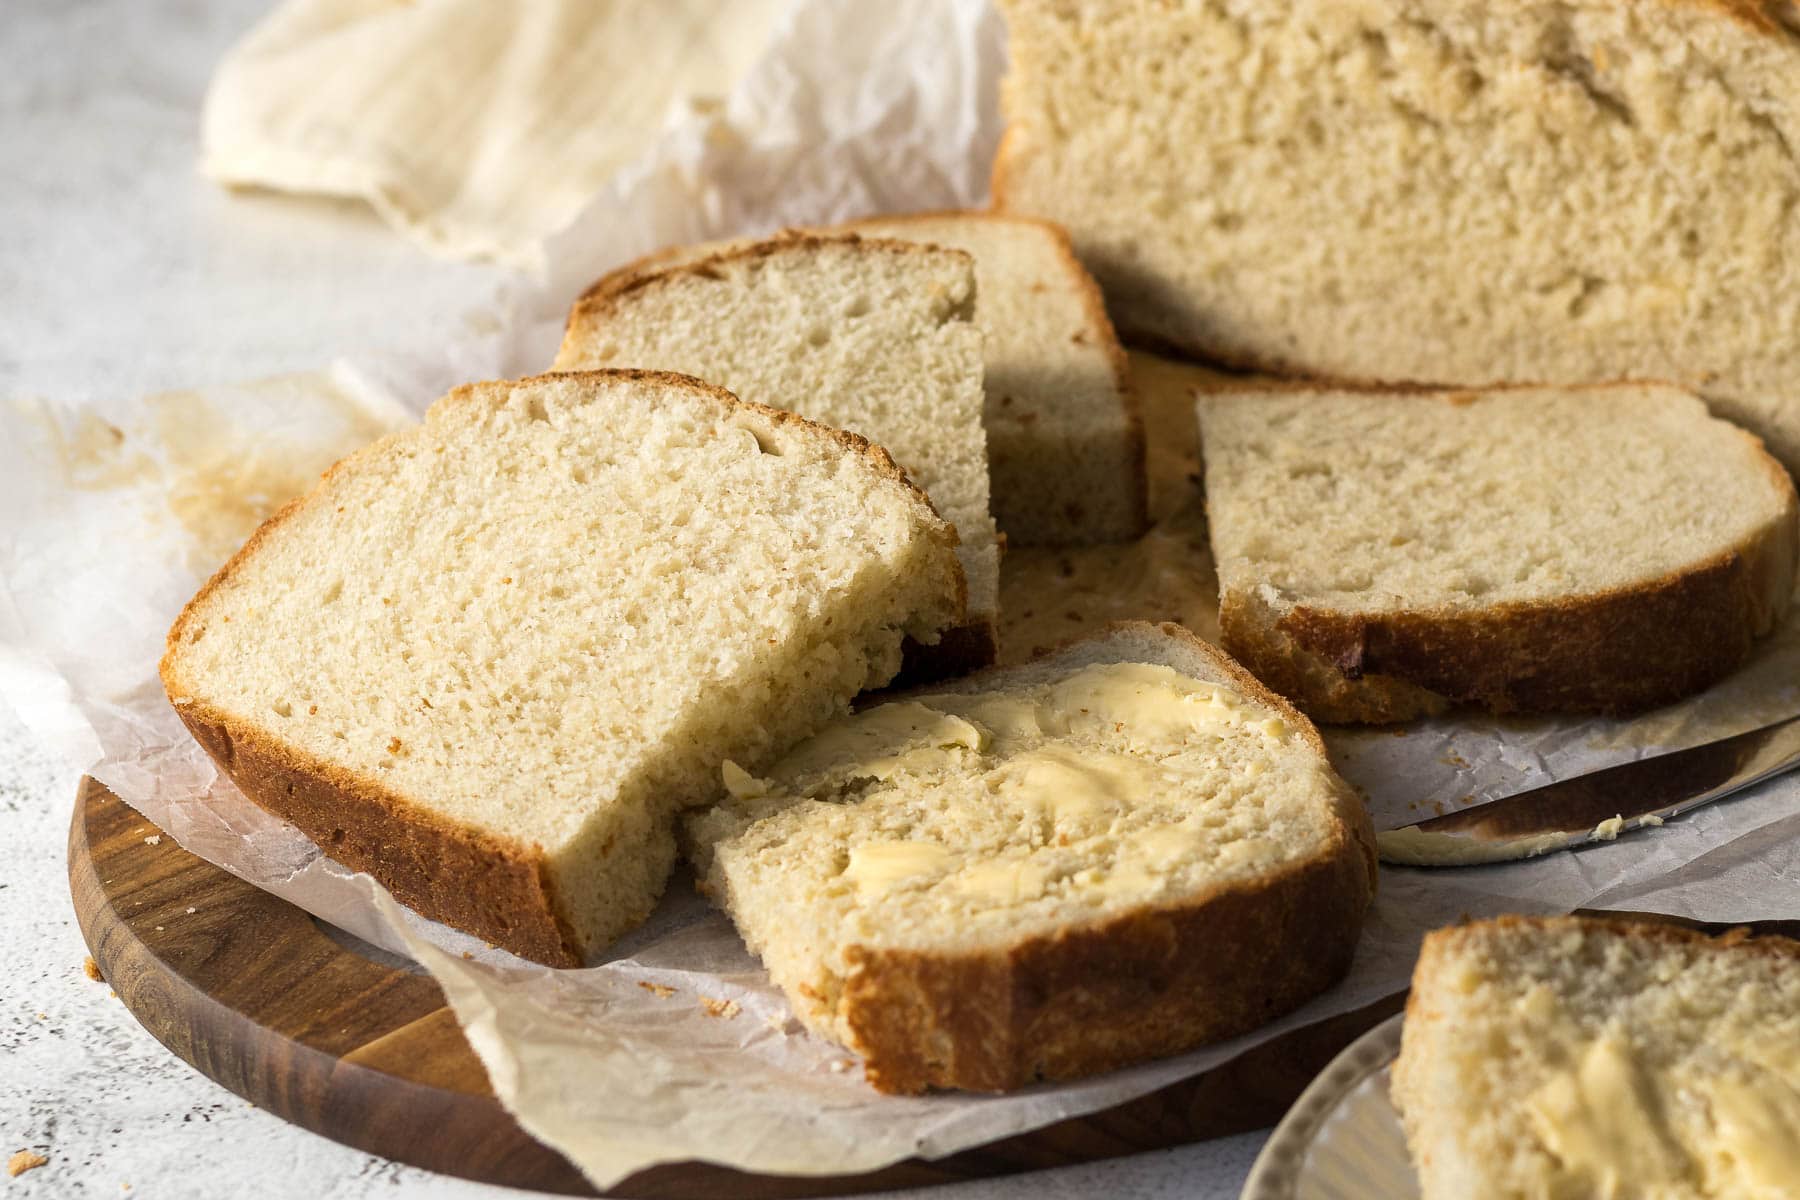
Yeasted Bread/Pastries
Best range: 200-240°C / 390- 465°F / Gas 6-9
Yeasted bread (in particular those beautiful artisanal loaves) requires a very hot oven. This results in the rapid rise in the bread by putting the yeast into overdrive, which is also known as the oven spring. To really ensure a nice high rise, some recipes will require that a Dutch oven or cast iron dish is preheated in the oven before the bread is added, and that water or steam is also introduced into the first half of the bake to keep the crusts soft. The second half of the bake gives the bread that delicious brown crust that is the product of the caramelization of sugars and the browning of proteins (Maillard reaction).
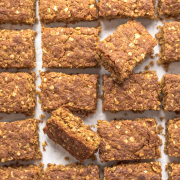
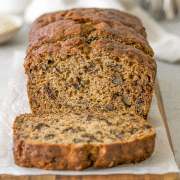
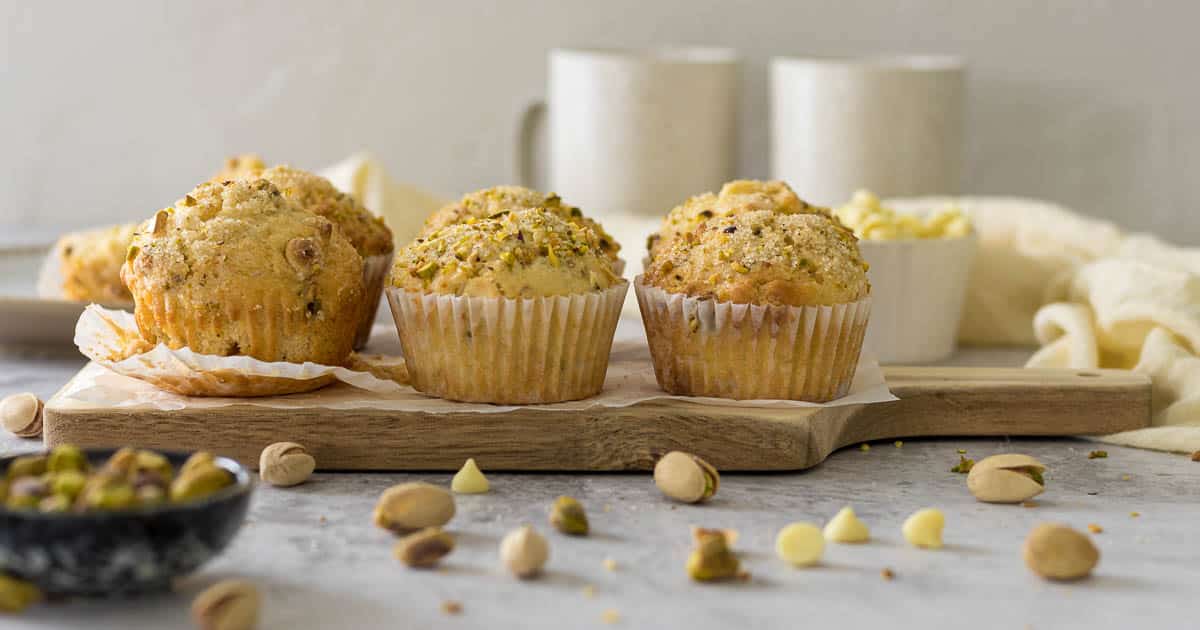
Quick Breads & Muffins & Scones & Pastry
Best range: 180-200°C / 355-390°F / Gas 4-6
Quick bread or bread made using chemical leaveners such as baking powder or baking soda also require a nice high temp to ramp up this reaction. This results in a nice dome of quick bread.
Muffins, especially bakery-style muffins, have these beautiful big tall domes. This is obtained by really ramping up the chemical reaction of the baking powder/baking soda.
Scones rely on baking powder/soda and butter to give them a high rise and a flaky temperature. The higher the temperature the more likely steam is released from the pockets of butter in the scones.
Pastry such as puff pastry, or flaky pastry need a high temperature to result in the release of steam from the butter (similar to the scones). This results in that delicious flaky, crispy pastry.
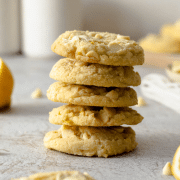
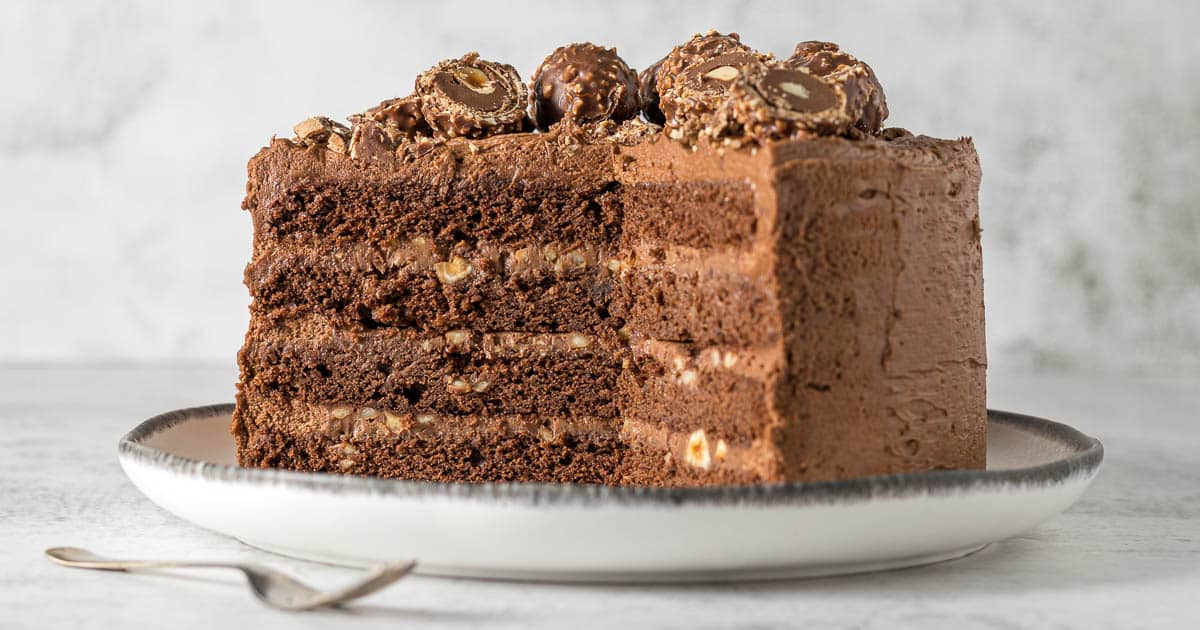
Cakes & Cupcakes
Best range: 160-180°C / 320-355°F/ Gas 3-4
The desired end product of a cake is usually fairly flat, with the slightest of domes. To achieve this we need to slow down the reaction of the baking powder/baking soda in the cake, and we need to slow down the caramelization of the batter that results in the browning of the sides and tops of the cake. Additionally, cake batters typically have a higher sugar content and burn fairly quickly at higher temperatures.
When to Check on Your Baked Goods
For my recipes, I state the temperature (based on my thermometer) and the time it takes to bake it in my oven. When I am using other people's recipes I generally set my timer for 2-5 minutes shorter than the recommended time and peep at my baked goods to see where they are at in the bake. Then I can gauge how much extra time is needed, if any.
This comes from practice, experience, and well, knowing my oven.
Don't be tempted to check on baked goods too soon, as every time you open the door you are releasing steam, and heat and extending the time it needs to bake.
Can I Bake in an Air Fryer?
Air fryers are simply small convection ovens. It uses a fan to circulate heat in the basket/oven like a fan-forced or fan-assisted oven. Because they are smaller, they heat up and tend to cook/bake a little bit faster because the food is closer to the heating elements and fans.
So if you really want to use an air fryer, I would decrease the temperature by 20°C/25°F and perhaps also check on the item a few minutes before the recommended time.
Cleaning Your Oven
When it comes to cleaning ovens, I recommend turning to your oven manual to see what your specific manufacturer recommends. Remember that most manuals can be found by Googling "oven make + model + pdf manual".
Experts such as Kitchen Aid recommend a deep clean on a quarterly or 3-monthly basis. And keeping your oven clean reduces possible contamination from old food stains/spills, and allows you to see through the oven glass which makes cooking and baking more pleasant overall.
This is what I do for my bog standard oven:
- Clean up big spills/messes as soon as possible.
- Deep clean racks/trays and glass doors on a fairly regular basis (sometimes monthly or two-monthly) using Selleys Oven Plus Heavy Duty Gel. If the surfaces are not too dirty, then I will use regular dishwashing liquid to wipe everything down. I spend a good amount of time wiping away and rising cleaners off the surfaces.
- My ceramic stove top is cleaned/wiped daily after cooking. I like to use Cerapol Ceramic Glass & Induction Cooktop Cleaner for a deep clean (usually quartely/3-monthly). We also have a handy ceramic top scraper, and the Ceramic/Induction Cooktop Protection is a great way to keep that top looking new.
- For gas stove tops we also cleaned/wiped them daily after cooking. The grids were soaked in heavy-duty cleaner on a quarterly basis to remove dirt and grime.
Gel cleaners are, in my opinion, far superior to spray-on cleaners. They can be easily applied to surfaces and are not as harsh on the lungs as the spray-on cleaners.
Comments
No Comments