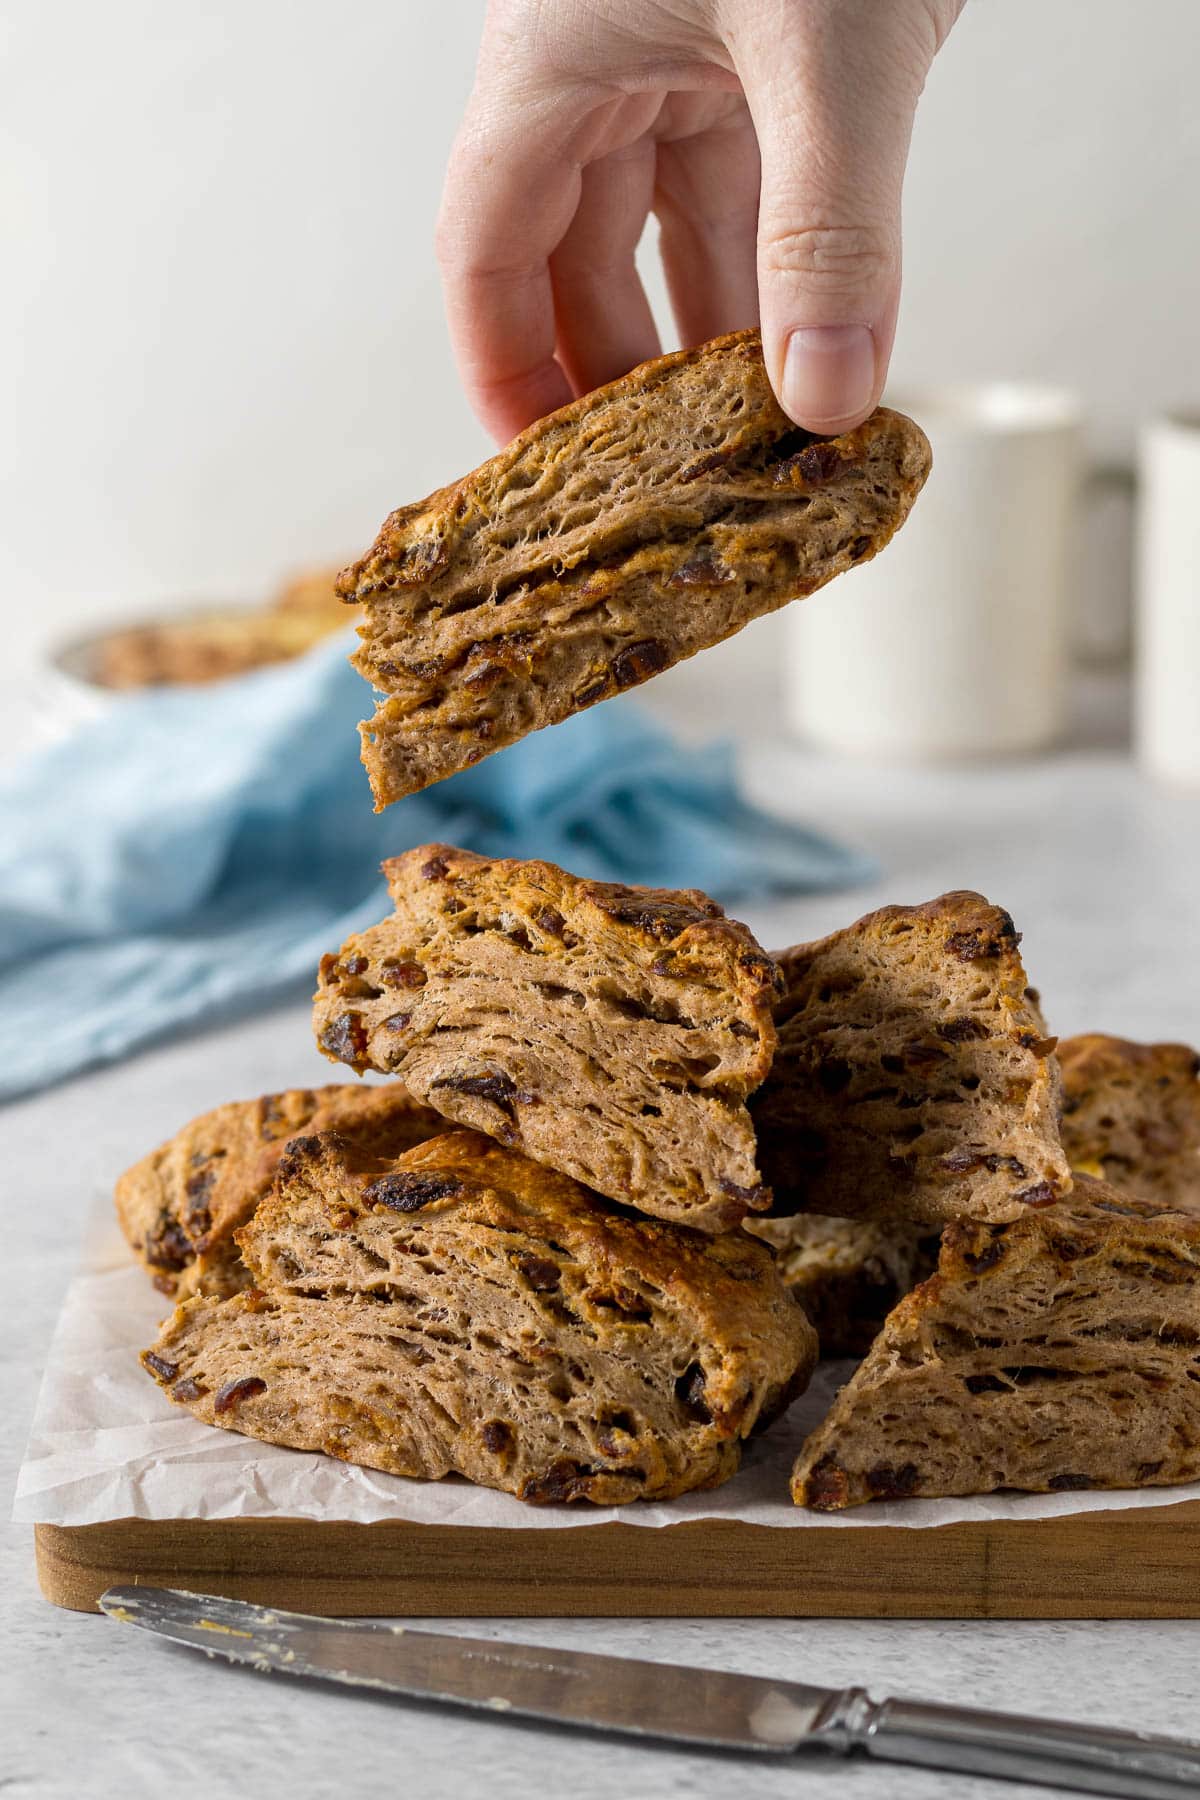
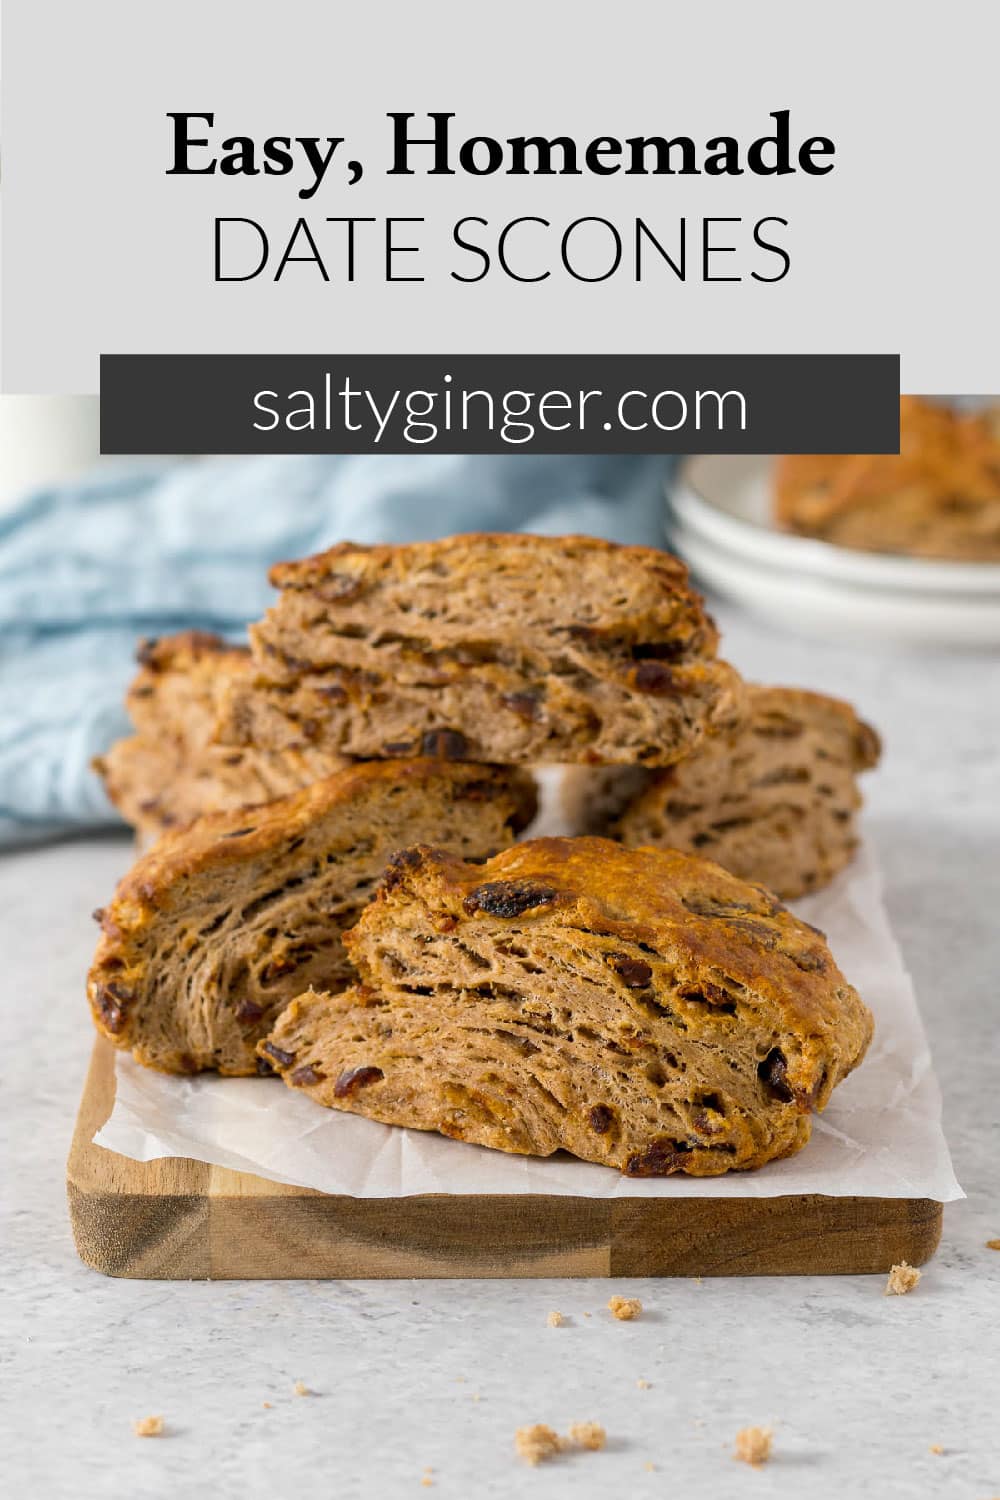
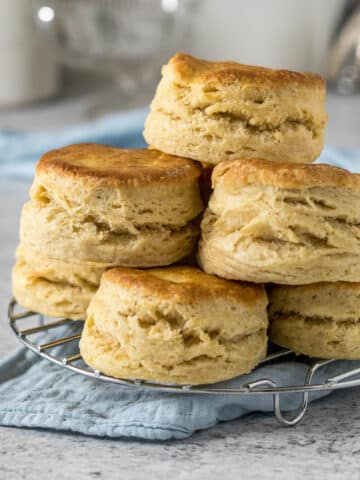
These easy, homemade, date scones are packed with chopped dates and flavored with cinnamon making the best snacking scone ever! These scones can be enjoyed warm, just by themselves, or can be served with some butter and jam or marmalade.
Jump to:
Here in New Zealand, when you pop into a Cafe and look into the cabinet of delicious treats, you will find slices, sandwiches, pies, sausage rolls, and scones, of which, Date Scones are usually a fixture. Scones in New Zealand are typically made like British scones.
I have never had a date scone (or fruit scones really) before moving to New Zealand, and well, I love dates! And knew I could whip up a great homemade version! And honestly, I think these butter date scones are my favorite scones (so far). Nothing beats a fresh scone straight from the oven.
This recipe in particular reminds me of a cross between a tipsy tart and a hot cross bun. If that makes any sense!
For this recipe, I started with my English Scone Recipe, added a little bit more sugar, and decided that since I'm using 2 cups of flour, I need at least 1 cup of chopped dates to maximize that delicious date flavor.
If you are looking for American scones - I have a great plain cinnamon scone recipe, chocolate chip scone recipe, and a lemon poppy seed scone recipe.
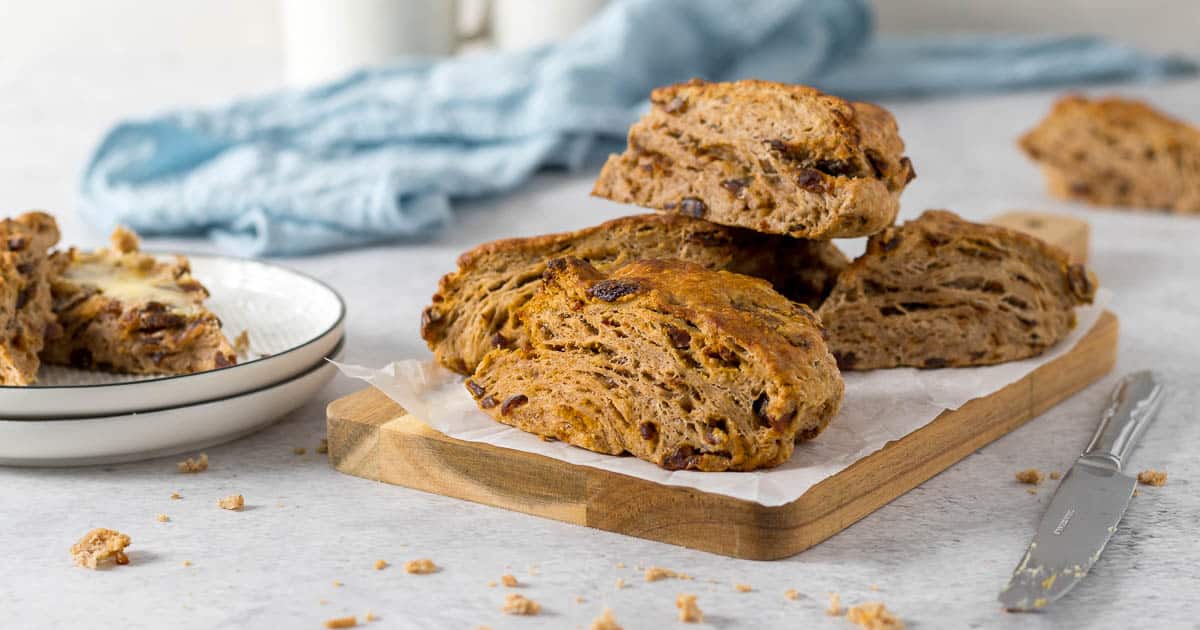
Why You Will Love This Recipe
- This easy recipe uses cold ingredients and simple ingredients...so is great for baking on a whim!
- Dates plus cinnamon = warm, hearty, delicious scones!
- This date scone recipe is super easy, comes together in about 20 minutes, and will result in the best date scones you have ever had!
- This is an eggless scone recipe, I prefer using milk to brush the tops of my scones because it doesn't waste a precious ingredient and has the same result.
- These tender scones are great for breakfast or brunch or as a tasty afternoon snack.
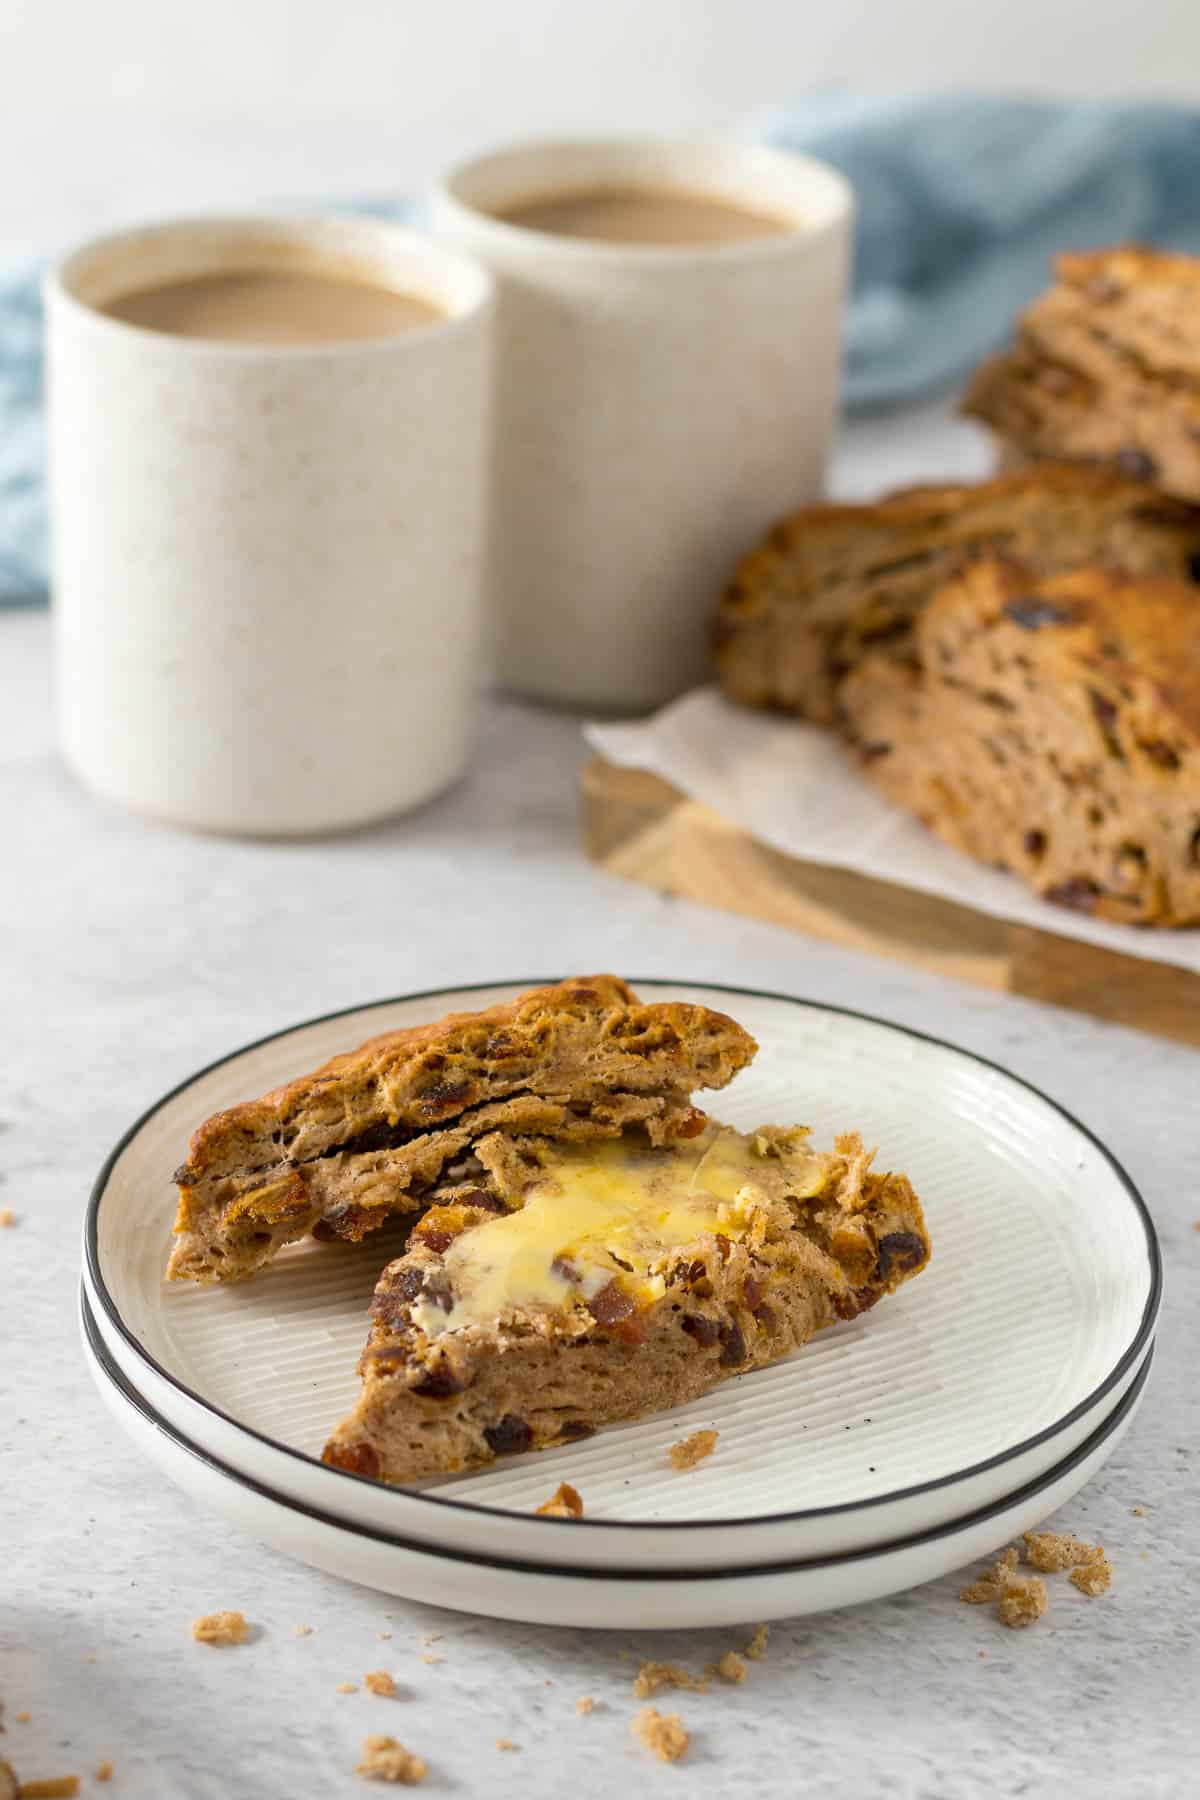
- These delicious date scones pair perfectly with a cup of coffee or a cup of tea.
Ingredients
Here are some notes on the ingredients used in this recipe. Please see the recipe card for quantities.
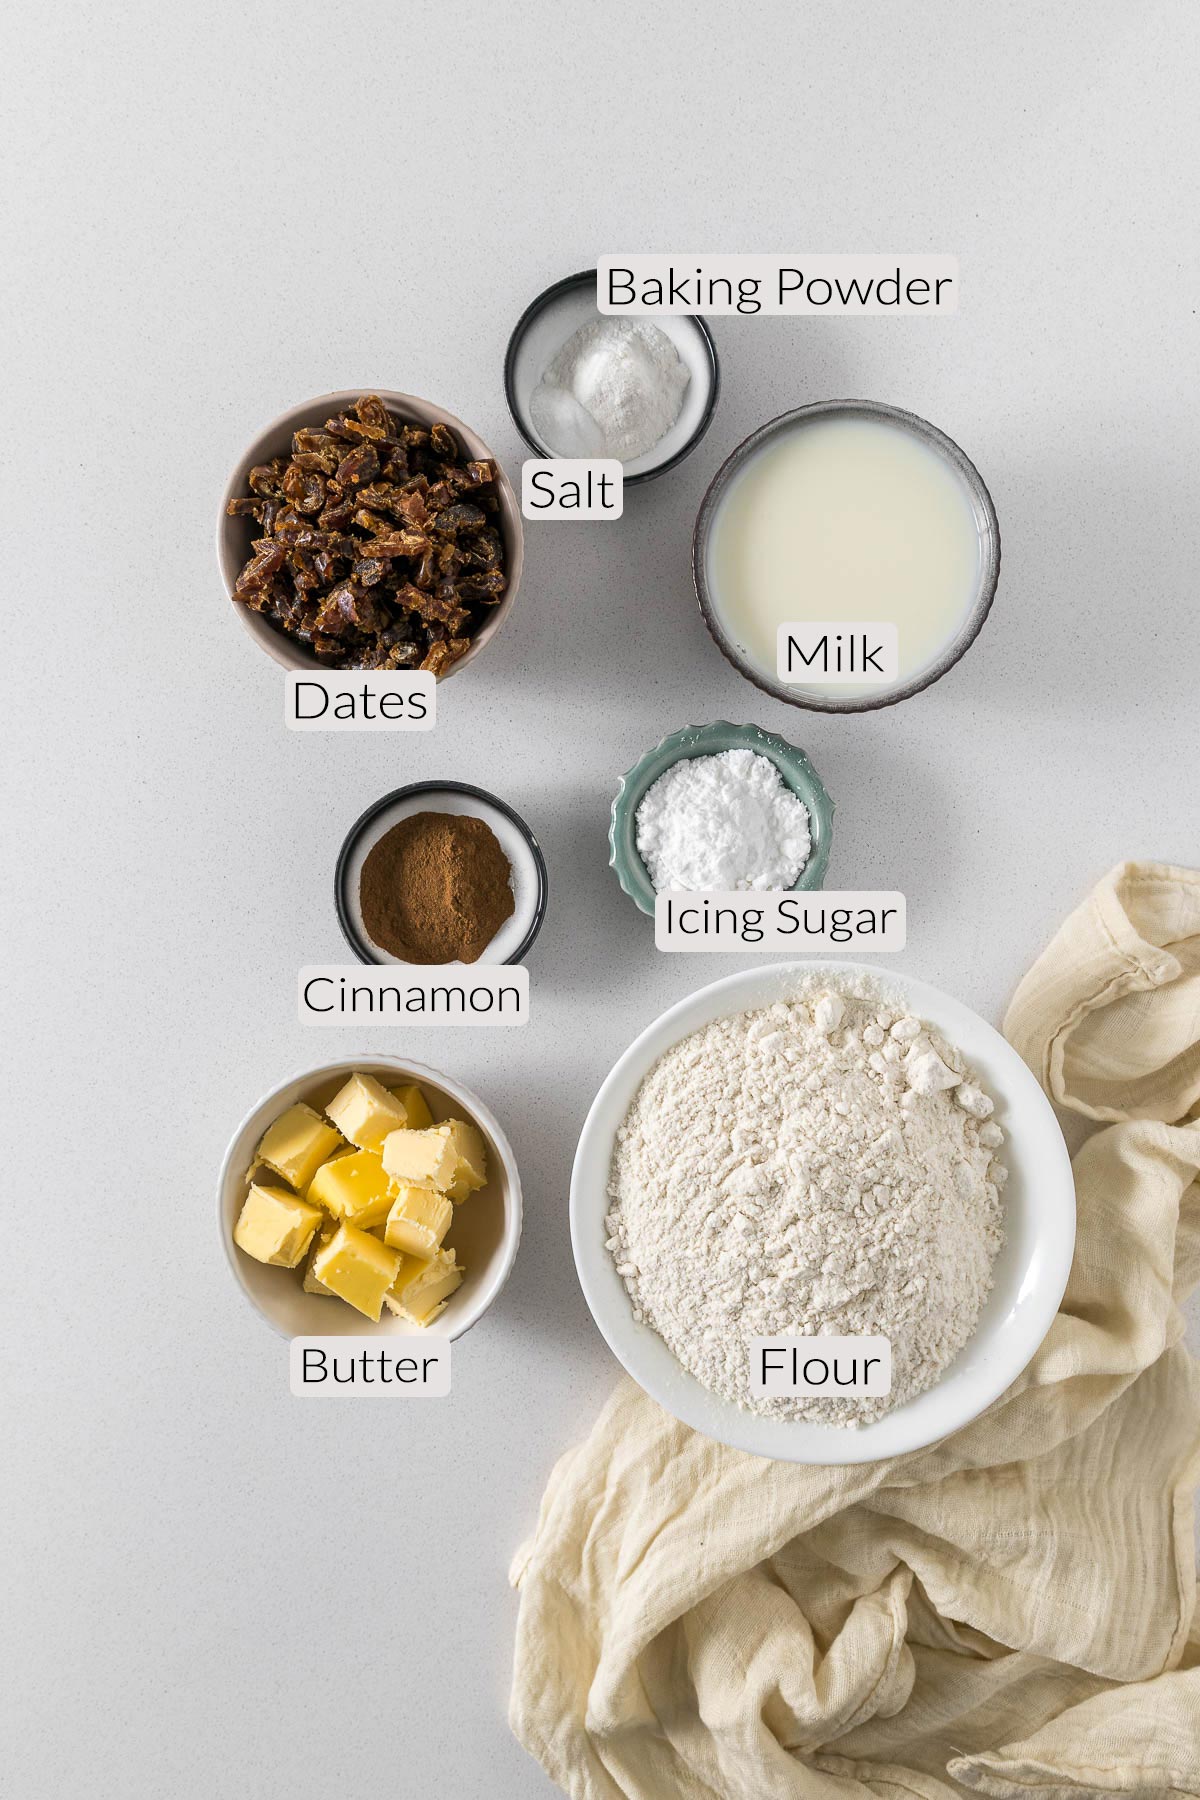
Flour - plain, standard grade, or all-purpose flour.
Self-rising or self-raising flour substitute - to make these date scones with self-rising or self-raising flour, simply substitute the plain flour with self-rising and leave out the baking powder.
Make sure your baking powder is fresh (especially if you haven't bought some in a while) by placing a ½ teaspoon into a cup or bowl. Pour about a ¼ cup of boiling water over the baking powder. If it foams and bubbles it is still fresh.
Why does this recipe use less baking powder than other recipes? I have found that the combination of fresh baking powder, and the laminating method used results in a beautiful tall scone. Additional baking powder is not needed, and the flavor of the scone is superior, IMO!
Cold Butter - cold, but not hard, and cut into small squares about 1.5cm x 1.5cm. Smaller cubes allow for the butter to be worked into the flour a little bit more quickly. Butter adds flavor, softness, and moisture and acts as a leavening agent in these scones. I use New Zealand butter in my recipes, which has approximately 82% butterfat and can be very yellow (similar to European or Irish butter). Butter cannot be substituted with butter or margarine spreads, but it can be substituted with baking margarine.
Salt is a crucial ingredient in all baked goods. I use table salt in all my recipes. One teaspoon of table salt equals 1.5 teaspoons of Morton Kosher Salt equals 2 teaspoons of Diamond Crystal.
Milk - either whole, light, or trim. Any fat content will work here. Heavy cream can be used instead of milk for a richer flavor.
Ground cinnamon adds warmth to these scones.
Icing sugar is used to add the lightest touch of sweetness with the starch stabilizer of the icing sugar adding a lightness to the scone dough overall. Icing sugar can be substituted with caster or plain sugar.
Dates - pitted and chopped sweet dates (such as medjool dates). I used Cinderella Camel Dates for this particular recipe. However, I have also used Countdown (Australian Woolworths) dates and Tasti Dates for other recipes containing dates.
To make raisin scones, simply replace the dates with a cup of raisins.
Weighing & Measuring Ingredients
Weighing ingredients with a kitchen scale is more accurate than using measuring cups. All my recipes are developed and tested using grams only.
However, I have activated the metric-to-cup conversions. Simply click on "cups" or "metric" for your preferred measurements. For these conversions, cups are equal to 240 millilitres/8 fluid ounces, tablespoons are 15 milliliters and teaspoons are 5mL.
Step-by-Step Instructions
Step 1 - Preheat the oven to 200°C/390°F. Line a baking tray with baking paper or parchment paper and set aside.
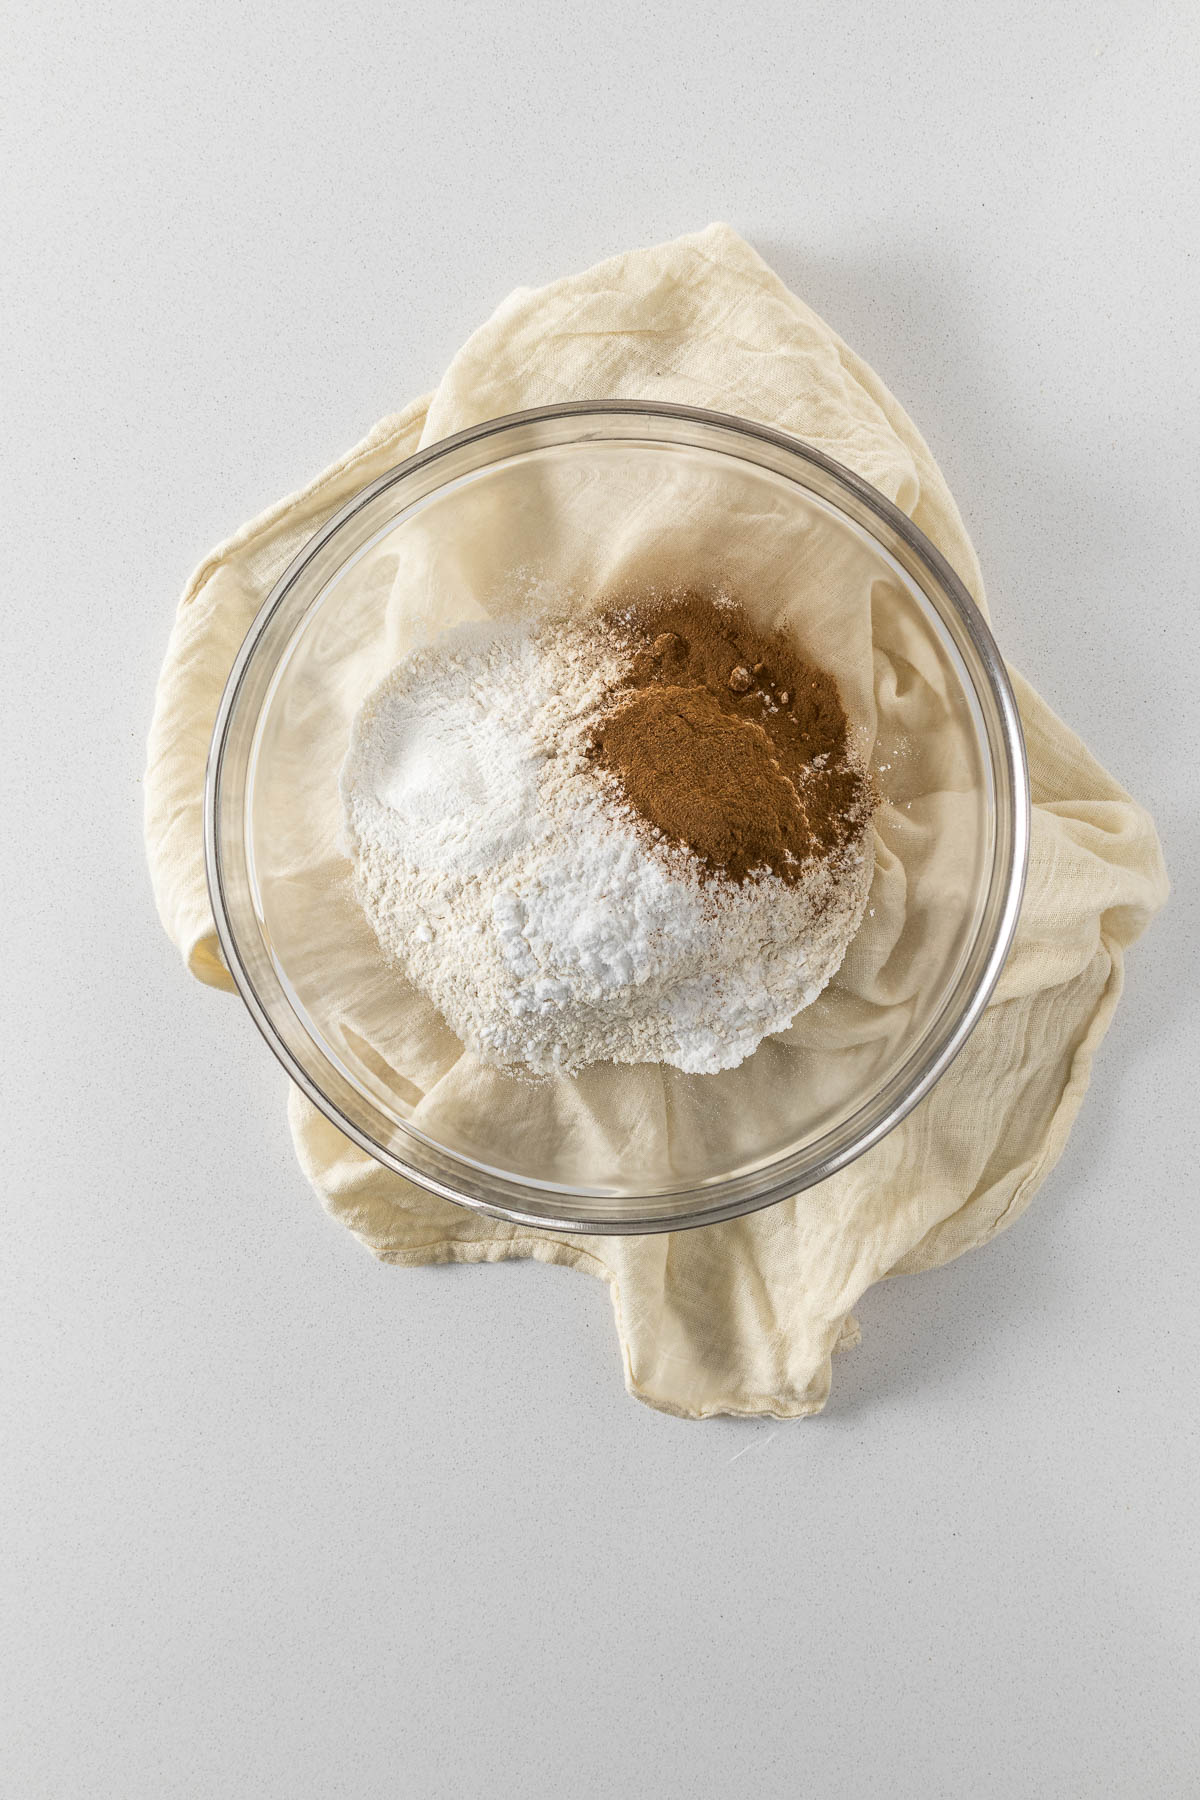
Step 2 - In a large bowl, whisk together the flour, baking powder, salt, cinnamon, and icing sugar. This makes sure everything is evenly distributed throughout the flour.
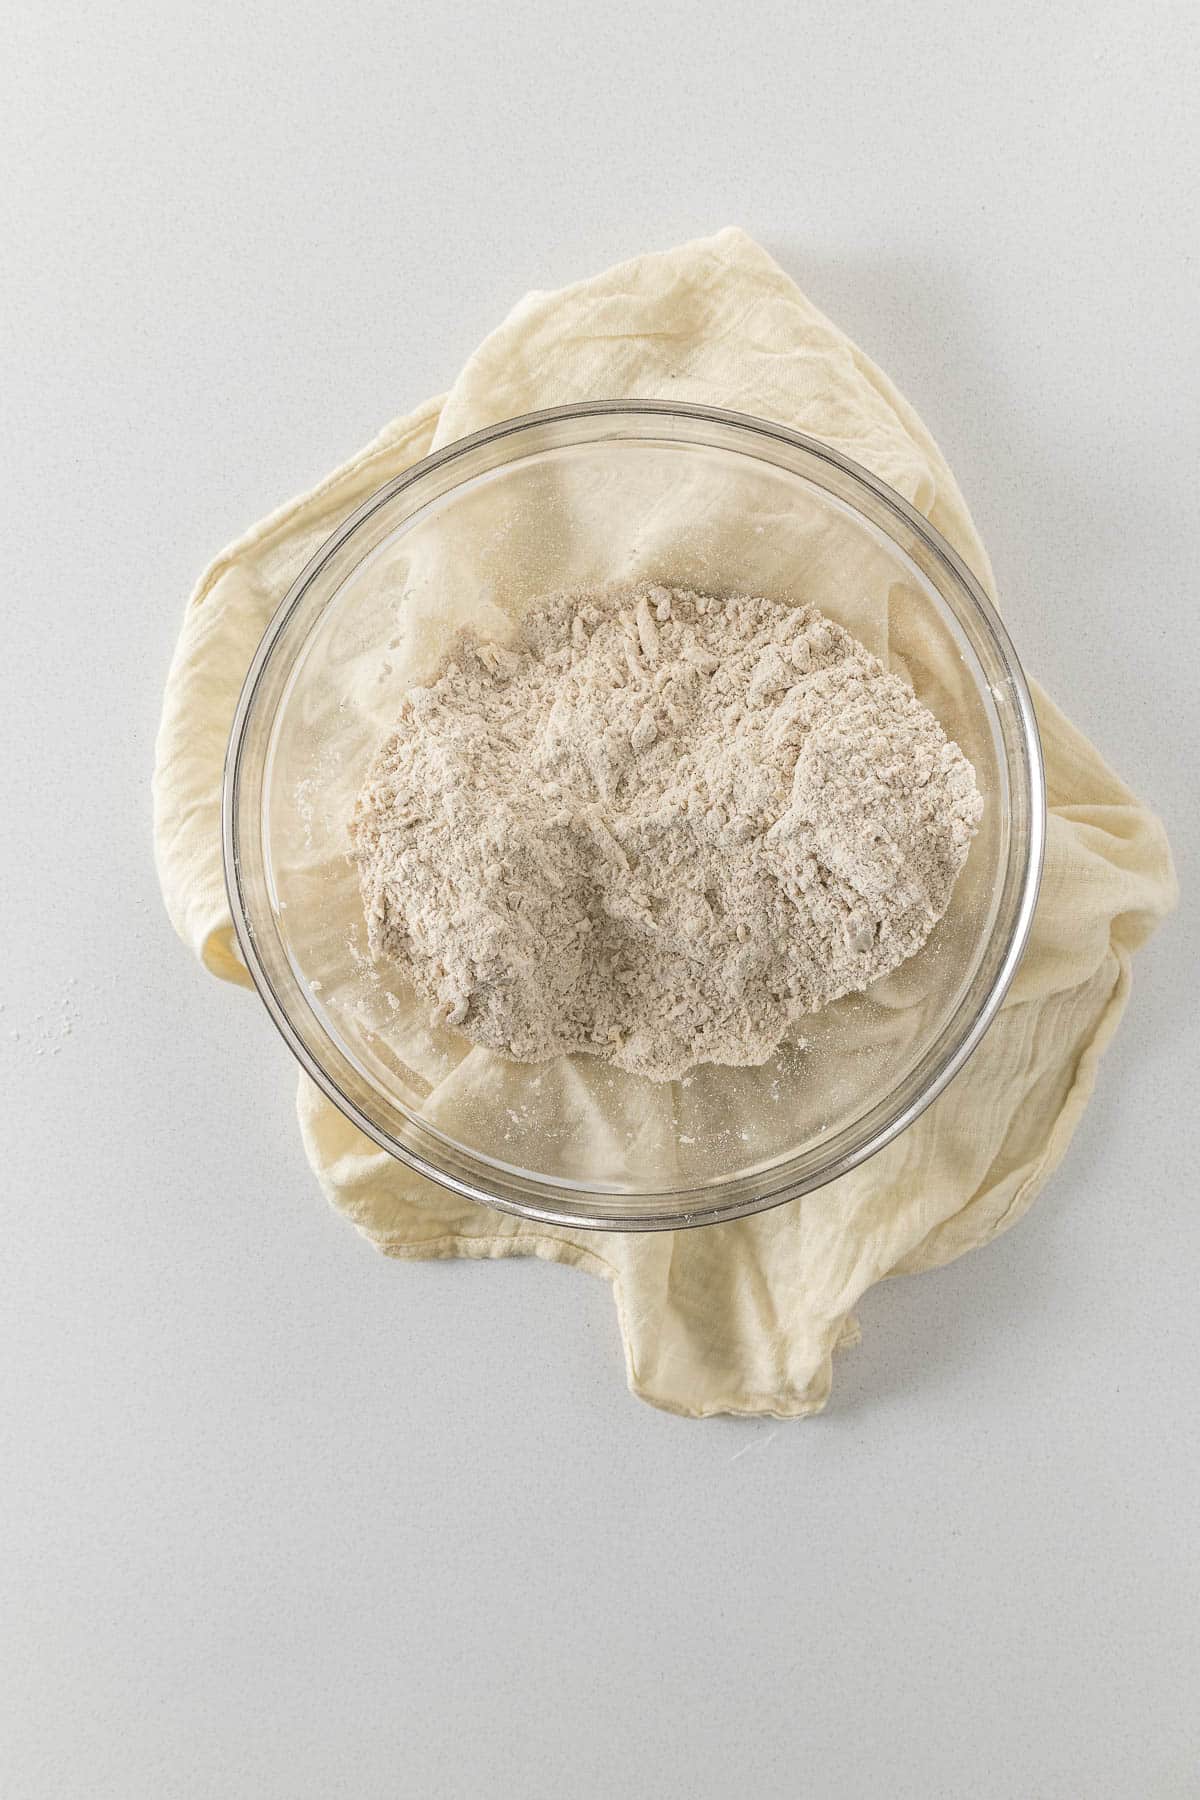
Step 3 - Cut the butter into a small square and toss it into the dry ingredients. Rub the butter into the flour using your fingers. This constitutes squeezing the butter in the flour between your thumb and forefinger. Do this until there are only small pieces of butter left. Alternatively, the butter can be cut into the flour using a pastry cutter.
Step 4 - Add the dates to the flour mixture and then mix through with a fork.
Step 5 - Pour the milk into the flour mixture and mix through with a fork. Do not overwork or overmix the scone dough, there can be some loose flour left in the bowl. The scone dough will be a little sticky.
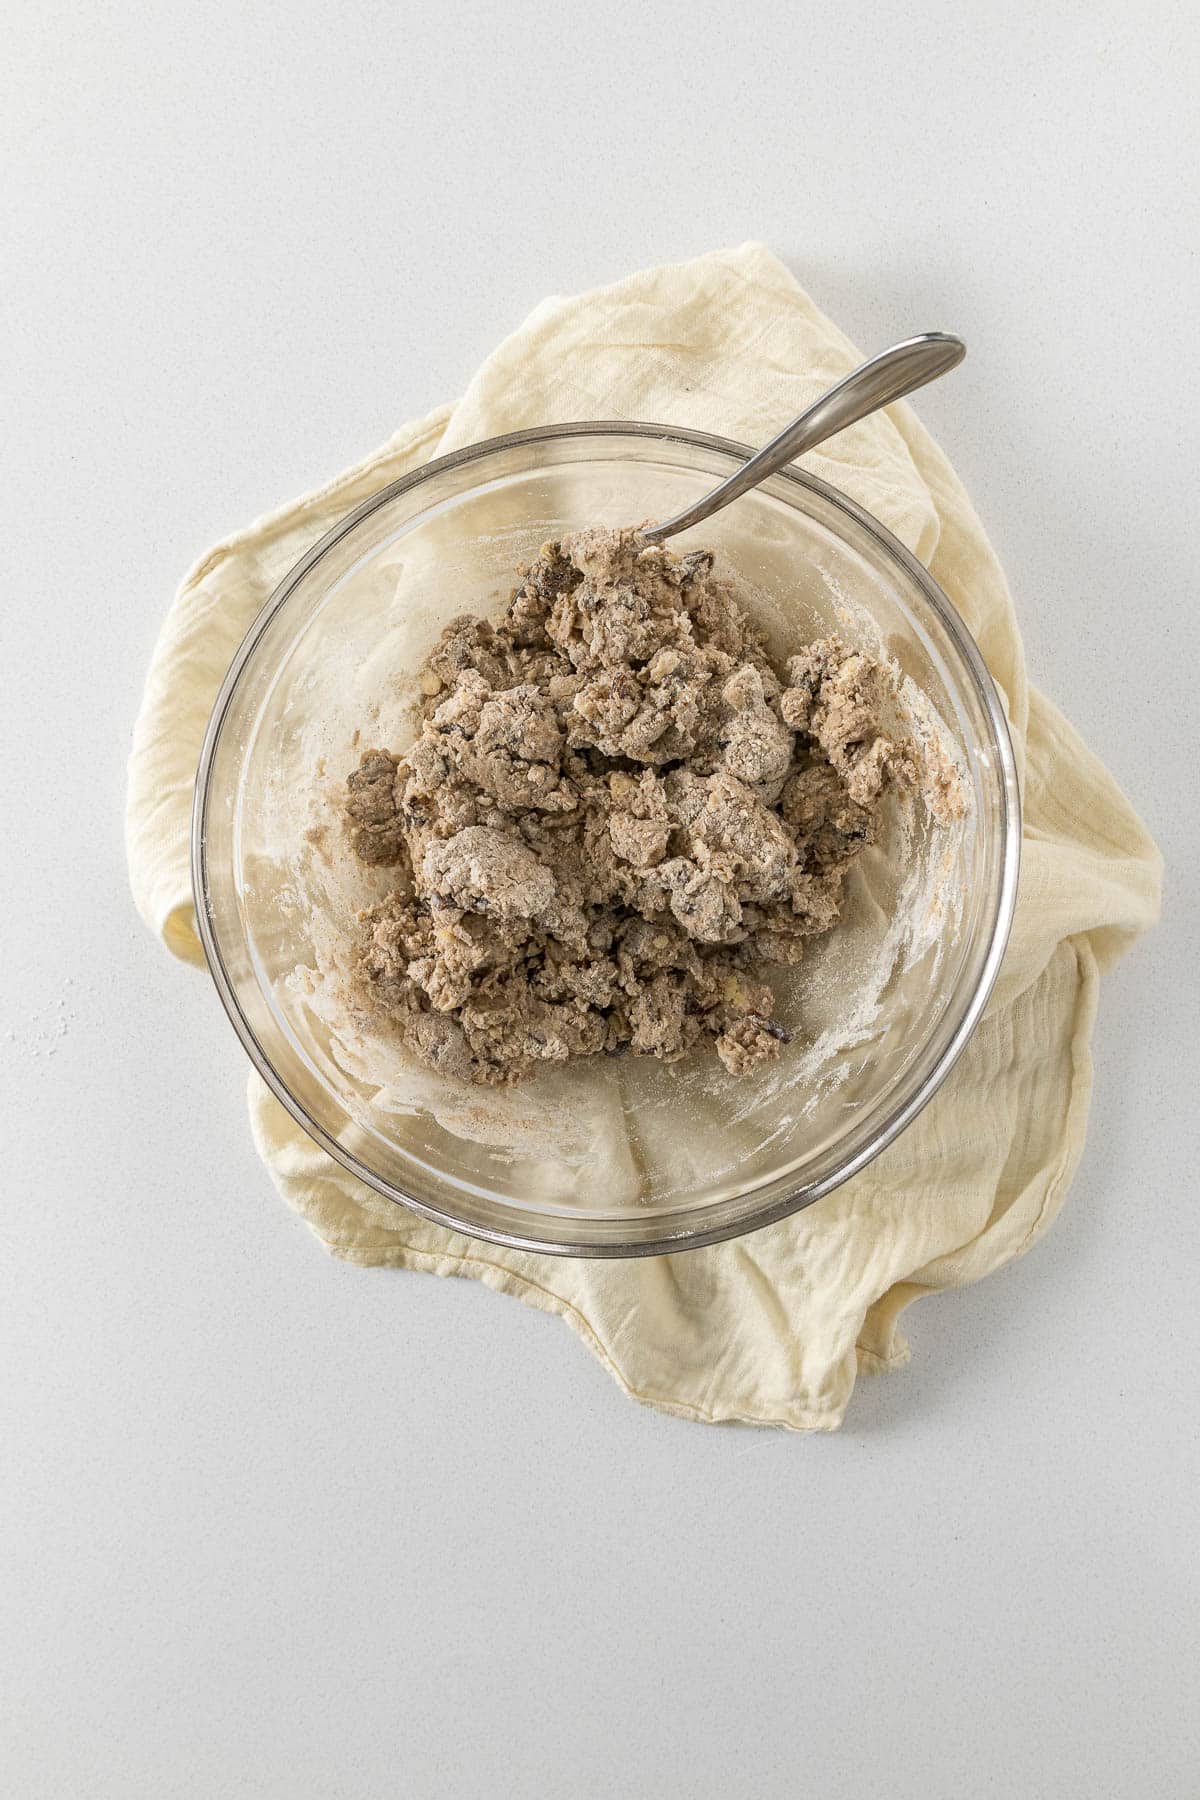
Step 6 - Flour the work surface quite liberally. Place the dough onto the flour and then sprinkle more flour over the top of the dough. Pat the dough together into a rough square or triangle.
Step 7 - Using a bench scraper or knife and spatula. Cut the dough into 3, lift the two outer edges, and place them in the middle. Press the dough down until about 3cm tall. Repeat this step 2 more times, this results in a nice flaky dough.
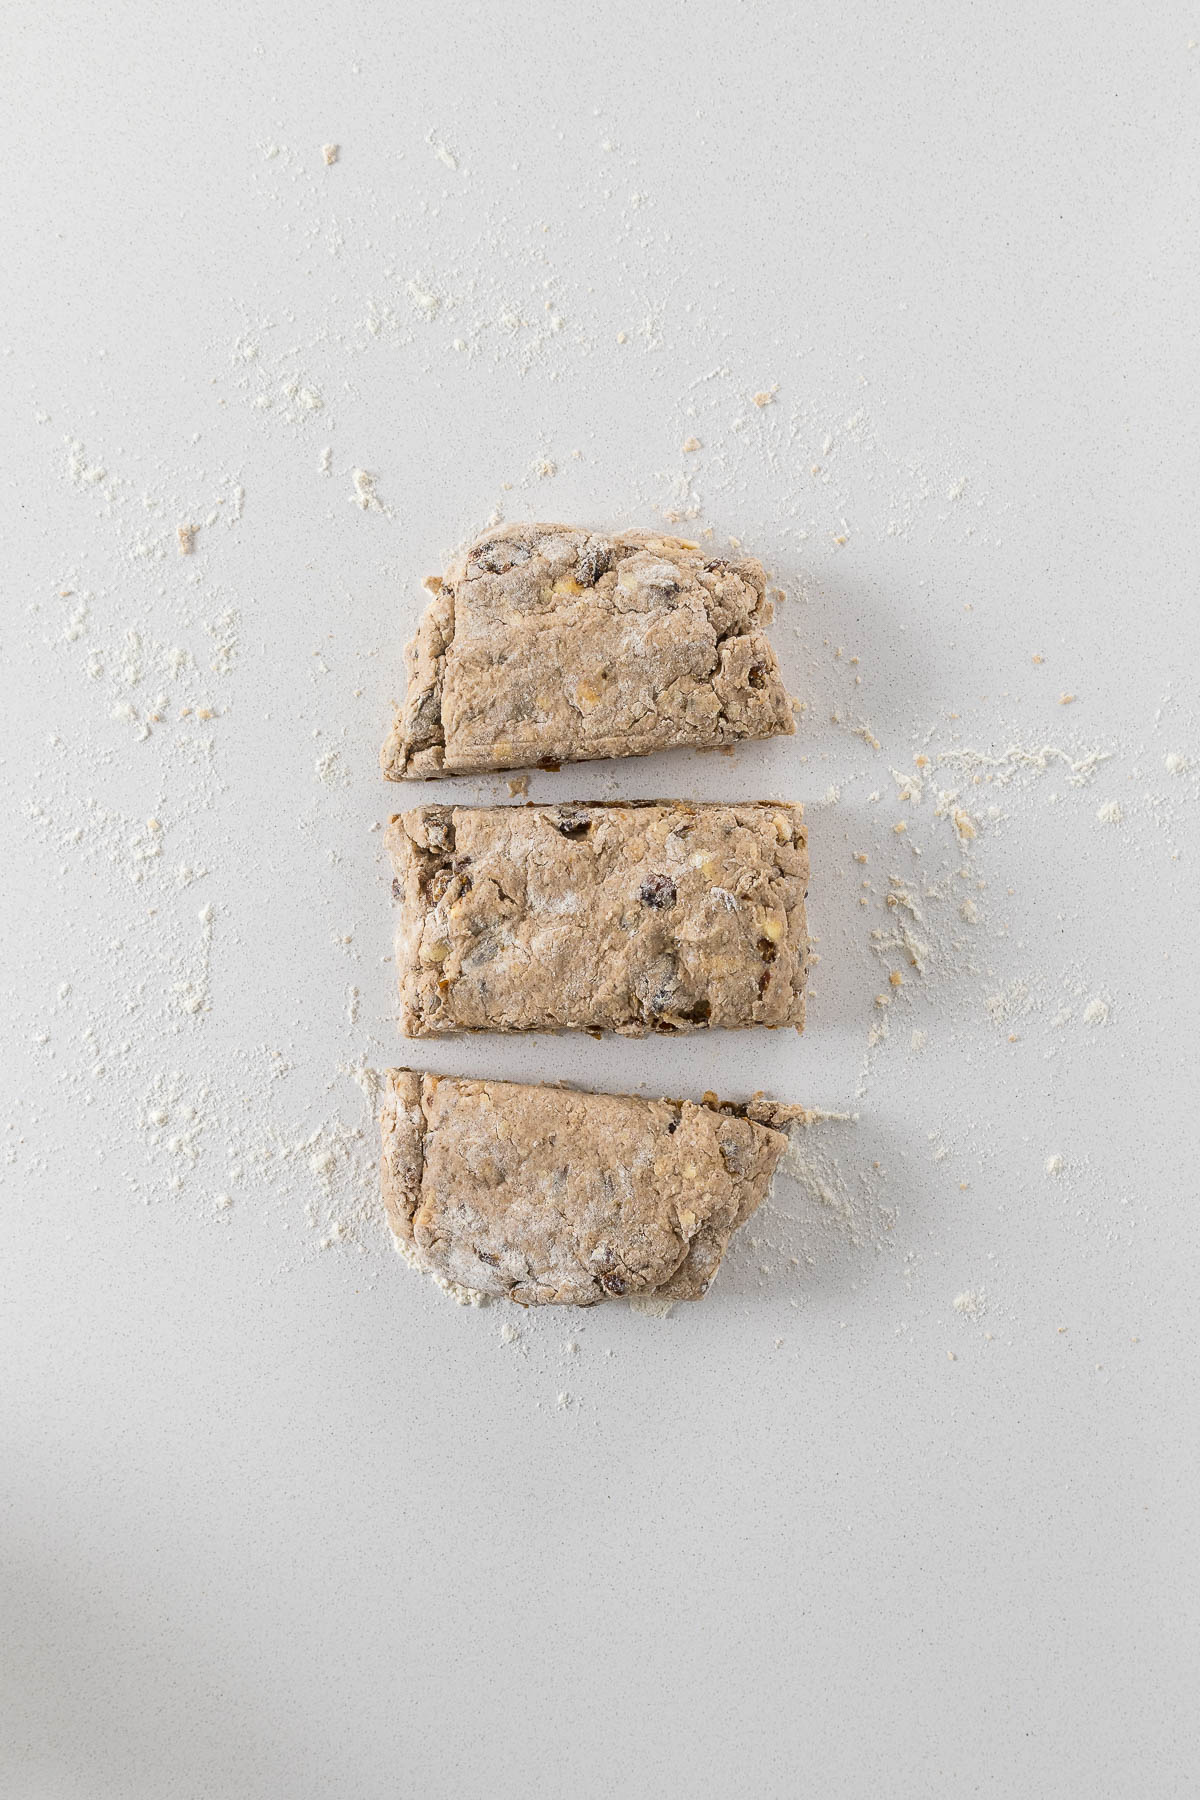
Step 8 - Either keep the rectangle shape and press down to about 2.5cm tall (1 inch) cut the dough into 8 roughly equal portions and move on to the next step. For a rounder shape and 8 small triangles, take these portions, stack them onto each other, and then press down to about half the height, pressing the edges into a rough circle. Roll/press the dough down, stopping to pat the edges into a circle until the dough is about 2.5cm tall (1 inch) tall. Then cut the dough into 8 triangles using a sharp knife or a bench scraper.
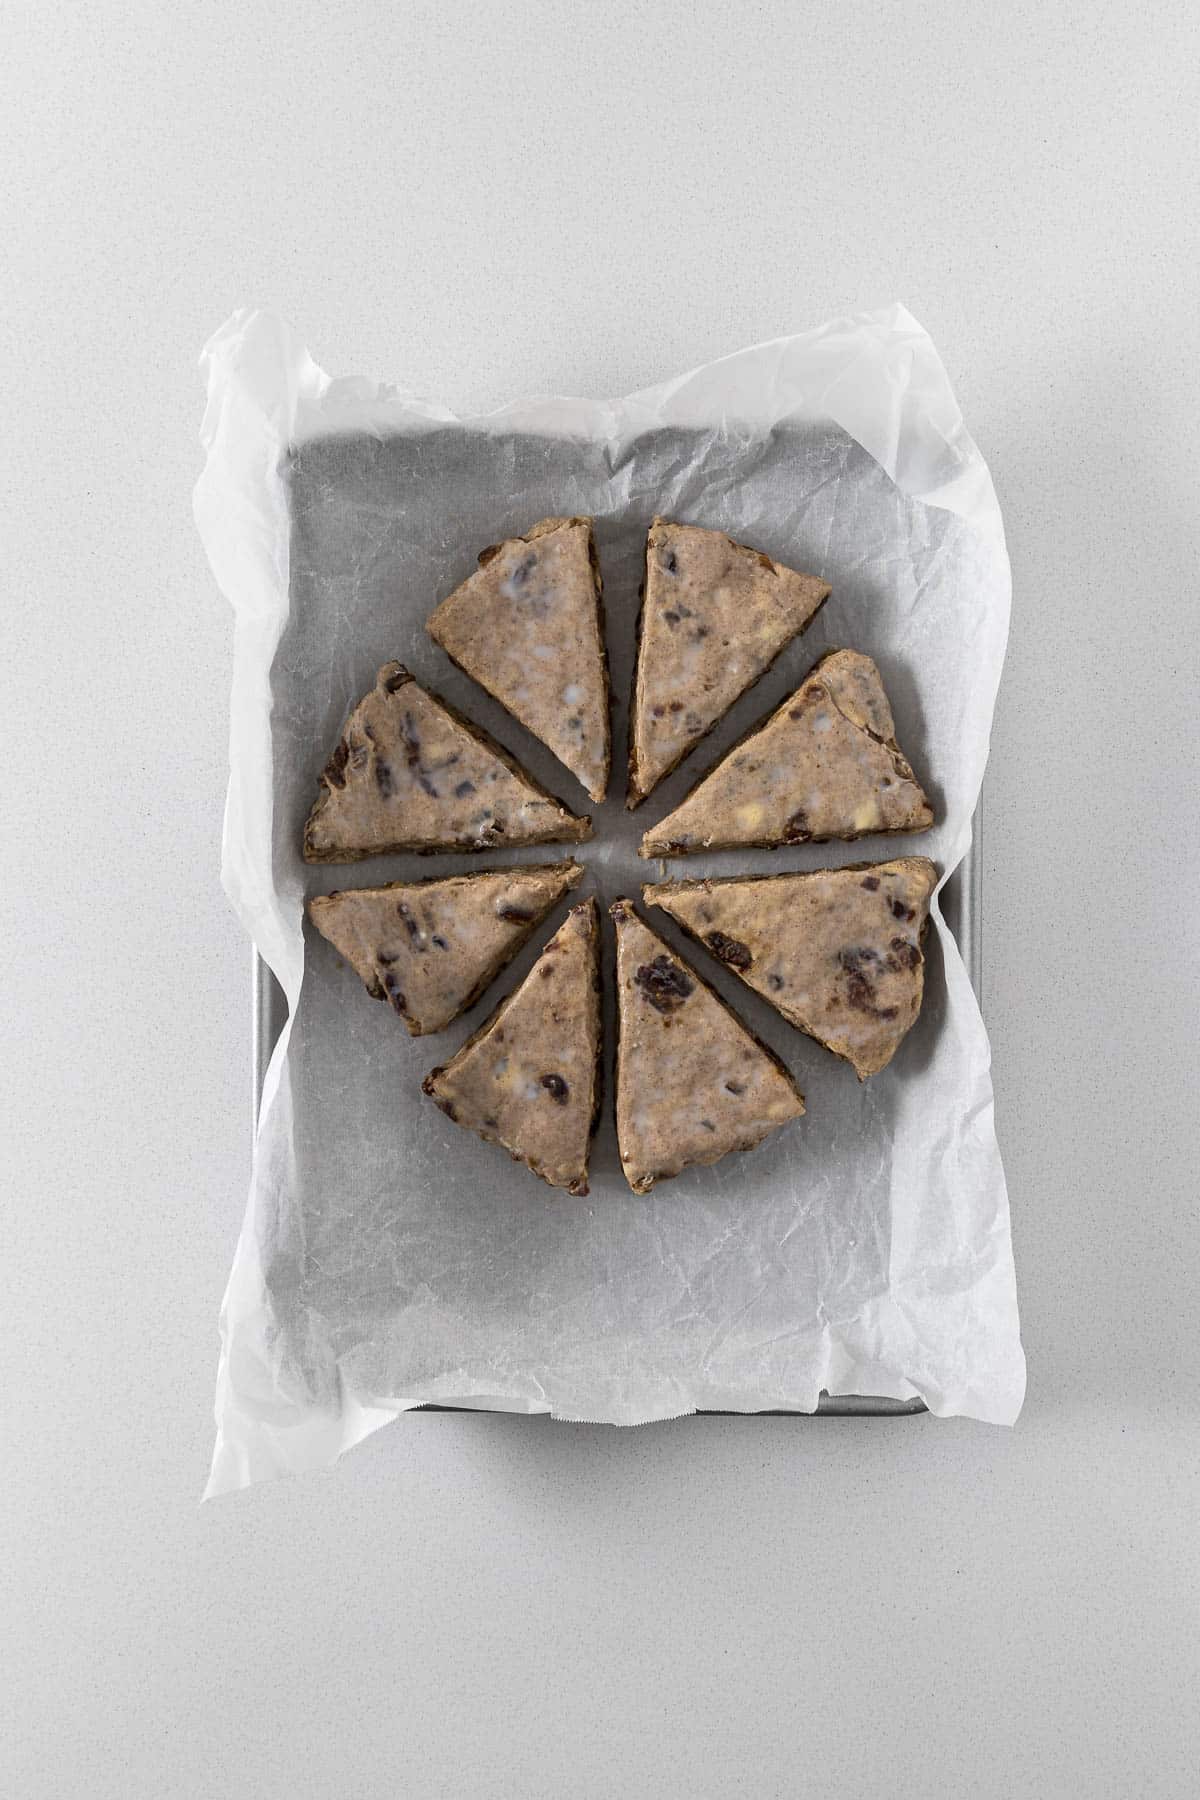
Step 9 - Transfer the cutout scones to the prepared baking sheet. Using a pastry brush, brush the tops of the scones with milk. Try to avoid the milk dripping down the sides. Bake in the preheated oven for 20 minutes until golden brown.
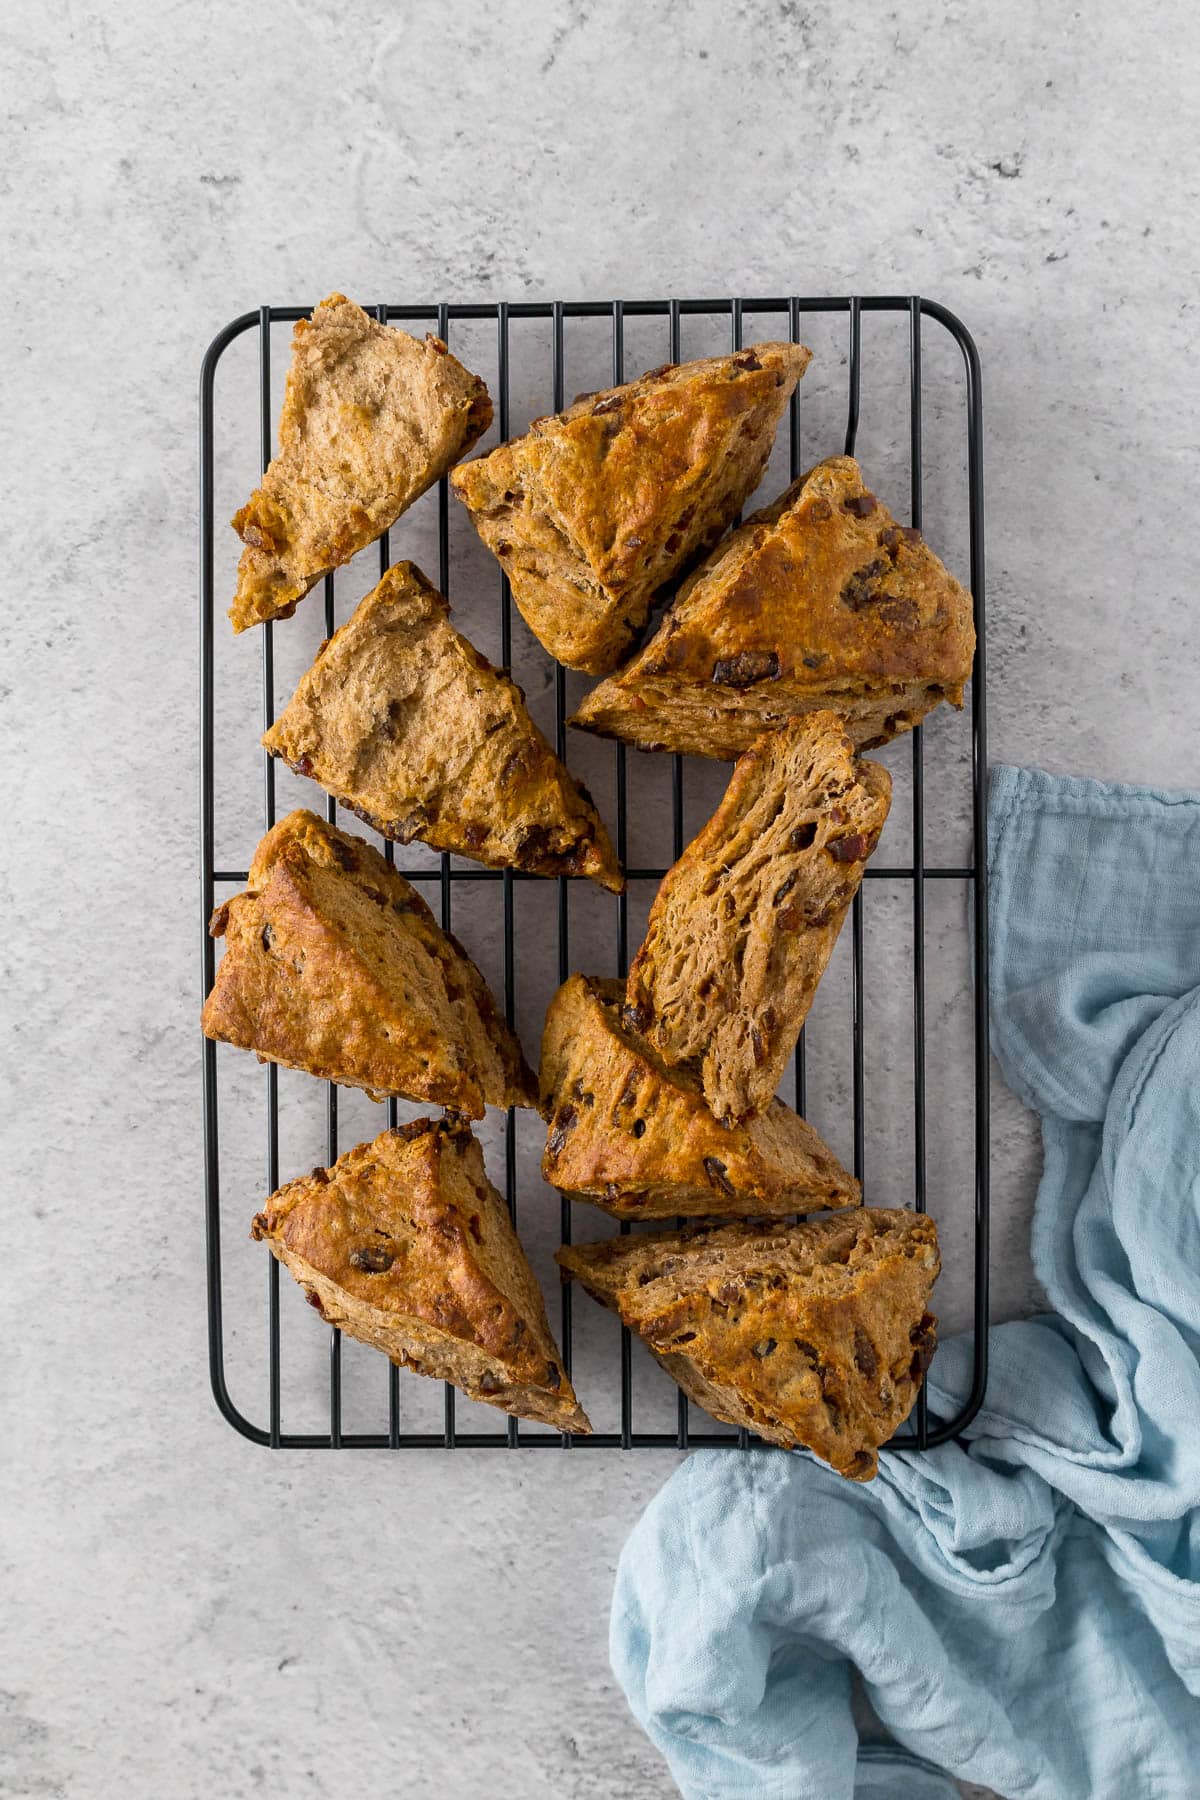
Step 10 - Allow the scones to cool slightly on a wire rack before serving them with some butter and additional jam if you have a sweet tooth.
Expert Tips for this Recipe
How to get nice tall, flakey scones
Cold ingredients for scones are a must. The butter should be cold (but not hard). Milk should also be cold.
Rubbing in the butter is an important step. As the butter is rubbed into the flour, it coats the flour, which inhibits gluten formation, keeping the scones tender. The chunks of butter that are not completely rubbed in (the pea-sized pieces of butter) will also release steam when baked, leading to those soft, flakey, tender layers in the scone.
Handle the scone dough as little as possible, this results in tender date scones.
Follow the lamination steps in the recipe. These layers of the scone dough on top of each other result in nice flakey layers.
The oven must be properly preheated before baking the scones. If the scones are ready to be baked, but the oven is still heating, simply pop the scones (baking tray and all) into the fridge while the oven preheats. The hot temperature is necessary for the tall rise.
Ovens & Air Fryers
The temperatures stated are for conventional ovens. For convection, fan-forced, fan-assisted, or air-fryers, the temperature must be reduced by 20°C/25°F.
For baking, make sure the oven is fully preheated, and that the rack is in the middle of the oven. Open the oven as little as possible. For best baking results use an oven thermometer.
Remember that all ovens work slightly differently and bake times may need to be adjusted for your specific oven.
Bakeware
Metal bakeware (if you can, choose light-colored bakeware for an even better bake) is superior when it comes to baking biscuits, cookies, brownies, muffins and quick bread, scones, cakes. These heat up and cool down faster than glassware. Glassware is heavier, heats up and cools down slower than metal, and is more suited for bread puddings, pies, crisps, crumbles, and cobblers.
Other Scone Recipes You May Like
Storage and Freezing
Store the baked scones in an airtight container for up to 3 days. To heat up the scones, simply pop them into the microwave for 10-20 seconds.
Scone dough can be frozen for up to 3 months. Store the cutout scones between layers of baking paper. Allow the scones to come to room temperature while the oven preheats, they don't need to be fully defrosted.
Baked scones can be frozen in an airtight container for up to 3 months. Allow the scones to defrost before serving. Scones can be heated in the microwave before serving.
Date Scones FAQ
Yes, for this recipe the plain flour can be substituted with self-raising flour, and the baking powder left out.
A direct swap with raisins or sultanas would work well in this recipe. Alternatively, replace half the dates with raisins and the other half with mixed peel.
The milk allows the top of the scone to brown up nicely in the hot oven.
Rate & Review!
If you made this recipe, please leave a star rating! It gives my readers and me helpful feedback. If you want more recipes, subscribe to my newsletter, and follow me on Instagram, Pinterest, and Facebook!
Recipe Card
Date Scones
Equipment
- Baking Tray
- Mixing Bowls
- Pastry brush
- Bench Scraper
Ingredients
- 240 grams plain flour (all-purpose/standard grade)
- 2 teaspoons baking powder
- ½ teaspoon table salt
- 2 tablespoons icing sugar (powdered/confectioner's)
- 1 tablespoon ground cinnamon
- 75 grams butter (cold)
- 120 grams dates (chopped)
- 160 grams milk
- 2 tablespoon milk (brushing the tops of scones)
Instructions
- Preheat the oven to 200°C/390°F. Line a baking tray with baking paper and set aside.
- In a large mixing bowl, whisk together the flour, baking powder, salt, cinnamon, and icing sugar.240 grams plain flour, 2 teaspoons baking powder, ½ teaspoon table salt, 2 tablespoons icing sugar, 1 tablespoon ground cinnamon
- Cut the butter into a small square and toss it into the flour. Rub the butter into the flour using your fingers.75 grams butter
- Add the dates to the flour mixture and then mix through with a fork.120 grams dates
- Pour the milk into the flour mixture and mix through with a fork. Do not overwork or overmix the scone dough, there can be some loose flour left in the bowl. The scone dough will be sticky.160 grams milk
- Flour the kitchen counter quite liberally. Place the dough onto the flour and then sprinkle more flour over the top of the dough. Pat the dough together into a rough square or triangle.
- Using a bench scraper or knife and spatula. Cut the dough into 3, lift the two outer edges, and place them in the middle. Press the dough down until about 3cm tall. Repeat this step 2 more times, adding more flour to the counter and top of the scone dough if required.
- Either keep the rectangle shape and press down to about 2.5cm tall (1 inch) and cut the dough into 8 roughly equal portions and move on to the next step. For a rounder shape and 8 small triangles, take these portions, stack them onto each other, and then press down to about half the height, pressing the edges into a rough circle. Roll/press the dough down, stopping to pat the edges into a circle until the dough is about 2.5cm tall (1 inch) tall. Then divide the dough into 8 triangles.
- Transfer the cutout scones to the baking tray. Using a pastry brush, brush the tops of the scones with milk. Try to avoid the milk dripping down the sides. Bake for 20 minutes.2 tablespoon milk
- Allow the scones to cool slightly before serving them with some butter and additional jam if you have a sweet tooth.
Notes
Storage and Freezing
Store the baked scones in an airtight container for up to 3 days. To heat up the scones, simply pop them into the microwave for 10-20 seconds. Scone dough can be frozen for up to 3 months. Store the cutout scones between layers of baking paper. Allow the scones to come to room temperature while the oven preheats, they don't need to be fully defrosted. Baked scones can be frozen in an airtight container for up to 3 months. Allow the scones to defrost before serving. Scones can be heated in the microwave before serving.Nutrition
Nutrition information is an estimate. If scaling the recipe remember to scale your cook and bakeware accordingly. All temperatures stated are conventional, unless otherwise stated. Recipes tested in grams and at sea level.

Comments
No Comments