


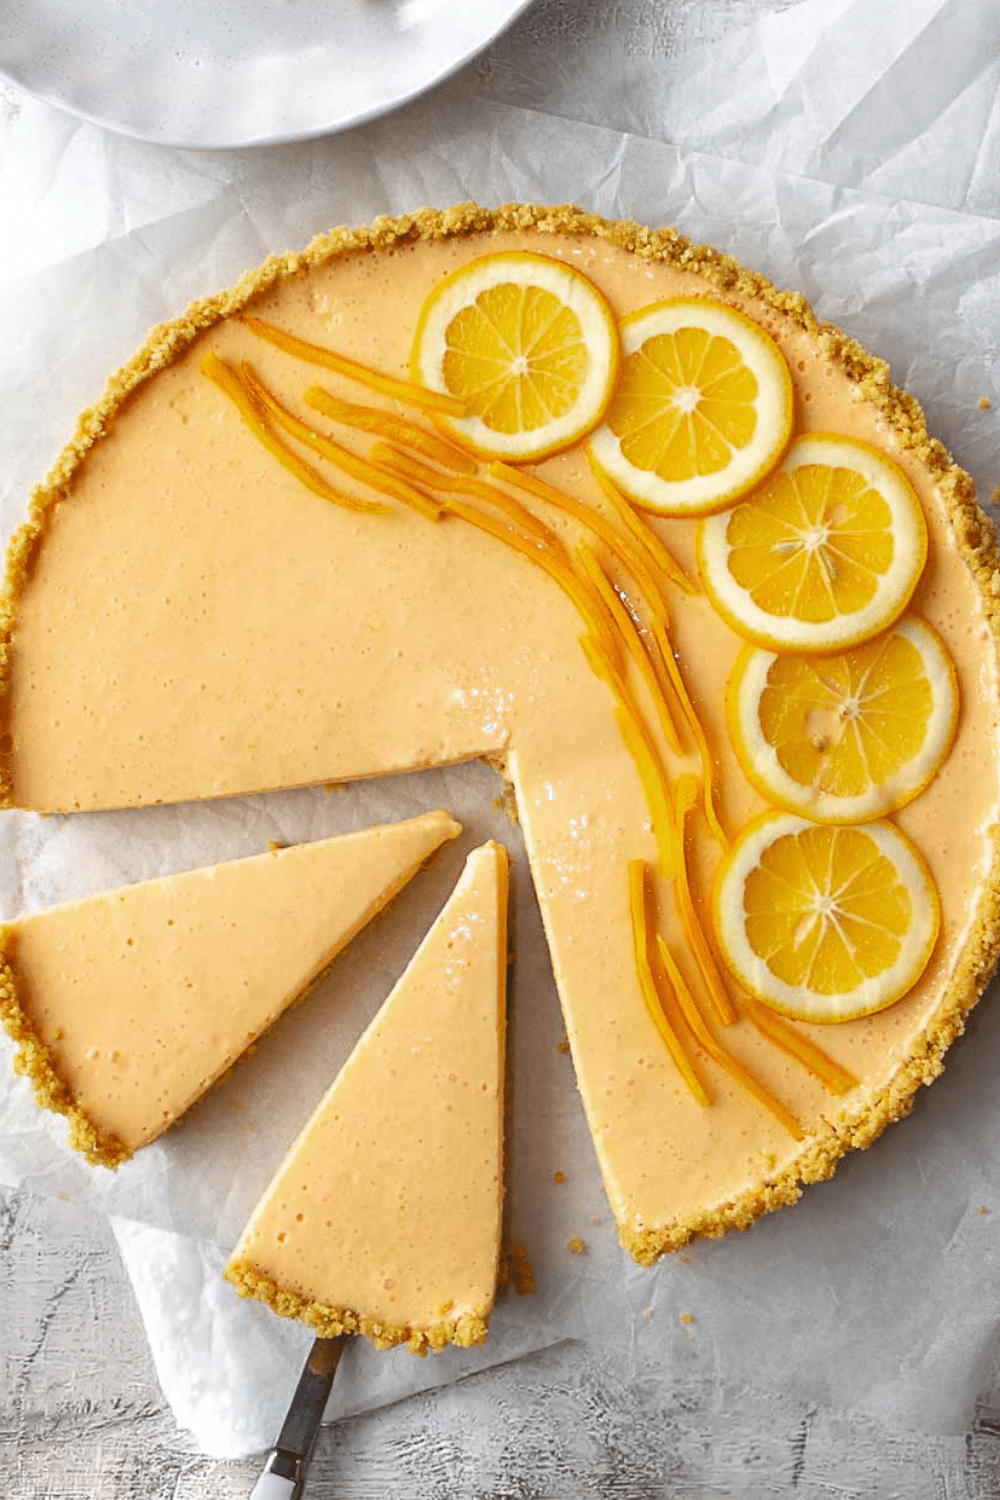
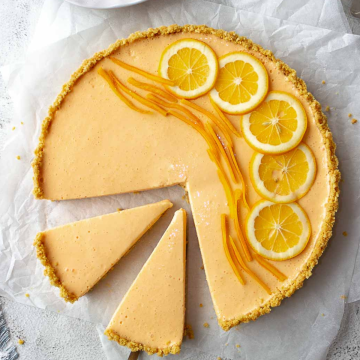
A silky, bright orange curd tart on a buttery biscuit base, topped with fresh orange slices and glossy candied rind strips. This is an impressive make-ahead dessert that is much easier than it looks.
I first made this for a summer dinner party, and it disappeared before I had a chance to photograph a slice — which is always a good sign. The combination of the fresh rounds and the candied rind on top gives it that polished, patisserie-style finish without needing any special skills.
What You'll Need to Cook
Graham crackers or digestive biscuits — Either works well. Digestives give you a slightly more buttery, less sweet base that I prefer with the sweetness of the orange curd. Graham crackers are slightly sweeter and have a hint of honey flavor that plays nicely with citrus. Whatever you use, crush them to a fine, even crumb — coarse chunks mean the base won't press together firmly, and you'll get crumbling when you slice.
Unsalted butter (for the base) — Melted, not softened. It needs to coat every crumb evenly. The ratio of butter to crumbs matters — too little and the base falls apart when you cut it, too much and it turns greasy and dense. Stick to the measurements here.
Orange zest (in the base) — This is the detail most people skip, and they shouldn't. Working zest directly into the biscuit base layers citrus flavor through every component of the tart, not just the filling. I use a microplane and go right down to the white pith — stop before you hit it.
Navel oranges — You'll need them for three different purposes here: juice and zest for the curd, fresh rounds for the topping, and peel for the candied rind strips. Choose oranges that are similar in size for uniform rounds on top. I've used blood oranges here and the result is stunning — deep ruby slices, more complex flavor — but navels are more consistent and widely available.
Other ingredients: granulated sugar, fresh lemon juice, cornstarch, light corn syrup.
Ingredient Substitutes
Butter in the curd → Coconut oil: I've tested this for readers who need a dairy-free version. The curd sets a little firmer, and the flavor shifts slightly — less rich, with a faint coconut note in the background. It works, but reduce the amount to about 6 tablespoon instead of 8 or the filling gets waxy.
Graham crackers → Digestive biscuits (or vice versa): Both work and I've tested them side by side. Digestives produce a slightly less sweet, more buttery base — my preference. Graham crackers give you a touch more sweetness and a hint of honey. Ginger nut biscuits are a great variation if you want a little spice in the base; the warmth plays well against the bright citrus curd.
Navel oranges → Blood oranges: A tested swap I genuinely love. The fresh rounds come out a deep ruby-crimson, the rind strips turn a dramatic dark color in the syrup, and the flavor is a touch sharper and more complex. If you can find blood oranges, use them — the visual impact is extraordinary.
Eggs in the curd → Not easily substituted. I haven't found a reliable egg-free orange curd that sets correctly. Readers have mentioned vegan custard powders as a workaround, but I can't vouch for the result personally.
How to Make Orange Tart
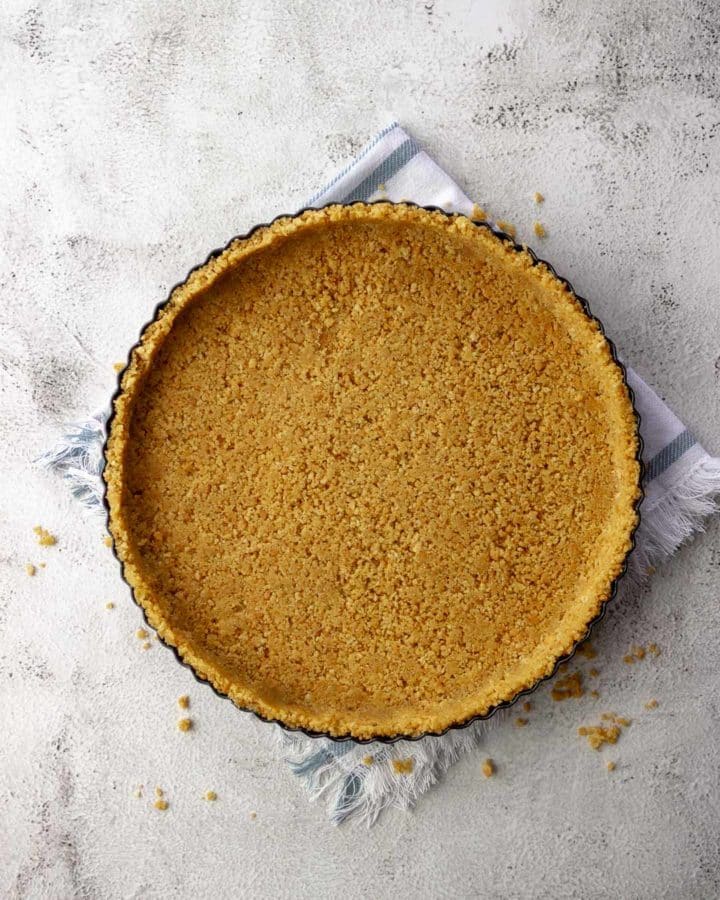
Step 1: Make the Biscuit Base
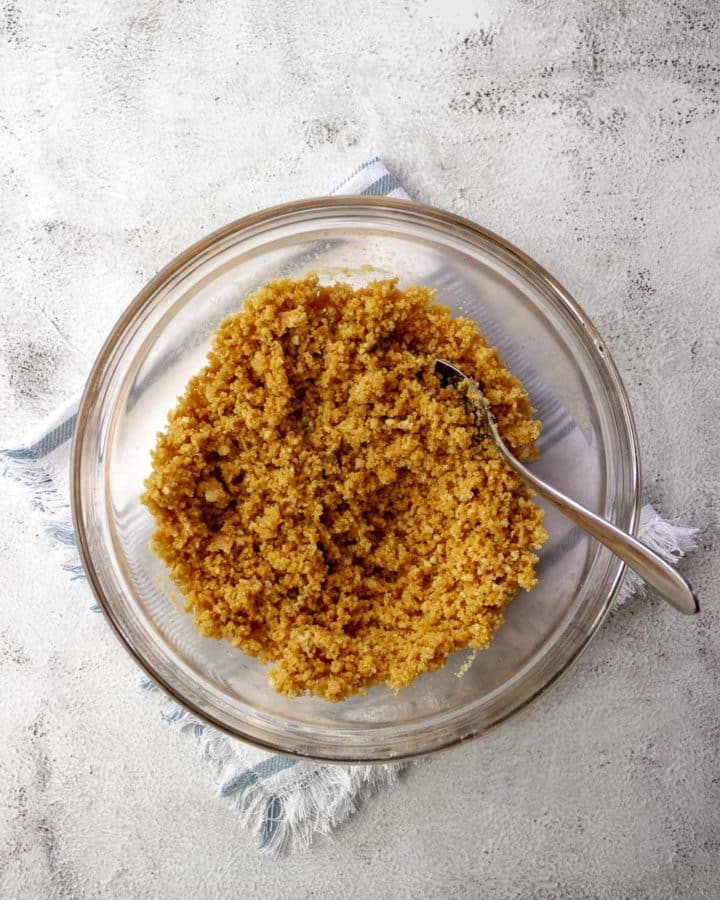
Crush your biscuits to a fine, even crumb — no large chunks, or the base won't press together cleanly. A food processor takes about 30 seconds. If you're doing it by hand, seal the biscuits in a zip-lock bag and go at them with a rolling pin. Add the melted butter, sugar, and orange zest and mix well. The mixture should look like wet sand and hold together when you squeeze a handful. If it's crumbling apart, add a little more melted butter, a teaspoon at a time.
Tip it into the tart pan and start pressing. Use a flat-bottomed glass or measuring cup to pack the base down hard and evenly — you want it dense enough to slice cleanly later, not a loose crumble. Use your fingers to press the mixture up the sides to an even thickness. Get it into the fridge for 15 minutes before baking; that rest helps it hold its shape. Bake at 350°F for 10–12 minutes until it smells toasty and looks set at the edges. Cool completely before adding the curd — a warm base will melt the butter in the curd, leaving a greasy layer at the bottom.
Step 2: Make the Candied Rind Strips
This step is best done a day ahead — the strips keep well at room temperature, and the flavor deepens overnight. Using a vegetable peeler, take long strips of peel from 2 oranges, then use a sharp knife to cut them into thin matchstick-width strips. This is the part that takes patience. Flip each strip over and use the knife to scrape away as much of the white pith as you can — the pith turns bitter in the syrup and will make the finished rind harsh rather than sweet.
Make your simple syrup in a small saucepan and bring it to a gentle simmer before adding the strips. They need 20–25 minutes at a low bubble, not a rolling boil. You're looking for them to go from stiff and opaque to soft, slightly translucent, and pliable. They'll curl slightly as they cook, which is exactly what you want — those natural curls are what give the finished tart its draped, decorative look. Transfer to a parchment-lined tray and spread them out so they don't clump as they cool. Reserve the syrup.
Step 3: Make the Orange Curd
Whisk together eggs, yolks, sugar, cornstarch, fresh orange juice, lemon juice, and zest in a medium saucepan before it goes anywhere near heat. Cornstarch is a small but important addition — it provides insurance against the curd breaking or becoming grainy, and makes it slice cleaner. Cook over medium-low heat, stirring constantly with a silicone spatula or wooden spoon, making sure you reach all the way to the edges of the pan, where it thickens first.
After about 6–8 minutes, you'll feel the texture change under the spatula — it'll go from loose and liquid to something that coats the back of the spoon and holds a line when you drag your finger through it. That's your signal. Pull it off the heat immediately and start whisking in cold butter, one cube at a time. The butter going in cold is deliberate — it cools the curd down quickly and gives you a silky, emulsified finish rather than a grainy, scrambled-egg texture.
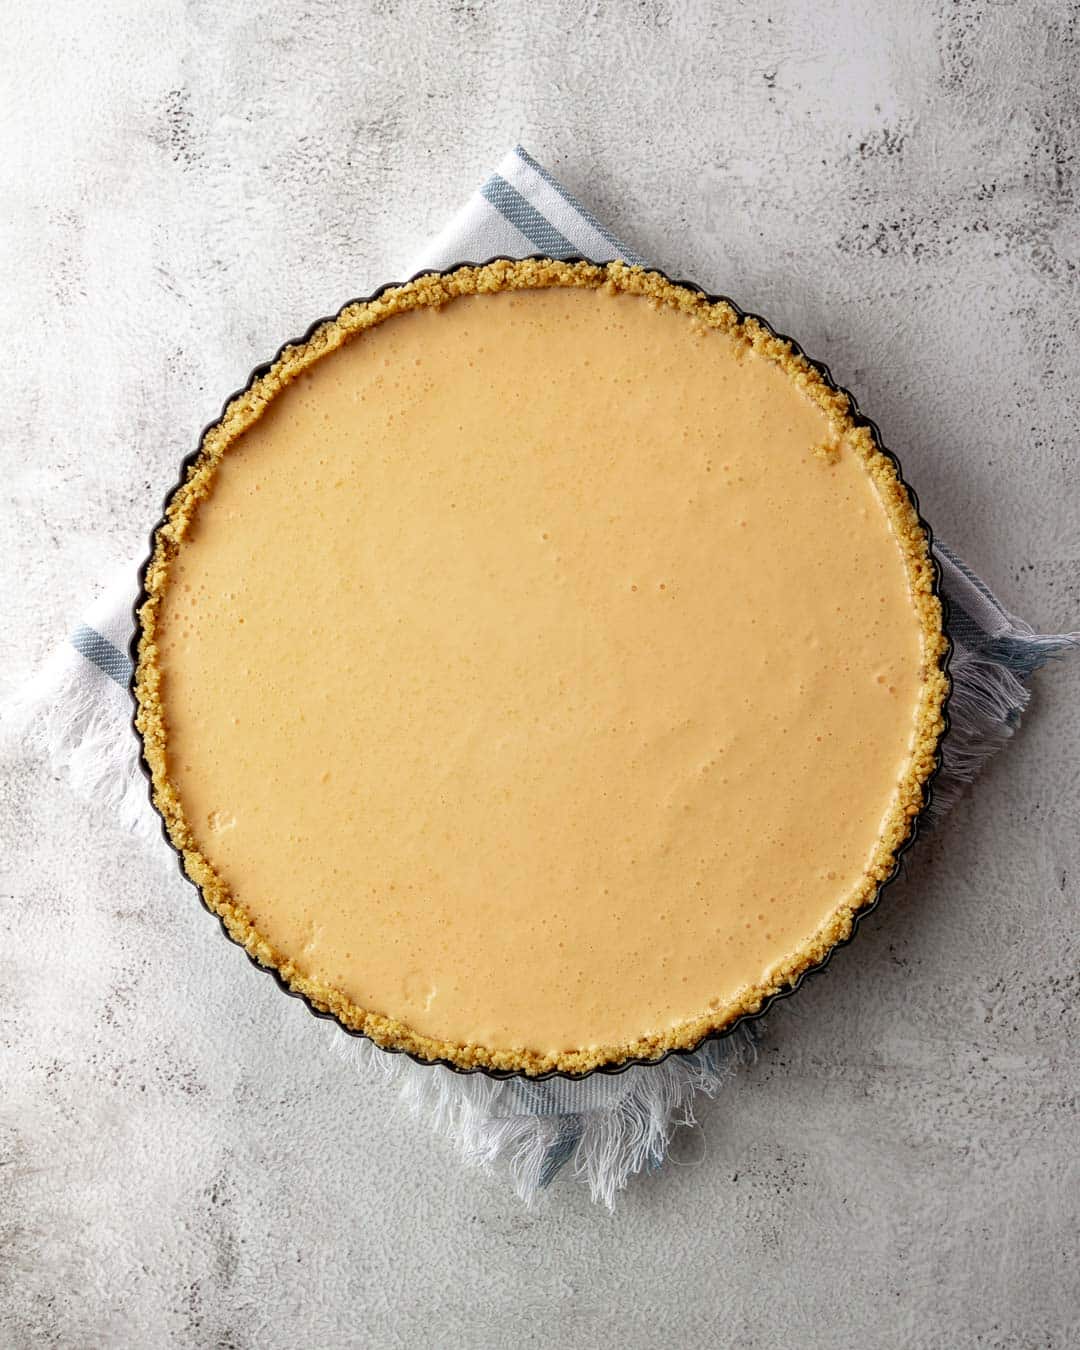
Step 4: Fill the Tart
Strain the curd through a fine-mesh sieve into the cooled biscuit base — this catches any stray cooked egg bits and gives you that perfectly smooth surface. Pour it in, smooth with a spatula, and tap the pan gently on the counter to settle any air bubbles. No second bake needed — just let it cool completely at room temperature for an hour, then refrigerate for at least 3 hours until fully set. Overnight is better. The first time I made this I cut it after 2 hours and it slumped. Three hours is the real minimum.
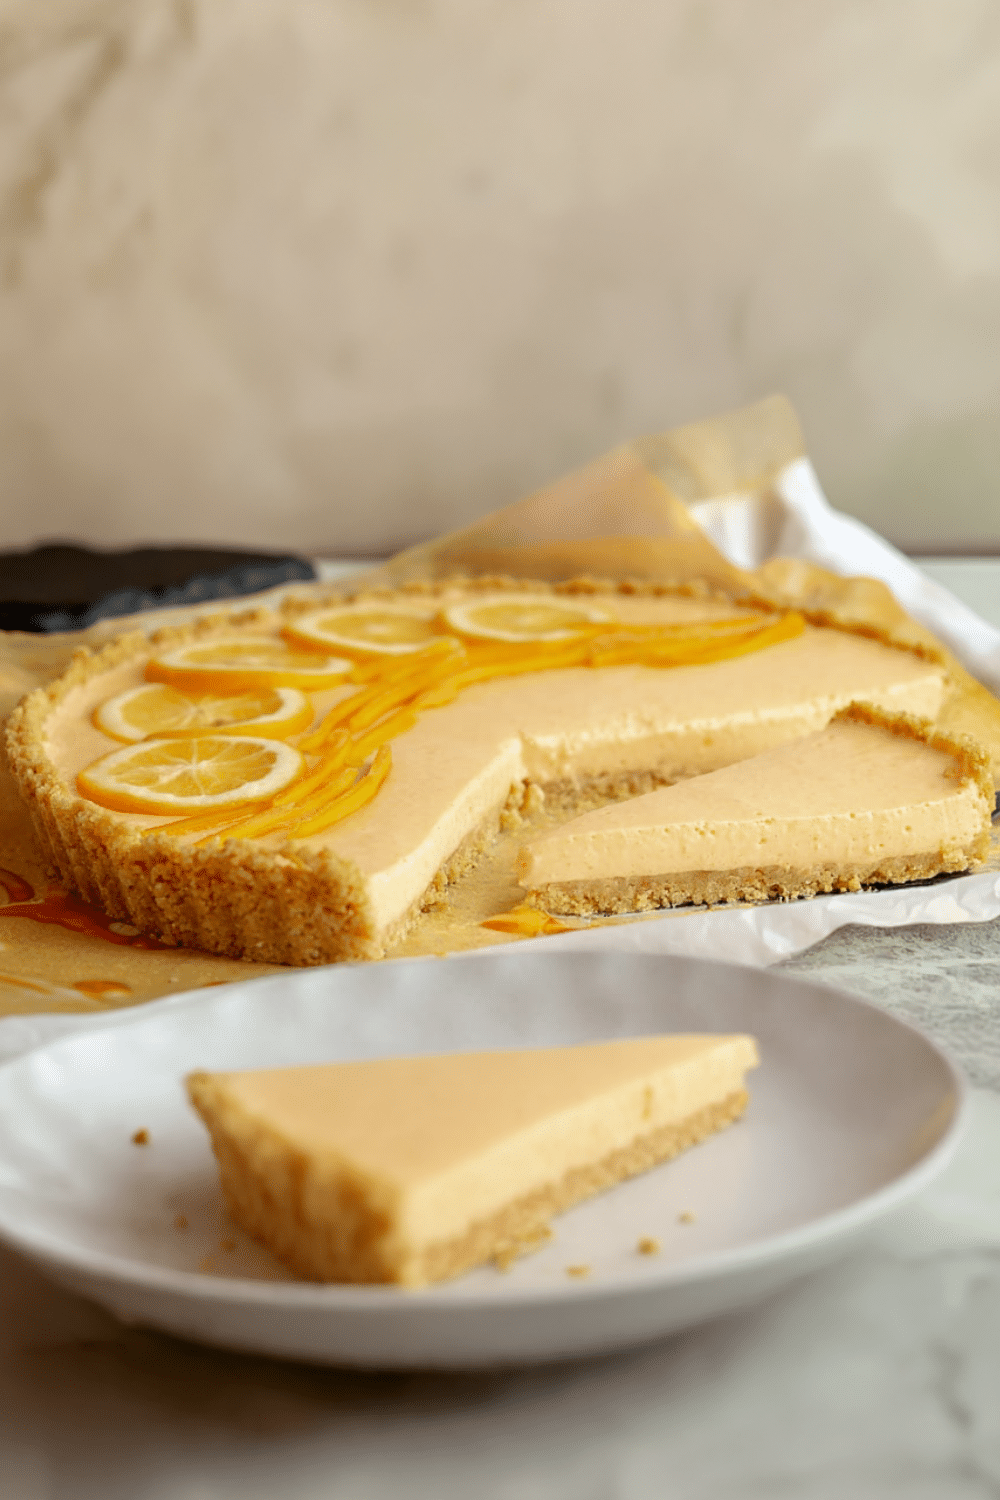
Step 5: Top with Fresh Slices and Candied Rind
Once the curd is fully set, slice your fresh oranges into ⅛-inch rounds with a sharp paring knife, then pat each slice dry with paper towels — any surface moisture will prevent the glaze from sticking and can make the filling weep underneath. Arrange the rounds across one side of the tart in a slightly overlapping fan, leaving a good portion of the golden filling visible. You're not covering the whole tart here — the exposed curd is part of the look.
Then take your candied rind strips and drape them loosely over and around the orange slices. They don't need to be neat. The natural curls and tangles are what give it that effortless, just-assembled finish. Warm the reserved syrup slightly if it's thickened too much, then brush a light coat over the fresh orange rounds. The brush coat sets quickly and gives the slices that glistening, just-glazed look that makes the whole tart look like it came out of a professional kitchen.
How To Store Leftovers and Reheat
Store any leftover tart tightly covered in the refrigerator for up to 3 days. The curd holds well but the fresh orange slices will soften and release moisture after the first day — if you're making this ahead for a specific occasion, add the fresh topping on the day of serving and keep the candied rind strips at room temperature until then. This tart does not freeze well — the curd weeps and the pastry goes soggy. Serve it cold or at cool room temperature, pulled from the fridge about 15 minutes before slicing.
Frequently Asked Questions
Can I make this tart a day ahead? Yes, and I actually recommend it. Make the candied rind strips and the curd-filled shell a day ahead and keep them separately — the rind at room temperature, the tart in the fridge. Add the fresh orange slices and drape the rind strips on the day you're serving. This keeps the fresh topping bright and stops any moisture from the slices softening the filling overnight.
Why did my orange curd turn grainy or scrambled? This usually means the heat was too high or you stopped stirring. Orange curd needs to be cooked low and slow with constant movement — medium-low heat the whole way. If it starts looking lumpy, pull it off the heat immediately and strain it through a fine-mesh sieve; a lot of the time it'll smooth right out. Adding cornstarch (as this recipe does) gives you extra protection against this.
Can I use a store-bought tart shell instead of a biscuit base? You can, but you'll lose the buttery crunch and the orange zest worked into the base, which layers citrus flavor through every component. The biscuit base is genuinely one of the easiest parts of this recipe — 5 minutes of crushing and pressing — so I'd encourage you to make it. If you do go store-bought, add an extra teaspoon of zest to the curd filling to compensate for what's missing in the base.
Why are my candied rind strips bitter? Almost always pith — the white layer between the peel and the flesh. The more pith left on the strips, the more bitter they'll be once cooked in the syrup. Take the time to scrape it off before the strips go in. If they're still bitter after cooking, blanch raw strips in boiling water for 2 minutes, drain, and start the syrup process again — that first blanch pulls out most of the harsh compounds.
How do I get clean slices when cutting the tart? Use a sharp knife and wipe the blade with a damp cloth between every cut. The curd is soft and will drag if the blade is coated. Dipping the knife in hot water and drying it also helps — the warmth slides through the cold curd cleanly.
Can I use a different citrus? Yes. Blood orange is the best swap — the fresh rounds come out deep ruby, the candied rind turns a dramatic dark color in the syrup, and the flavor is sharper and more complex. Mandarin works for a sweeter, milder result but the rind strips are fiddly to peel at that size. I wouldn't mix citrus types in the curd — the flavors compete.
📌 Did you try this recipe?
Have you made this delicious recipe and loved it?
I would love it if you took a minute to leave a star rating and review. It is also helpful if you made any substitutions or changes to the recipe to share that; thank you!
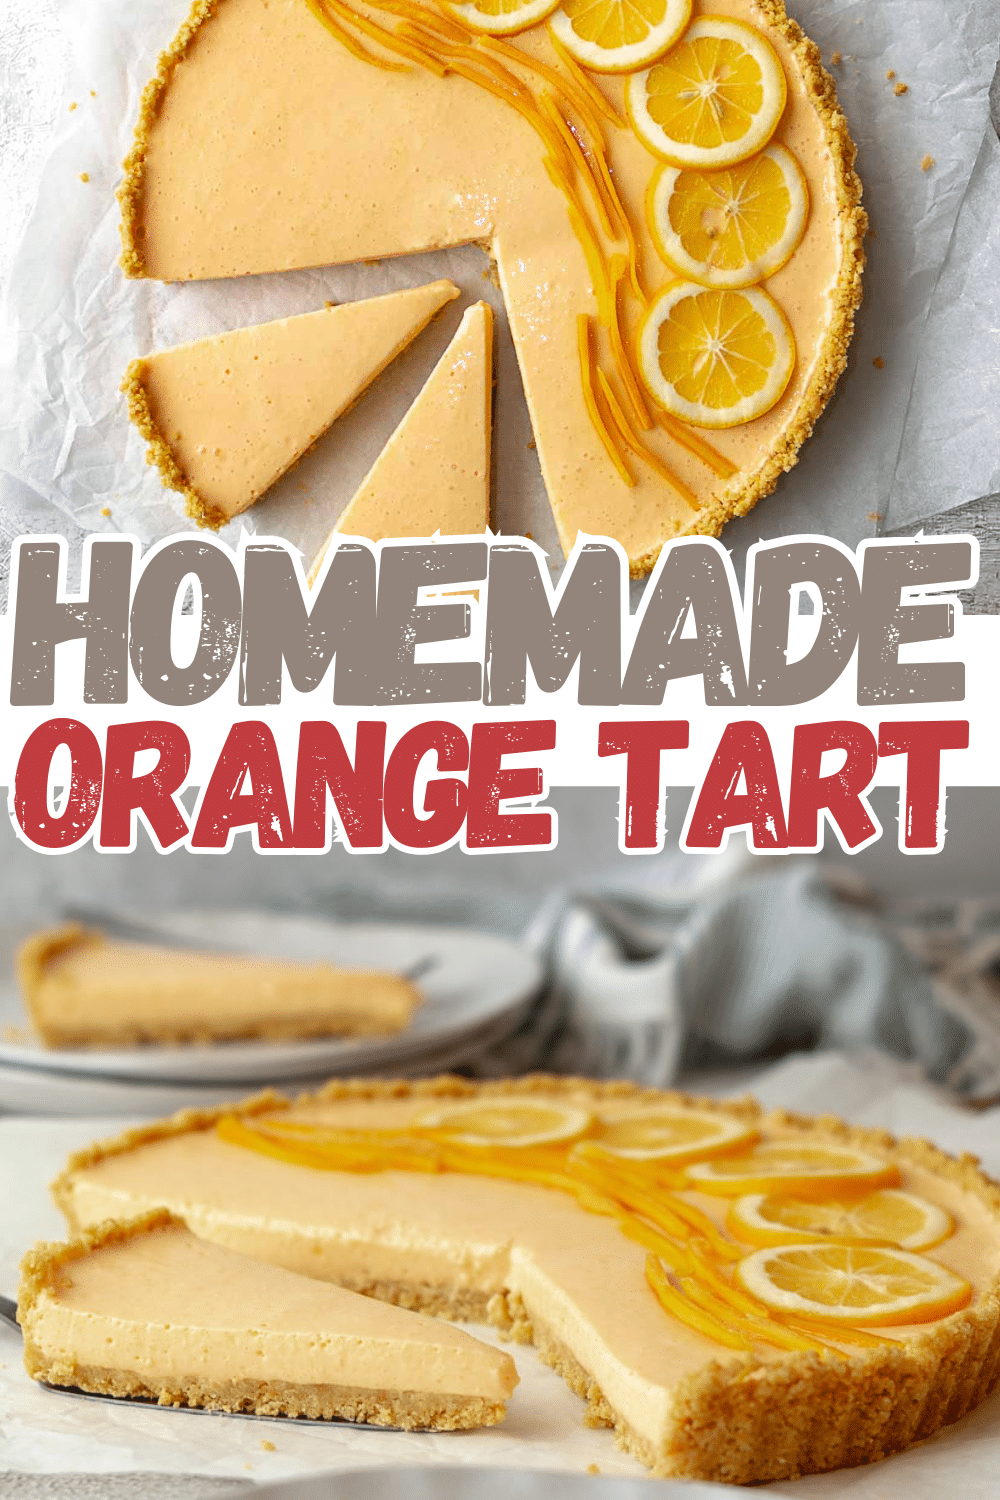
📌 Please also pin the image below, then you can find the recipe for the next time you want to cook.
More Tarts and Pies You'll Love
No-Bake Milk Tart
Bakewell Tart
No-Bake Yogurt Fridge Tart
Peppermint Crisp Tart
Recipe Card
Orange Tart
Ingredients
Biscuit Base
- 2 cups 200g graham crackers or digestive biscuits, finely crushed
- ½ cup 115g unsalted butter, melted
- 2 tablespoon granulated sugar
- Zest of 1 orange
Orange Curd Filling
- 4 large eggs
- 2 egg yolks
- ¾ cup 150g granulated sugar
- ¾ cup 180ml fresh orange juice (about 3–4 navel oranges)
- 2 tablespoon fresh lemon juice
- Zest of 2 oranges
- ½ cup 115g unsalted butter, cubed
- 1 tablespoon cornstarch
Candied Orange Rind Strips
- 2 medium navel oranges
- 1 cup 200g granulated sugar
- 1 cup 240ml water
- 2 tablespoon light corn syrup
Fresh Orange Topping
- 2 medium navel oranges uniformly sized, sliced ⅛-inch thick
For Finishing
- 2 tablespoon reserved orange syrup for glazing
- Powdered sugar for dusting optional
Nutrition information is an estimate. If scaling the recipe remember to scale your cook and bakeware accordingly. All temperatures stated are conventional, unless otherwise stated. Recipes tested in grams and at sea level.
Comments
No Comments