


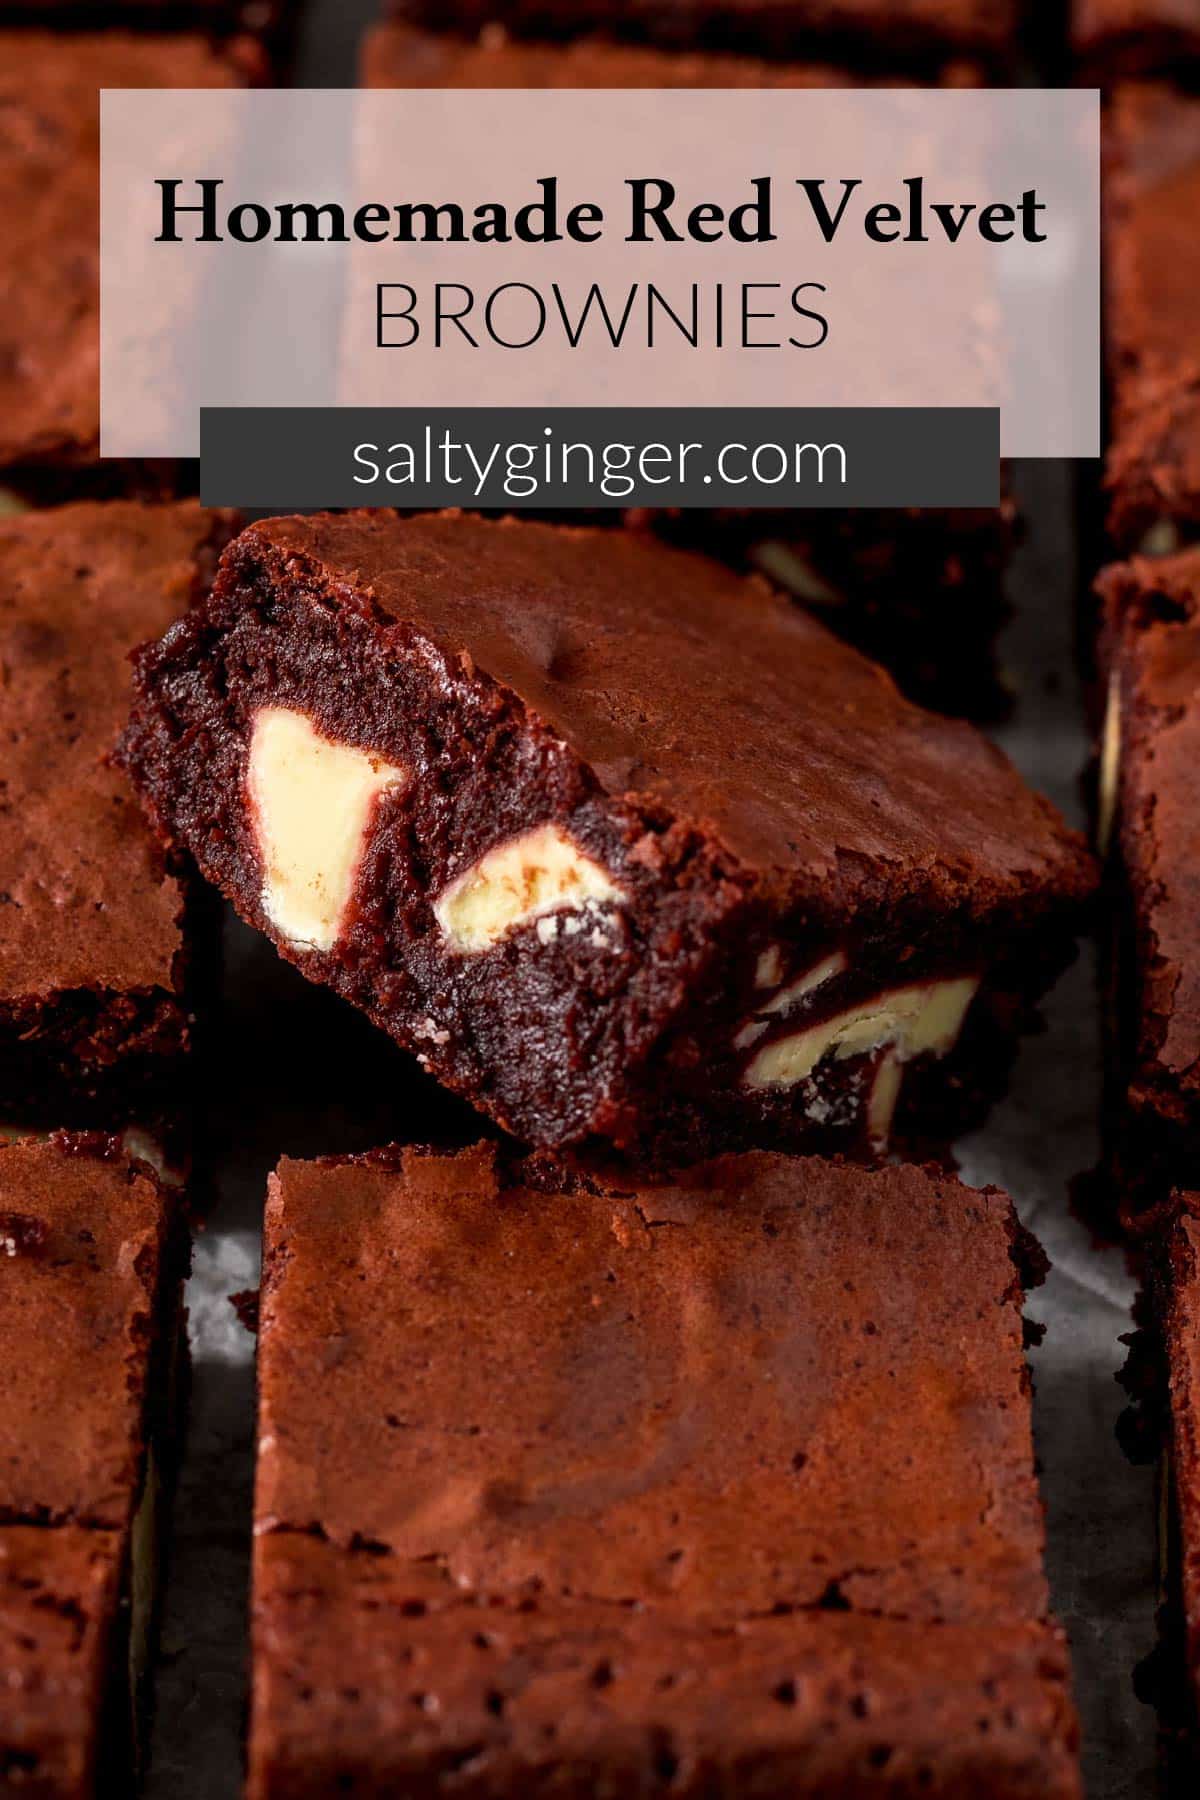
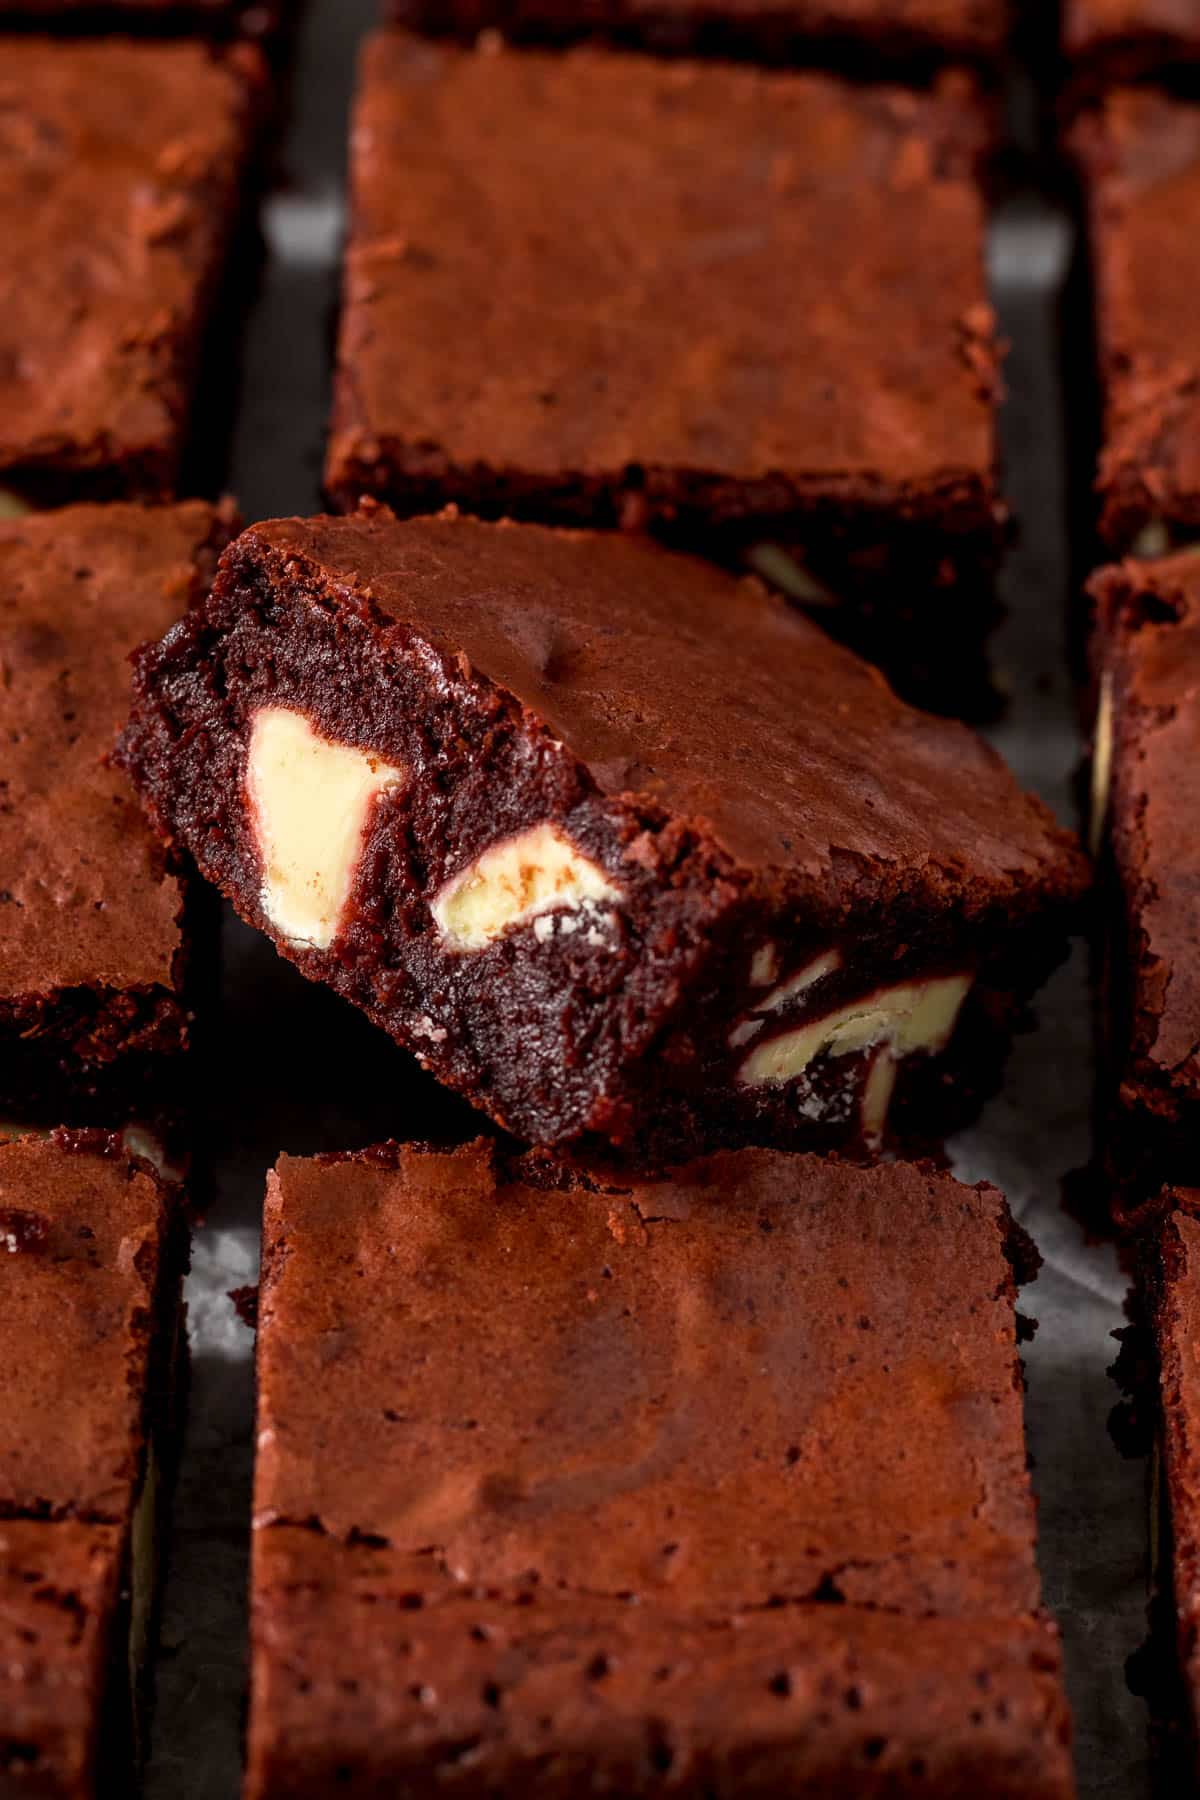
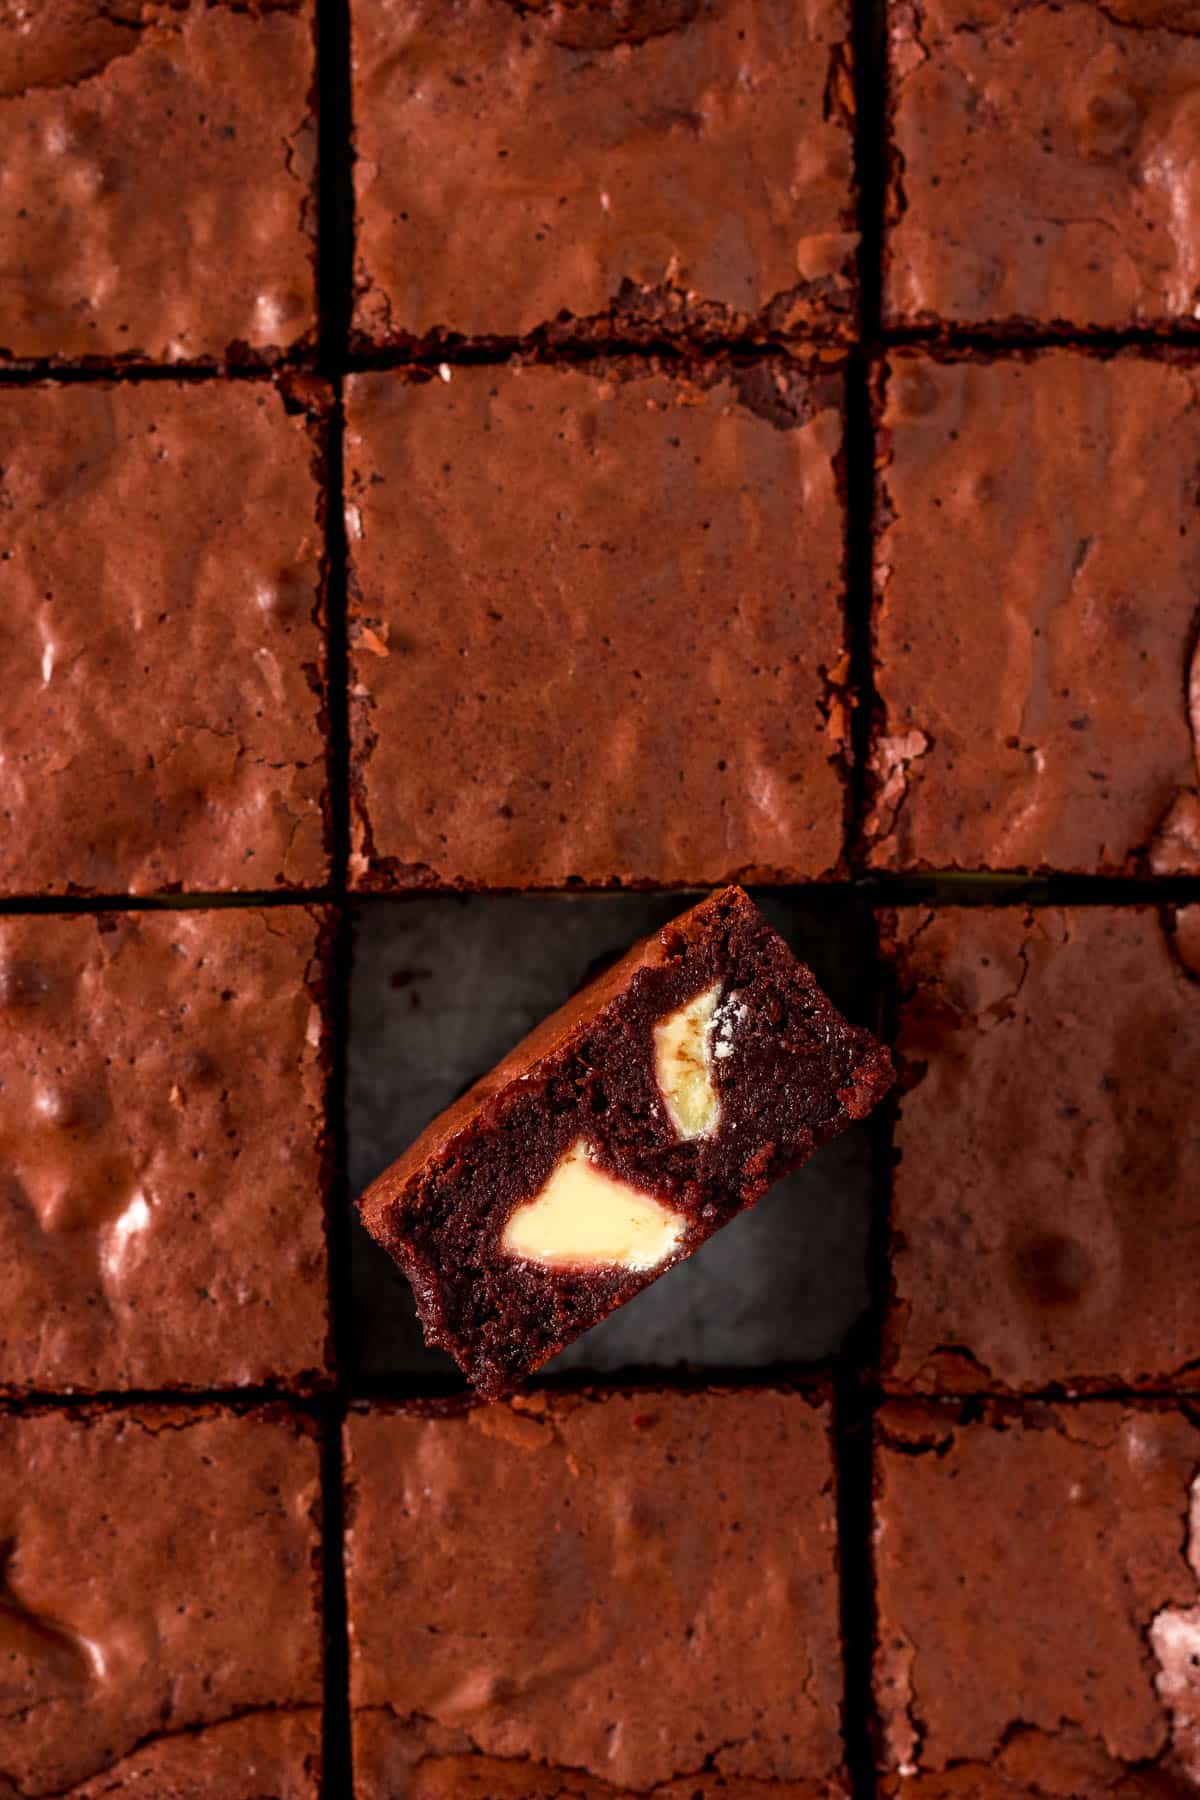
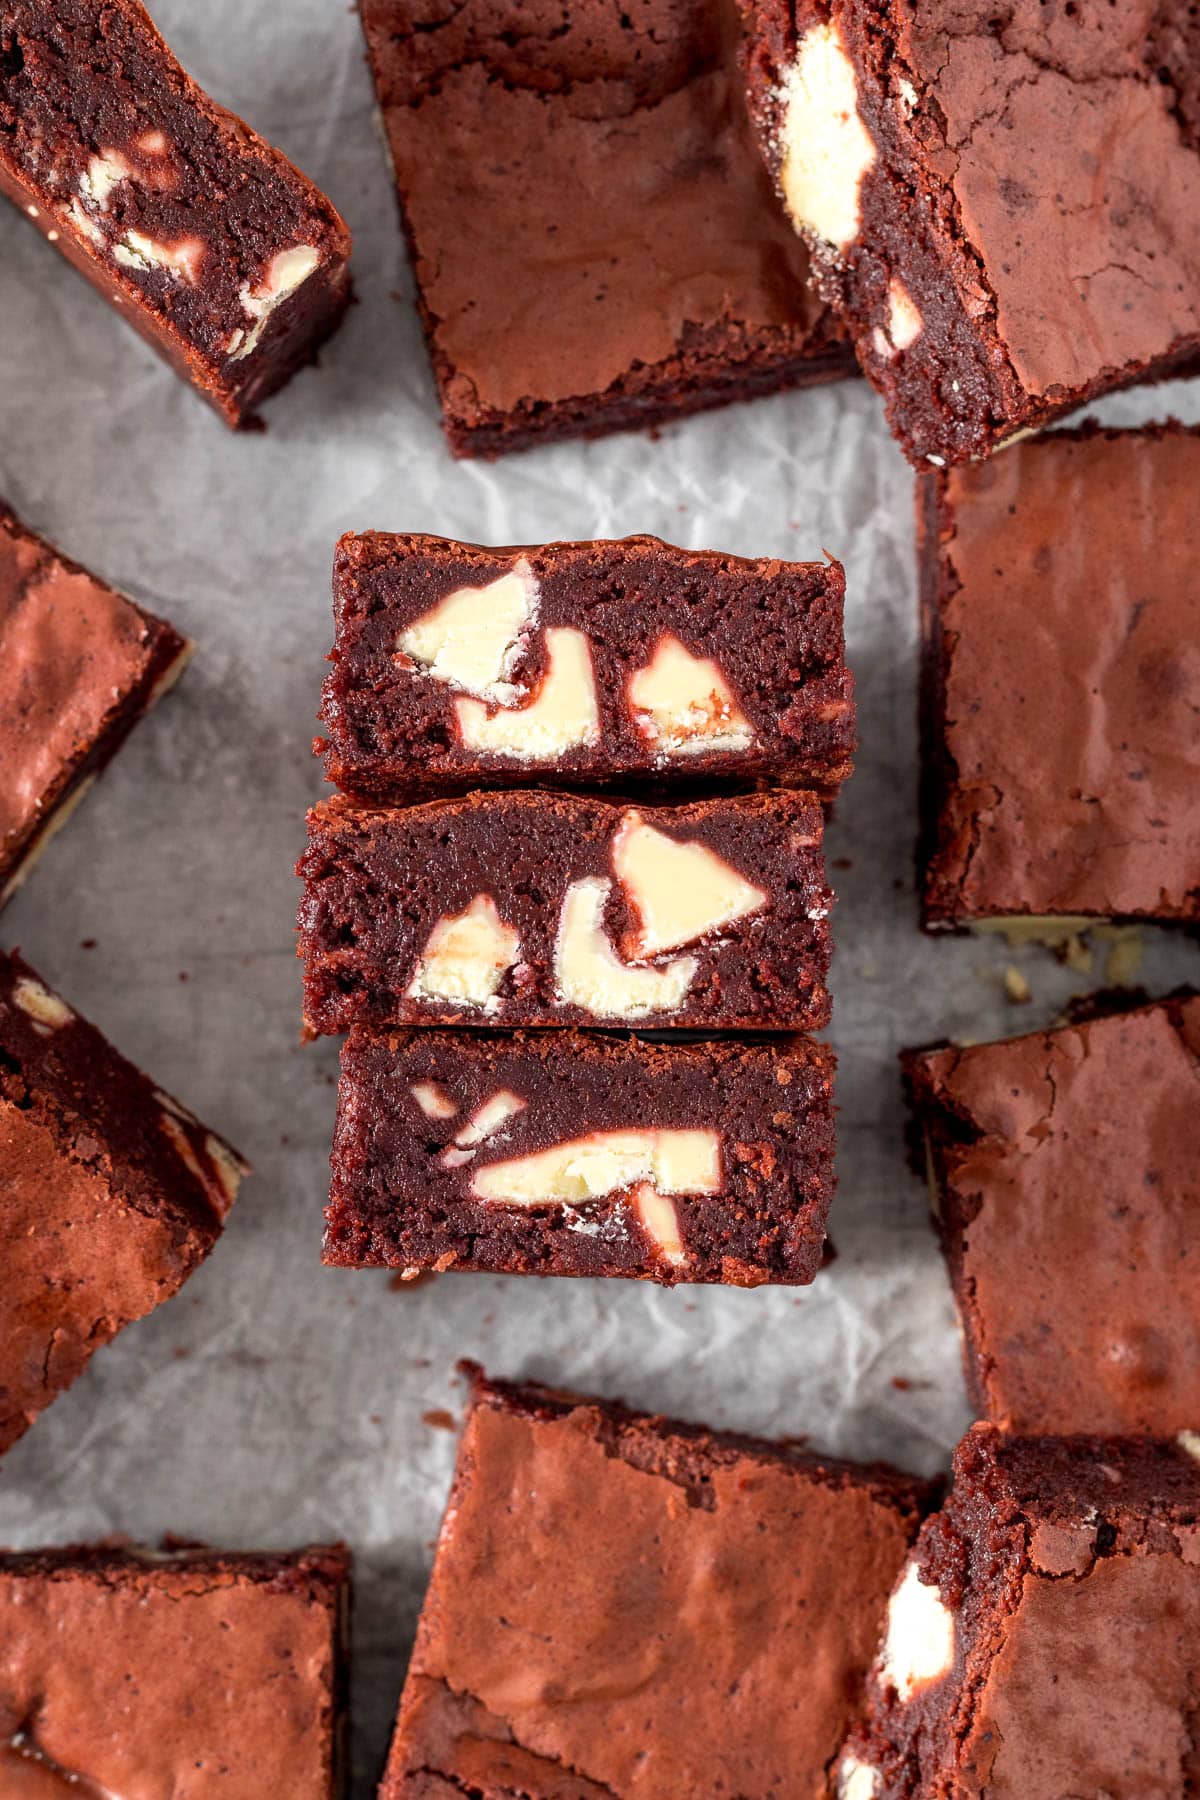
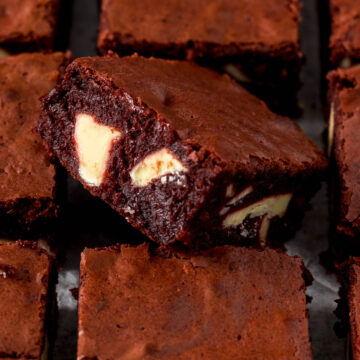
These delicious, from-scratch, fudgy, one-bowl red velvet brownies come together easily to produce a really delicious dessert!
This easy, delicious red velvet brownies recipe uses dark chocolate, cocoa powder, and white chocolate to make a truly decadent dessert!
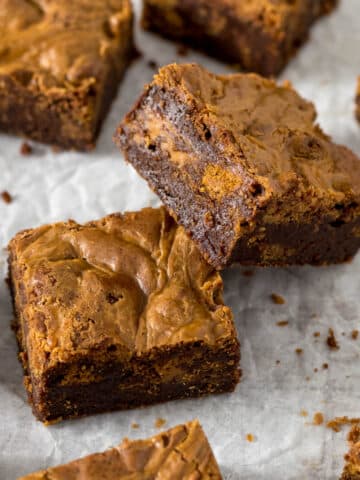
I've been on the brownie/blondie train - and have really been wanting to add a red velvet brownie recipe to my repertoire. So I tweaked the base brownie recipe I used for my Biscoff brownies - and after a few test runs (and one dry epic failure), I produced this delicious fudgy red velvet brownies recipe!
Jump to:
What is Red Velvet?
Red Velvet Cake is a red layer cake with ermine icing, originating in the United States and associated with the South and Juneteenth.
Commonly, this cake is made with buttermilk, butter, cocoa, vinegar, and flour.
The original cake relied on the reaction between buttermilk and/or vinegar and cocoa powder to produce a red color. However, because we now often use Dutch-processed cocoa powder in baking, this reaction doesn't occur, so the red color is replaced with red food coloring.
These cakes had a soft velvety crumb - hence the name.
Why You Will Love This Recipe
- This is a super easy, one-bowl brownies recipe that comes together in a few minutes and requires no special equipment.
- These fudgy brownies are perfect for any gathering or special occasion, such as Valentine's Day.
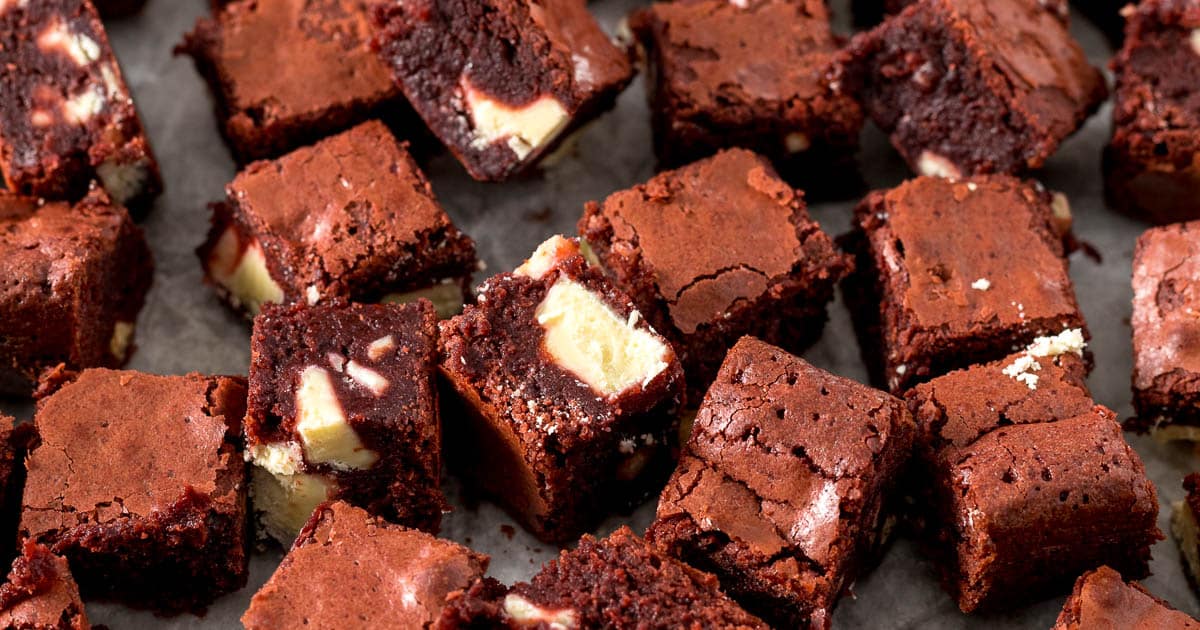
- Cut the brownies into small 2cmx2cm blocks for red velvet brownie bites - perfect for a Sundae/Ice-cream bar!
- The beautiful, deep red color from the chocolate and red food coloring makes for a stunning dessert.
- White chocolate chunks are used to imitate the cream cheese frosting we know and love with a red velvet cake, and i think it's much easier than adding a cheesecake swirl.
- The base recipe works perfectly well without the white chocolate.
Ingredients
Here are some notes on the ingredients used in this recipe. Please see the recipe card for quantities.
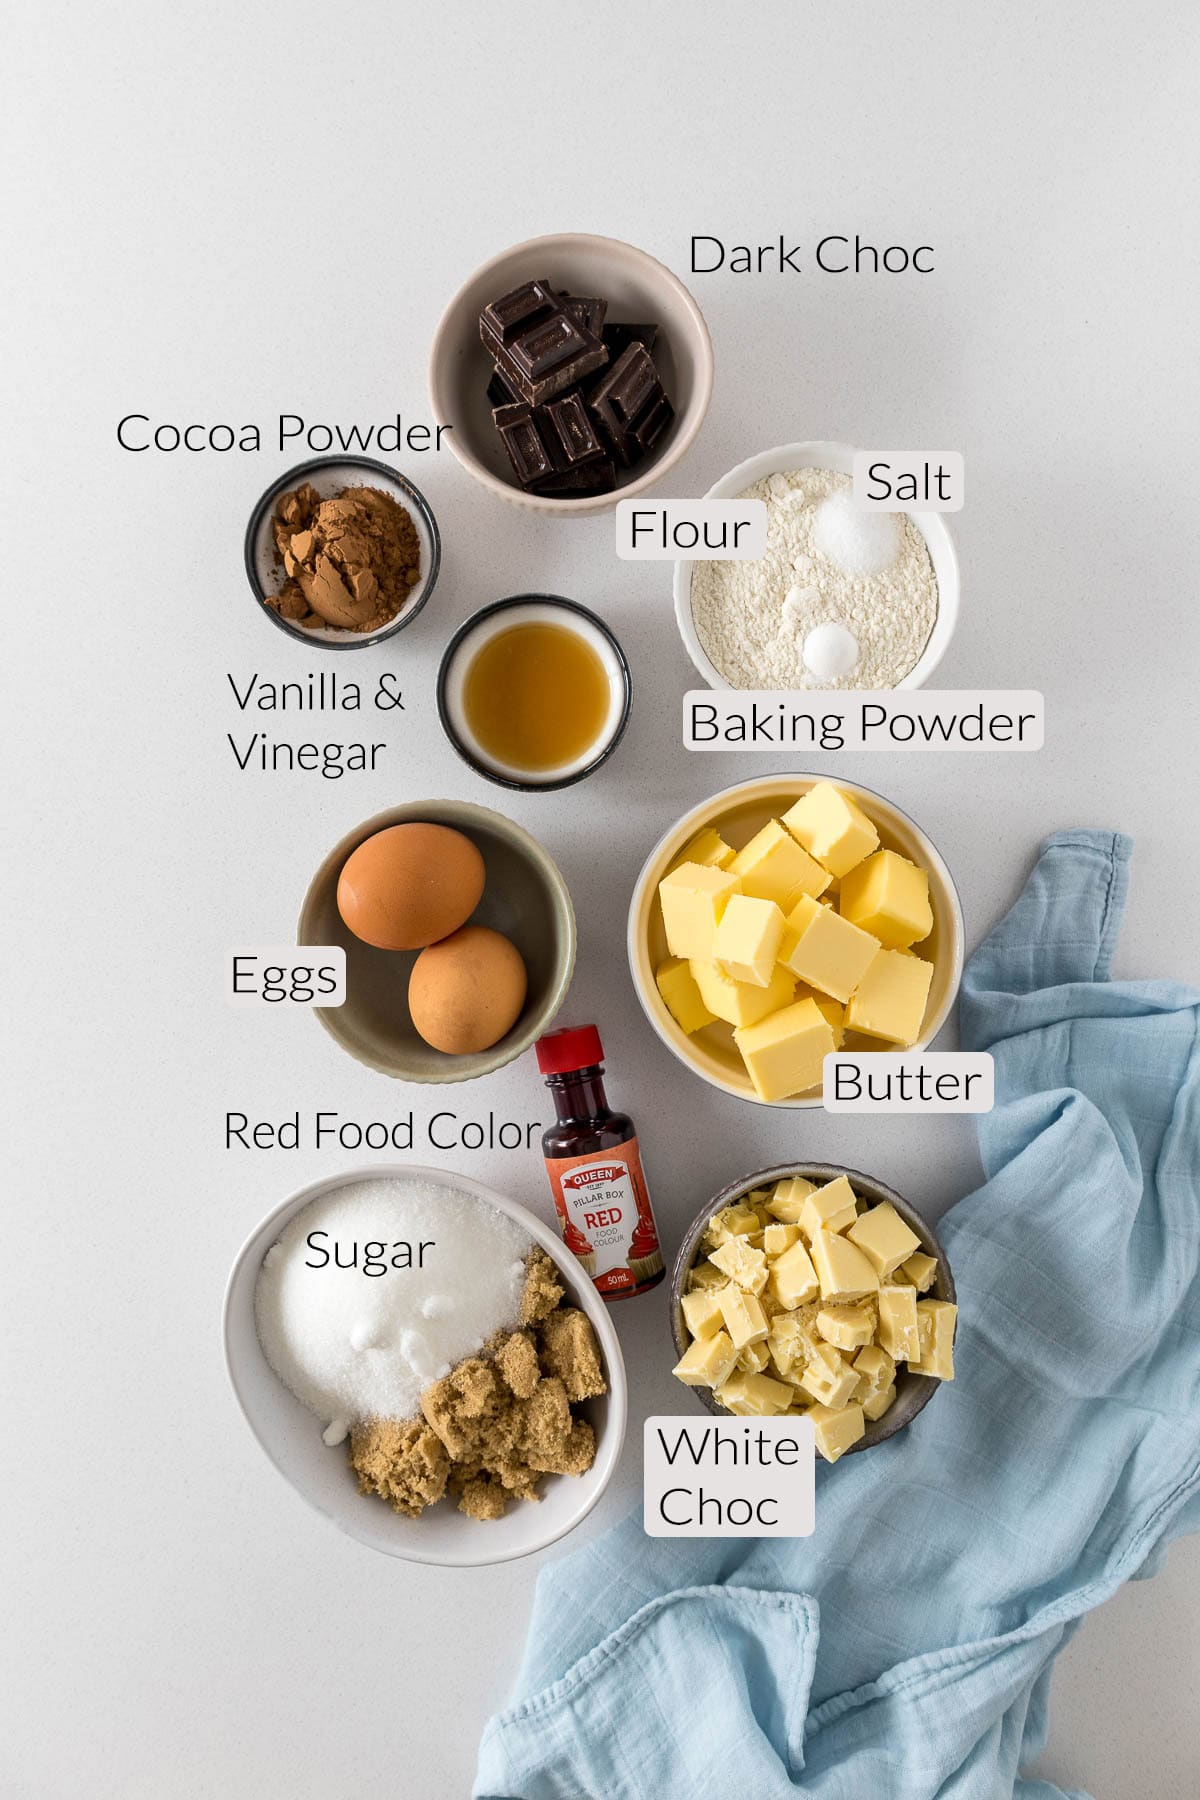
Dark Chocolate - I used 62% Whittaker's dark chocolate in this brownie. This would be similar to Bittersweet chocolate. I highly recommend using the chocolate you enjoy, as it is the primary flavor in this brownie.
Butter adds flavor, softness, and moisture, and sometimes aids in the leavening of baked goods. I use New Zealand butter in my recipes, which has approximately 82% butterfat and can be very yellow (similar to European or Irish butter). Butter cannot be substituted with butter or margarine spreads; however, baking margarine can be used.
White Granulated Sugar and Light Brown Sugar (you can use dark brown sugar) give these brownies their sweetness. Adding brown sugar to the white also adds some chewiness and fudginess to the brownie.
Eggs - I now use a New Zealand size 6 egg, around the same size as Australian and South African Large Eggs, but closer to a US/Europe Medium-sized egg.
Plain flour (all-purpose flour/standard grade flour) refers to flour that has a protein content of approximately 9.5-12%.
Red Food coloring - I used liquid red food coloring, but you can use gel food coloring if you prefer.
Unsweetened cocoa powder adds that delicious chocolate flavor. I recommend using Dutch-processed cocoa powder for general home baking. I use Cadbury Bournville cocoa powder.
Salt is a crucial ingredient in all baked goods. I use table salt in all my recipes. One teaspoon of table salt equals 1.5 teaspoons of Morton Kosher Salt, which equals 2 teaspoons of Diamond Crystal.
Vanilla extract enhances the flavors of the other ingredients in the recipe and is a cornerstone ingredient in baked goods and desserts containing eggs.
White Vinegar adds a bit of tang to this brownie. This is to mimic the acidity of buttermilk, which is added to red velvet cake, and to impart the red velvet flavor. I used white wine vinegar.
White chocolate chips/chunks add another dimension of sweetness and a pretty contrast to the dark red brownie batter. This can be substituted with milk or dark chocolate chunks. I used Whittaker's white chocolate block, and, as with dark chocolate, I think using a chocolate you enjoy is key to a delicious brownie.
Room Temperature Ingredients
Use room-temperature ingredients! Using room-temperature ingredients ensures the batter or dough incorporates more easily. Note that room temperature is approximately 20 °C (68°F).
- To bring eggs to room temperature quickly, place them in warm water for about 10 to 15 minutes.
Weighing & Measuring Ingredients
Weighing ingredients with a kitchen scale is more accurate than using measuring cups. All my recipes are developed and tested using grams only.
However, I have activated the metric-to-cup conversions. Simply click on "cups" or "metric" for your preferred measurements. For these conversions, cups are equal to 240 millilitres/8 fluid ounces, tablespoons are 15 milliliters and teaspoons are 5mL.
Reduced-Sugar Variation
Brownies and blondies rely heavily on sugar for the overall texture. So I would not be tempted to change the sugar content in the base brownie itself.
However, if I were looking to reduce the sugar content, I would likely omit or reduce the white chocolate in this brownie.
Small-Batch Red Velvet Brownies
A small batch of Red Velvet Brownies can be made by halving the recipe and baking in a regular loaf tin, as per the instructions. The recipe card includes a handy "½" button next to the ingredients.
Step-by-Step Instructions
Step 1 - Preheat the oven to 180°C/355°F. Grease and line an 8-inch square pan with baking/parchment paper. Let the baking paper hang over the sides to make it easier to remove the brownie after baking and cooling.
Step 2 - In a large mixing bowl, melt the butter and chocolate in the microwave, over low heat on the stove, or in a bain-marie. Whisk the melted butter and chocolate together until smooth and shiny.
Step 3 - Add the white and brown sugar to the chocolate-butter mixture and beat in until mostly dissolved. This may require additional heating in the microwave or over low heat.
Step 4 - Add in the eggs. Beat on medium speed for 3 to 5 minutes using an electric hand mixer. Or really whisk vigorously by hand for several minutes.
NOTE - The vigorous whisking helps the brownie develop a crackly top.
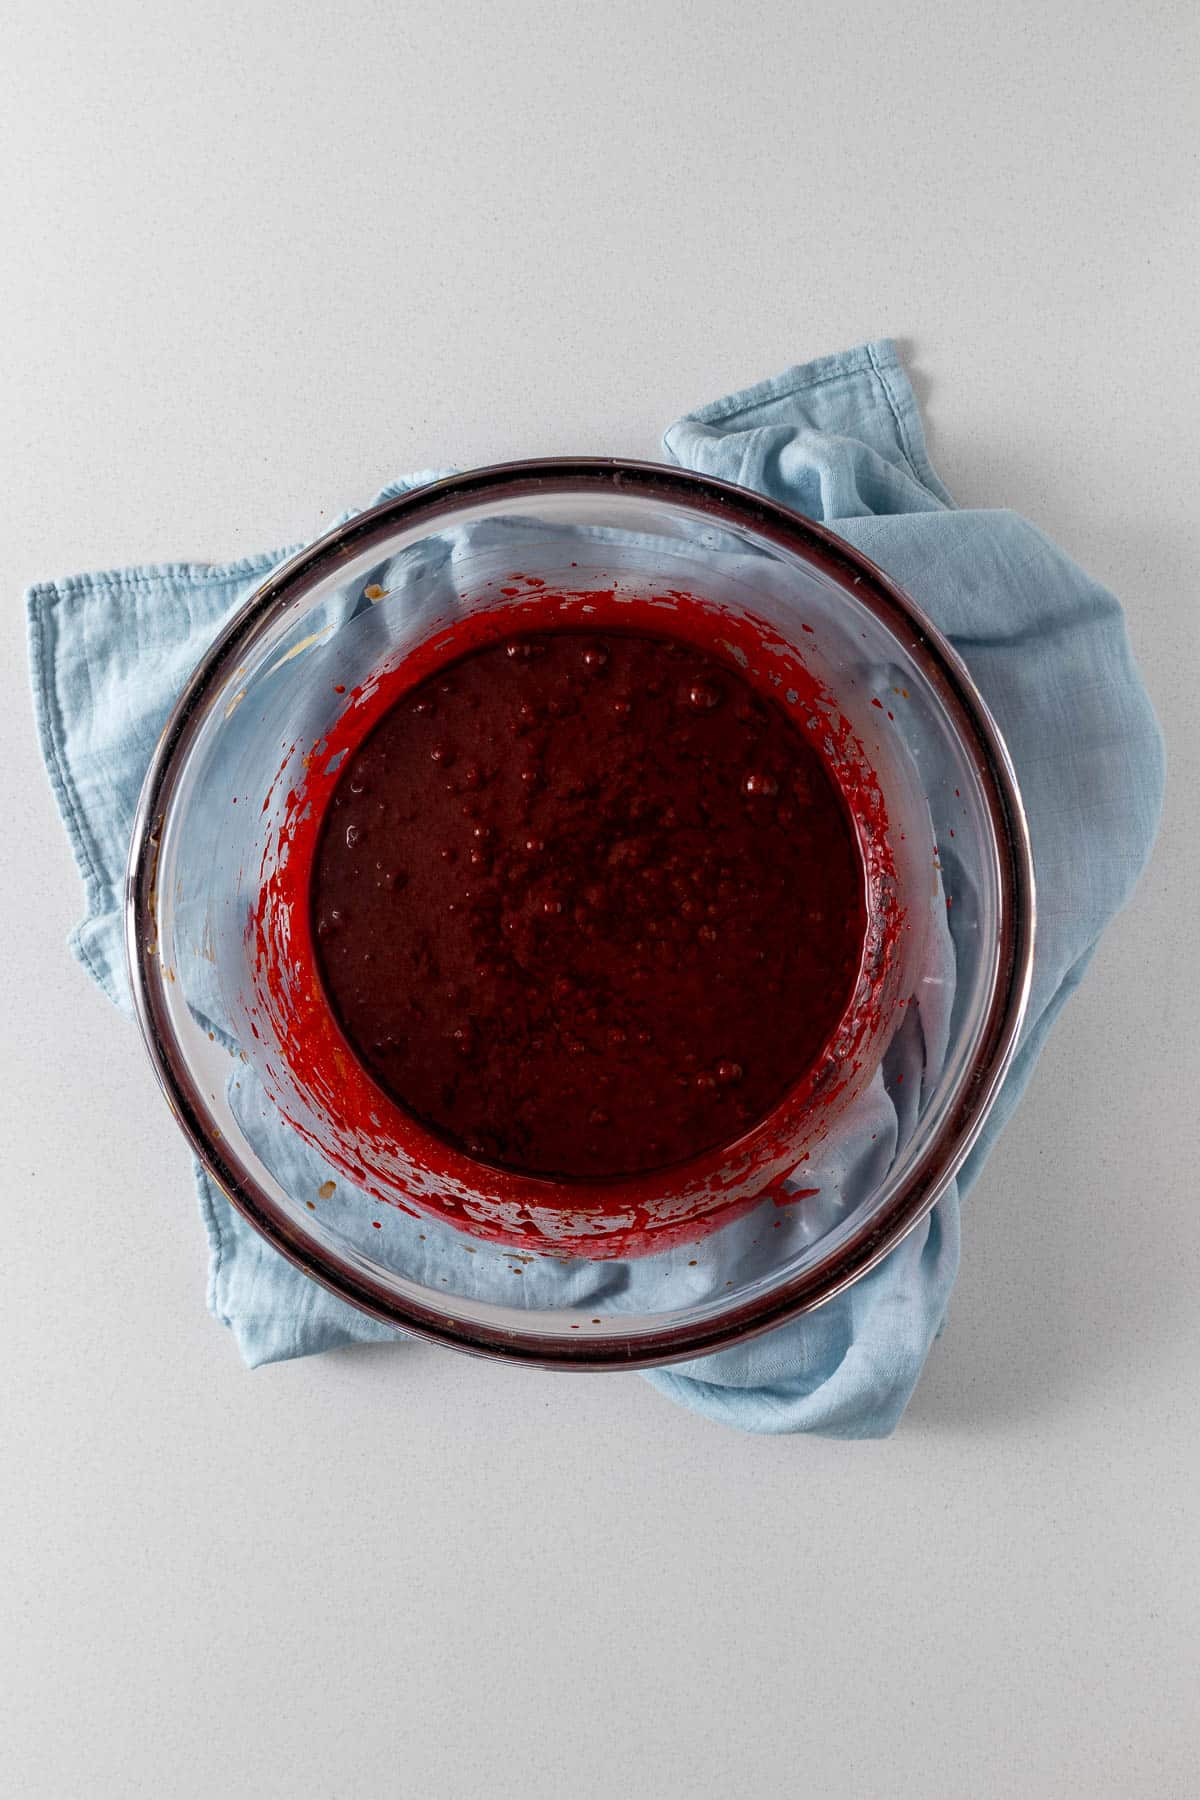
Step 5 - Add in the vanilla, vinegar, and food coloring. Mix in until combined.
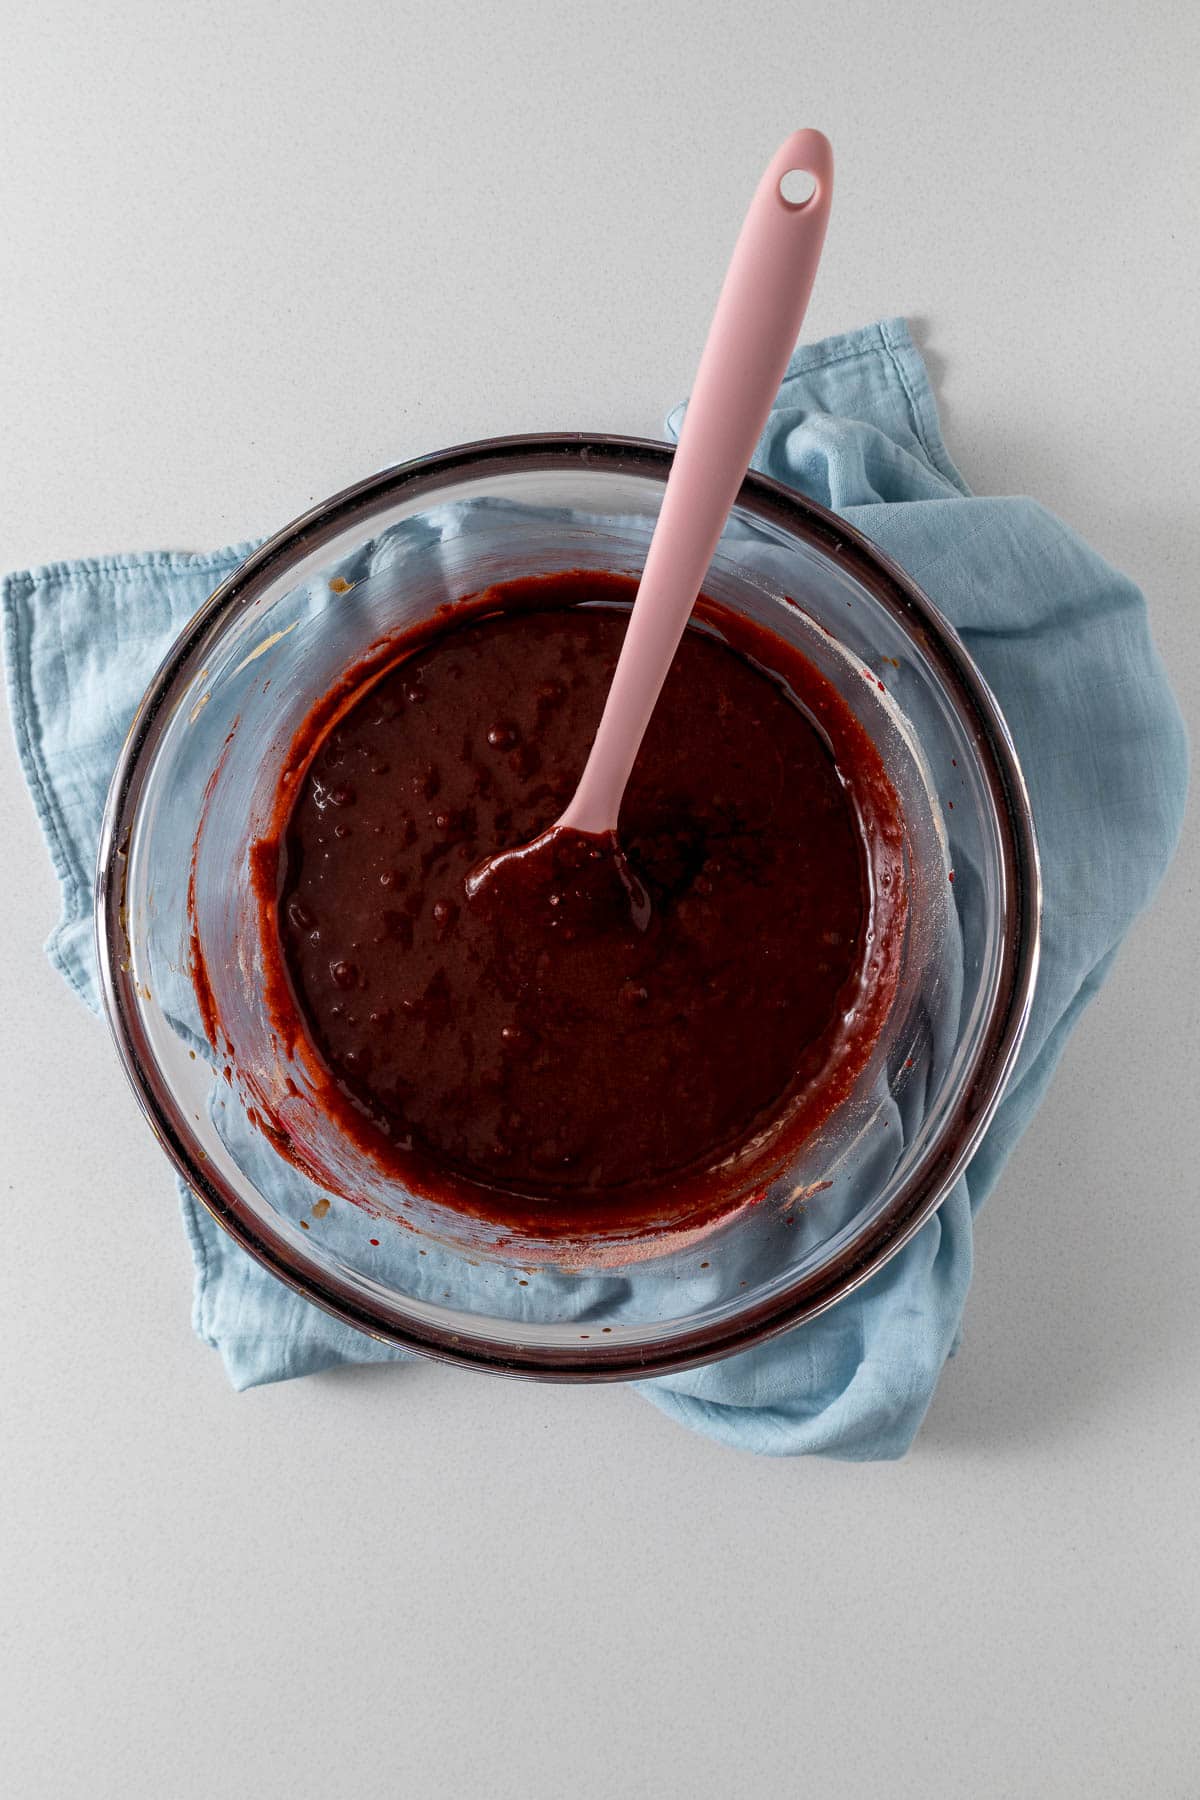
Step 6 - Add in the cocoa powder, flour, baking powder, and salt. Fold in with a wooden spoon or rubber spatula until combined, and no more pockets of flour are seen.
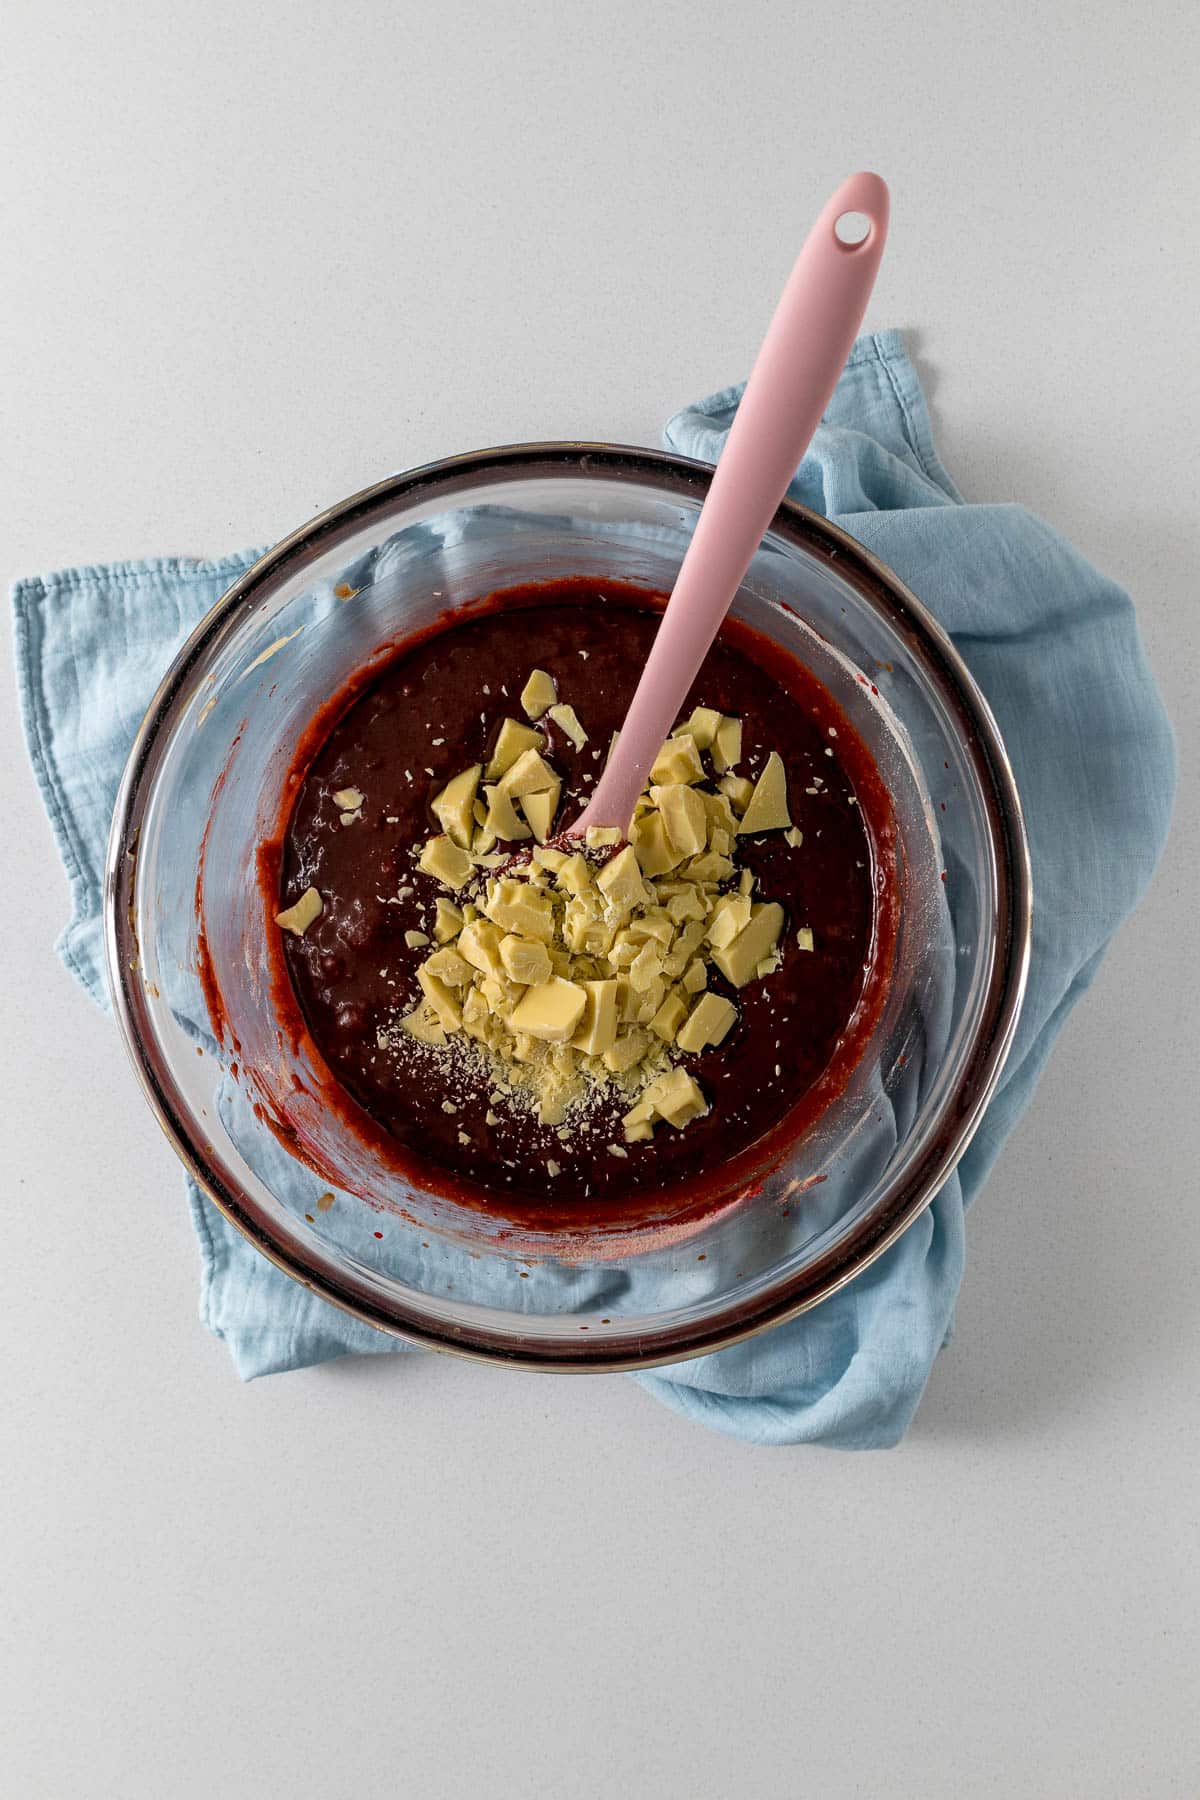
Step 7 - Toss in the white chocolate chunks and fold through to combine.
Step 8 - Pour the red velvet brownie batter into the prepared baking pan. Allow to sit for 5 minutes, then tap the counter to bring any bubbles to the surface.
Step 9 - Bake in the preheated oven for 25-30 minutes. The brownie is done when a cake tester/toothpick comes out with a few crumbs. Mine were done in 25 minutes. Allow the brownie to cool completely before lifting it out of the pan and slicing.
Expert Tips for this Recipe
- Read the recipe completely before beginning.
- Whisking the eggs or beating the eggs into the mixture is what gives the brownies their beautiful, thin, crackly tops.
- If you think the white chocolate chunks will be too sweet, you can either substitute them for dark chocolate or do a 50-50 dark chocolate to white chocolate chunk mixture.
Ovens & Air Fryers
The temperatures stated are for conventional ovens. For convection, fan-forced, fan-assisted, or air-fryers, the temperature must be reduced by 20°C/25°F.
For baking, make sure the oven is fully preheated, and that the rack is in the middle of the oven. Open the oven as little as possible. For best baking results use an oven thermometer.
Remember that all ovens work slightly differently and bake times may need to be adjusted for your specific oven.
Storage and Freezing
These brownies can be stored in an airtight container at room temperature for up to 3 days, or in the fridge for up to a week. This Biscoff brownie also freezes well, wrapped in plastic wrap and foil, or in an airtight container for up to 3 months. Allow to defrost in the fridge overnight before serving.
Red Velvet Brownies FAQ
I used an 8 x 8 Inch square cake pan (20cm x 20cm)
Yes! These brownies freeze really well. I like to slice mine and then freeze them in airtight containers. They can be frozen for up to 3 months. Allow to defrost overnight in the freezer before serving.
The brownies are done when the sides are firm, and a cake tester/toothpick comes out with just a few crumbs. It shouldn't look raw anymore.
I use Whittaker's for all my baking - it's a delicious, locally made chocolate. And I like using chocolate that I would eat by itself for baking because, honestly, IMO, it tastes better than baking chocolate for the final outcome.
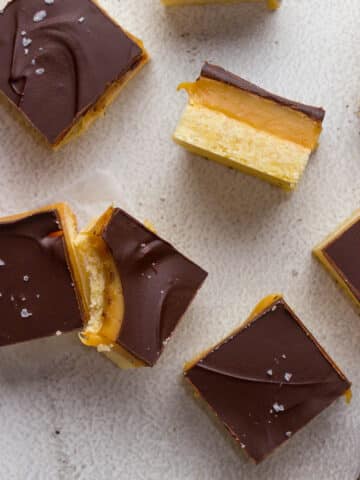
Other Recipes You May Like
Rate & Review!
If you made this recipe, please leave a star rating! It gives my readers and me helpful feedback. If you want more recipes, subscribe to my newsletter, and follow me on Instagram, Pinterest, and Facebook!
Recipe Card
Red Velvet Brownies
Equipment
- 8x8 Inch (20x20cm) Square Cake Pan
- Electric hand mixer
Ingredients
- ½ cup dark chocolate (62% - bittersweet: chunks, chips or chopped bar) *Note 3
- ¾ cup butter
- ¾ cup white granulated sugar
- ½ cup light brown sugar
- 2 eggs (Size 6/Med/large*note 1)
- 2 teaspoons vanilla extract
- 1-2 teaspoons white wine vinegar (dependent on your tangy requirements)
- 2 teaspoons red food coloring (liquid)
- 2 tablespoons unsweetened cocoa powder (Dutch-processed)
- ¼ teaspoons baking powder
- ½ teaspoons table salt
- ¾ cup plain flour
- 1 cup white chocolate (chips, chunks, discs, or chopped bar) *Note 4
Instructions
- Preheat the oven to 180°C/355°F. Grease and line an 8-inch square pan with baking/parchment paper. Let the baking paper hang over the sides to easily remove the brownie once baked and cooled.
- In a large mixing bowl, melt the butter and chocolate in the microwave or over low heat on the stove, or by using a bain-mairie method. Whisk the melted butter and chocolate together until smooth and shiny.½ cup dark chocolate , ¾ cup butter
- Add the white and brown sugar to the chocolate-butter mixture and beat in until mostly dissolved. This may require a little additional heating in the microwave or over low heat.¾ cup white granulated sugar, ½ cup light brown sugar
- Add in the eggs. Beat on medium speed for 3 to 5 minutes. *Note 22 eggs
- Add in the vanilla, vinegar, and food coloring. Mix in until combined.2 teaspoons vanilla extract, 1-2 teaspoons white wine vinegar, 2 teaspoons red food coloring
- Add in the cocoa powder, flour, baking powder, and salt. Fold in until combined and no more pockets of flour are seen.2 tablespoons unsweetened cocoa powder, ¼ teaspoons baking powder, ½ teaspoons table salt, ¾ cup plain flour
- Toss in the white chocolate chunks and fold through to combine.1 cup white chocolate
- Pour the red velvet brownie batter into the prepared baking pan. Allow to sit for 5 minutes, then tap on the counter to help bring any bubbles to the top.
- Bake in the preheated oven for 25-30 minutes. The brownie is done when a cake tester/toothpick comes out with a few crumbs on it. Mine were done at 25 minutes. Allow the brownie to cool completely before lifting out the pan and slicing.
Notes
- New Zealand size 6 eggs are around the same size as an Australian/South African Large or a US/Europe Medium.
- The vigorous whisking helps the brownie develop a crinkly top.
- Chocolate - use a chocolate you like to eat by itself.
- White chocolate can be quite sweet, so you can decrease the amount of white chocolate or even replace it with dark chocolate for a deeper chocolate flavor.
Storage and Freezing
These brownies can be stored in an airtight container for up to 3 days at room temperature, or up to a week in the fridge. This Biscoff brownie also freezes well, wrapped in plastic wrap and foil, or in an airtight container for up to 3 months. Allow to defrost in the fridge overnight before serving.Nutrition
Nutrition information is an estimate. If scaling the recipe remember to scale your cook and bakeware accordingly. All temperatures stated are conventional, unless otherwise stated. Recipes tested in grams and at sea level.
ava says
1) in an 8x8 the middle did not cook all the way through, a 9x9 at 380F and cooked for 22 minutes worked perfectly.
2) i used cream cheese chocolate chips instead and it was so good !!
3) overall the brownies are delicious either way would recommend !
Mary-Lou says
Hi,
Thank you for your feedback. I'm glad you found the brownies delicious!