


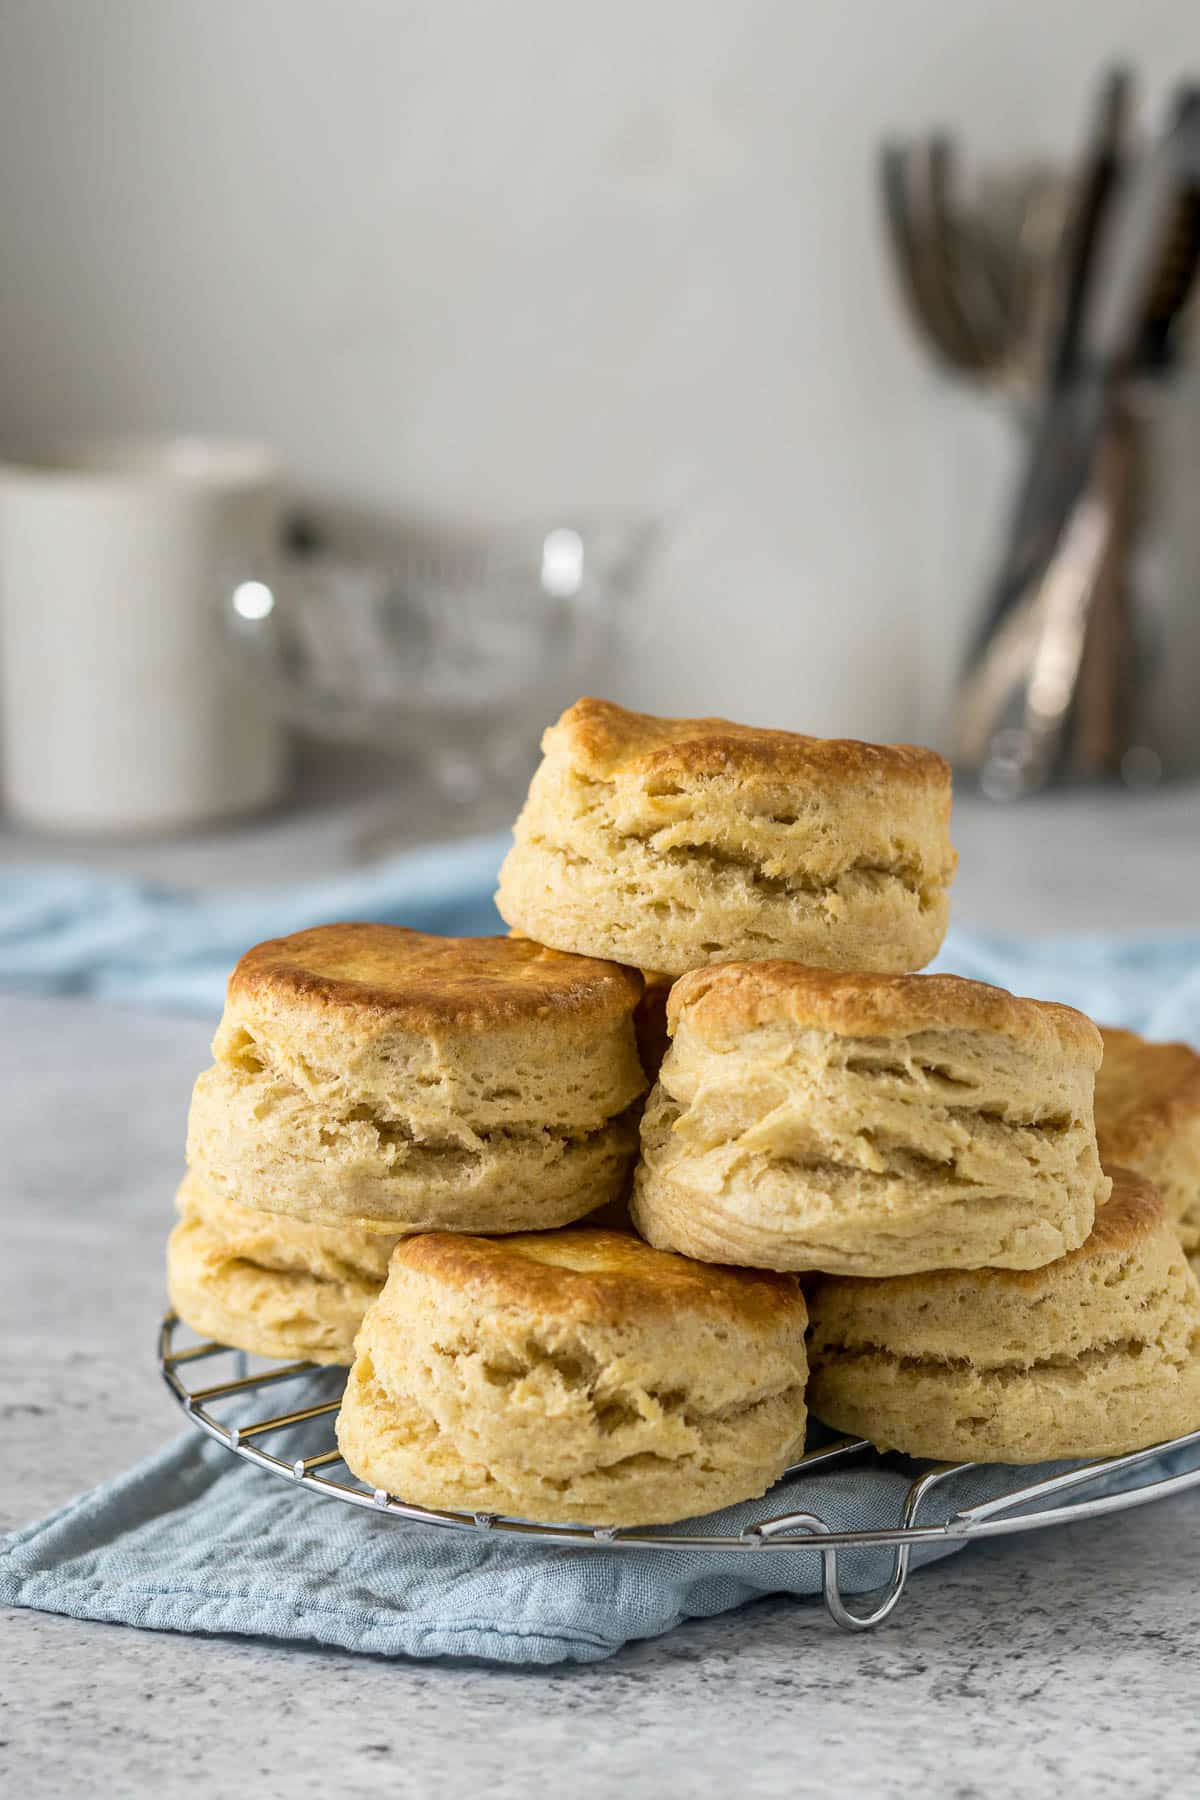
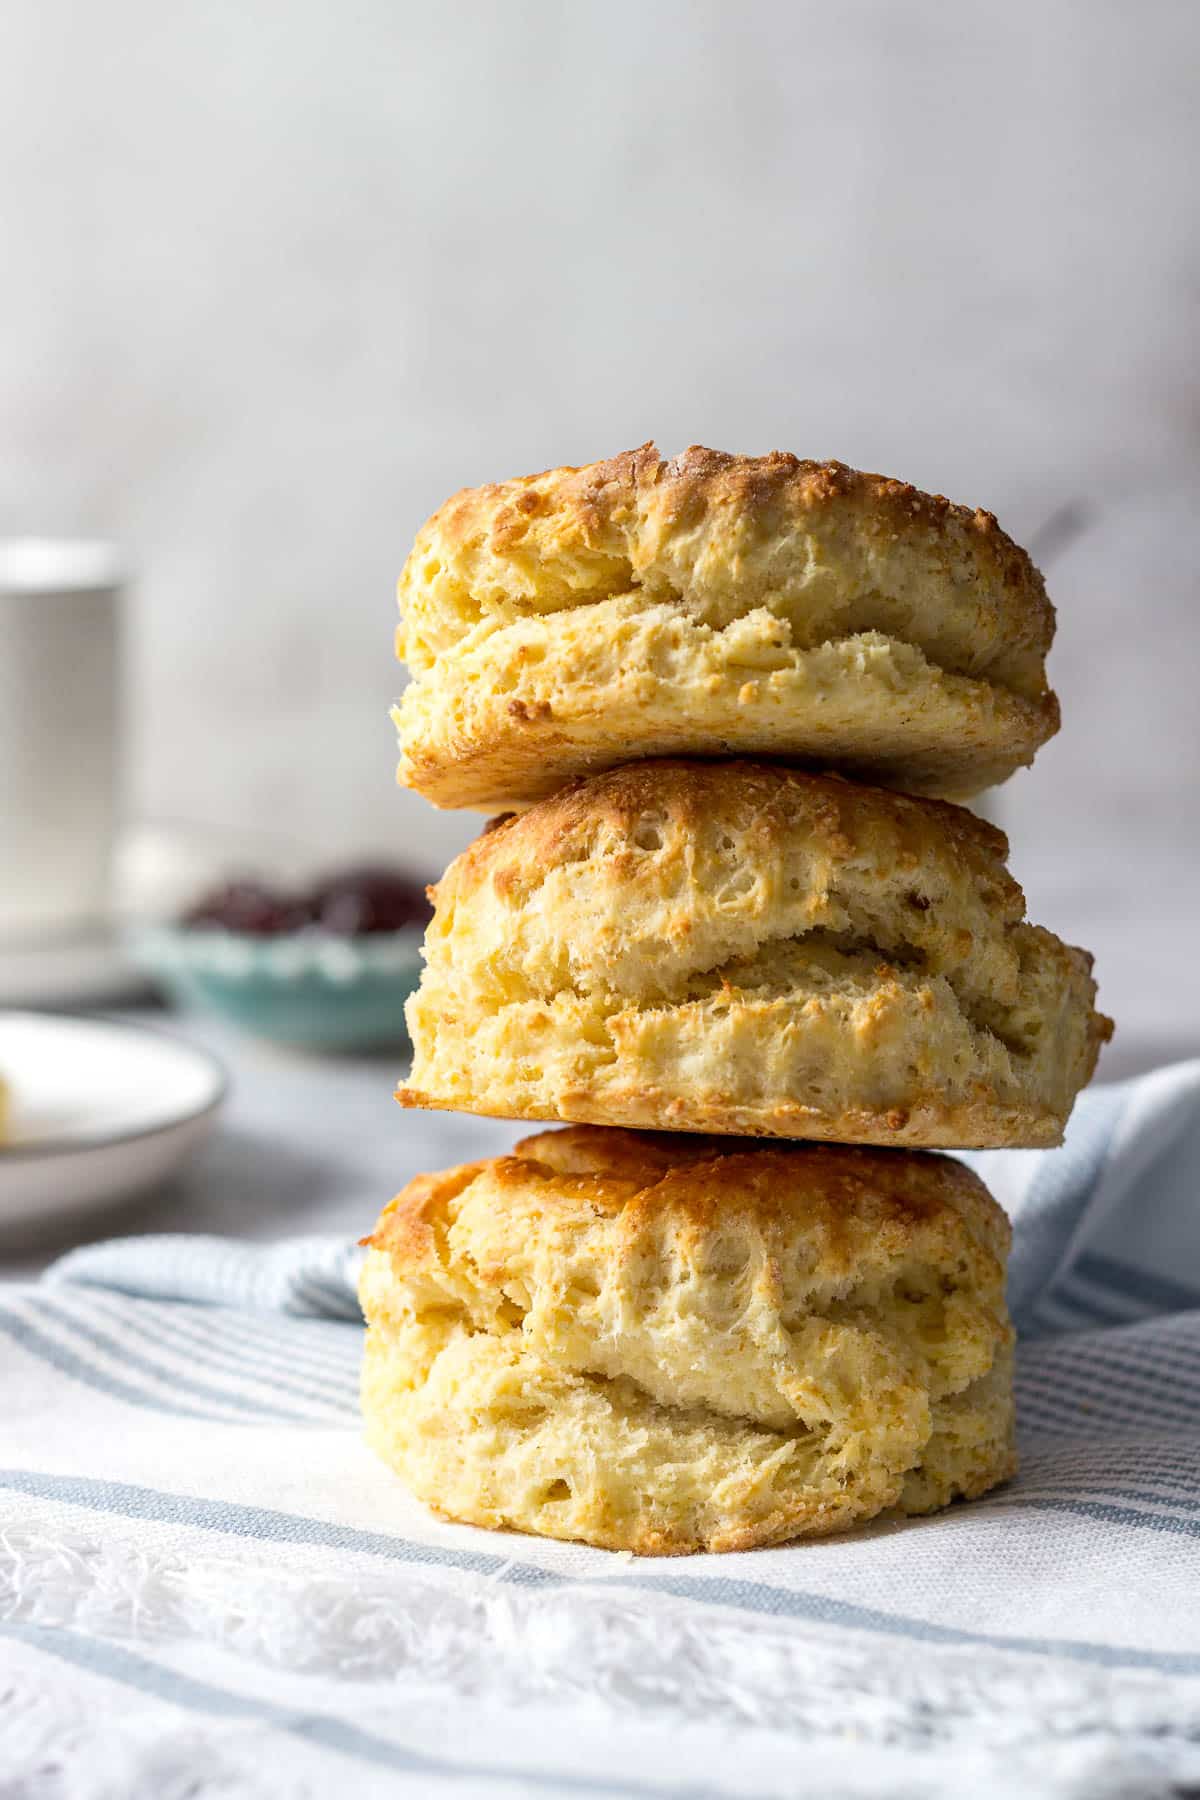
These foolproof big fluffy scones are golden brown, tender, light, and absolutely delicious! They can be served with the traditional jam and cream, or can be enjoyed completely savory with some butter, cheese, or maybe even a little bit of pesto!
What are scones?
A scone is simply a baked good that is either sweet or savory, made from flour (wheat or oat), butter, baking powder (or soda), and milk. These tasty delights originated in Cornwall, England. But are enjoyed in my home country of South Africa, and are popular here in New Zealand, and Australia.
This is my South African scone recipe that is pretty much a British or English scone recipe.
British Scones vs American Scones
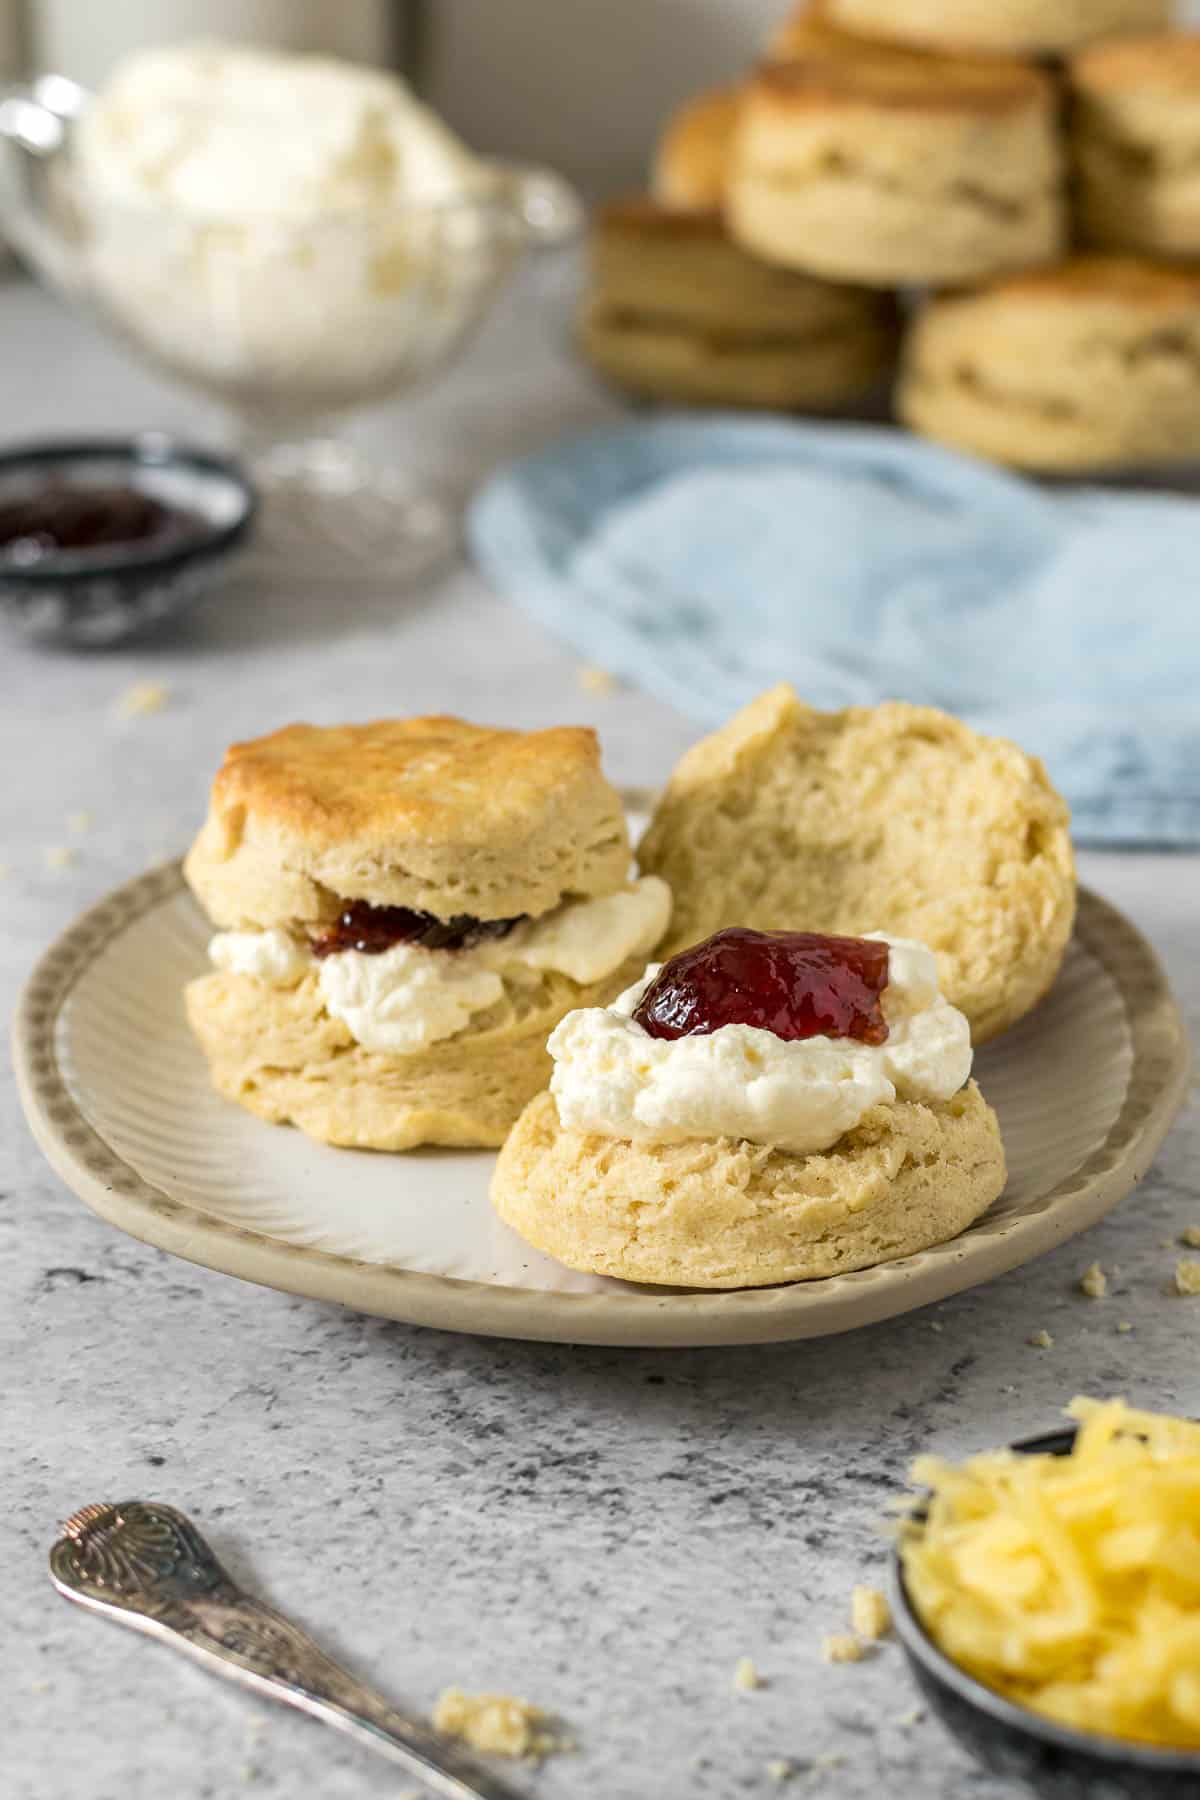
British scones, which are the same types of scones traditionally enjoyed in South Africa and New Zealand, are generally very simple, contain very few ingredients, and are served with cream and jam.
In South Africa, if you order a scone at a coffee shop or restaurant, the scones may be served with butter, jam, cream, and cheese. And, I won't lie, I love the combo of sweet jam with savory cheese. Sweet and salty = yum in my book.
Savory scones are also fairly popular in South Africa, and here in New Zealand. And I really do love a savory scone - which is why I have cheese scones, cheese, and onion scones, as well as cheese and chives scone recipes as well!
American scones are designed to be enjoyed by themselves as a self-contained snack and are usually triangular in shape. They are sweeter and commonly contain additions such as spices, fruits, nuts, and chocolate chips, and sometimes contain a sugary top or icing glaze once the scone has baked.
Update Notes
What I wanted in my updated classic scone recipe:
- A foolproof big fluffy scones recipe for the masses that would work in any house.
- Being able to easily jump between metric and cup measurements - making this recipe and these delicious scones more accessible for you, my readers.
- Added moisture.
- To decrease the baking powder so that there could be a simple switch between plain flour and self-raising or self-rising flour. This decrease in baking powder also improves the flavor of the scones overall, IMO.
- I wanted this recipe to result in a big, tall, light, soft, and fluffy scone.
- To be a completely eggless scone - use milk to brush the tops of the scones to create that delicious brown top.
I forged ahead, made a few adjustments and I made the best scone I have ever had in my entire life. Like we were blown away.
Why This Recipe Works
- It's simple, it's easy and it results in a big fluffy scone.
- You can easily swap between plain and self-rising flour.
- I used milk to brush the tops of my scones, because who can waste eggs in this economy, so this scone is completely eggless.
Ingredients
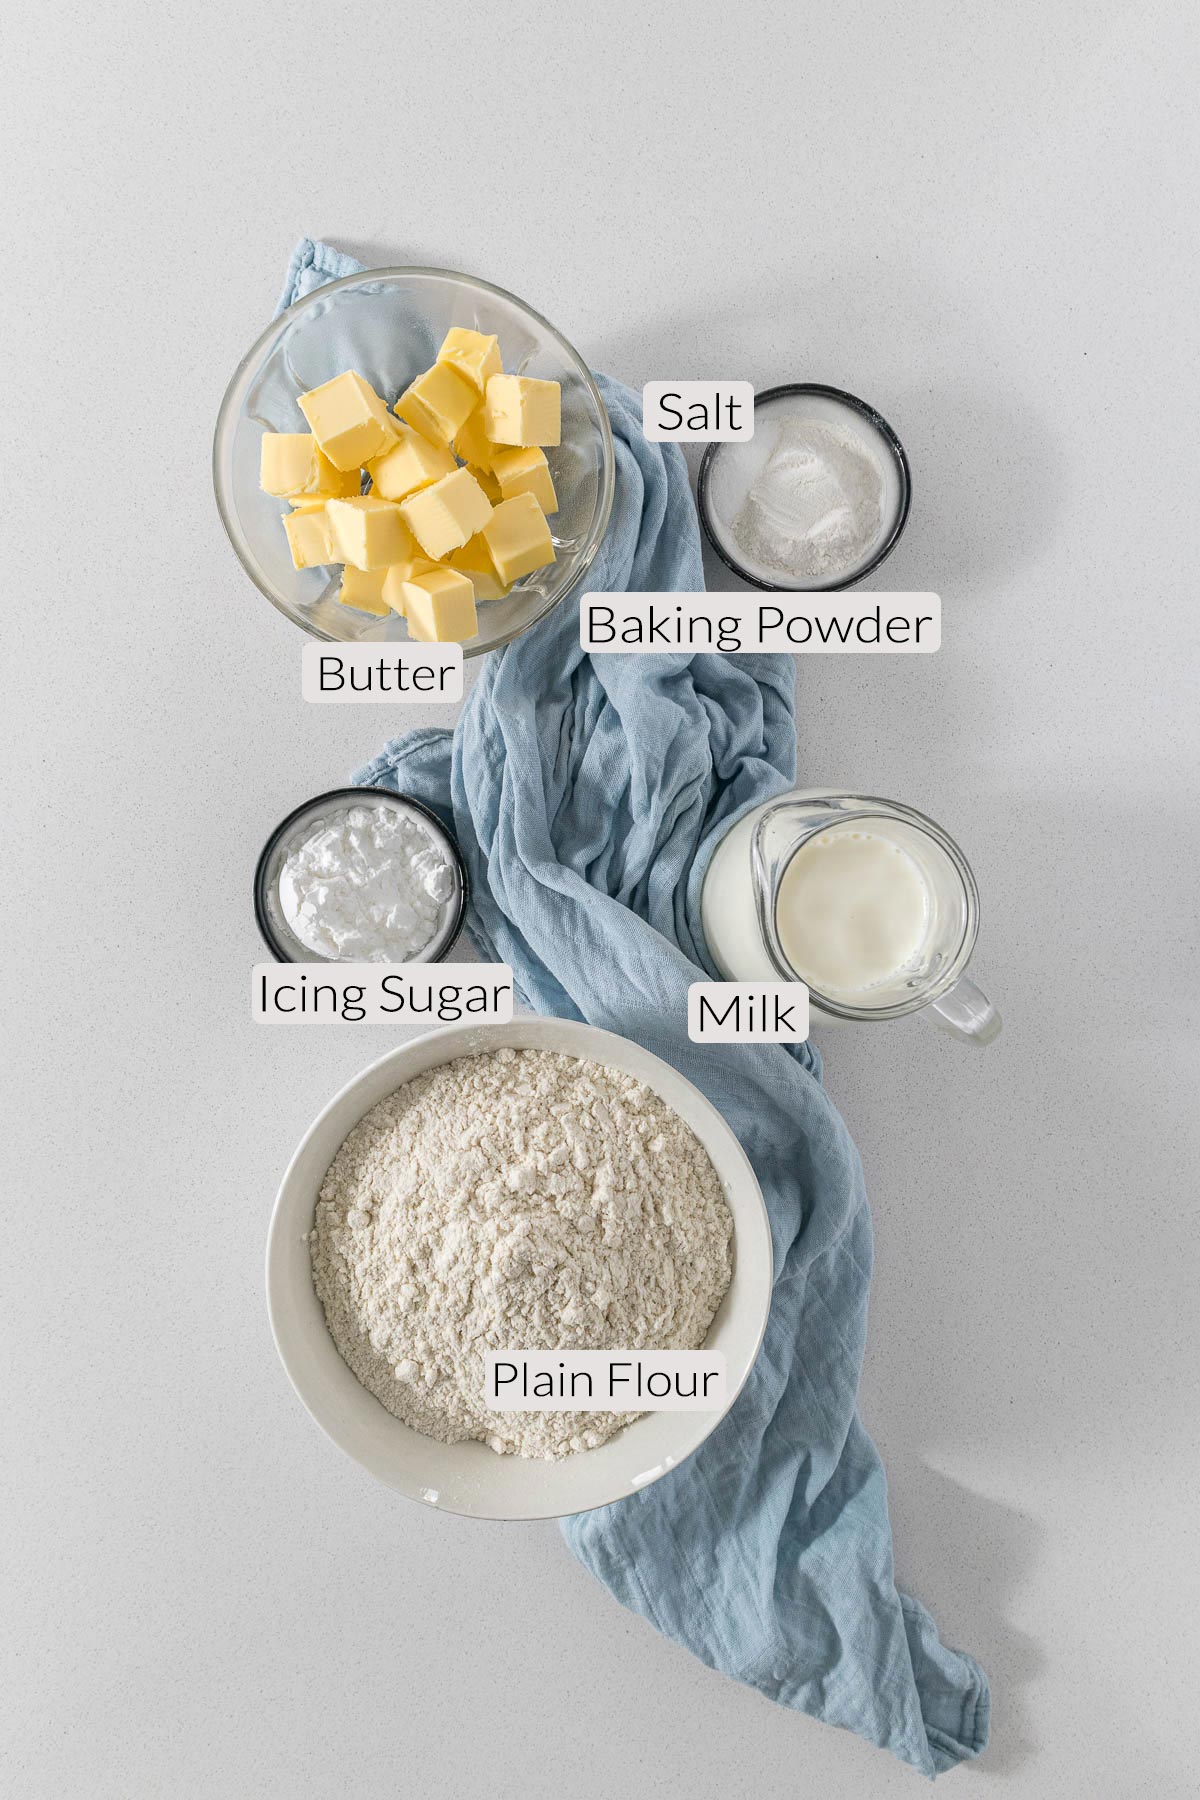
Flour - plain, standard grade, or all-purpose wheat flour. I have on occasion used bread flour in a pinch, being extra careful to not work the dough too much.
Make sure your baking powder is fresh (especially if you haven't bought some in a while) by placing a ½ teaspoon into a cup or bowl. Pour about a ¼ cup of boiling water over the baking powder. If it foams and bubbles it is still fresh.
Self-rising or self-raising flour substitute - to make these scones with self-rising or self-raising flour, simply substitute the plain flour with self-rising and leave out the baking powder.
Salt is a crucial ingredient in all baked goods. I use table salt in all my recipes. One teaspoon of table salt equals 1.5 teaspoons of Morton Kosher Salt equals 2 teaspoons of Diamond Crystal.
Butter - cold, but not hard, and cut into small squares about 1.5cm x 1.5cm. Smaller cubes allow for the butter to be worked into the flour a little bit more quickly. Butter adds flavor, softness, and moisture and acts as a leavening agent in these scones. I use New Zealand butter in my recipes, which has approximately 82% butterfat and can be very yellow (similar to European or Irish butter). Butter cannot be substituted with butter or margarine spreads, but it can be substituted with baking margarine.
Icing sugar is used to add the lightest touch of sweetness with the starch stabilizer of the icing sugar adding a lightness to the scone dough overall. Icing sugar can be substituted with caster or plain sugar.
Milk - whole (standard) or low-fat (trim) milk varieties will work just fine.
Step-by-Step Instructions
Step 1 - Preheat the oven to 200°C/390°F. Line a baking tray with baking paper and set aside.
Step 2 - In a large mixing bowl, whisk together the flour, baking powder, icing sugar, and salt. This makes sure everything is evenly distributed throughout the flour.
Step 3 - Cut the butter into a small square and toss it into the flour. Rub the butter into the flour using your fingers. This basically constitutes squeezing the butter in the flour between your thumb and forefinger. Do this until there are only pea-sized pieces of butter left.

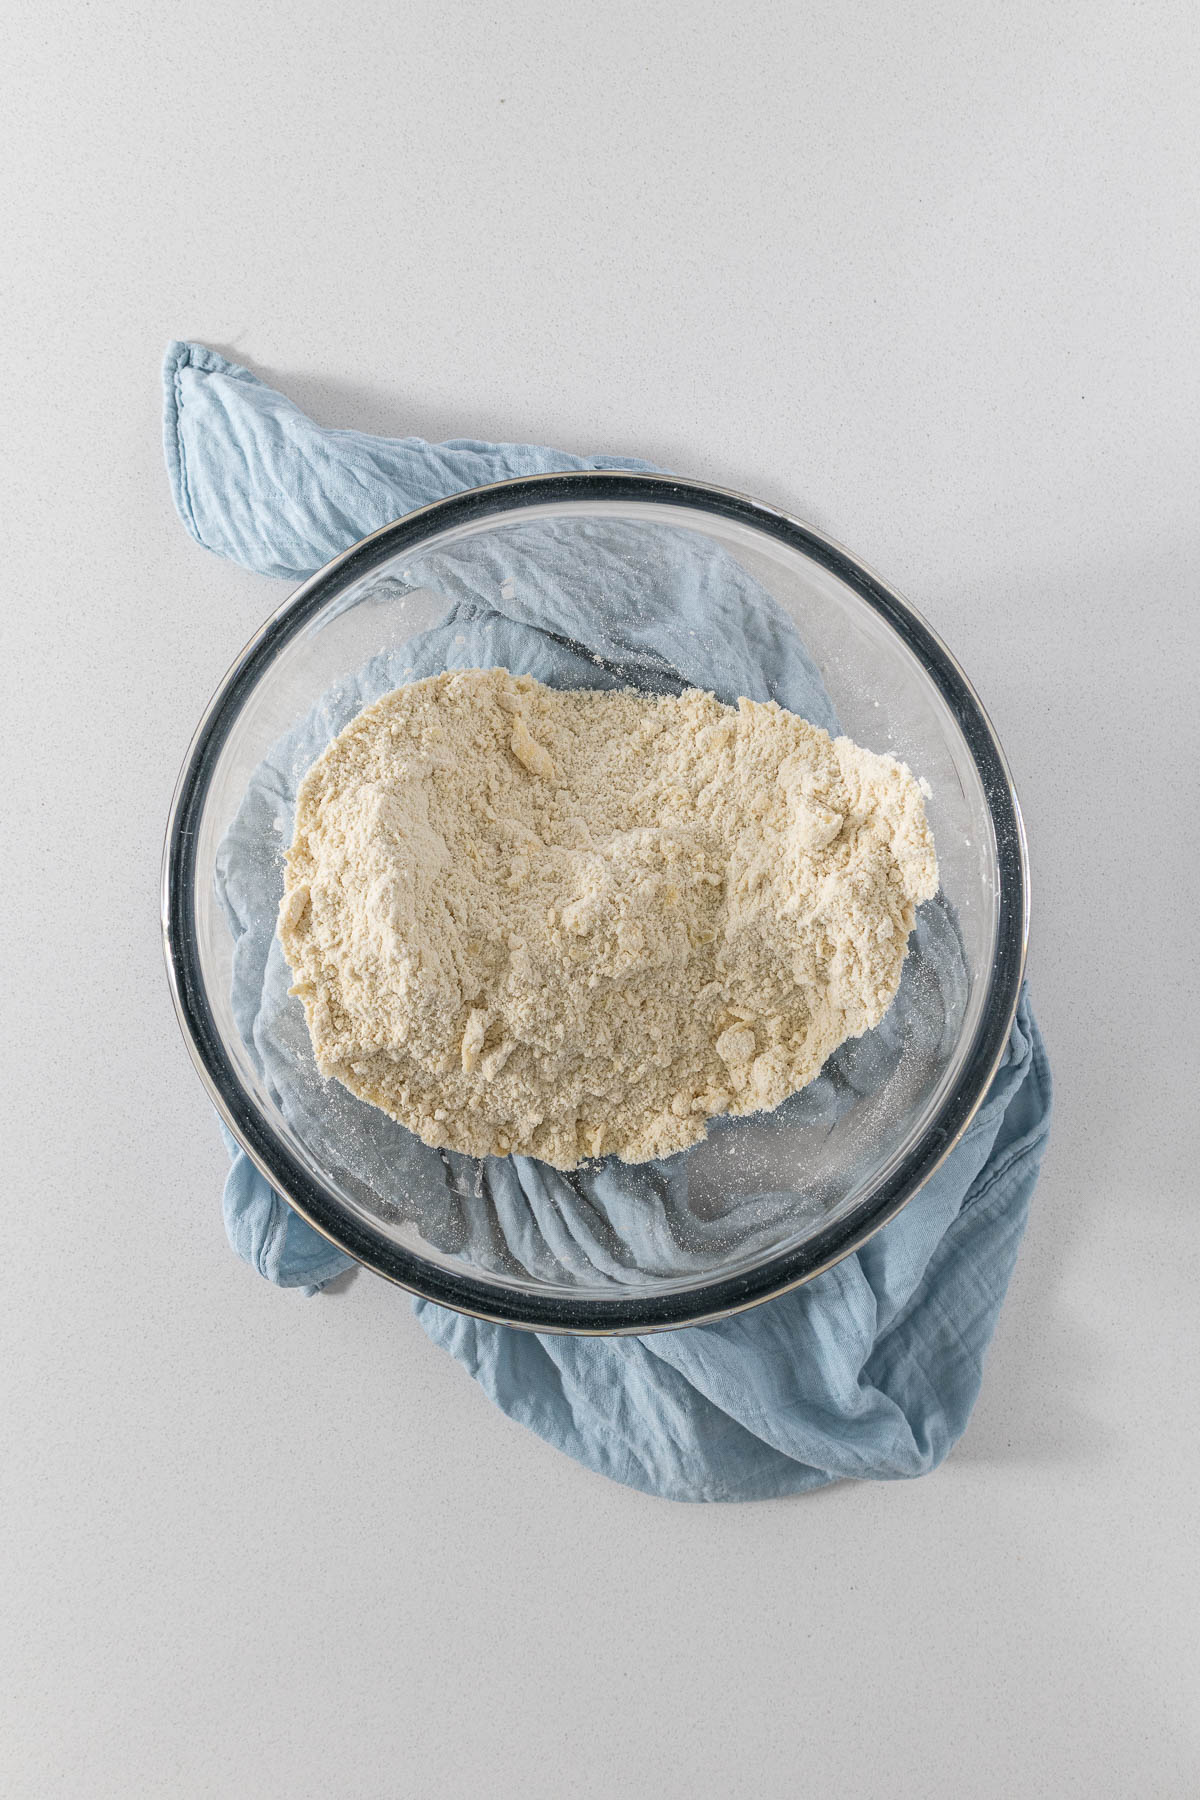
Step 4 - Pour the milk into the flour mixture and mix through with a fork. Do not overwork or overmix the scone dough. The scone dough will be sticky and wet.
Step 5 - Flour the kitchen counter quite liberally. Place the dough onto the flour and then sprinkle more flour over the top of the dough. Pat the dough together into a rough square or triangle.
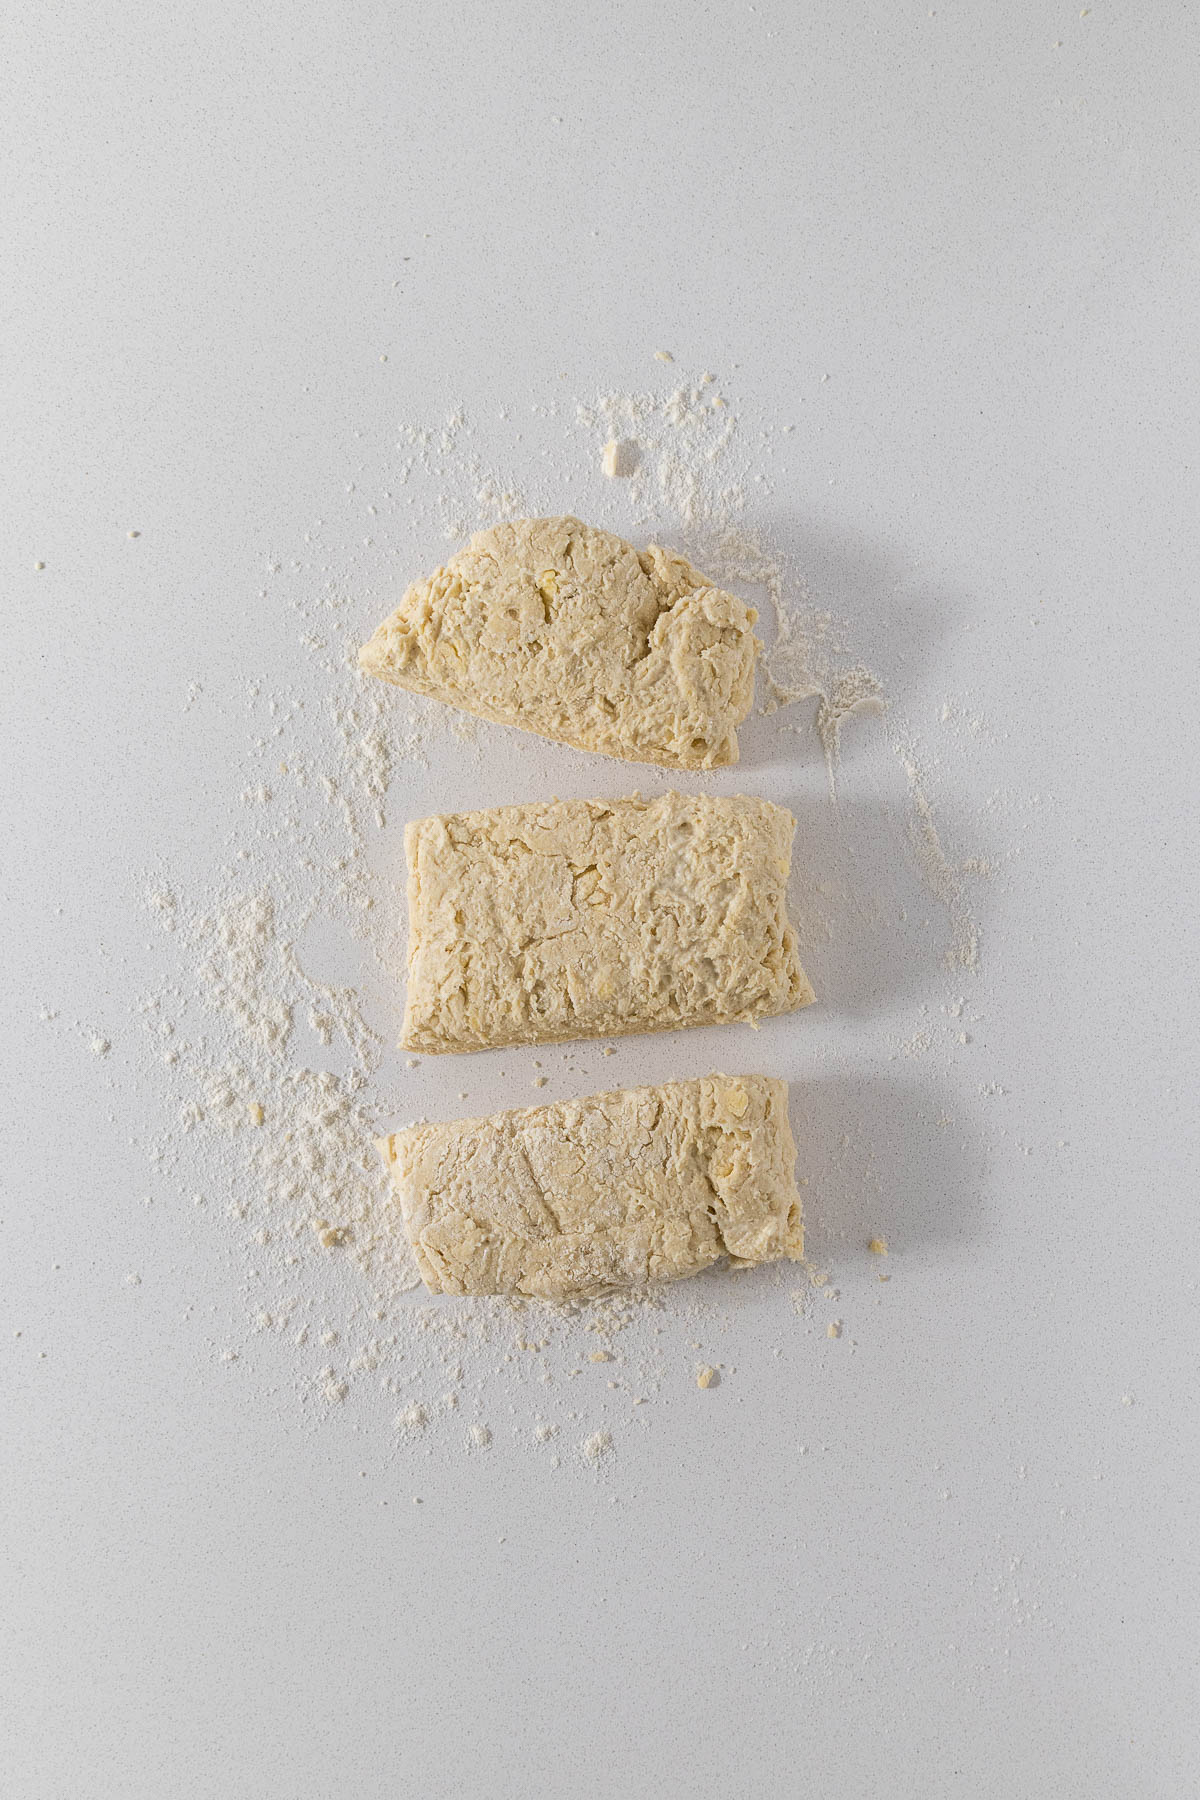
Step 6 - Using a bench scraper or knife and spatula. Cut the dough into 3, lift the two outer edges, and place them in the middle. Press the dough down until about 3cm tall. Repeat this step 2 more times, adding more flour to the counter and top of the scone dough if required.
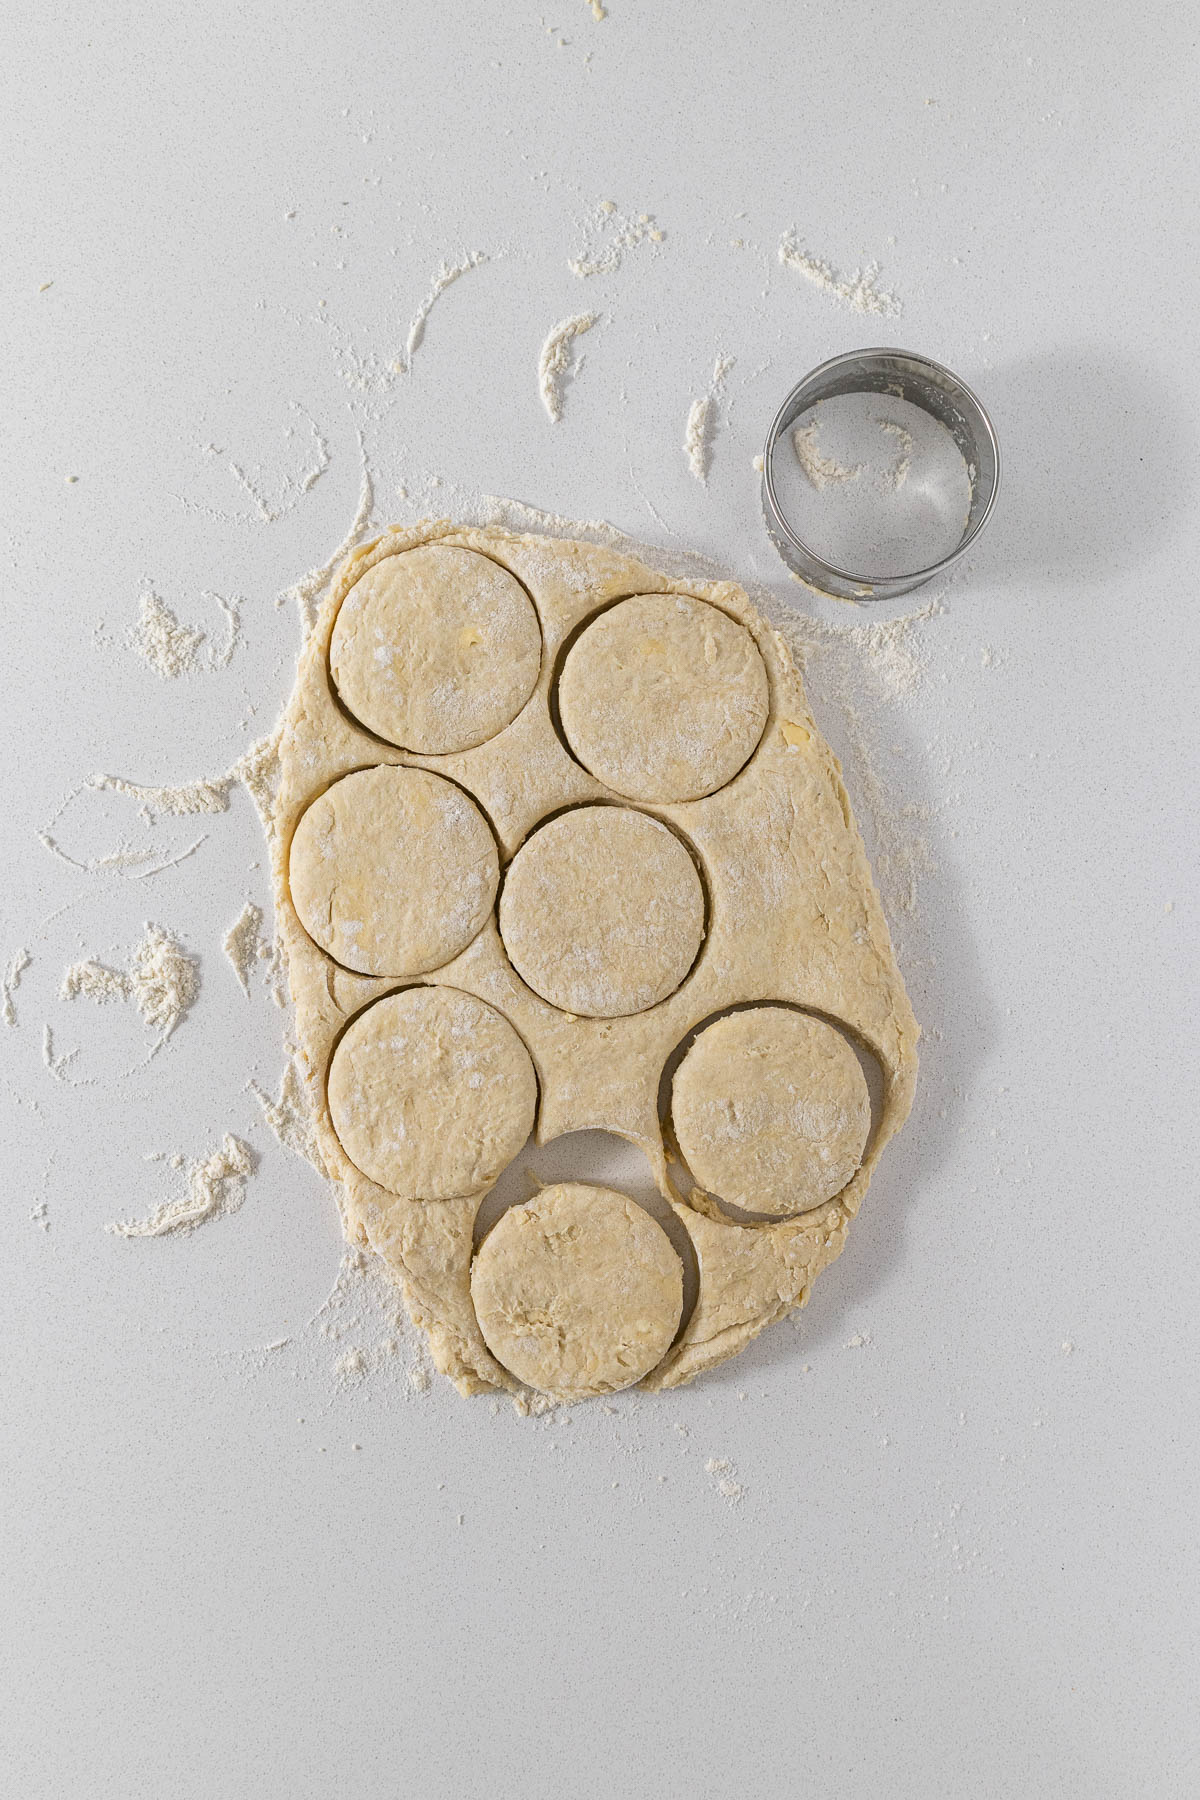
Step 7 - Press the dough down or roll it out using a rolling pin until it is about 2cm tall. Then cut out the scones using a cookie cutter (7cm/3"). Place the scones on the baking tray.
Step 8 - Bring together the leftover dough. I like to squash it together, and then I take my bench scraper, cut it in half, place one half on top of the other and press down until it is 2cm tall. Cut out additional scones and repeat if necessary.
NOTE - I use a round cookie cutter that is 7cm in diameter (about 3"). Press down the cookie cutter through the dough and do not twist the dough. For smaller scones about an inch in diameter, only bake for 10 to 15 minutes.
NOTE - for a nice even rise in the scone, the dough must be fairly even. If one side is shorter than the other, it will rise into an uneven scone. This will still be delicious.
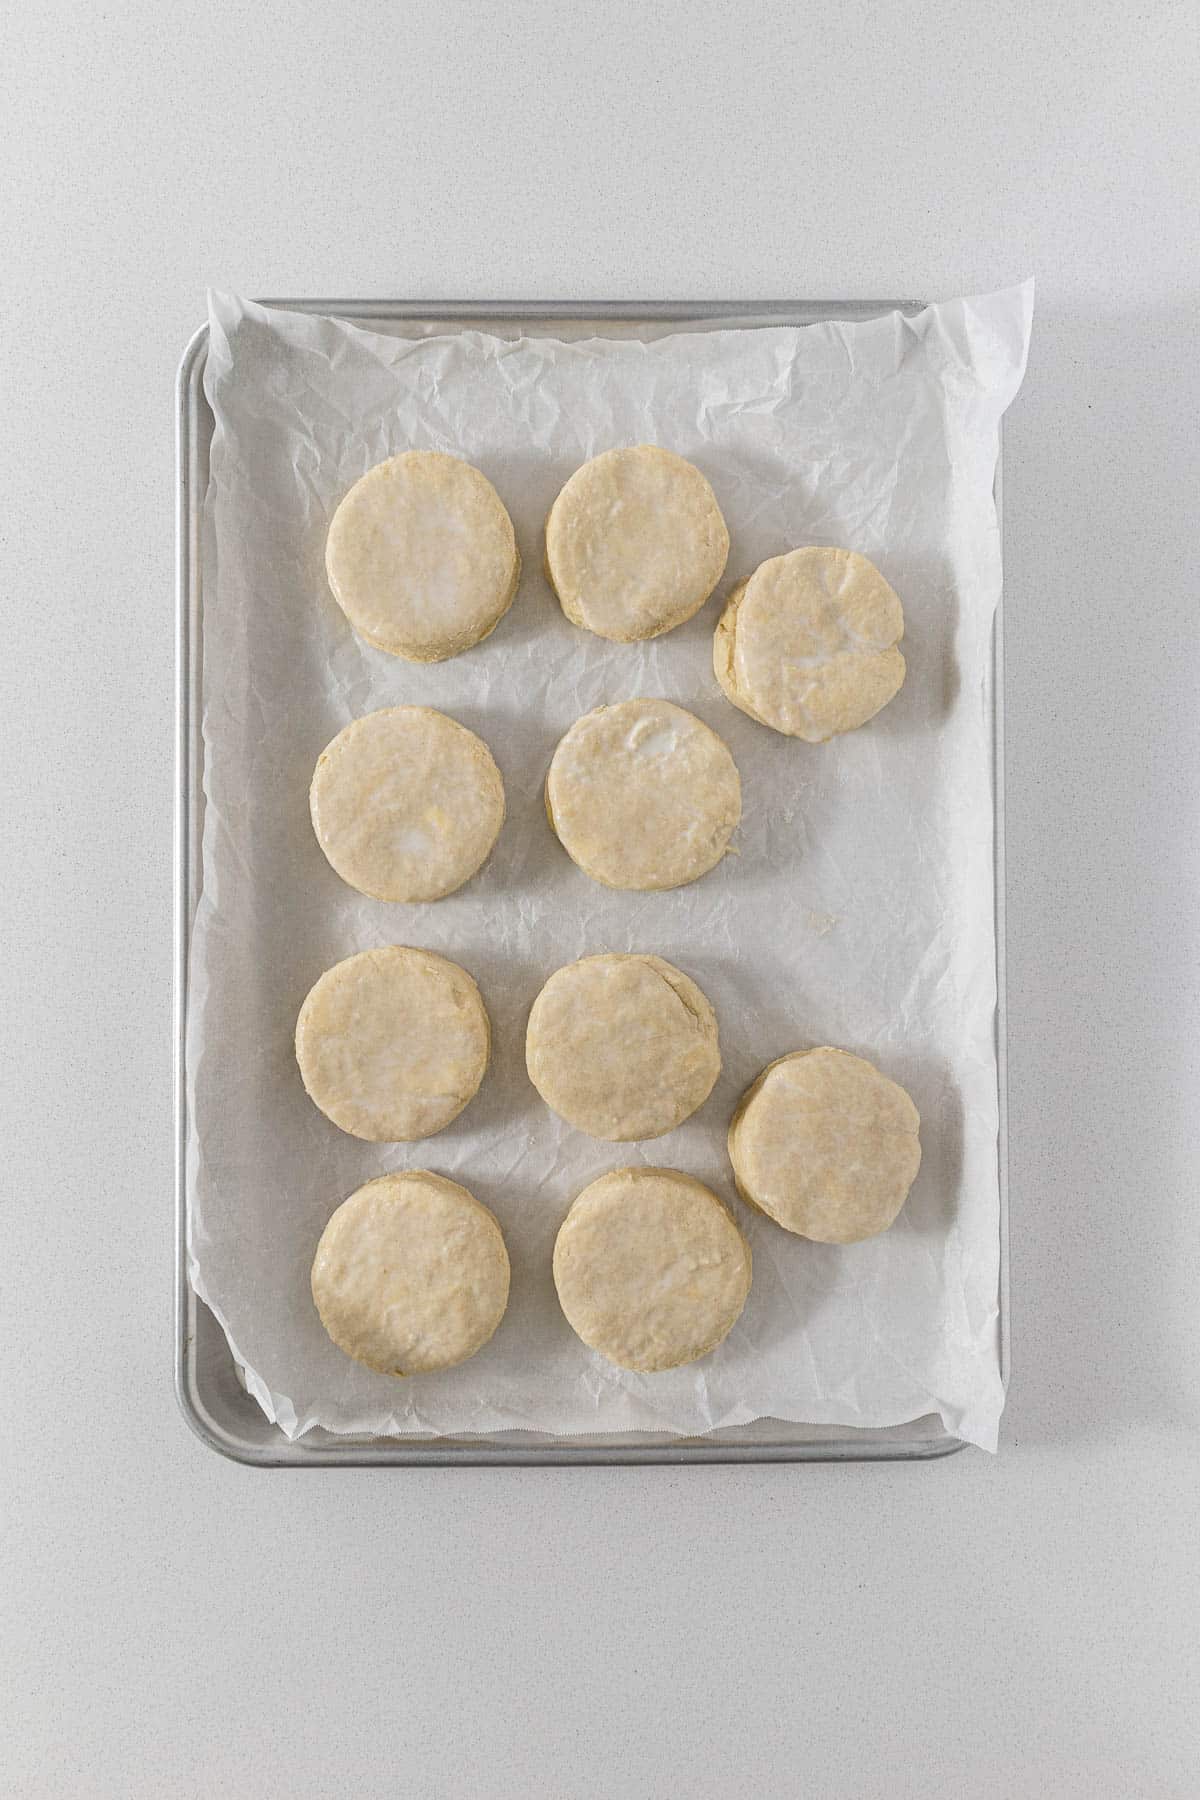
Step 9 - Using a pastry brush, brush the tops of the scones with milk. Try to avoid the milk dripping down the sides. Bake for 20 minutes.
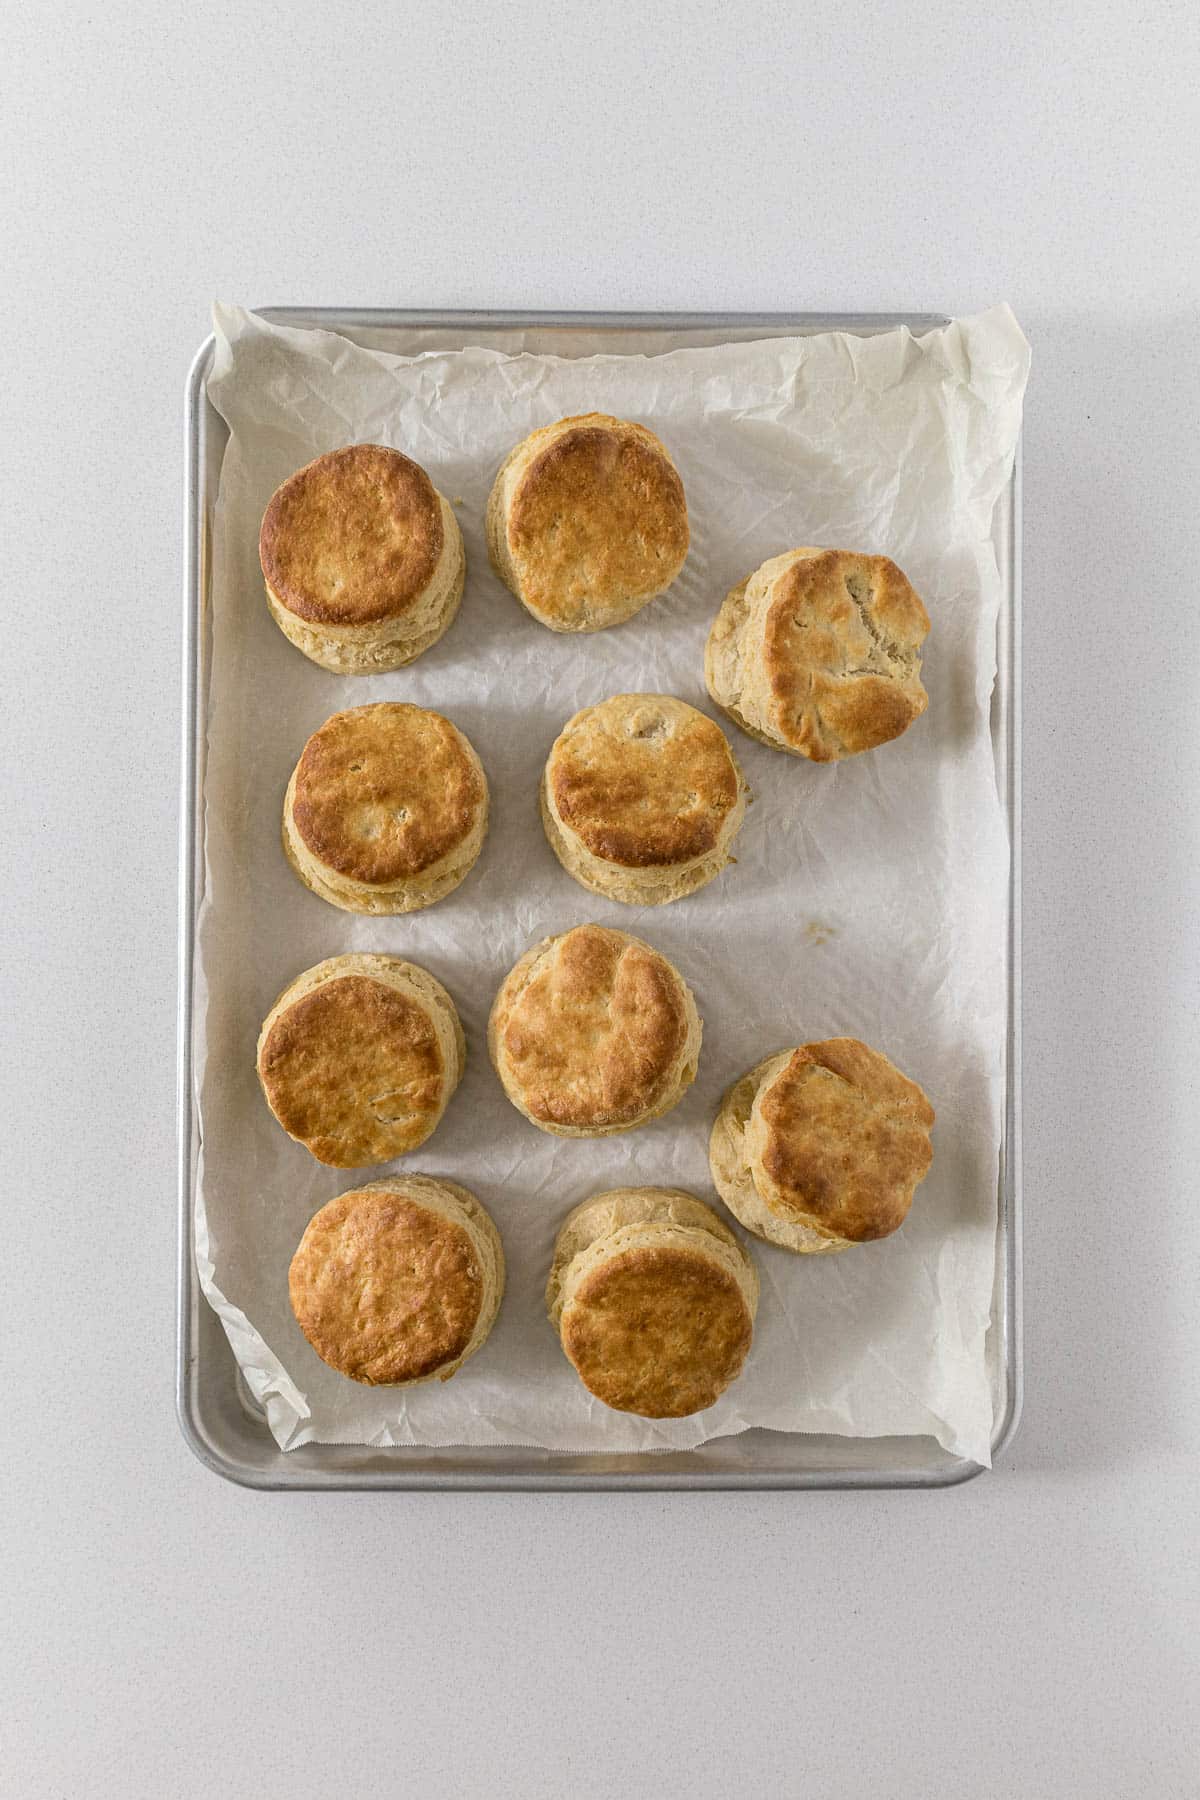
Step 10 - Allow the scones to cool for a few minutes before serving them with whipped or clotted cream, jam, butter, and some grated cheese.
Pro Tips for this Recipe
Cold ingredients for scones are a must. The butter should be cold (but not hard), as well as the milk.
Rubbing in the butter is an important step. As the butter is rubbed into the flour, it coats the flour, which inhibits gluten formation, keeping the scones tender. The chunks of butter that are not completely rubbed in (the pea-sized pieces of butter) will also release steam when baked, leading to those soft, flakey, tender layers in the scone.
BUT - if your butter is a bit warmer than cold, and you have a stand mixer, use the paddle attachment on a low speed to rub the butter in.
Handle the scone dough as little as possible.
Make sure the oven is properly preheated before baking the scones.
Ovens and Air-Fryers
The temperatures stated are for conventional ovens. For convection, fan-forced, fan-assisted, or air-fryers, the temperature must be reduced by 20°C/25°F, or the gas mark by 1.
For baking, a general rule is to have the oven rack in the middle of the oven.
For best baking results invest in an oven thermometer, as the temperature dials on the oven may not be accurate. Place the thermometer in the middle of the center rack for the most accurate results. I hang my oven thermometer off the center of my oven rack.
Keep in mind that all ovens work slightly differently and bake times may need to be adjusted slightly for your specific oven.
Storage and Freezing
Store the baked scones in an airtight container for up to 3 days. To heat up the scones, simply pop them into the microwave for 10-20 seconds.
Scone dough can be frozen for up to 3 months. Store the cutout scones between layers of baking paper. Allow the scones to come to room temperature while the oven preheats, they don't need to be fully defrosted.
Baked scones can be frozen in an airtight container for up to 3 months. Allow the scones to defrost before serving. Scones can be heated in the microwave before serving.
Frequently Asked Questions
Either jam or cream first on scones is perfectly acceptable. The Cornish method insists on jam then cream, while the Devon method is cream then jam.
Yes. The trick is to first cut the scones in the desired shape and freeze them on a baking sheet covered in a layer of cling film. Once they are frozen solid, wrap each scone individually in cling film, place in your desired container and store in the freezer for up to 3 weeks. Let the scones come to room temperature while your oven is preheating.
Yes. Once you have made your dough and shaped your scones (cut into the desired shape) you can place the scones in the fridge overnight (covered in clingfilm or in an airtight container). Or the dough can be frozen.
The main difference between scones and biscuits is that scones are traditionally a sweet treat, and may even contain sugar in the dough, served with cream and jam. A biscuit usually contains far less sugar and is served in a savory manner.
Rate & Review!
If you made this recipe, please leave a star rating! It gives my readers and me helpful feedback. If you want more recipes, subscribe to my newsletter, and follow me on Instagram, Pinterest, and Facebook!
Recipe Card
Big Fluffy Scones
Equipment
- Baking Tray
- Cookie Cutters
- Pastry brush
- Mixing Bowls
- Bench Scraper
Ingredients
- 360 grams plain flour (all-purpose/standard grade)
- 3 teaspoons baking powder
- 2 tablespoons icing sugar (powdered or confectioners sugar)
- ½ teaspoons table salt (or ¼ teaspoon if using salted butter)
- 113 grams butter (cold)
- 240 grams milk
- 2-3 tablespoons Additional flour for dusting
- 2 tablespoons milk
Instructions
- Preheat the oven to 200°C/390°F. Line a baking tray with baking paper and set aside.
- In a large mixing bowl, whisk together the flour, baking powder, icing sugar, and salt. This makes sure everything is evenly distributed throughout the flour.360 grams plain flour, 3 teaspoons baking powder, 2 tablespoons icing sugar, ½ teaspoons table salt
- Cut the butter into a small square and toss it into the flour. Rub the butter into the flour using your fingers. This basically constitutes squeezing the butter in the flour between your thumb and forefinger. Do this until there are only pea-sized pieces of butter left.113 grams butter
- Pour the milk into the flour mixture and mix through with a fork. Do not overwork or overmix the scone dough. The scone dough will be sticky and wet.240 grams milk
- Flour the kitchen counter quite liberally. Place the dough onto the flour and then sprinkle more flour over the top of the dough. Pat the dough together into a rough square or triangle.2-3 tablespoons Additional flour for dusting
- Using a bench scraper or knife and spatula. Cut the dough into 3, lift the two outer edges, and place them in the middle. Press the dough down until about 3cm tall. Repeat this step 2 more times, adding more flour to the counter and top of the scone dough if required.
- Press the dough down or roll it out using a rolling pin until it is about 2cm tall. Then cut out the scones using a cookie cutter (7cm/3"). Place the scones on the baking tray.
- Bring together the leftover dough. I like to squash it together, and then I take my bench scraper, cut it in half, place one half on top of the other and press down until it is 2cm tall. Cut out additional scones and repeat if necessary.
- Using a pastry brush, brush the tops of the scones with milk. Try to avoid the milk dripping down the sides. Bake for 20 minutes.2 tablespoons milk
- Allow the scones to cool for a few minutes before serving them with whipped or clotted cream, jam, butter, and some grated cheese.
Notes
Storage and Freezing
Store the baked scones in an airtight container for up to 3 days. To heat up the scones, simply pop them into the microwave for 10-20 seconds. Scone dough can be frozen for up to 3 months. Store the cutout scones between layers of baking paper. Allow the scones to come to room temperature while the oven preheats, they don't need to be fully defrosted. Baked scones can be frozen in an airtight container for up to 3 months. Allow the scones to defrost before serving. Scones can be heated in the microwave before serving.Nutrition
Nutrition information is an estimate. If scaling the recipe remember to scale your cook and bakeware accordingly. All temperatures stated are conventional, unless otherwise stated. Recipes tested in grams and at sea level.
Other Recipes You May Like


Pin for Later

Original Recipe
For those of you who love the original recipe, I have it written out here.
- 300 grams of plain flour
- 4 teaspoon baking powder
- 4 teaspoon icing sugar powdered or confectioners sugar
- 1 teaspoon salt or ¼ teaspoon if using salted butter
- 60 grams butter cold
- 200 grams ml milk
- 1 egg or 3 tablespoons of cream/milk to brush over the top of the scones
Instructions
- Preheat the oven to 220°C/430F. Prepare a baking tray. Scones should not stick to a baking tray but you can still line the sheet with a reusable silicon mat or baking paper.
- In a large mixing bowl, place the flour, baking powder, icing sugar, and salt. Mix through using a whisk or fork to evenly distribute the baking powder, icing sugar, and salt through the flour.
- Cut the cold butter into small 1.5 cm x 1.5 cm blocks. Toss into the flour and rub through the flour until only pea-size pieces of butter remain.60 grams butter
- Pour the milk over the flour, and mix using a fork until the ingredients are just incorporated. Do not worry if there is some flour at the bottom of the bowl, tip it all out. Do not over-mix. Any extra flour will be incorporated during the laminating process.
- Lightly flour the kitchen counter or board, place the dough on the counter, and bring it together, folding over 2 or 3 times to laminate the butter pieces in the dough. Pat the dough into a circle or square about 2 to 3 cm thick.
- Either using a cookie cutter or knife, cut our 4 to 5 large scones. If using a round cookie cutter, bring together the left-over dough, by kneading the dough together and forming a disk or square to cut out additional scones. Try to work with the dough as little as possible.
- Using a pastry brush, brush the tops of the scone with a beaten egg, cream, or milk.1 egg or 3 tablespoons of cream/milk to brush over the top of the scones
- Bake for approximately 15 minutes. The scones would have risen, and be golden brown in color.
- Serve the scones warm or at room temperature with whipped cream and jam, or even some grated cheese.
Jo @arndelljoanne says
Lovely results, will definitely make again.
Erika says
The scones turned out great. I chopped up some candied ginger and added that to half the batch just for fun and was super happy with the result.
Louis says
Simple easy to follow recipe. Was surpised by the amount of baking powder as I made double batch A little indecison as to whether all flour must be incorporated in to mixed ingredients before emptying ono counter top
Mary-Lou says
Hi,
Thank you for the feedback! I really appreciate it when people take the time to leave comments and ratings. I will add that the flour doesn't need to be completely incorporated into the recipe card to remove any indecision there.
Kind Regards,
Mary-Lou