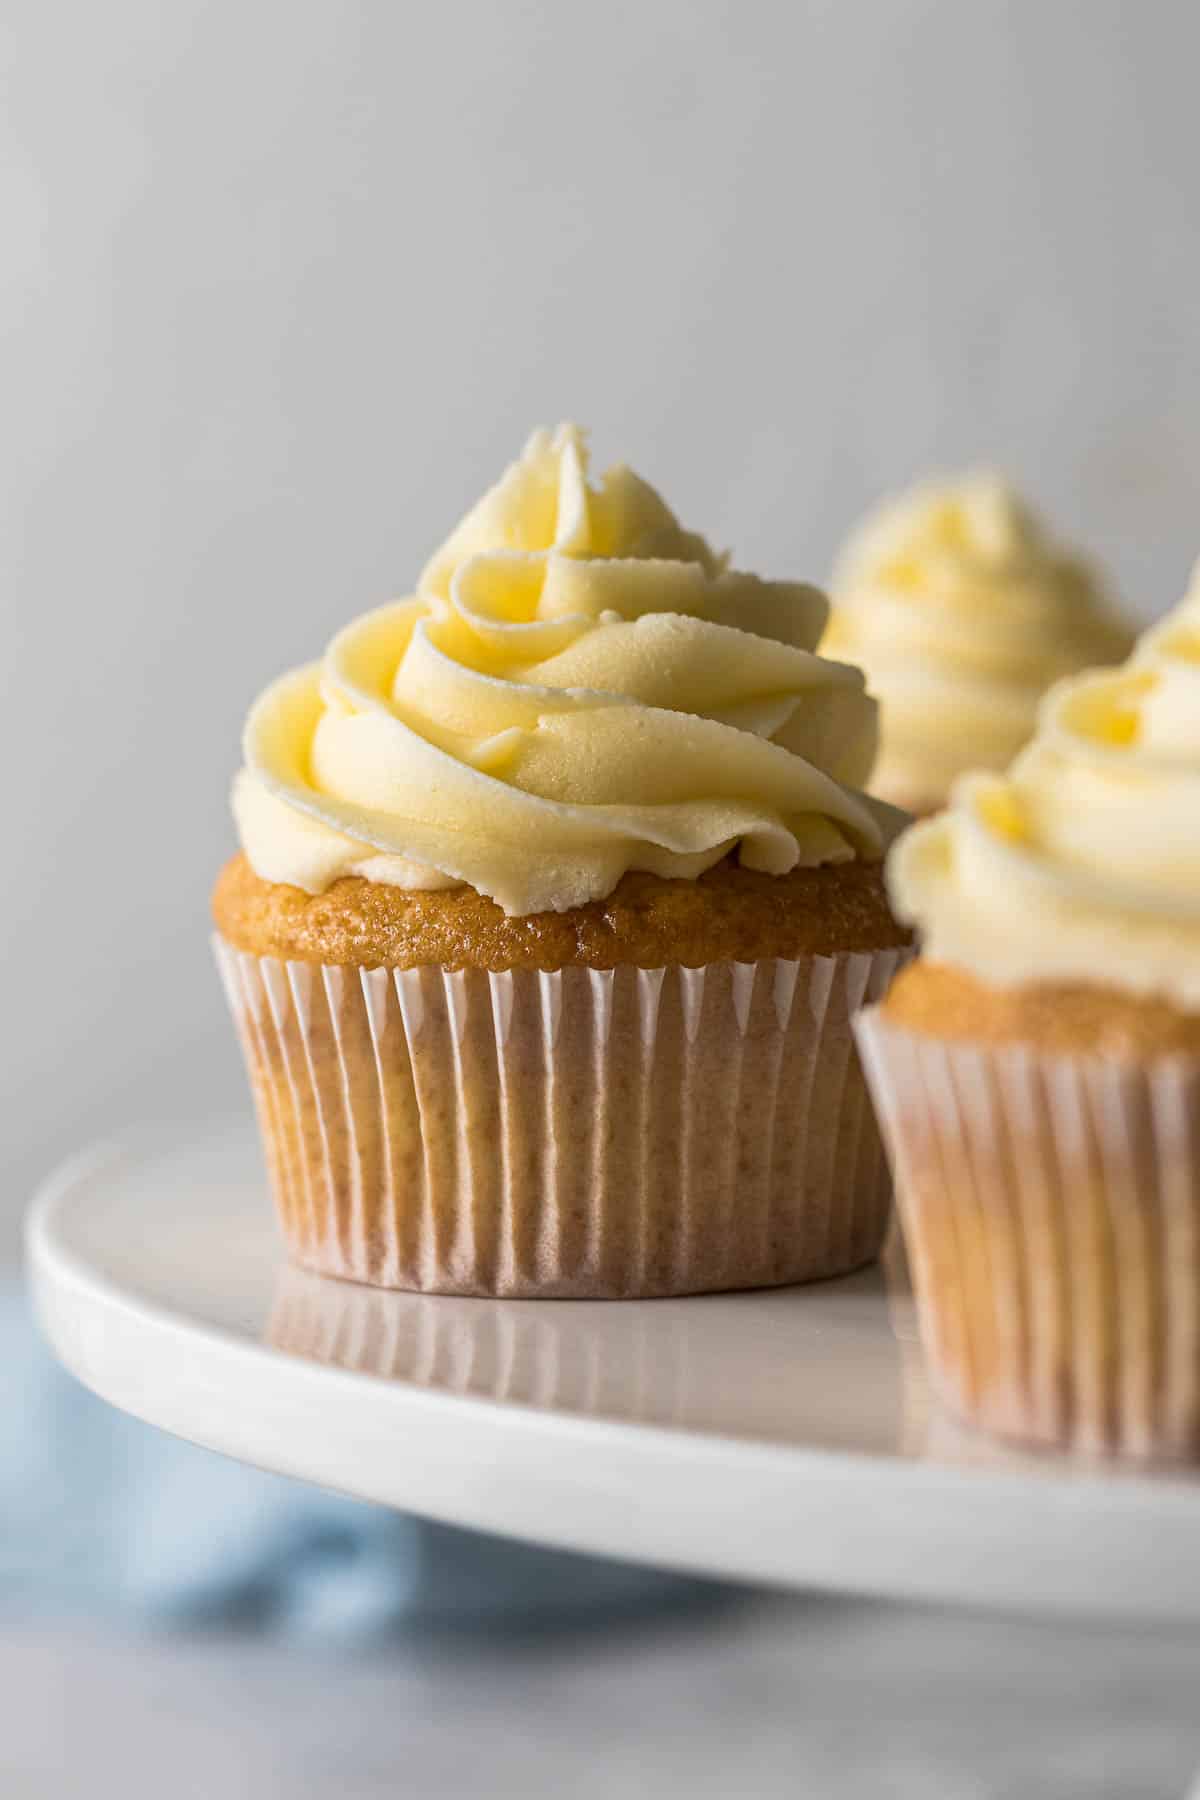
These easy, delicious, from-scratch vanilla cupcakes with a delicious vanilla buttercream frosting are the perfect cupcake for any occasion!
If you are looking for a simple foolproof vanilla cupcake recipe then you have come to the right place.
Jump to:
- Recipe Testing Cupcakes
- Why You Will Love This Recipe
- Ingredients
- Vanilla Cupcakes Step-by-Step Instructions
- Buttercream Frosting Step-by-Step Instructions
- Making Small Batch Vanilla Cupcakes
- Making Mini Vanilla Cupcakes
- Making a Single-Layer Cake
- Vanilla Cupcakes with Chocolate Buttercream Frosting
- Vanilla Cupcakes with Cream Cheese Frosting
- Expert Tips for this Recipe
- Storage and Freezing
- Vanilla Cupcakes FAQ
- Other Recipes You May Like
- Rate & Review!
- Recipe Card
- Pin for Later
- Comments
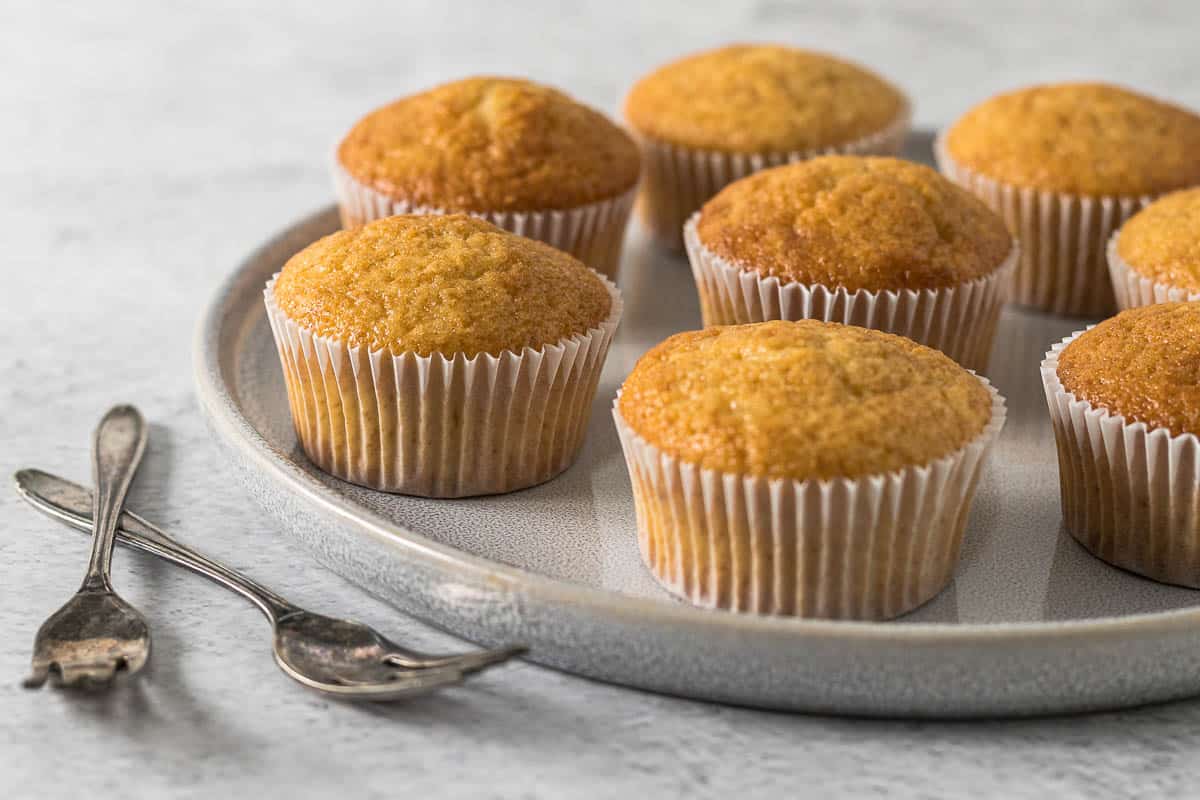
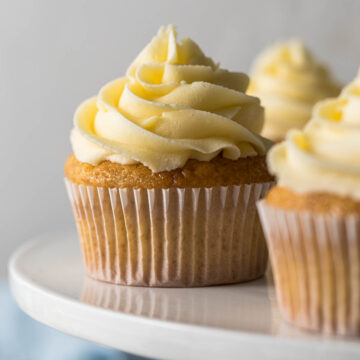
I wanted a perfect vanilla cupcake recipe that makes 12 cute cupcakes. I wanted something that simple and foolproof. I wanted the batter to crawl up the liners and have a slight dome. Which would be the perfect platform for a beautiful frosting swirl.
Why 12? So that it could easily be divided in half to create 6 or a small batch of cupcakes. Or easily doubled to create an even 24 cupcakes.
Recipe Testing Cupcakes
In order to create the perfect vanilla cupcake I knew I would probably use my vanilla sheet cake recipe as a jumping-off point. This recipe generally makes about 18 cupcakes - but I felt like it wasn't 100% perfect.
But before I started tweaking this recipe I tried a few other "all-in-one" recipes in which pretty much all the ingredients are tossed into a bowl and mixed together. I liked the idea of this method, quick and simple. And well, I just wasn't happy. They didn't rise how I wanted them to rise. And I didn't like the texture.
In my research phase, I saw that many bakers like to have oil only or some oil added to the recipe to help the cupcakes retain moisture. So I tried a recipe that used oil only instead of butter, and TBH, the flavor was lackluster. And I thought about replacing some of the butter with oil but decided against it to keep the ingredients to a minimum.
So I went back to my tried and true vanilla tray bake recipe and made a few tweaks to come up with the best vanilla cupcake ever!
I also test a version with less sugar. This resulted in a cupcake that was lacking in flavor and didn't rise how I wanted it to rise. Sugar does more than just sweeten these cupcakes, it helps with the rising of the cake, as well as retaining moisture.
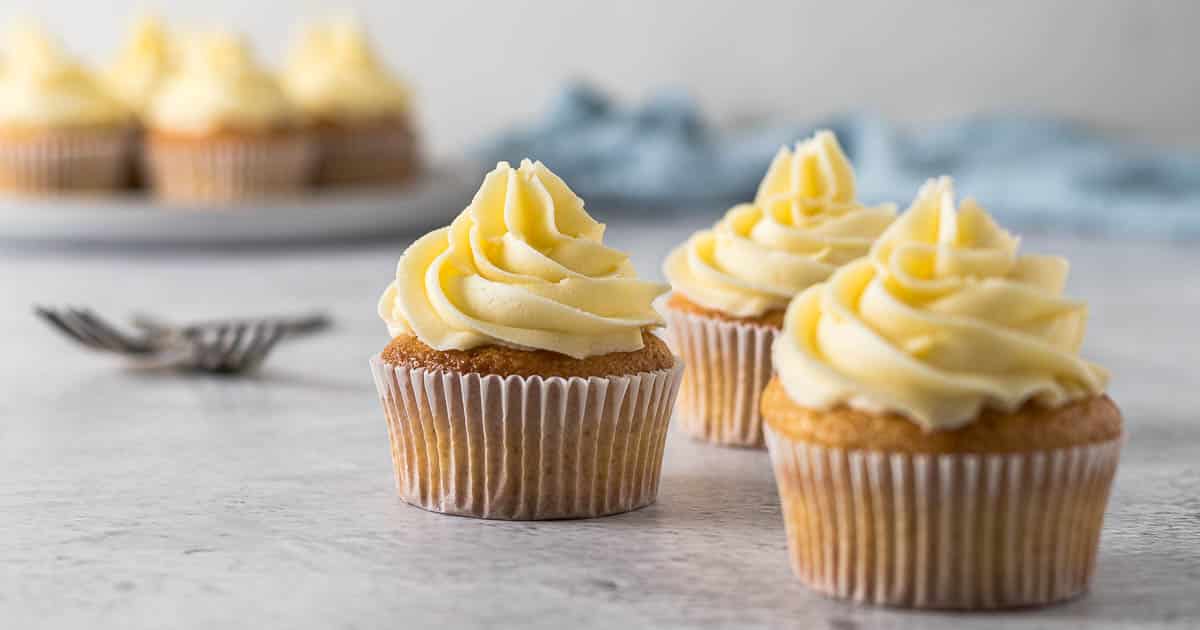
Why You Will Love This Recipe
- This is an easy foolproof recipe that will result in 12 perfect vanilla cupcakes.
- These cupcakes are perfect for any celebration!
- The cupcake tops are slightly domed which is perfect for a delicious frosting.
- To make 6 or a small batch of vanilla cupcakes, simply divide the ingredients in half using the nifty "½" button on the recipe card.
- If you are looking for a delicious round 6" cake, then this is the recipe for you!
Ingredients
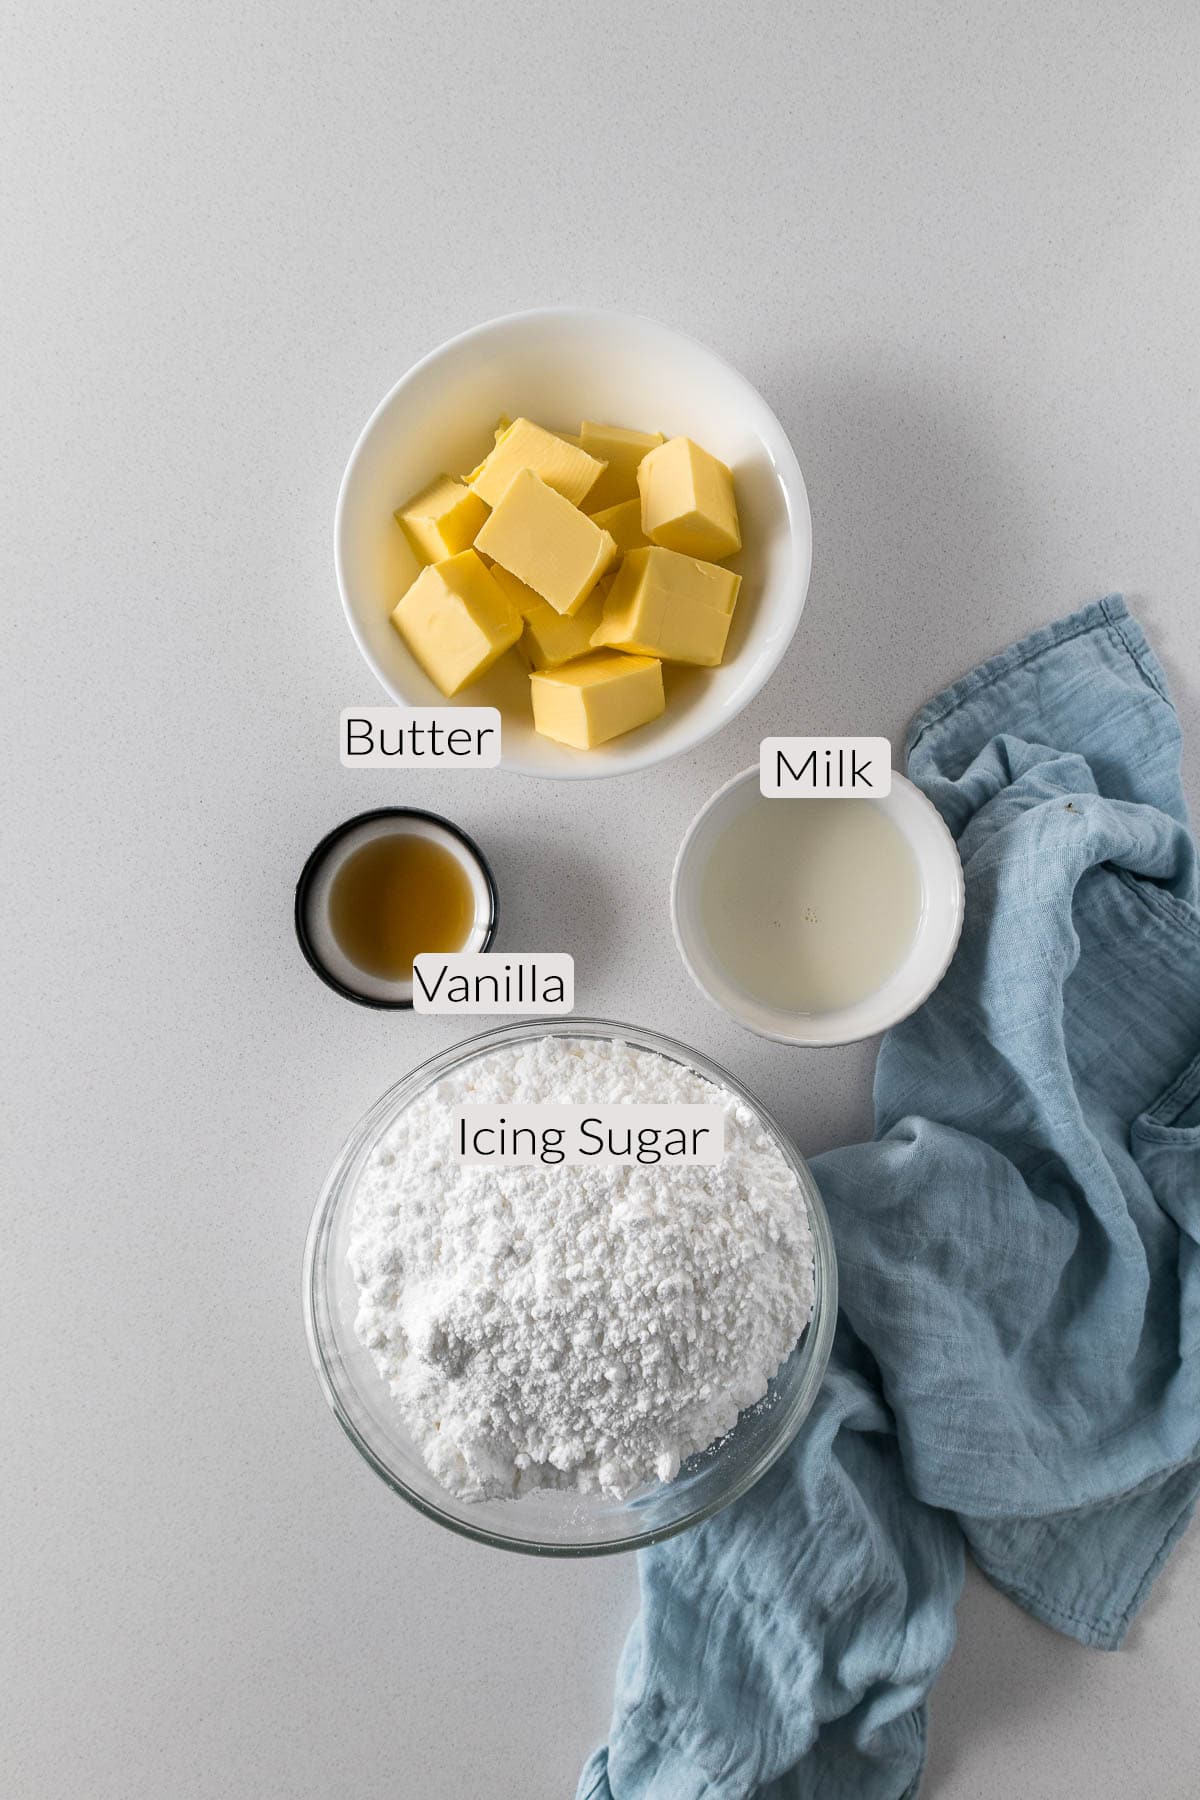
Here are some notes on the ingredients used in this recipe. Please see the recipe card for quantities.
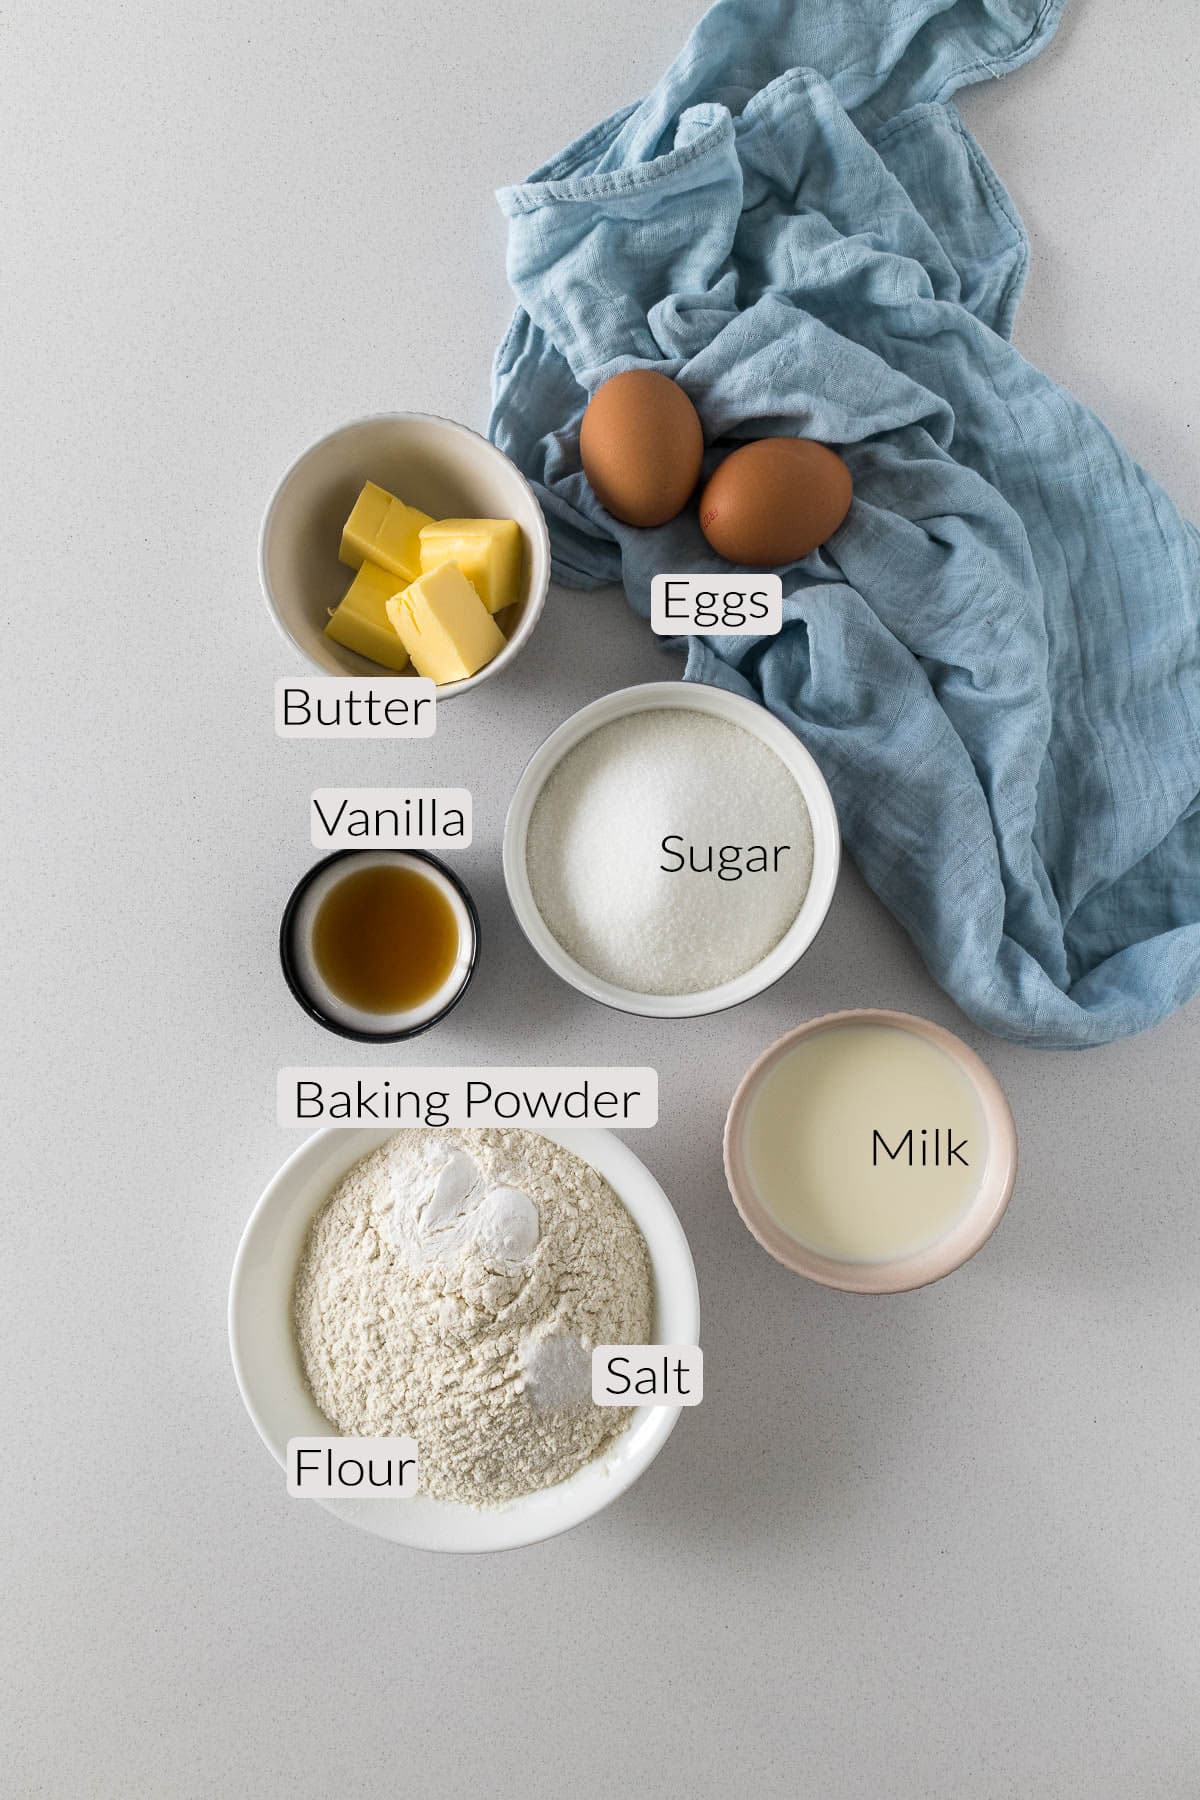
Eggs - I use a New Zealand size 6 egg, which is around the same size as Australian and South African Large Eggs, but closer to a US/Europe Medium sized egg.
White granulated sugar is used in this recipe. And it plays a bigger role than just sweetening the cupcake. It is beaten into the eggs over a fairly long period of time, making a super soft sponge, and helps the cake batter rise to the top of the cupcake liner without overflowing or creating too much of a dome.
Butter adds flavor, softness, and moisture and sometimes aids in the leavening of baked goods. I use New Zealand butter in my recipes, which has approximately 82% butterfat and can be very yellow (similar to European or Irish butter). Butter cannot be substituted with butter or margarine spreads, but it can be substituted with baking margarine.
Milk adds moisture and flavor to the cake. I prefer baking with whole/full-cream milk but a lower-fat alternative will work just fine. For the frosting, I also use milk instead of cream.
Baking powder is used as a leavening agent and assists the eggs in creating a soft, light sponge. Make sure your baking powder is fresh by placing ½ teaspoon into a cup or bowl. Pour about ¼ cup of boiling water over the baking powder. If it foams it is still fresh.
Plain flour, all-purpose, or standard-grade flour is used for these cupcakes.
The vanilla extract gives these cupcakes their delicious vanilla flavor. The better quality of the vanilla, the better the flavor. Vanilla also adds a nice delicious touch to the buttercream frosting.
Salt is a crucial ingredient in all baked goods. I use table salt in all my recipes. One teaspoon of table salt equals 1.5 teaspoons of Morton Kosher Salt equals 2 teaspoons of Diamond Crystal.
Icing sugar to make the buttercream frosting. This is also known as confectioner's sugar or powdered sugar.
Room Temperature Ingredients
Use room-temperature ingredients! Using room temperature ingredients ensures that ingredients in the batter or dough will incorporate easier. Take note that room temperature refers to around 20°C/68F.
- To bring eggs to room temperature quickly, place them into warm water for about 10 to 15 minutes.
- To bring butter to room temperature quickly, cut the butter into cubes and zap it in the microwave at 20% power in 10-second intervals. Or place the cubes in a bowl over warm water (such as with a double boiler) over low heat for 1 minute!
- Milk can be brought to room temperature by zapping in the microwave at 20% power in 10-second intervals. Or on low heat for a minute or two swirling every 10-15 seconds.
- If the butter is too warm/soft for baking - pop it into the fridge for 20-30 minutes.
Weighing & Measuring Ingredients
Weighing ingredients with a kitchen scale is more accurate than using measuring cups. All my recipes are developed and tested using grams only.
However, I have activated the metric-to-cup conversions. Simply click on "cups" or "metric" for your preferred measurements. For these conversions, cups are equal to 240 millilitres/8 fluid ounces, tablespoons are 15 milliliters and teaspoons are 5mL.
Vanilla Cupcakes Step-by-Step Instructions
Step 1 - Preheat the oven to 180°C/355°F/gas mark 4. Line a 12-cup muffin pan with cupcake liners.
TIP - place the rack in the middle of the oven for picture-perfect cupcakes.
Step 2 - Melt the butter, either in a small bowl in the microwave or on the stovetop. Set aside to cool.
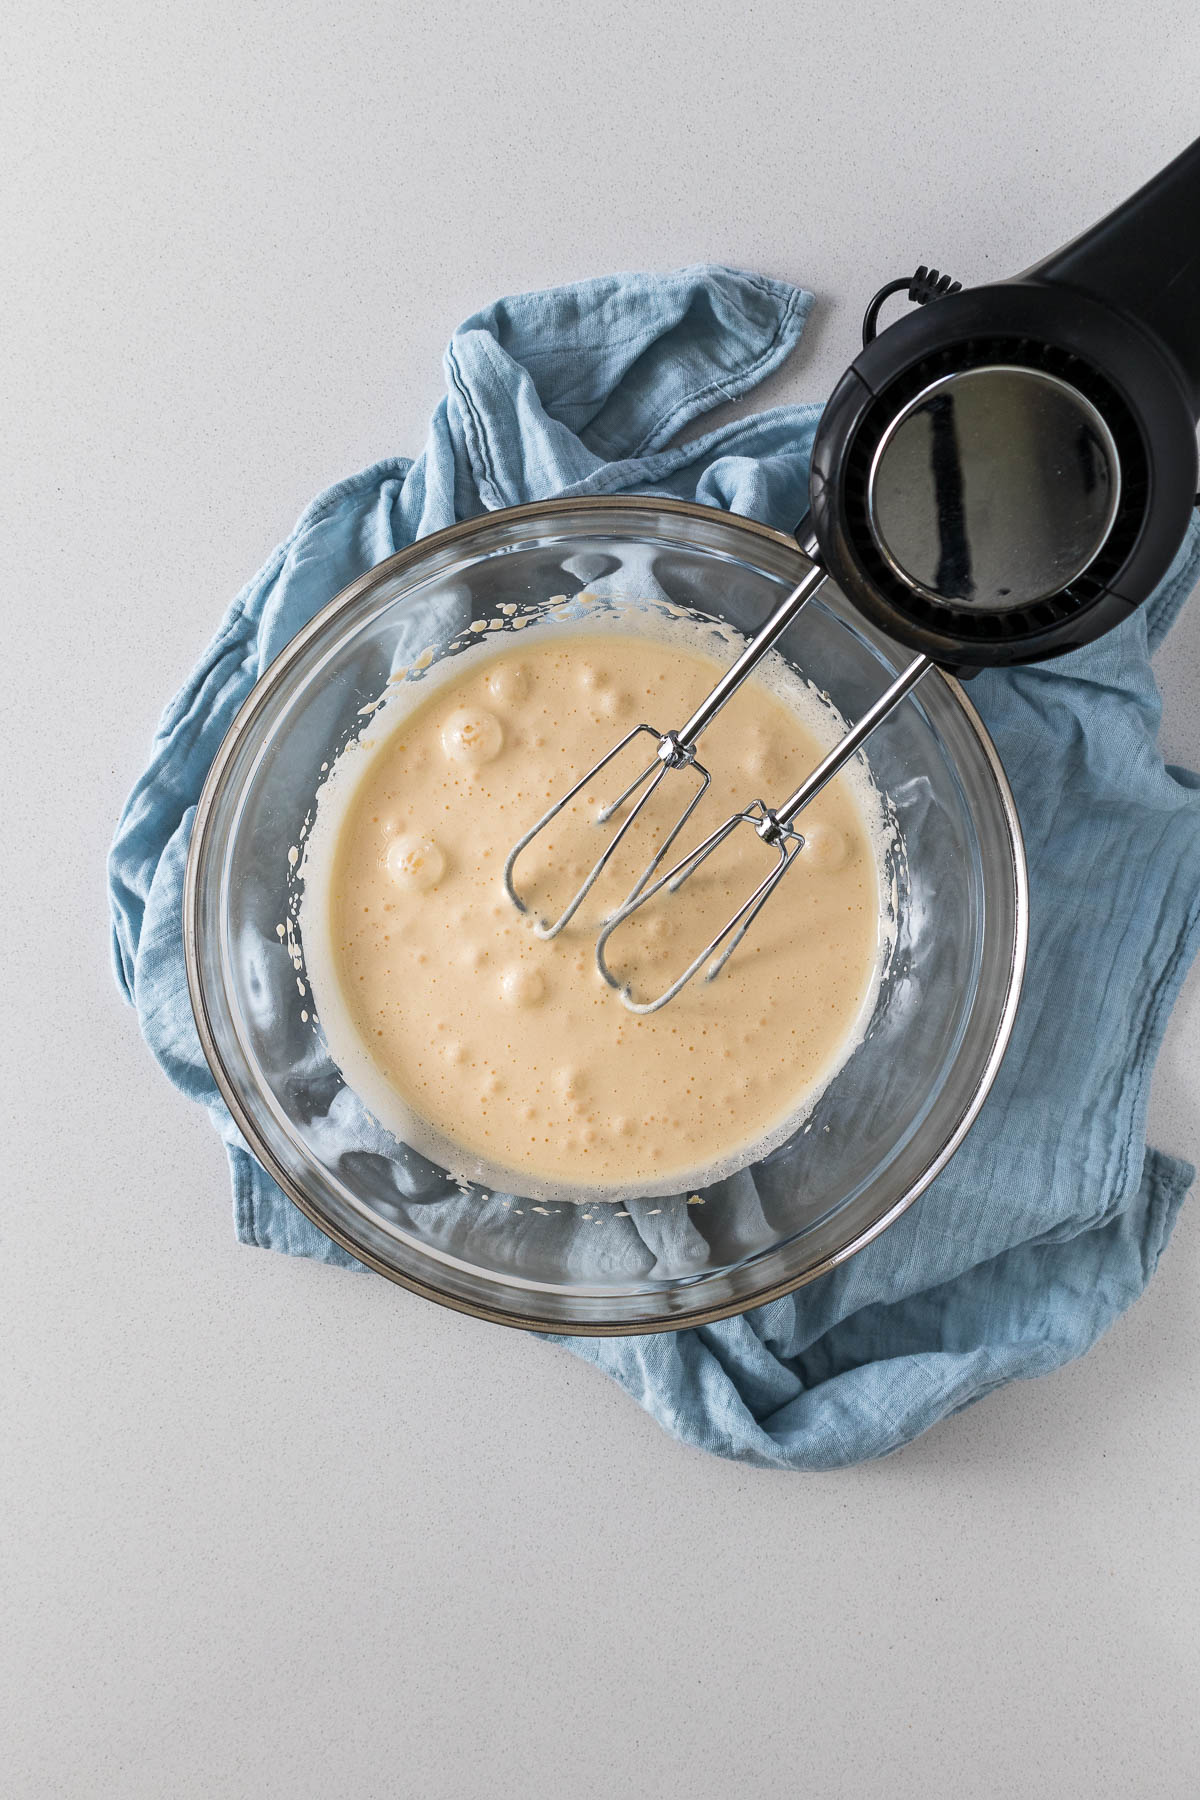
Step 3 - Beat together the eggs and sugar either with an electric hand mixer or with a stand mixer for 5 minutes. The egg mixture will lighten to a pale yellow and almost triple in volume when done.
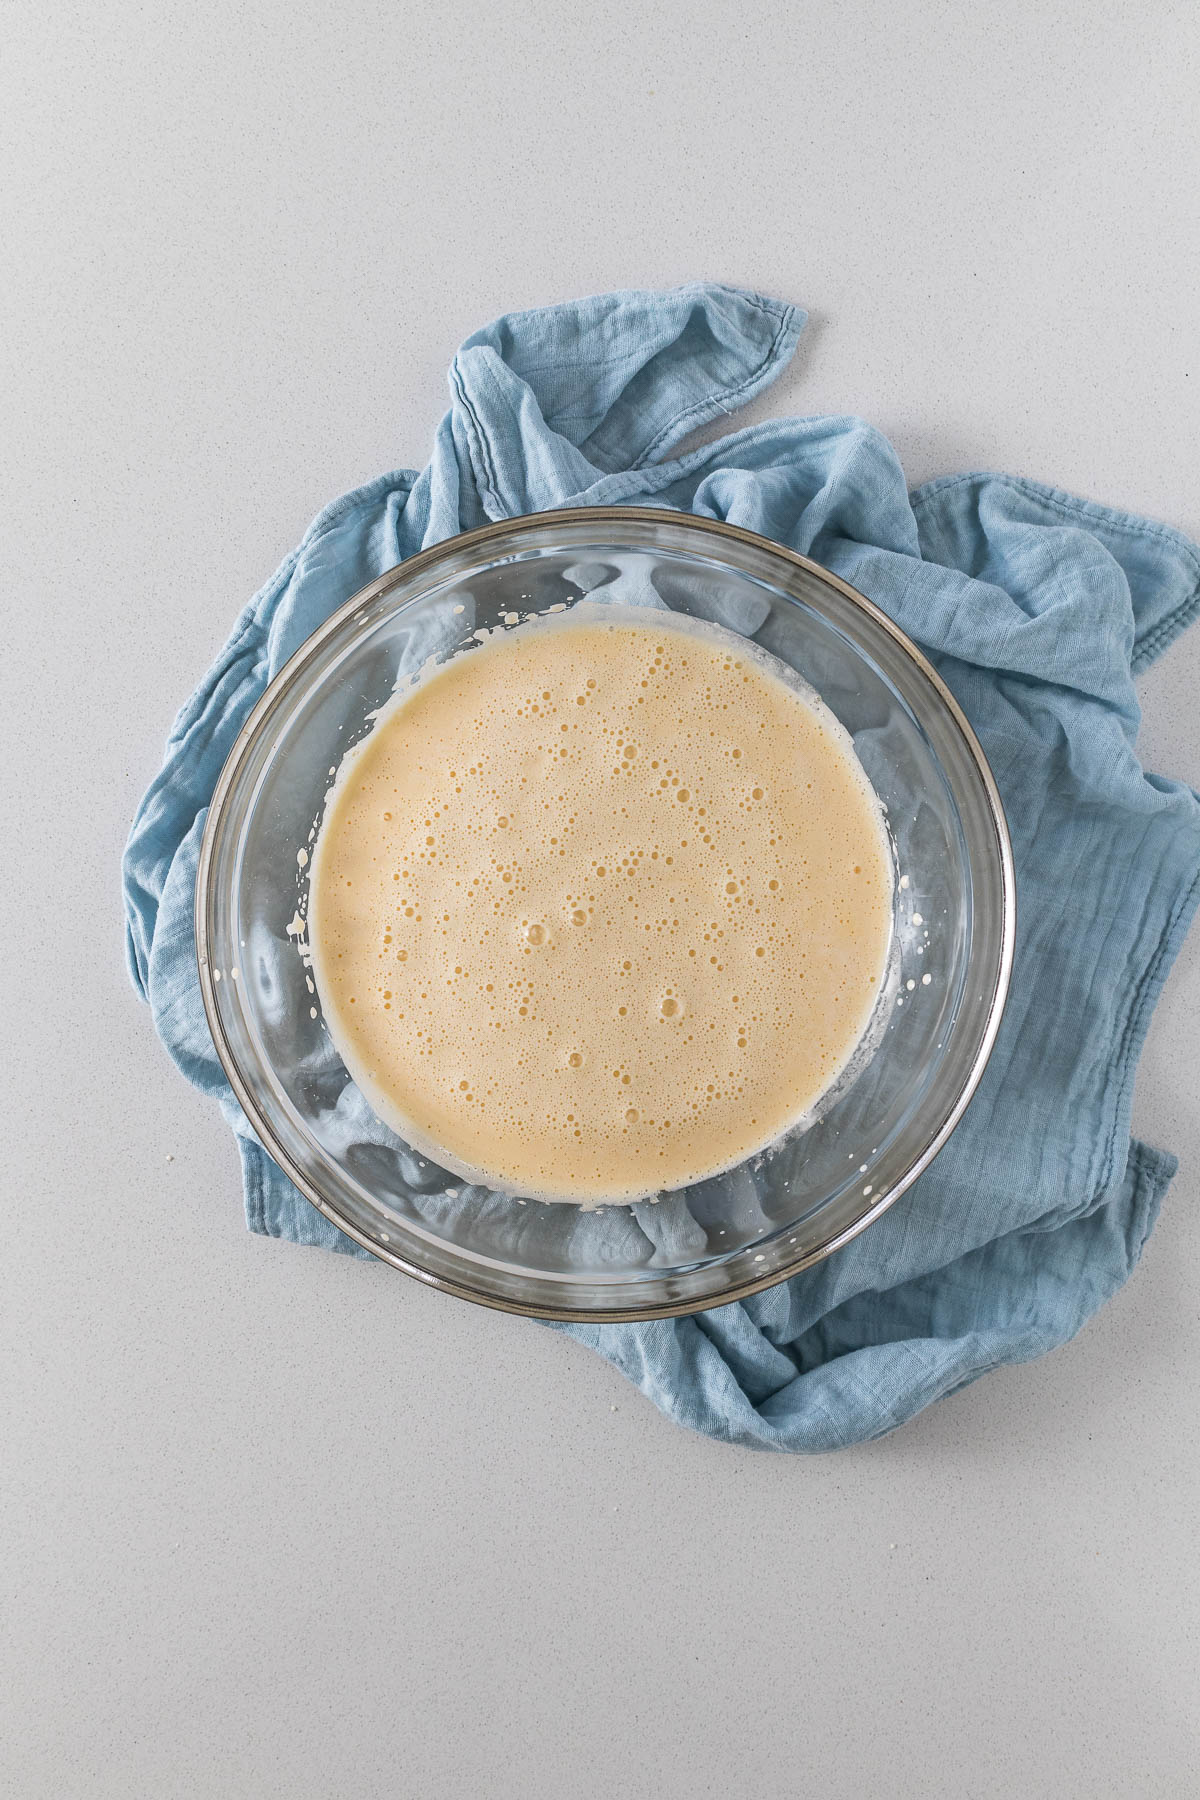
Step 4 - Add the vanilla to the eggs. Then with the beaters running, slowly add the butter to the eggs. Then repeat with the milk.
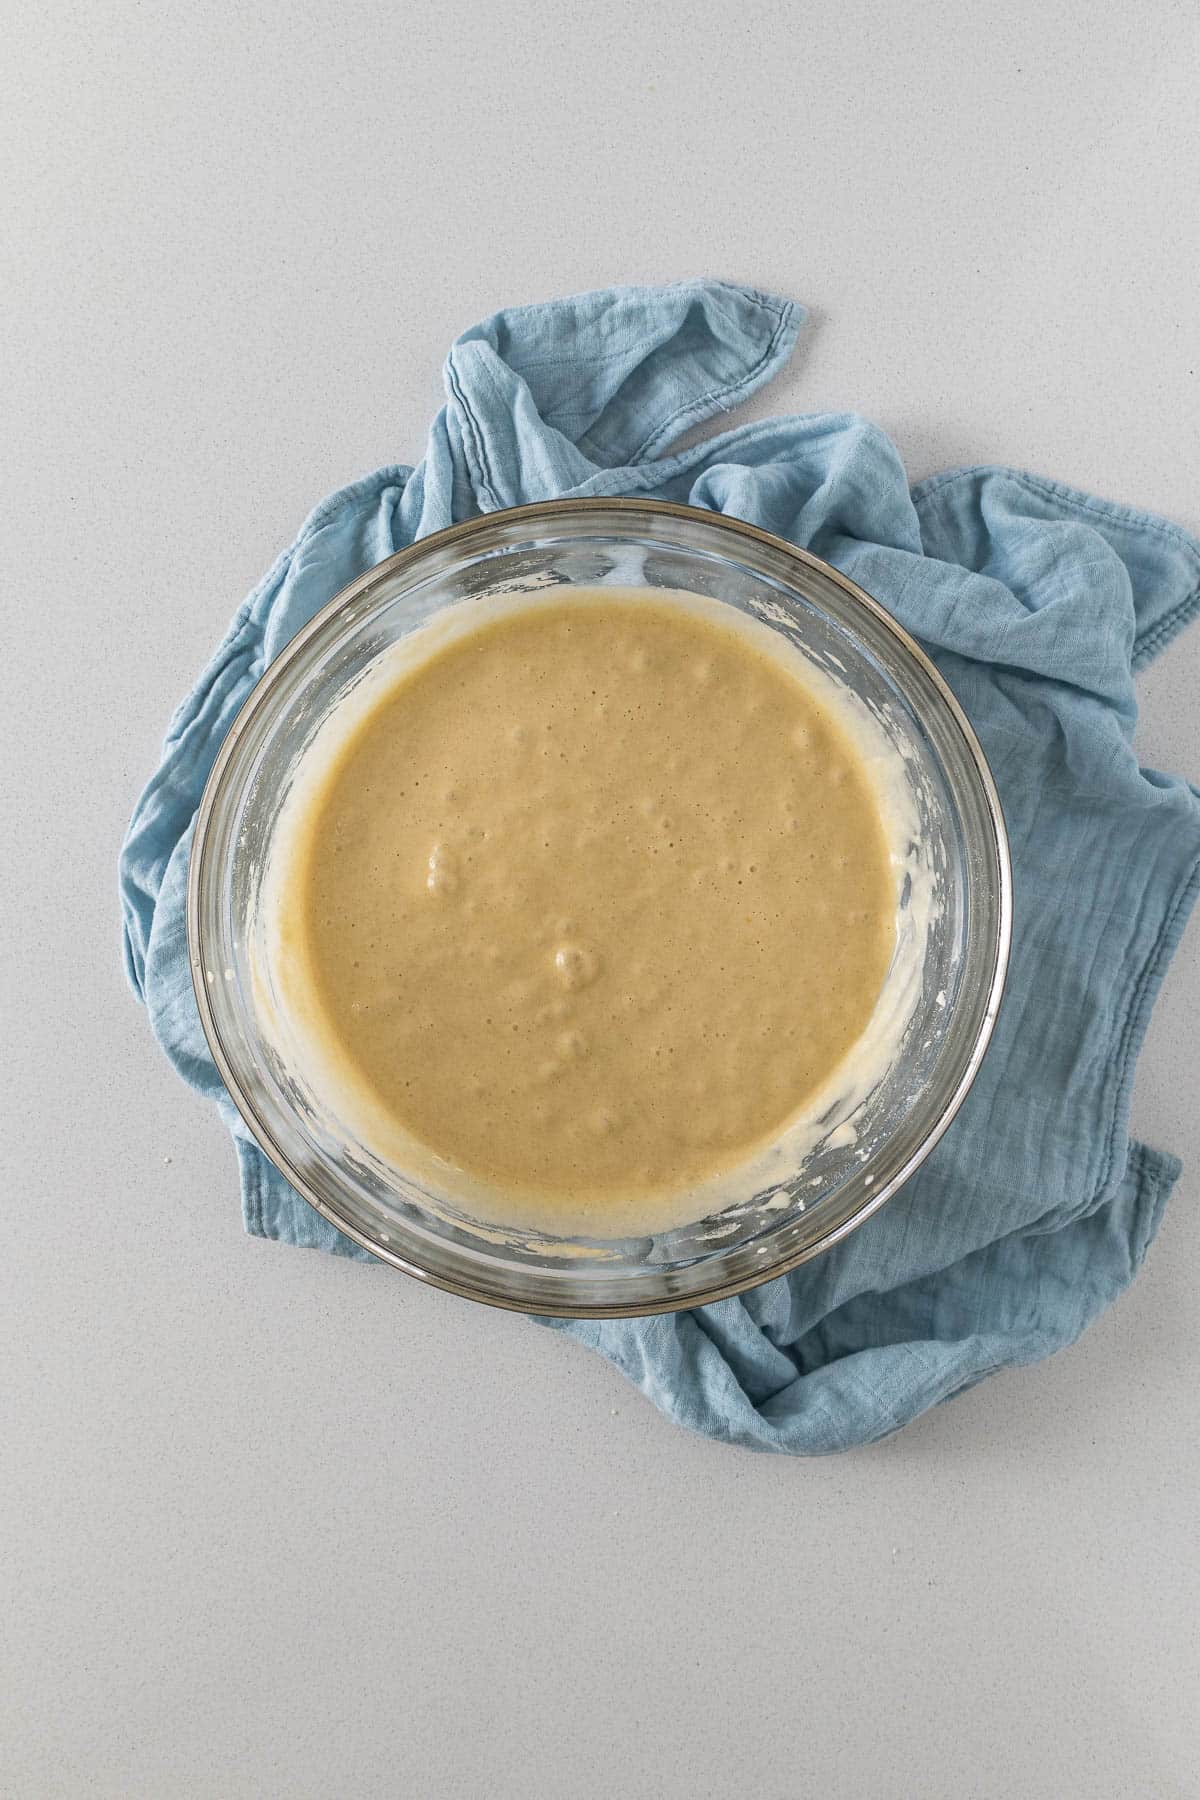
Step 5 - Whisk together the flour, baking powder, and salt. Add to the egg mixture, and then whisk in by hand to form a smooth batter.
NOTE - I don't like using the mixer or even a stand mixer to combine the flour into the batter because I feel like it's very easy to overmix the batter.
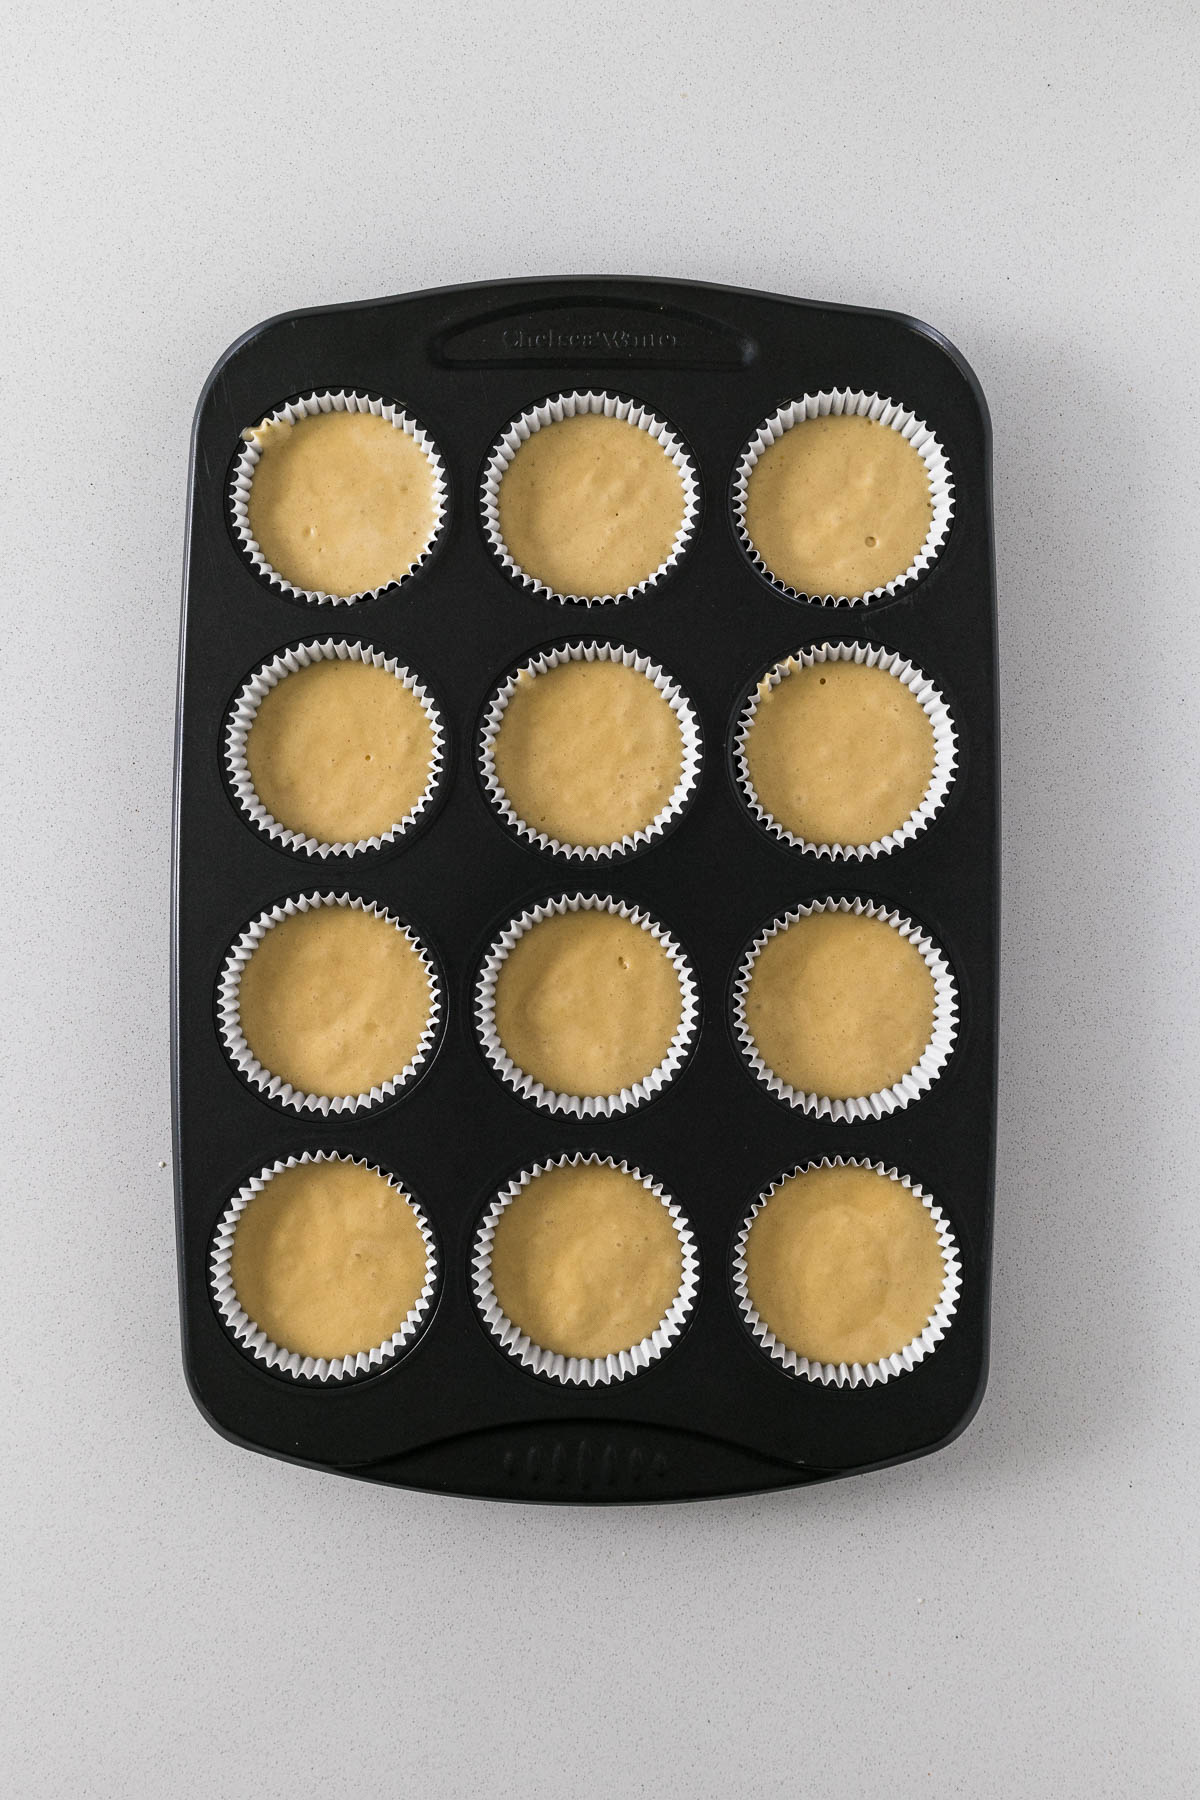
Step 6 - Using a ¼ cup or size 15 scoop, divide the batter into the prepared cupcake liners. Tap the cake tin on the kitchen counter 3 times to bring all the large bubbles to the surface.
Step 7 - Bake for 20 minutes or until a toothpick comes out mostly clean from the center.
Step 8 - Allow the cupcakes to cool in the tin for 2-5 minutes before placing them on a wired cooling rack to cool completely.
Buttercream Frosting Step-by-Step Instructions
The recipe for buttercream frosting is one that I have been working to perfect. The amount of frosting in this particular recipe yields 2 cups of frosting. This is enough for those large beautiful swirls on top of the cakes. If you prefer less icing, or more of a rosette, simply half the frosting recipe by using the "½" button.
Step 1 - Bring the butter and milk or cream to room temperature. If your bowls are cold, run the outside of the bowls under some warm water and dry off before using.
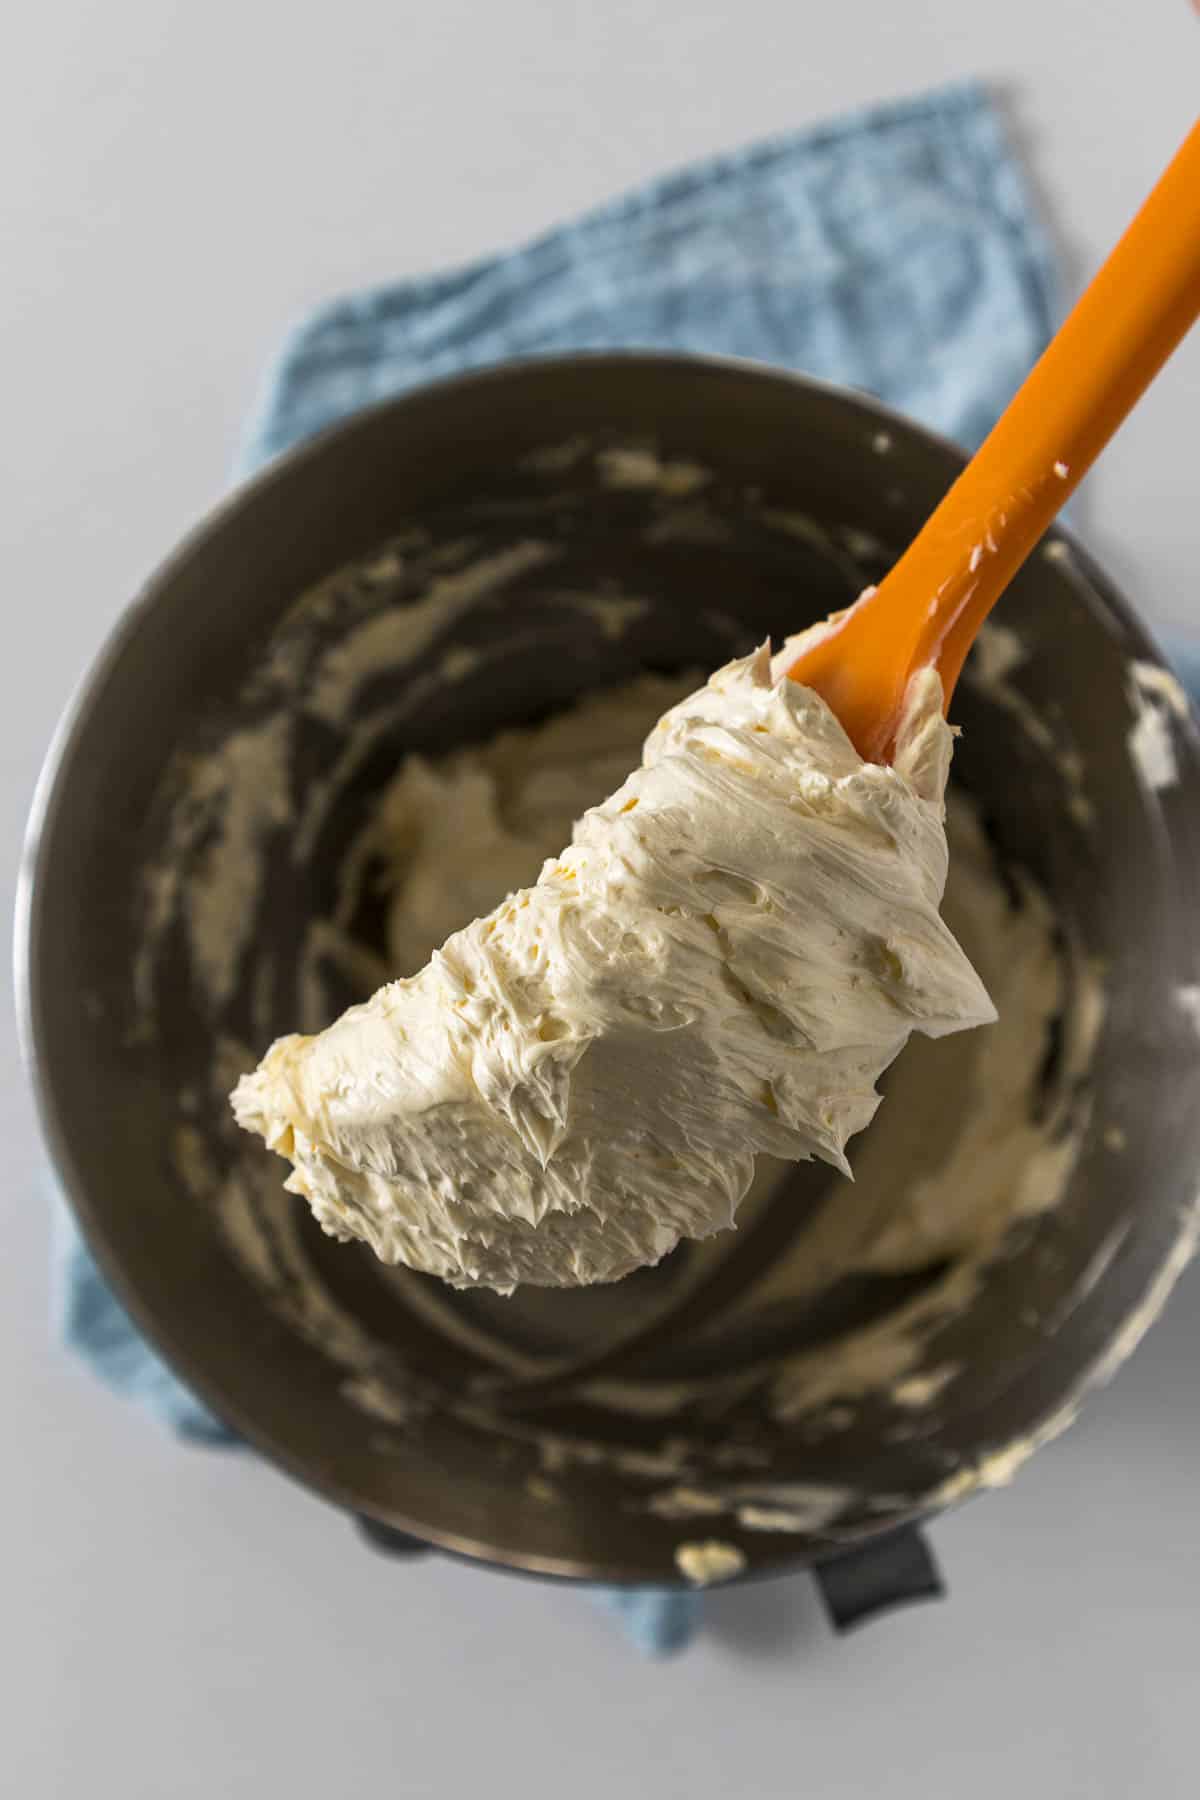
Step 2 - Place the butter and vanilla into a large mixing bowl and start beating with a whisk attachment on a low to medium speed for 2-3 minutes. Then crank up the speed to high and beat for 10 minutes, scraping down the bowl in regular intervals to make sure all the butter is being beaten. The butter will become soft, fluffy, and almost white in color.
NOTE - depending on how yellow your butter is, to begin with, will depend on the final color of the butter upon beating. My butter, which is rather yellow, to begin with, becomes a pale yellow when the beating is complete.
Step 3 - Sieve the icing sugar over the butter, add the salt, and using the paddle attachment and beat the icing sugar into the butter to form a thick frosting. The cake beaters of a handheld electric mixer will work just fine.
NOTE - if you want to add in food coloring, specifically liquid food coloring, then this is when it should be added as it will loosen up the buttercream frosting.
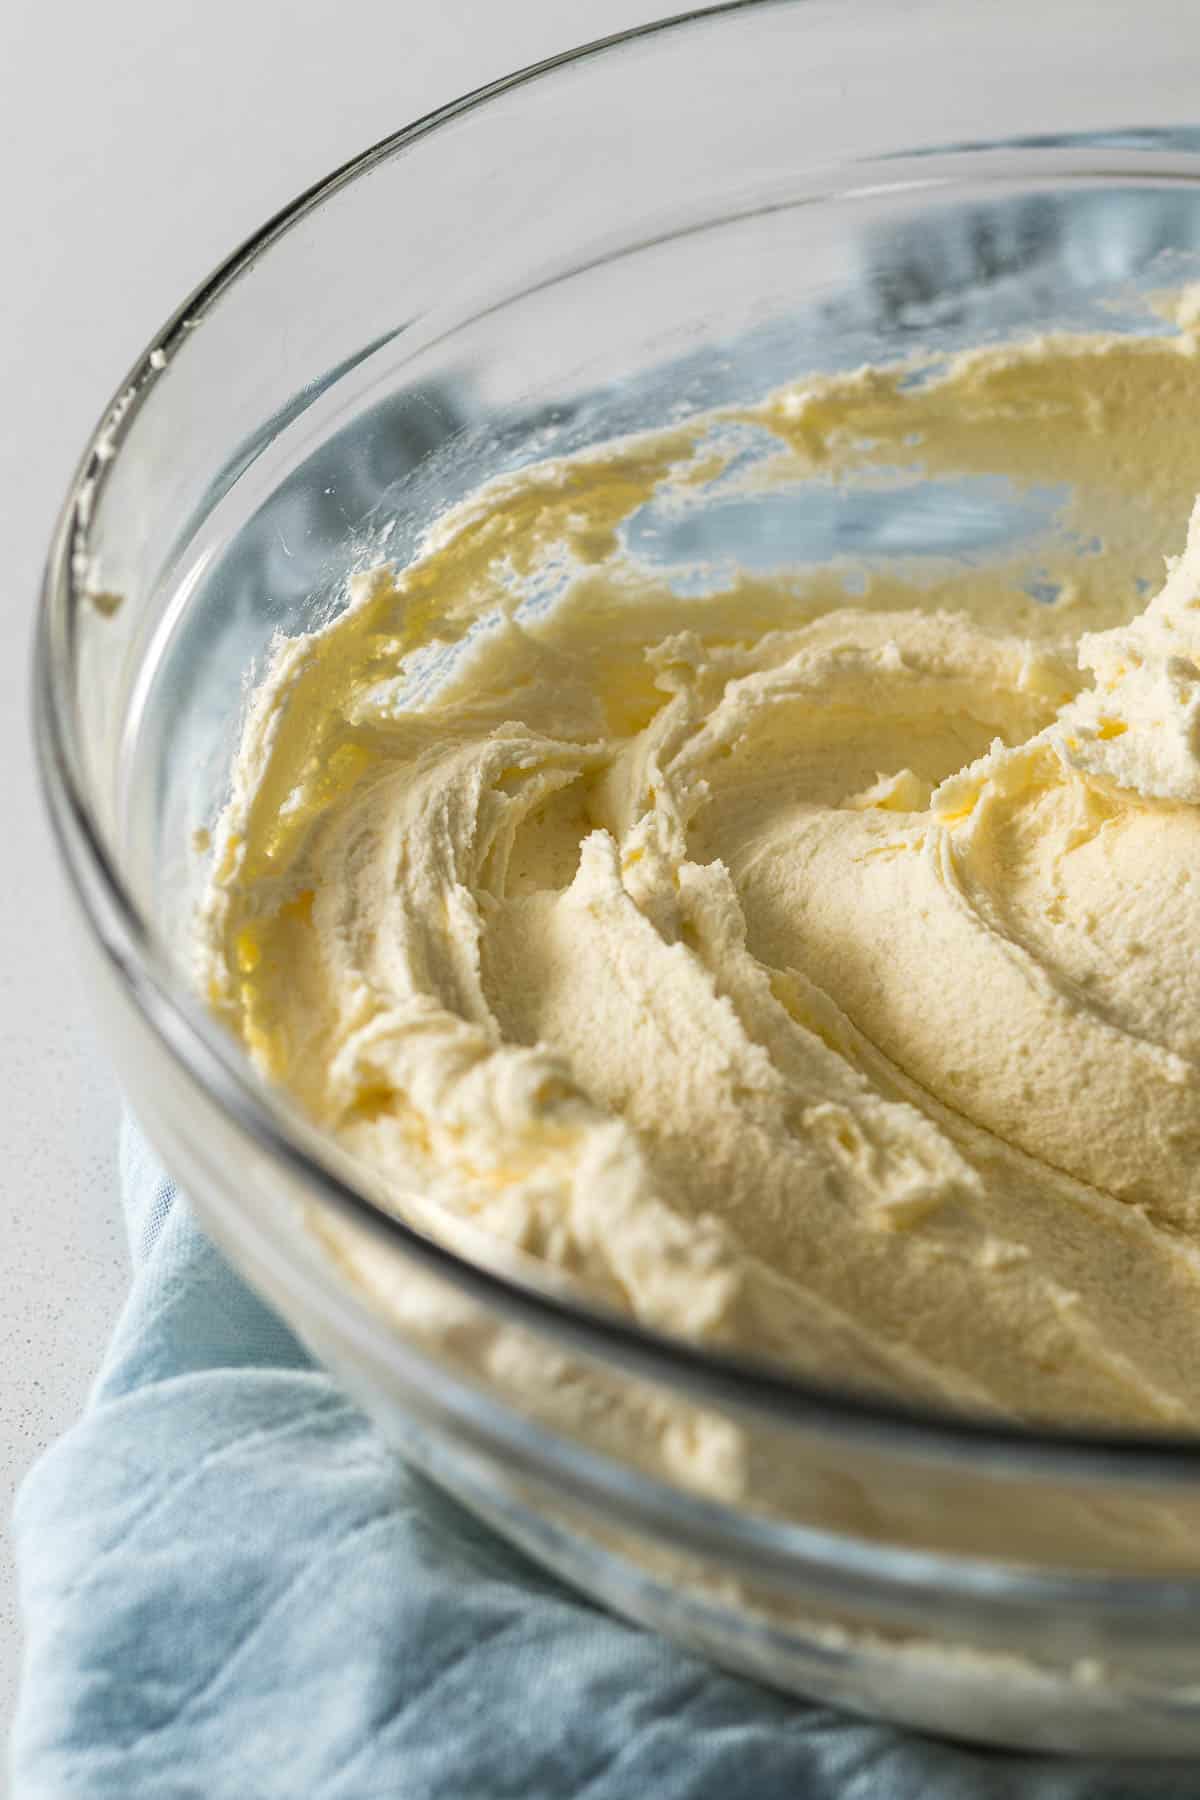
Step 4 - Add in the milk or cream 1 tablespoon at a time and beat on high to create a spreadable/pipeable frosting.
Step 5 - With the paddle attachment, run at a low to medium speed for an additional 2-5 minutes. This will knock out the large air pockets in the frosting.
Step 6 - To make sure the buttercream frosting is smooth, use a silicon spatula to stir through the frosting a few times. This step is important especially if a hand-held electric mixer has been used.
Step 7 - If the icing or frosting feels too soft, cover it with plastic wrap or cling film and allow it to set at room temperature for 30 minutes to allow the whole mixture to cool down. The heat from the mixer and friction may make the frosting/icing feel a bit soft.
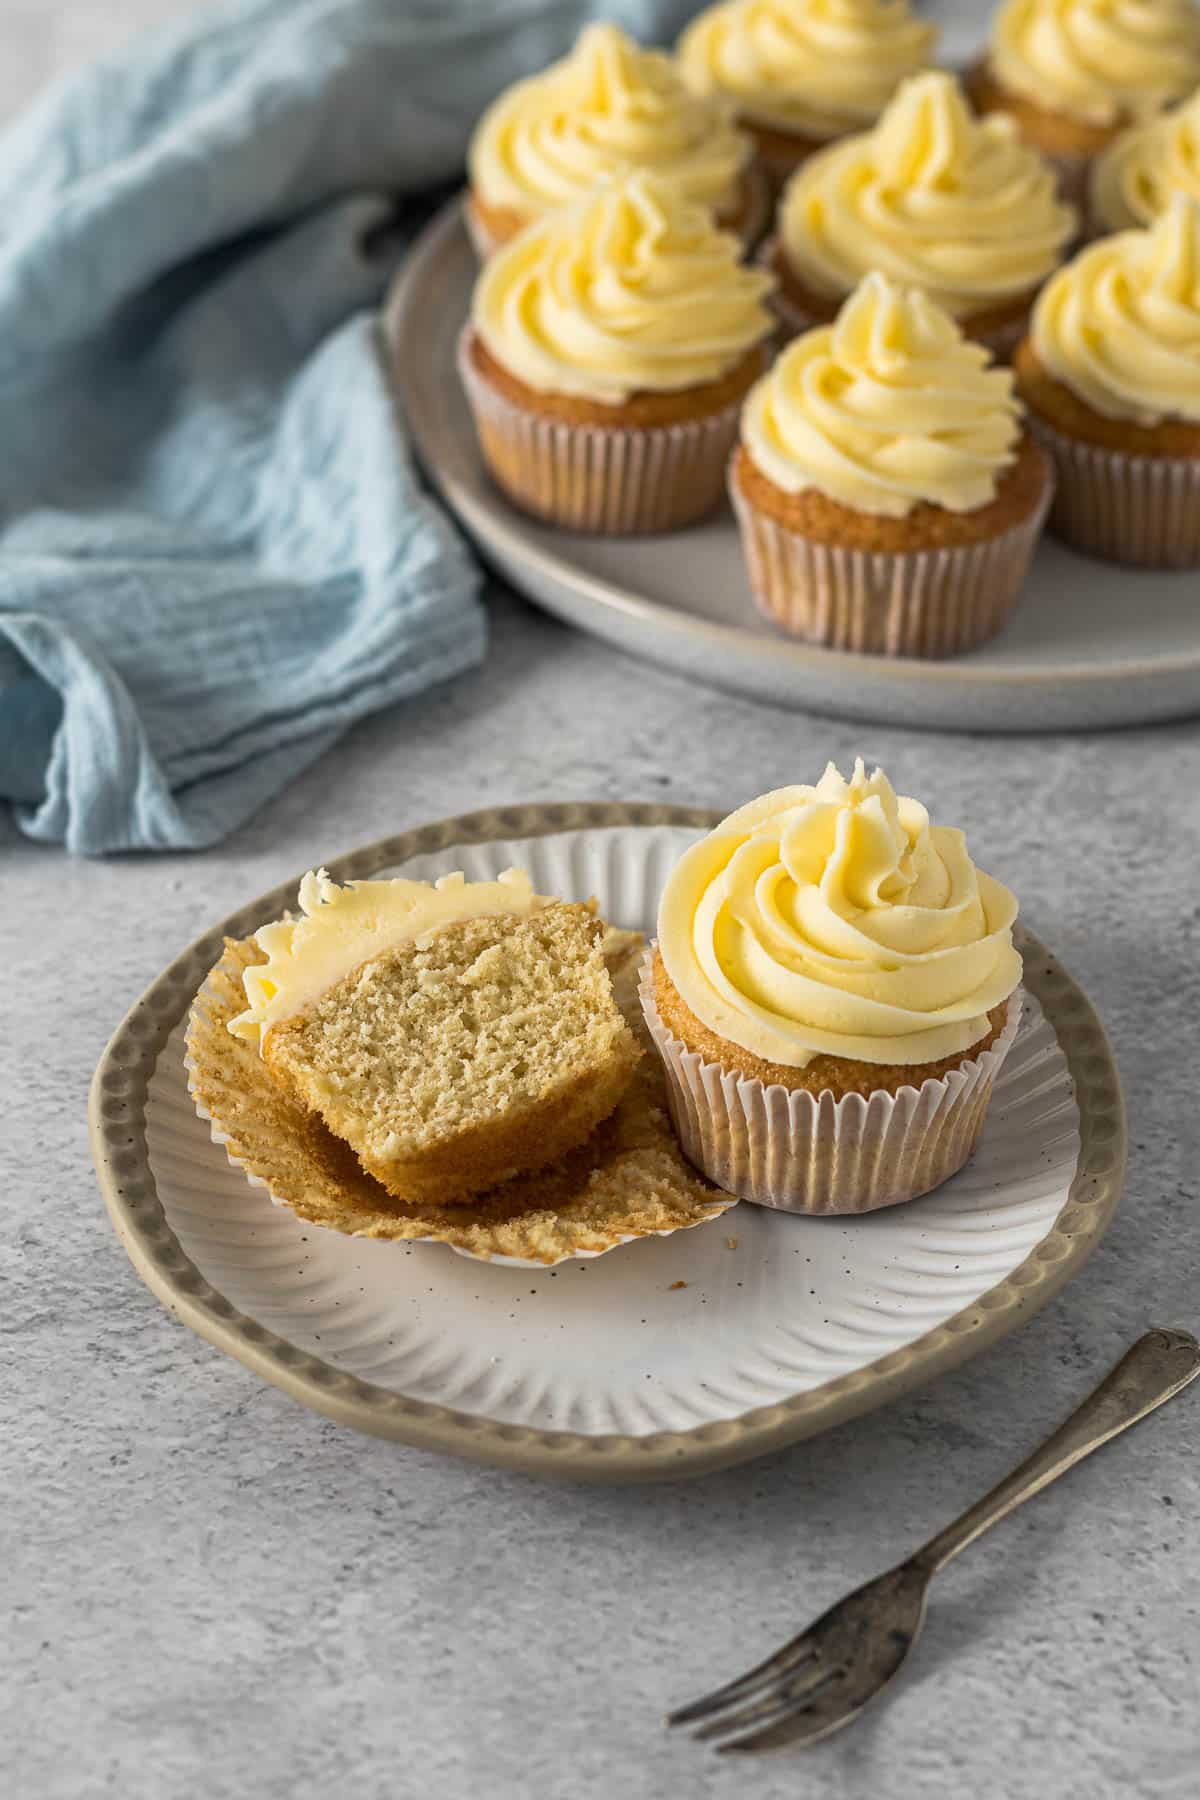
Step 8 - Transfer the frosting into a piping bag with a tip. For large tall swirls, begin the circle on the outer edge moving inwards and then on top of the swirl. For a single rosette, start in the middle of the cupcake and work your way to the edge.
NOTE - I use a 1M Wilton tip for the cupcake decoration.
TIP - if the frosting feels a bit stiff in the bag before piping. Hold the frosting in your hands for a bit to warm up the frosting.
Making Small Batch Vanilla Cupcakes
To make a small batch of vanilla cupcakes (6 cupcakes in total), simply divide the recipe in half. You can easily do this by clicking on the "½" button on the recipe card, by the ingredients. A small batch will require between ½ to 1 cup of frosting.
Making Mini Vanilla Cupcakes
If you want to make mini vanilla cupcakes, this recipe will make about 36 minis. Each cupcake liner will take about 1 ½ tablespoon of batter. Bake at 180°C/355°F for about 10-15 minutes.
Making a Single-Layer Cake
The batter for these cupcakes is enough to make a single layer 6" cake. To do this, grease and line a round 6" cake pan. Pour the batter into the prepared tin and bake at 180°C/355°F for 25-30 minutes. The cake is done when a toothpick comes out mostly clean from the center.
Vanilla Cupcakes with Chocolate Buttercream Frosting
If you want to ice your cupcakes with chocolate buttercream then used my whipped buttercream frosting with cocoa powder.
Vanilla Cupcakes with Cream Cheese Frosting
If you want a cream cheese frosting for your cupcakes - use my delicious cream cheese frosting recipe.
Expert Tips for this Recipe
Dividing the Cake Batter Evenly
This recipe makes 3 cups of batter, meaning that each cupcake liner will be filled with ¼ cup of cake batter. Use a ¼ cup measurer or a size 16 scoop to evenly divide the batter between the cupcake liners.
Cupcake Liners
It is my experience that cupcake liners can vary slightly in size. This means that while I usually buy the everyday liner from the supermarket, I have found that for events (or photographs) a slightly more expensive version may be better. For these particular cupcakes, I used Wilton Elegance Baking Cups.
Ovens & Air Fryers
The temperatures stated are for conventional ovens. For convection, fan-forced, fan-assisted, or air-fryers, the temperature must be reduced by 20°C/25°F, or the gas mark by 1.
Place the oven rack in the middle of the oven. Open the oven as little as possible. Make sure the oven is fully preheated before placing the cupcakes in the oven. This will take at least 30 minutes.
For best baking results invest in an oven thermometer, as the temperature dials on the oven may not be accurate. Place the thermometer in the middle of the center rack for the most accurate results. I hang my oven thermometer off the center of my oven rack.
Keep in mind that all ovens work slightly differently and bake times may need to be adjusted for your specific oven.
Storage and Freezing
These cupcakes will keep at room temperature in an airtight container for up to a week. Once frosted, the cupcakes can be stored at room temperature for 2 days before being refrigerated.
Individual unfrosted cupcakes can be wrapped in plastic wrap/clingfilm and frozen for up to 3 months.
Fully frosted cupcakes can be frozen as a whole by placing the cupcakes onto a baking sheet or tray and then freezing them solid before wrapping them in plastic wrap/clingfilm. This should mostly save the shape of the frosting. Before defrosting, remove the plastic wrap to maintain the shape of the frosting.
Vanilla Cupcakes FAQ
I used a regular-size muffin pan for these cupcakes, in particular the Chelsea Winter range I picked up from the local supermarket.
There can be a number of reasons for a dry cupcake. The first is that too much flour was added to the recipe, or that too little sugar was added, refer to my post on weighing and measuring ingredients to troubleshoot. Additionally, an oven that is too hot, or cupcakes that have been baked for too long can turn out dry.
Other Recipes You May Like
Rate & Review!
If you made this recipe, please leave a star rating! It gives my readers and me helpful feedback. If you want more recipes, subscribe to my newsletter, and follow me on Instagram, Pinterest, and Facebook!
Recipe Card
Vanilla Cupcakes
Equipment
- Regular Muffin Pan (12-Well)
- Stand Mixer
- Electric hand mixer
- Wilton 1M
- Regular Cupcake Liners
- Mixing Bowls
- Silicone Spatula
- Whisk
Ingredients
Vanilla Cupcakes
- 60 grams butter melted
- 200 grams white granulated sugar
- 2 eggs (Size6/Med/large*note 1)
- 120 grams milk
- 2 teaspoon vanilla extract
- 190 grams plain flour
- 1½ teaspoon baking powder
- ¼ teaspoon table salt
Vanilla Buttercream Frosting
- 150 grams butter
- 2 teaspoon vanilla extract
- 330 grams icing sugar
- ½ teaspoon table salt (if using unsalted butter)
- 1-3 tablespoon cream/milk
Instructions
Vanilla Cupcakes
- Preheat the oven to 180°C/355°F/gas mark 4. Line a 12-cup muffin pan with cupcake liners.
- Melt the butter, either in a small bowl in the microwave or on the stovetop. Set aside to cool.60 grams butter
- Beat together the eggs and sugar either with an electric hand mixer or with a stand mixer for 5 minutes. The egg mixture will lighten to a pale yellow and almost triple in volume when done.200 grams white granulated sugar, 2 eggs
- Add the vanilla to the eggs. Then with the beaters running, slowly add the butter to the eggs. Then repeat with the milk.60 grams butter, 2 teaspoon vanilla extract, 120 grams milk
- Whisk together the flour, baking powder, and salt. Add to the egg mixture, and then whisk in by hand to form a smooth batter.190 grams plain flour, 1½ teaspoon baking powder, ¼ teaspoon table salt
- Using a ¼ cup or size 15 scoop, divide the batter into the prepared cupcake liners. Tap the cake tin on the kitchen counter 3 times to bring all the large bubbles to the surface.
- Bake for 20 minutes or until a toothpick comes out mostly clean from the center.
- Allow the cupcakes to cool in the tin for 2-5 minutes before placing them on a wired cooling rack to cool completely.
Buttercream Frosting *note 2
- Bring the butter and milk or cream to room temperature. If your bowls are cold, run the outside of the bowls under some warm water and dry off before using.
- Place the butter and vanilla into a large mixing bowl and start beating with a whisk attachment on a low to medium speed for 2-3 minutes. Then crank up the speed to high and beat for 10 minutes, scraping down the bowl in regular intervals to make sure all the butter is being beaten. The butter will become soft, fluffy, and almost white in color. *note 3150 grams butter, 2 teaspoon vanilla extract
- Sieve the icing sugar over the butter, add the salt, and using the paddle attachment and beat the icing sugar into the butter to form a thick frosting. The cake beaters of a handheld electric mixer will work just fine. *note 4330 grams icing sugar, ½ teaspoon table salt
- Add in the milk or cream 1 tablespoon at a time and beat on high to create a spreadable/pipeable frosting.1-3 tablespoon cream/milk
- With the paddle attachment, run at a low to medium speed for an additional 2-5 minutes. This will knock out the large air pockets in the frosting.
- To make sure the buttercream frosting is smooth, use a silicon spatula to stir through the frosting a few times. This step is important especially if a hand-held electric mixer has been used.
- If the icing or frosting feels too soft, cover it with plastic wrap or cling film and allow it to set at room temperature for 30 minutes to allow the whole mixture to cool down. The heat from the mixer and friction may make the frosting/icing feel a bit soft.
- Transfer the frosting into a piping bag with a tip. For large tall swirls, begin the circle on the outer edge moving inwards and then on top of the swirl. For a single rosette, start in the middle of the cupcake and work your way to the edge. *note 5&6
Notes
- New Zealand size 6 eggs are around the same size as an Australian/South African Large or a US/Europe Medium.
- The recipe for buttercream frosting is one that I have been working to perfect. The amount of frosting in this particular recipe yields 2 cups of frosting. This is enough for those large beautiful swirls on top of the cakes. If you prefer less icing, or more of a rosette, simply half the frosting recipe by using the "½" button.
- Depending on how yellow your butter is, to begin with will depend on the final color of the butter upon beating. My butter, which is rather yellow, to begin with, becomes a pale yellow when the beating is complete.
- If you want to add in food coloring, specifically liquid food coloring, then this is when it should be added as it will loosen up the buttercream frosting.
- I use a 1M Wilton tip for the cupcake decoration.
- If the frosting feels a bit stiff in the bag before piping. Hold the frosting in your hands for a bit to warm up the frosting.
Nutrition
Nutrition information is an estimate. If scaling the recipe remember to scale your cook and bakeware accordingly. All temperatures stated are conventional, unless otherwise stated. Recipes tested in grams and at sea level.
Pin for Later

Mehjabeen says
Hi what is measurement of milk in cups an another thing i wanted to know is if i need to use this creaming method , i have a vinalla cupcake the recipe is same like yours only difference is method is different shes stir everything altogether
Mary-Lou says
Hi,
The cup measurements can be found by clicking on "cups" by the ingredients list in the recipe card.
I don't like the texture that an all-in-one method creates when baking cakes/cupcakes - I did try it in the recipe testing phase (of which I note tests and variations in the post). If you use the all in the one method - the texture and height of the cupcakes will be different from what you see in my photos.
Mehjabeen says
Hi I need 24 cupcakes so im trying to wonder if I can fill less batter per cup in order to get the two dozen
Mary-Lou Watkins says
Hi,
If you want 24 regular sized cupcakes I would double the recipe by clicking the 2x button above the ingredients. I personally wouldn't put half the batter into the regular sized cups because it would result in a fairly thin cupcake. However, if you do, I would check the doneness at 10/15 minutes as to not over bake them.
If you want to make mini vanilla cupcakes, this recipe will make about 36 minis. Each cupcake liner will take about 1 ½ tablespoon of batter. Bake at 180°C/355°F for about 10-15 minutes. This is for the mini cupcake liners.
Mehjabeen says
Hi I did heed to your advice , I doubled this batch, thanks sooo much , it was nice and light and fluffy an moist and sweet enough that I felt it's not required or is icing really required
Mary-Lou Watkins says
I'm glad they came out well! You can leave off the icing if want - sometimes a plain vanilla cupcake is perfect as is.