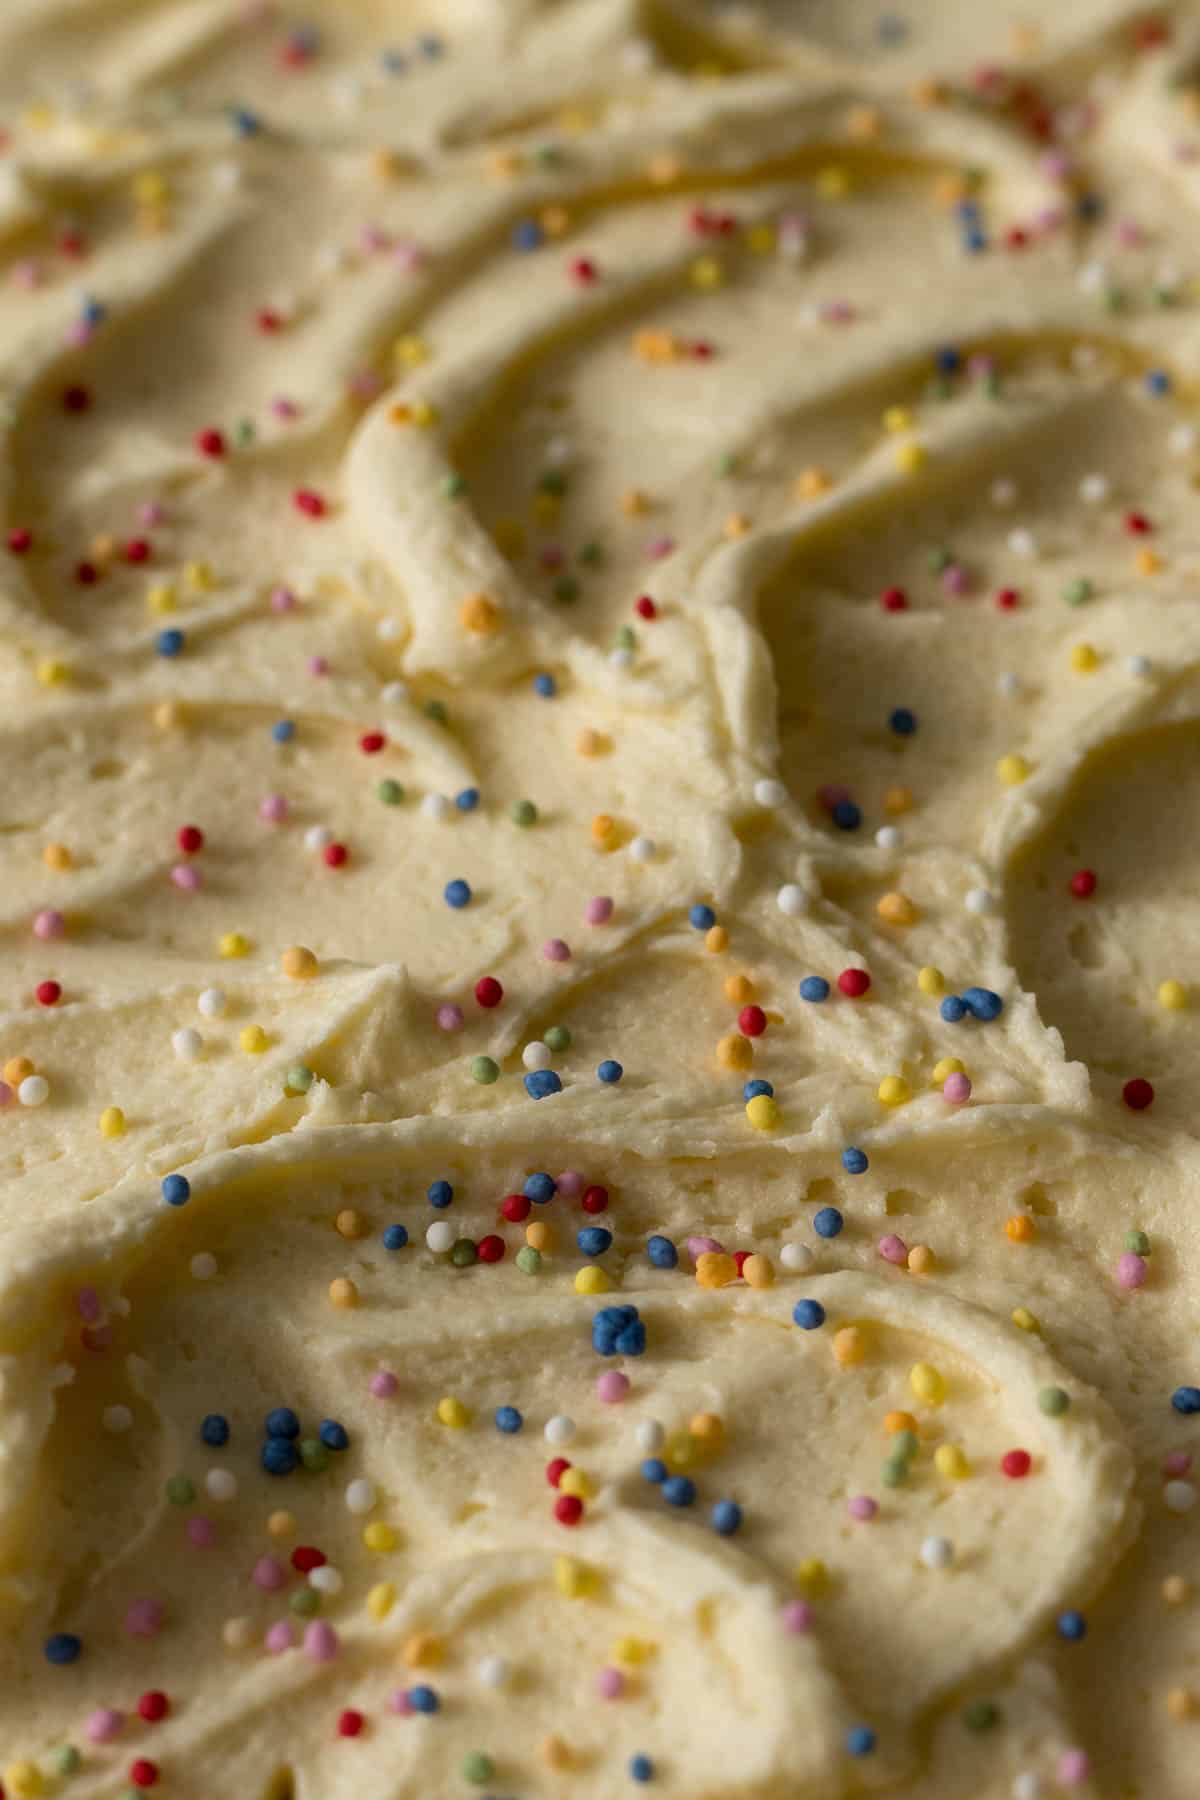
This delicious whipped buttercream frosting recipe is easy to follow, and can be scaled up or down for your frosting needs!
Jump to:
I was recently asked by a reader for some tips on making frosting/icing. Like many other people out there they were struggling with the consistency as well as the sweetness. So I have spent some time perfecting my American buttercream frosting and sharing all of my tips here with you.
As a home baker myself, and having now spent two years developing recipes for Salty Ginger, I can categorically say - this is an ongoing learning process! And I learn from a wide variety of books, teachers, and other people sharing their tips and tricks.
For this particular recipe, I spent quite a lot of time watching videos on YouTube, TikTok, and Instagram. In general, I wasn't too far off in my method but one of the big things that I took away from the many bakers out there was to really give that butter a good beating before even considering adding the icing sugar.
In particular, this recipe will be continually updated with variations, as I create more variations of this specific recipe.
Frosting vs Icing vs Glaze
Frosting and icing are sometimes used interchangeably to mean the sweet topping that is added to the top of baked goods and pastries. However, they can be separated out based on method and texture, and application.
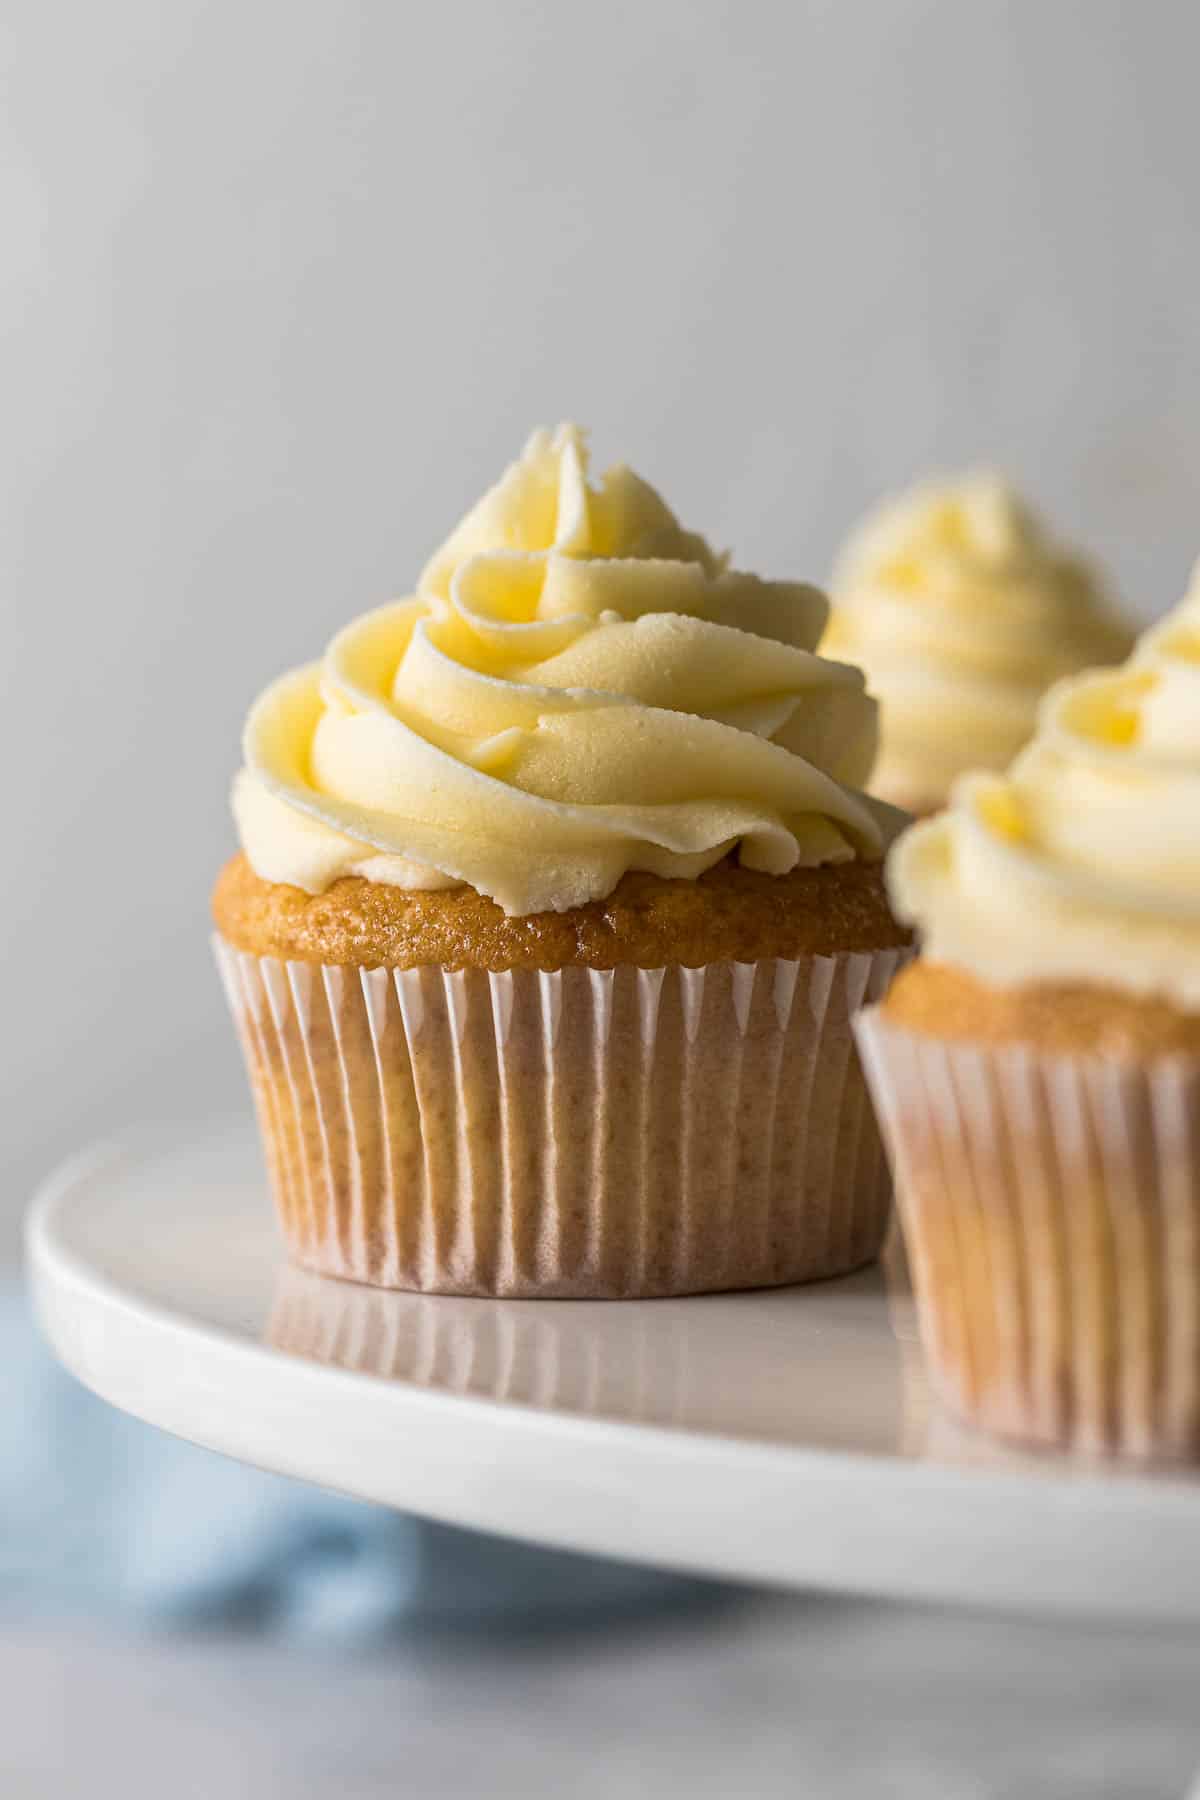
Frosting typically refers to a topping that is made with butter and sugar and whipped or beaten together to create a nice fluffy sweet topping that is used to decorate cakes and cupcakes. There are different types of frosting, namely:
- American buttercream is the most common method used to create a quick frosting. This consists of butter, icing sugar, and milk/cream.
- Swiss meringue buttercream begins with beating egg whites and sugar over to the water and slowly adding butter.
- Italian buttercream frosting is made by drizzling hot sugar syrup into whipped egg whites, after which butter is added.
- Cream cheese frosting - consists of butter, cream cheese, and icing sugar.
- Whipped cream frosting/Chantilly cream - basically a whipped cream stabilized with icing sugar.
- Ermine frosting - is made by cooking flour and milk together to form a roux (thick paste). This cooked milk mixture is then beaten with butter.
- German buttercream is made by beating together a pastry cream with softened butter, and sometimes additional icing sugar.
- Russian buttercream consists of butter and condensed milk.
Icing typically refers to a topping that is poured, spooned, or drizzled over baked goods. Think of the icing drizzle over a custard slice. There are different types of icing, namely:
- Standard icing which made by combining icing sugar with milk, cream, lemon juice, or even a liqueur. Sometimes a little bit of melted butter or other flavorings are added.
- Royal icing is made by combining whipped egg whites with icing sugar and water. This icing hardens and is great for cookie decoration.
- Fondant is made with sugar, butter, water, and gelatin.
Why You Will Love This Recipe
- Minimal ingredients.
- Super easy to make.
- Sweet but not too sweet. This depends on an individual palette, but I keep the icing sugar to what I think is a minimum.
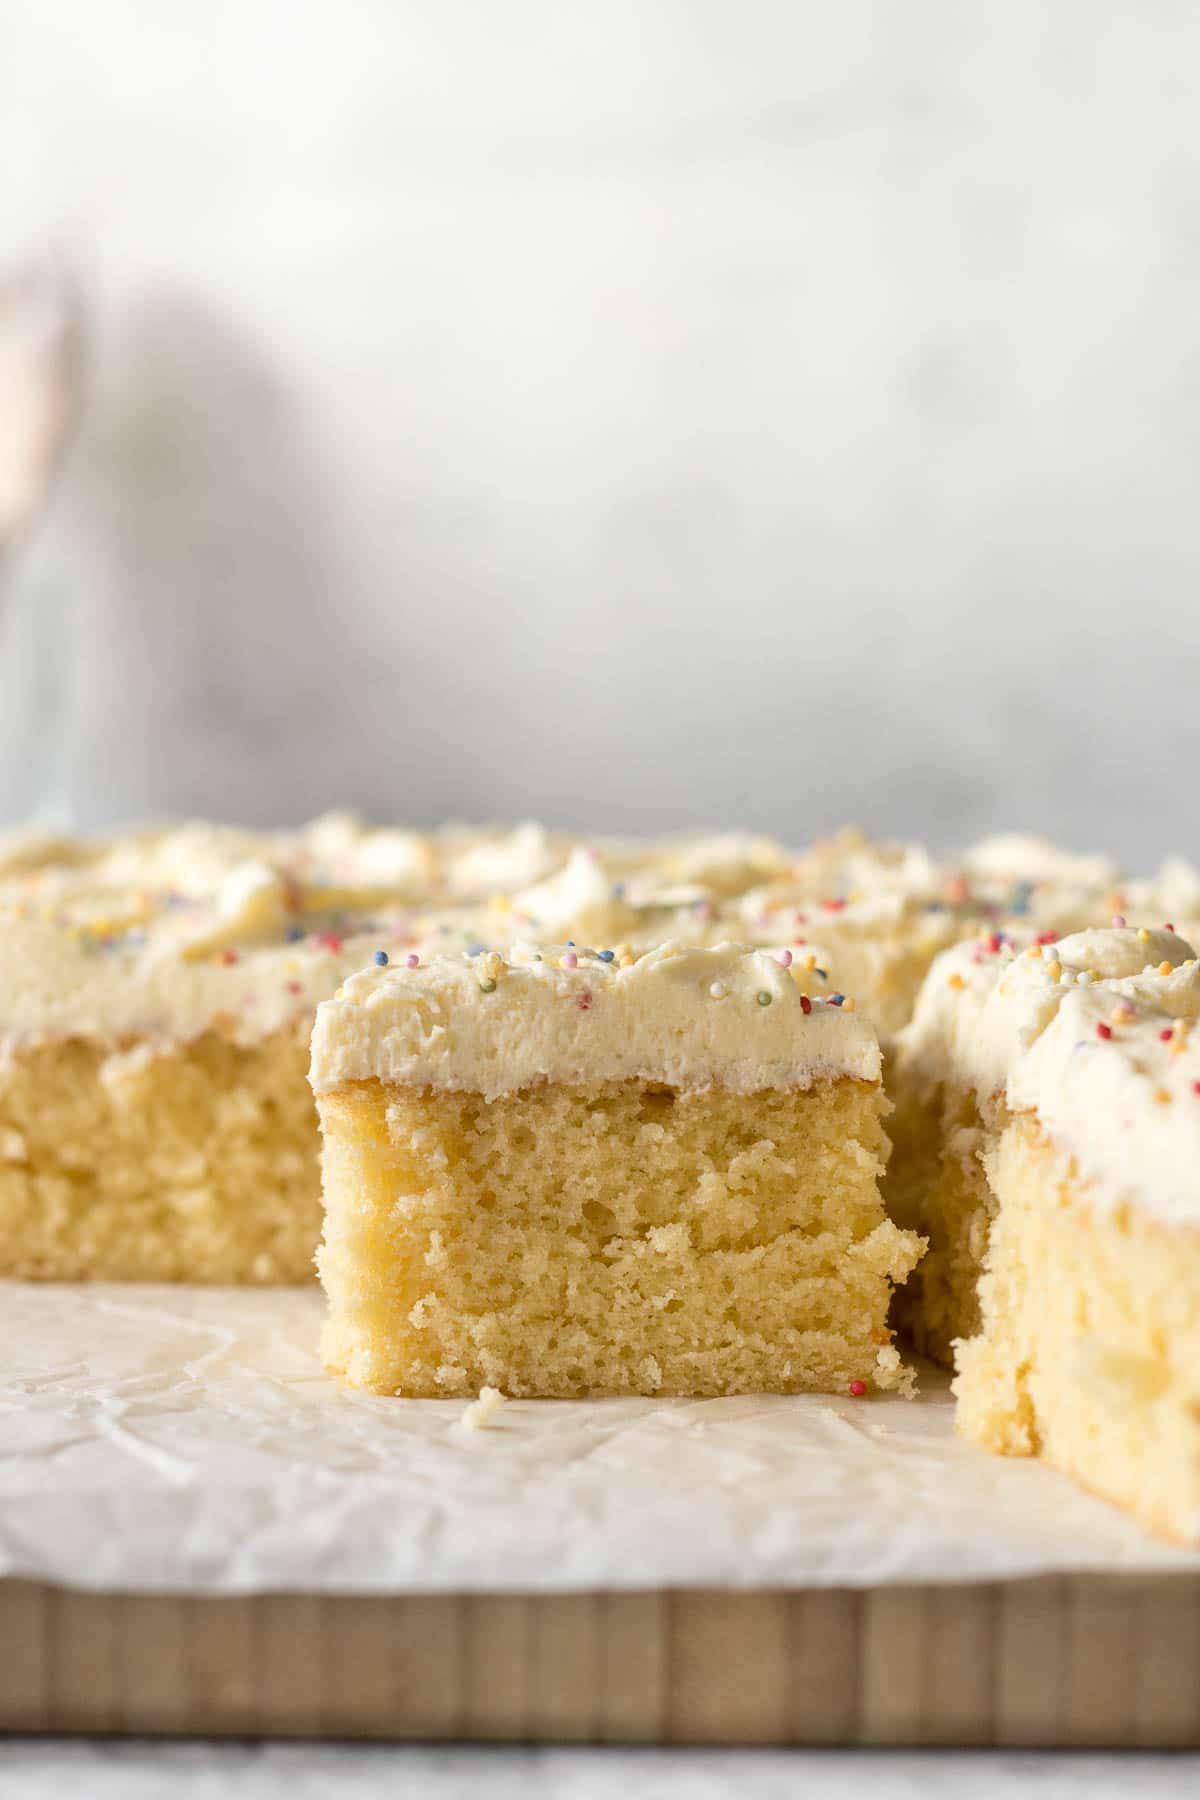
- Something that could be easily scaled from cupcakes to layer cakes and everything in between.
Ingredients
Here are some notes on the ingredients used in this recipe. Please see the recipe card for quantities.
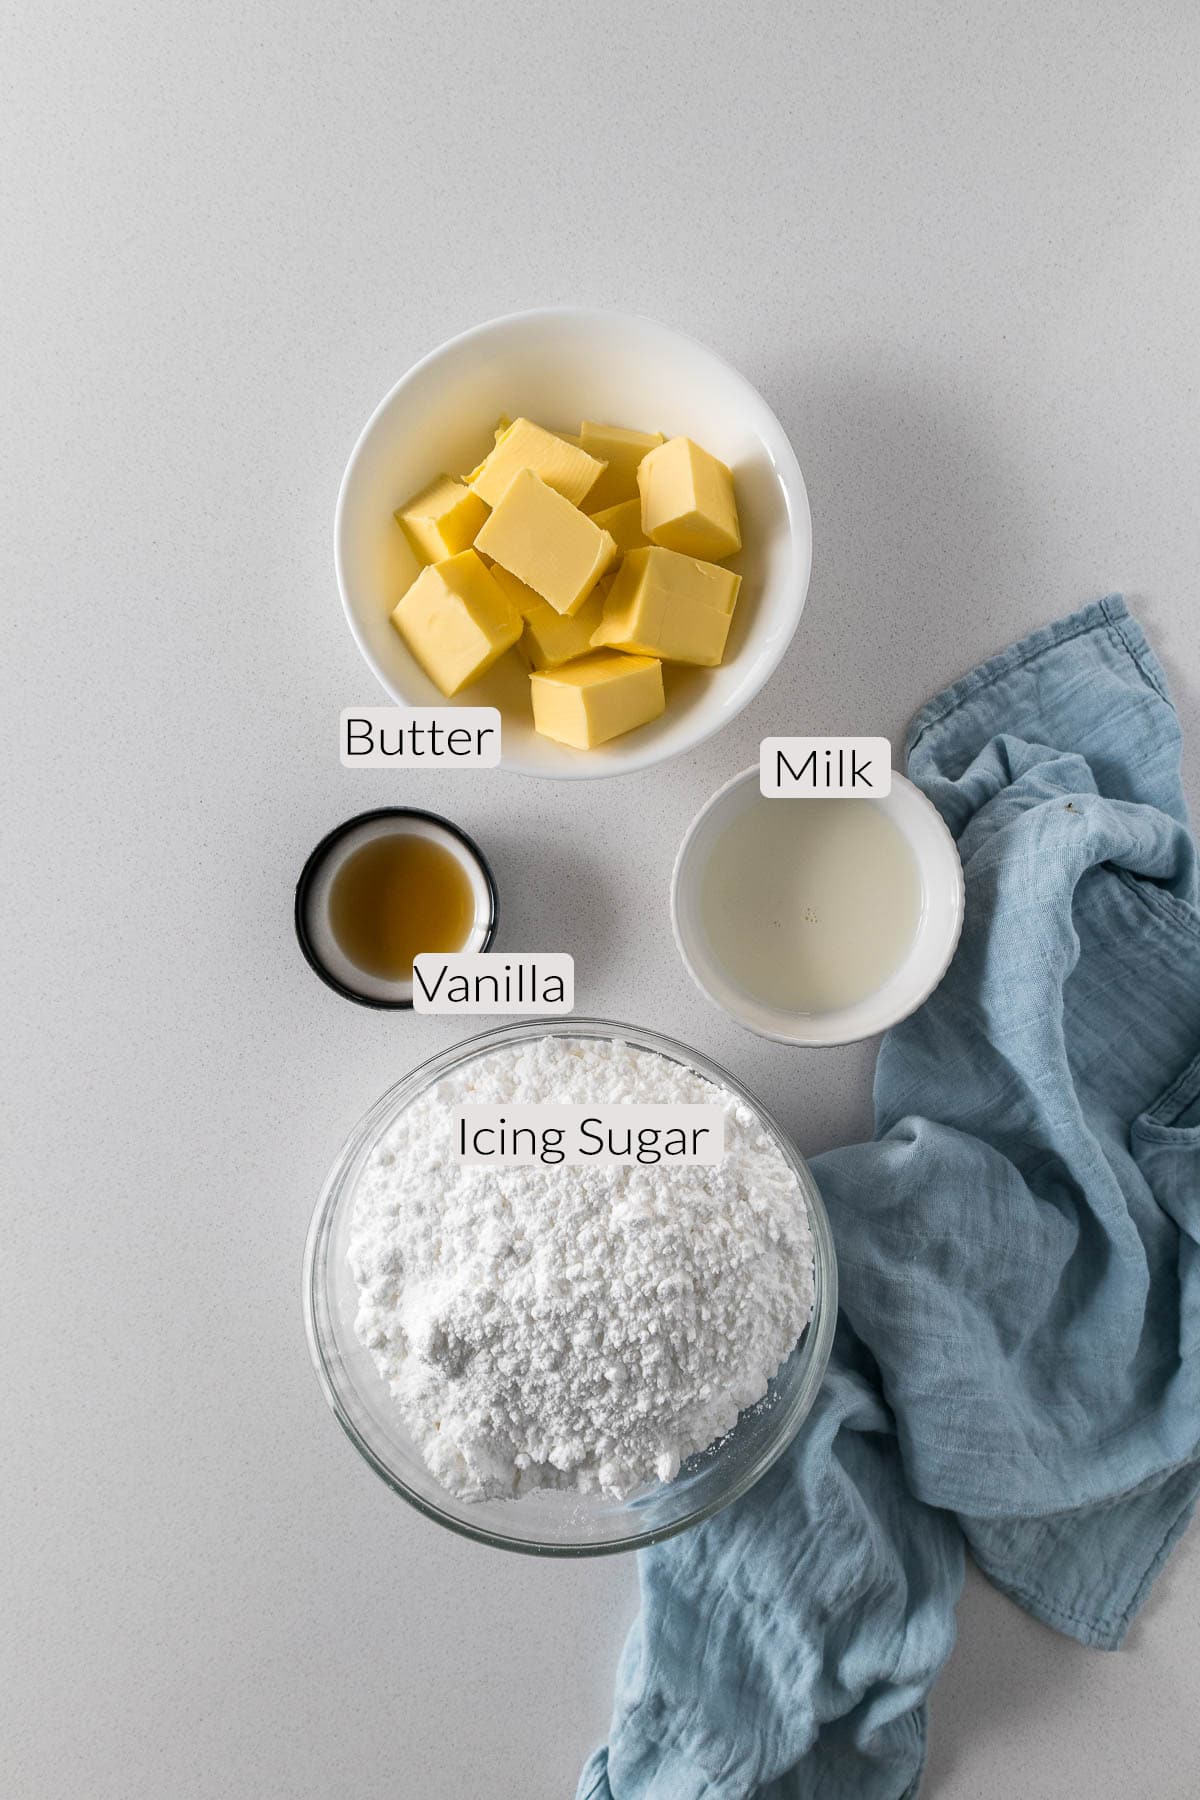
Butter adds flavor and aids in the consistency of the whipped butter cream. I use New Zealand butter in my recipes, which has approximately 82% butterfat and can be very yellow (similar to European or Irish butter). Butter cannot be substituted with butter or margarine spreads, but it can be substituted with baking margarine.
Because butter is a forward flavor in this frosting, I think a good quality salted butter is great to use.
Icing sugar/powdered sugar/confectioners sugar is used to sweeten this frosting. Because it is so fine it won't add any additional air pockets to the butter. I like to sift my icing sugar after weighing it out. Especially if it has been sitting around for a while, to break up any clumps there might be.
Milk or cream to get the right consistency. Buttercream frosting recipes usually contain cream or heavy cream to loosen up the frosting for that nice pipeable consistency. And while I love using cream, as it adds great flavor, I don't always have cream in the fridge, so more often than not I will use milk to make buttercream frosting.
Salt is a crucial ingredient in all baked goods. I use table salt in all my recipes. One teaspoon of table salt equals 1.5 teaspoons of Morton Kosher Salt equals 2 teaspoons of Diamond Crystal. If you are not using salted butter, adding salt to the frosting is a must!
For a vanilla buttercream frosting, use a good quality vanilla extract or paste.
Food coloring - if you want to make colored buttercream frosting, I would suggest using gel food coloring. If you only have liquid food coloring, add it in before you add the milk/cream as this will loosen up the frosting as well.
Dutch-processed cocoa powder is added to the buttercream to make a chocolate buttercream. I like to use Cadbury cocoa powder.
Weighing & Measuring Ingredients
Weighing ingredients with a kitchen scale is more accurate than using measuring cups. All my recipes are developed and tested using grams only.
However, I have activated the metric-to-cup conversions. Simply click on "cups" or "metric" for your preferred measurements. For these conversions, cups are equal to 240 millilitres/8 fluid ounces, tablespoons are 15 milliliters and teaspoons are 5mL.
How Much Frosting Do I Need?
Here is a guideline for how much frosting you will require for cupcakes and cakes. The recipe default is 2 cups of frosting.
| Cake Type | Cups | Recipe |
| 12 Cupcakes: Tall Swirls | 2 cups | default |
| 12 Cupcakes: Rosettes | 1 cup | ½x |
| 13"x9" (33cm x 23cm) sheet cake/traybake | 3 cups | 1 ½x |
| 8"/9" (20/23cm) 2 layers | 4 cups | 2x |
| 8"/9" (20/23cm) 3 layers | 6 cups | 3x |
When frosting a layered cake, a general guide is to place about ¾ cups of frosting between the layers, about 1½ on the top of the cake, and 1¾ cups on the sides.
Step-by-Step Instructions
For making the best-whipped buttercream frosting, I do recommend using a stand mixer. However, it can be made using a hand-held electric whisk. If making this by hand, may the strength of Hercules be in your arms!
Step 1 - Bring the butter, salt, and milk or cream to room temperature. If your bowls are cold, run the outside of the bowls under some warm water and dry off before using.
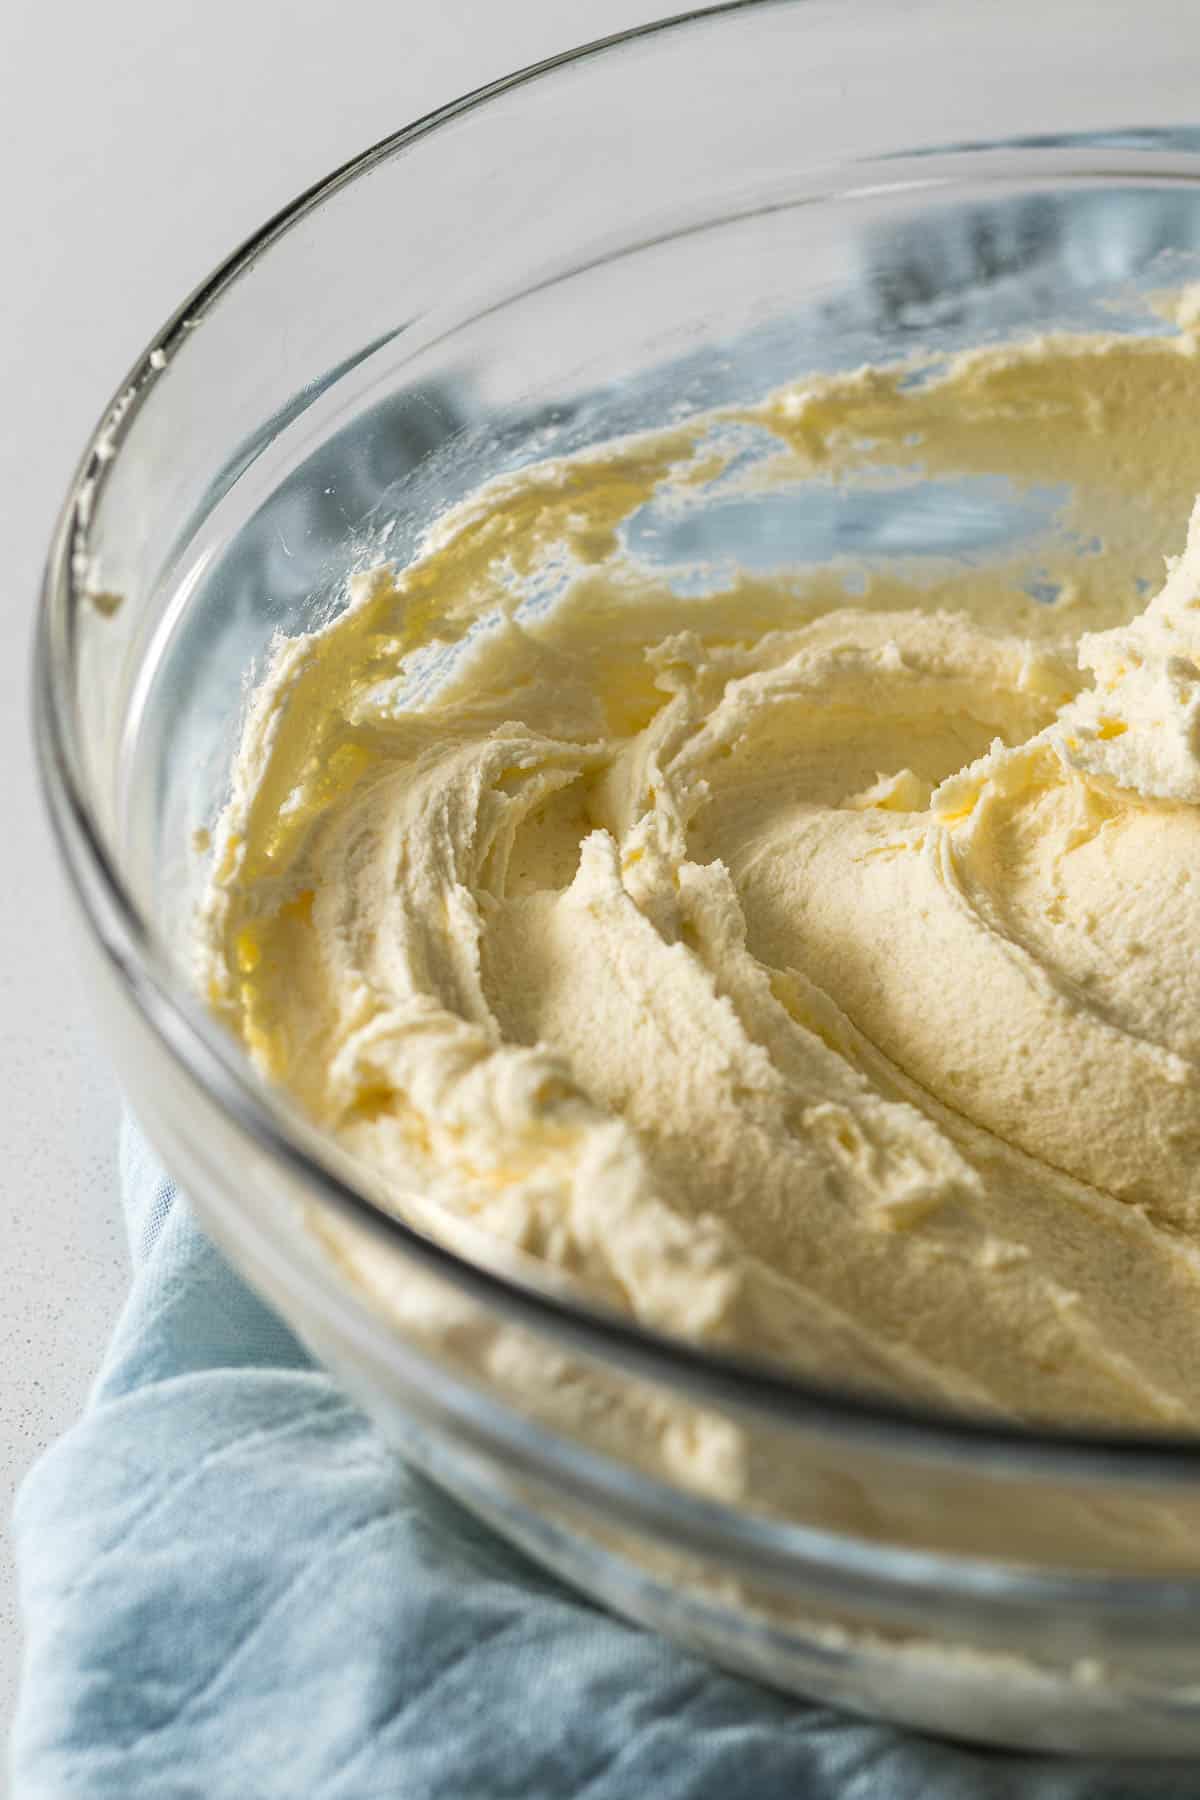
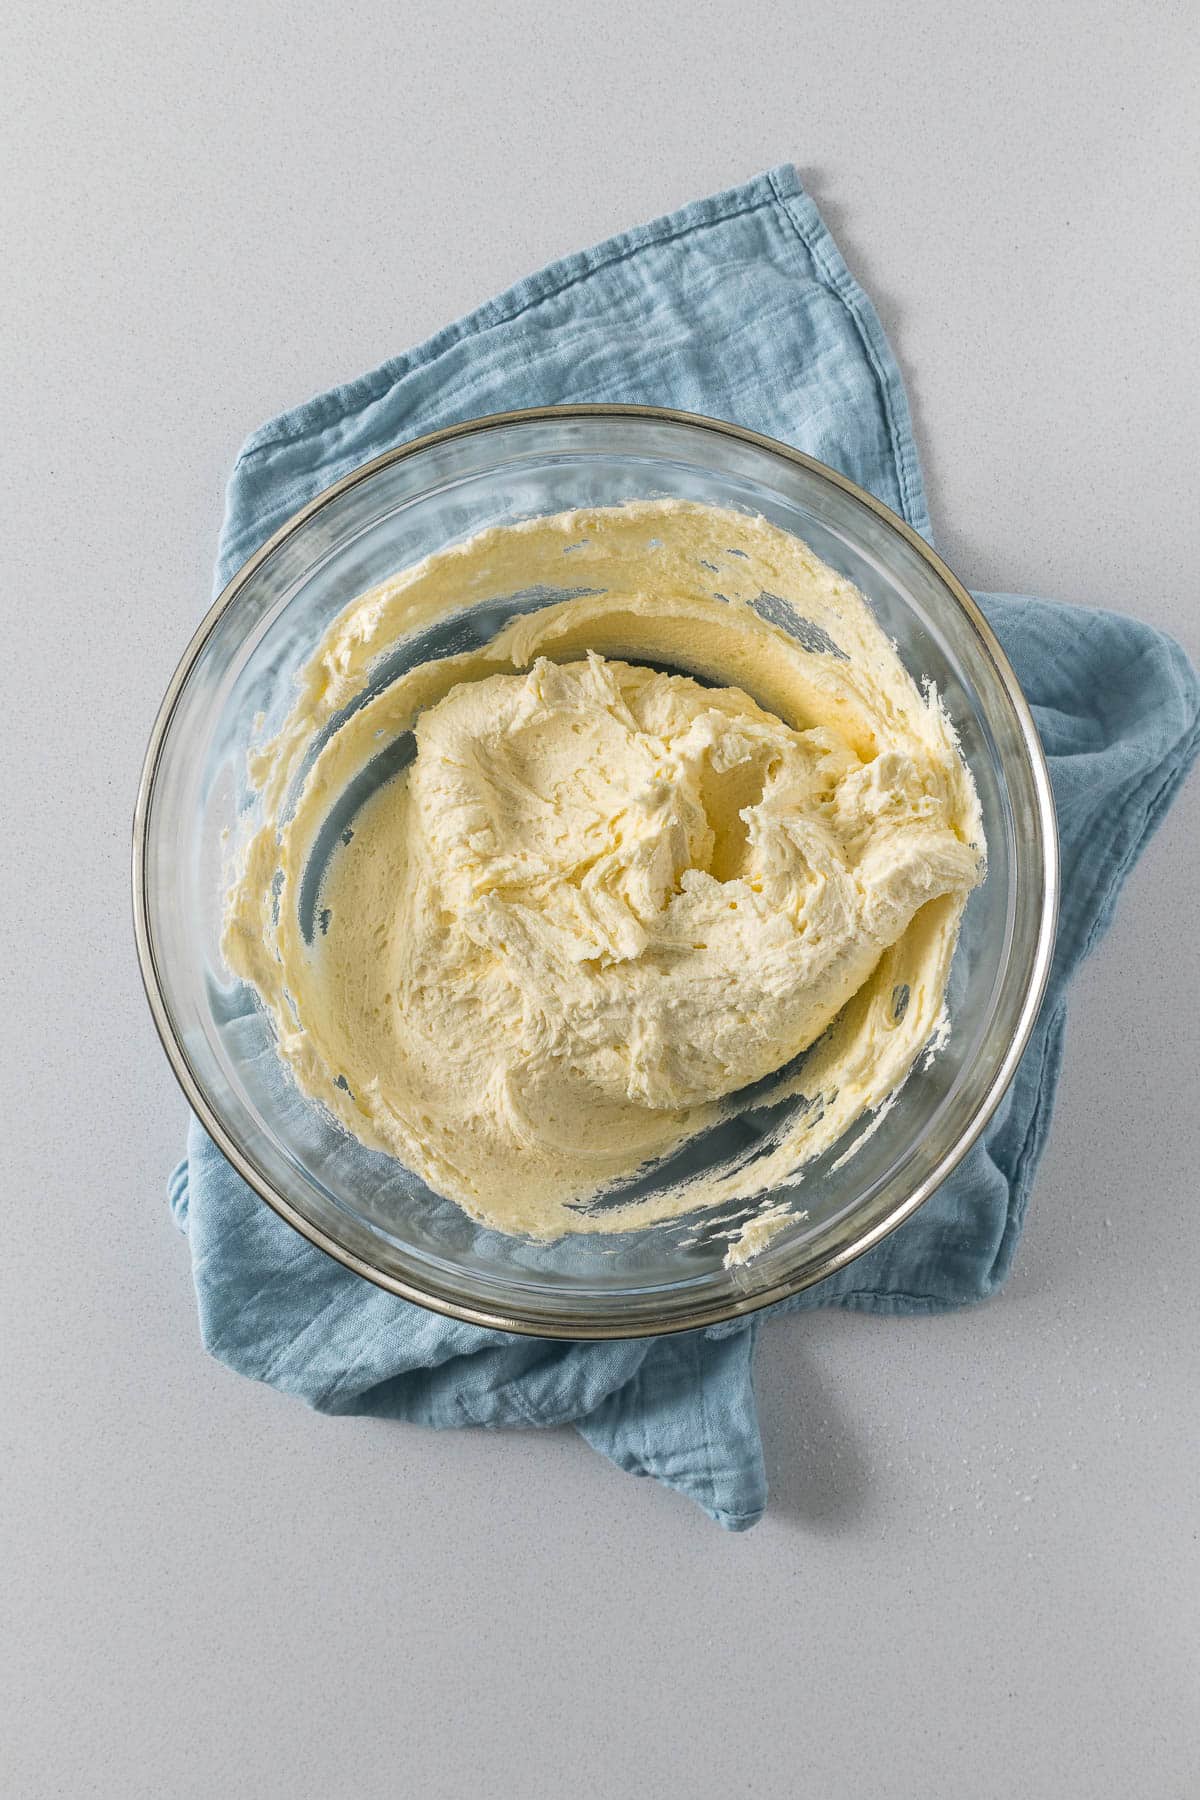
Step 2 - Place the butter and vanilla into a large mixing bowl and start beating with a whisk attachment on a low to medium speed for 2-3 minutes. Then crank up the speed to high and beat for 10 minutes, scraping down the bowl in regular intervals to make sure all the butter is being beaten. The butter will become soft, fluffy, and almost white in color.
NOTE - depending on how yellow your butter is, to begin with, will depend on the final color of the butter upon beating. My butter, which is rather yellow, to begin with, becomes a pale yellow when the beating is complete.
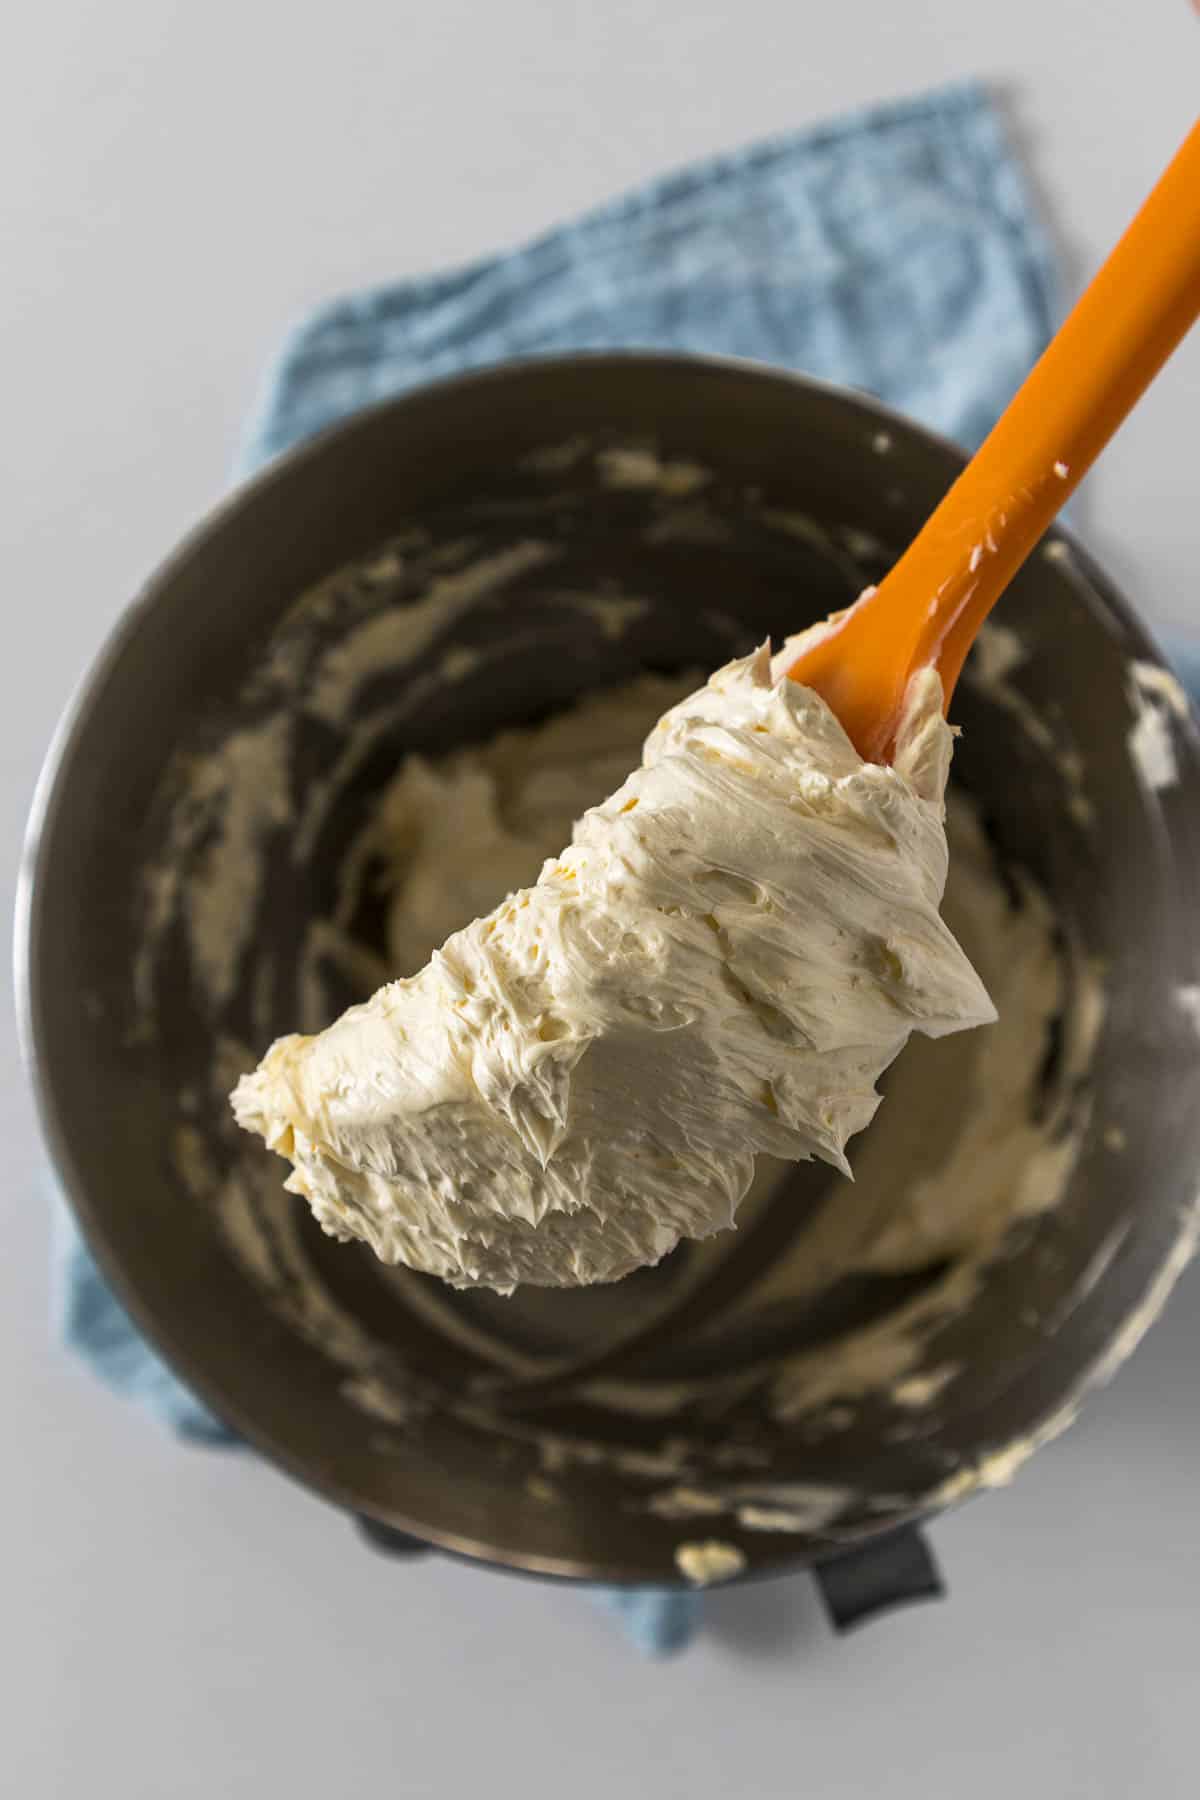
Step 3 - Sieve the icing sugar over the butter, and using the paddle attachment and beat the icing sugar into the butter to form a thick frosting. The cake beaters of a handheld electric mixer will work just fine. For the chocolate variation, sift in the cocoa powder at this point.
NOTE - if you want to add in food coloring, specifically liquid food coloring, then this is when it should be added as it will loosen up the buttercream frosting.
Step 4 - Add in the milk or cream 1 tablespoon at a time and beat on high to create a spreadable/pipeable frosting.
Step 5 - With the paddle attachment, run at a low to medium speed for an additional 2-5 minutes. This will knock out the large air pockets in the frosting.
Step 6 - To make sure the buttercream frosting is smooth, use a silicon spatula to stir through the frosting a few times. This step is important especially if a hand-held electric mixer has been used.
Step 7 - If the icing or frosting feels too soft, cover it with plastic wrap or cling film and allow it to set at room temperature for 30 minutes to allow the whole mixture to cool down. The heat from the mixer and friction may make the frosting/icing feel a bit soft.
Secrets to Great American Buttercream Frosting
Equipment
I like to use my KitchenAid stand mixer for making buttercream icing, simply because it is much easier to cream/whip or beat ingredients for a long period of time. However, a handheld electric mixer would also work.
Room Temperature Ingredients
Room temperature, slightly soft butter to start the whole process. Allow the butter to come to room temperature. Which is around 20°C/68°F. When you press the butter with a finger, it should leave an indent.
To bring butter to room temperature quickly cut the butter into cubes and zap it in the microwave at 20% power in 10-second intervals. Or place the cubes in a bowl over warm water (such as with a double boiler) over low heat for 1 minute!
If the butter is too soft then pop it into the fridge for 20-30 minutes.
To bring the milk or cream to room temperature, zap in the microwave at 20% power in 10-second intervals. Or on low heat for a minute or two swirling every 10-15 seconds.
Warm up your bowls - I find that the stainless steel bowl for my KitchenAid stand mixer is always cold. So I like to warm it up a bit by running it under some warm water before I use it.
Beating or Whipping for an Extended Period of Time
Beating/whipping/creaming the butter for an extended period of time. I really mean letting the mixer run for a total of 10-12 minutes just when beating the butter alone. This should be done with the wired whisk attachment.
Beating the butter for a long period of time incorporates air into the butter, making it softer and lighter.
After adding the icing sugar, switch to the paddle attachment if using a stand mixer. This results in a smooth buttercream frosting.
Storage and Freezing
Frosting can be stored in an airtight container at room temperature for a day or two but should be used as quickly as possible if kept at room temperature.
Frosting can be stored in an airtight container in the fridge for up to a week. Or can be frozen for up to 3 months.
Before using the cold frosting allow it to come to room temperature before frosting your cakes or cupcakes. Whip or beat the frosting before using.
Buttercream Frosting FAQ
Butter is one of the main ingredients in buttercream frosting. The color of butter is dependent on the cow's diet. Grass-fed cows tend to have milk that is higher in beta-carotenes which results in butter with a deeper yellow color.
Yes. In fact, it is recommended that if frosting has been stored in the fridge or freezer, re-whipping the frosting will help soften the cream, preparing it for decorating.
Other Recipes You May Like
Rate & Review!
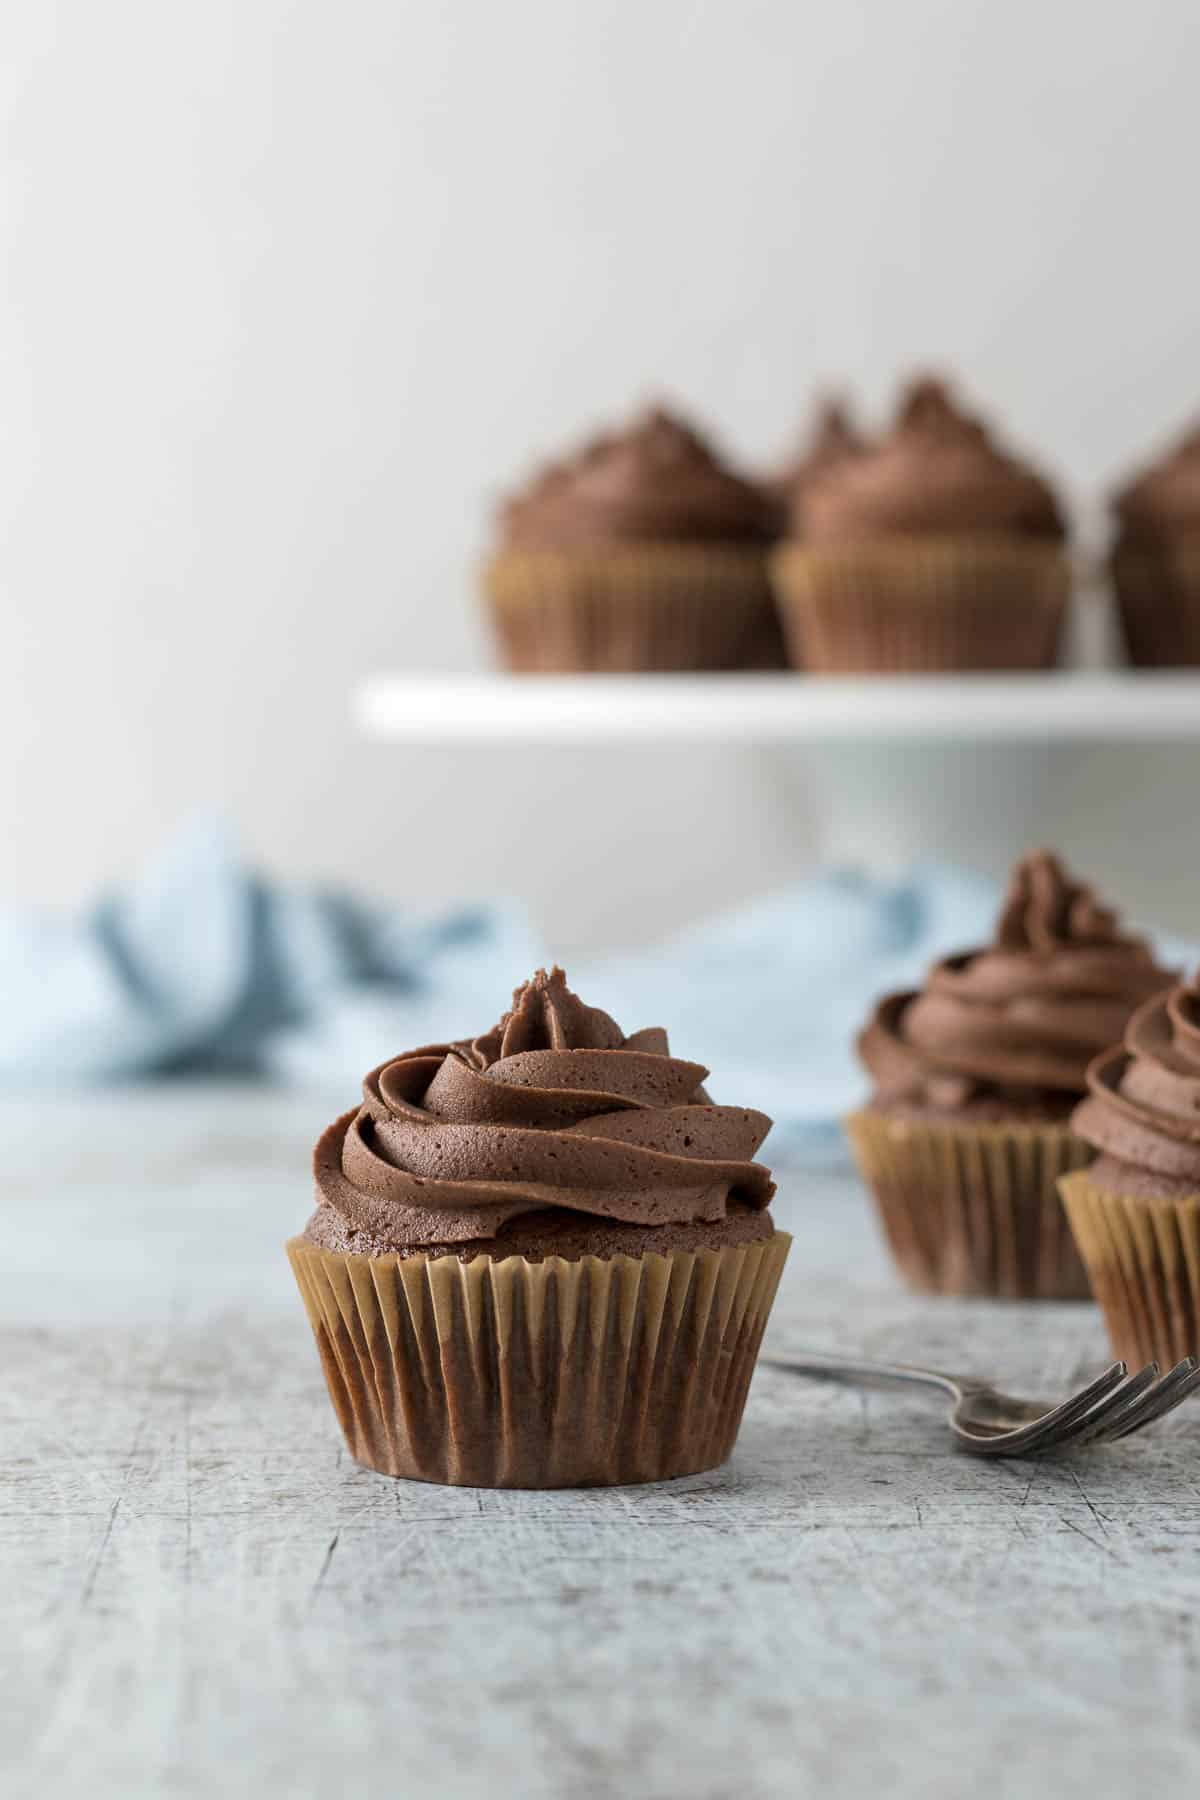
If you made this recipe, please leave a star rating! It gives my readers and me helpful feedback. If you want more recipes, subscribe to my newsletter, and follow me on Instagram, Pinterest, and Facebook!
Recipe Card
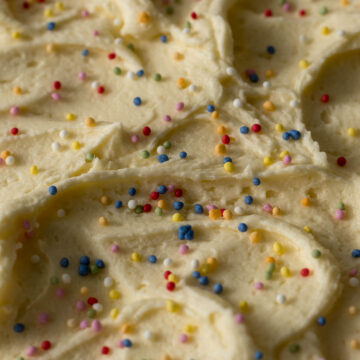
Whipped Buttercream Frosting
Equipment
- Stand Mixer (See Note 1)
- Electric hand mixer (See Note 1)
- Whisk Attachment
- Paddle Attachment
Ingredients
- 150 grams butter
- 2 teaspoon vanilla extract
- 330 grams icing sugar
- ½ teaspoon table salt (if using unsalted butter)
- 1-3 tablespoon cream/milk
Chocolate Buttercream Variation
- 30 grams unsweetened cocoa powder
Instructions
- Bring the butter, salt, and milk or cream to room temperature. If your bowls are cold, run the outside of the bowls under some warm water and dry off before using.
- Place the butter and vanilla into a large mixing bowl and start beating with a whisk attachment on a low to medium speed for 2-3 minutes. Then crank up the speed to high and beat for 10 minutes, scraping down the bowl in regular intervals to make sure all the butter is being beaten. The butter will become soft, fluffy, and almost white in color. *Note 2150 grams butter, 2 teaspoon vanilla extract
- Sieve the icing sugar over the butter, add the salt, and using the paddle attachment and beat the icing sugar into the butter to form a thick frosting. The cake beaters of a handheld electric mixer will work just fine. For the chocolate variation, sift in the cocoa powder at this point. *Note 3330 grams icing sugar, ½ teaspoon table salt
- Add in the milk or cream 1 tablespoon at a time and beat on high to create a spreadable/pipeable frosting.1-3 tablespoon cream/milk
- With the paddle attachment, run at a low to medium speed for an additional 2-5 minutes. This will knock out the large air pockets in the frosting.
- To make sure the buttercream frosting is smooth, use a silicon spatula to stir through the frosting a few times. This step is important especially if a hand-held electric mixer has been used.
- If the icing or frosting feels too soft, cover it with plastic wrap or cling film and allow it to set at room temperature for 30 minutes to allow the whole mixture to cool down. The heat from the mixer and friction may make the frosting/icing feel a bit soft.
Notes
- For making the best-whipped buttercream frosting, I do recommend using a stand mixer. However, it can be made using a hand-held electric whisk. If making this by hand, may the strength of Hercules be in your arms!
- Depending on how yellow your butter is, to begin with will depend on the final color of the butter upon beating. My butter, which is rather yellow, to begin with, becomes a pale yellow when the beating is complete.
- If you want to add in food coloring, specifically liquid food coloring, then this is when it should be added as it will loosen up the buttercream frosting.
Storage and Freezing
- Frosting can be stored at room temperature for a day or two.
- Frosting can be stored in an airtight container for up to a week, or frozen for up to 3 months.
How much frosting do I need?
| Cake Type | Cups | Recipe |
| 12 Cupcakes: Tall Swirls | 2 cups | default |
| 12 Cupcakes: Rosettes | 1 cup | ½x |
| 13"x9" (33cm x 23cm) sheet cake/traybake | 3 cups | 1 ½x |
| 8"/9" (20/23cm) 2 layers | 4 cups | 2x |
| 8"/9" (20/23cm) 3 layers | 6 cups | 3x |
Nutrition
Nutrition information is an estimate. If scaling the recipe remember to scale your cook and bakeware accordingly. All temperatures stated are conventional, unless otherwise stated. Recipes tested in grams and at sea level.
Pin for Later

Comments
No Comments