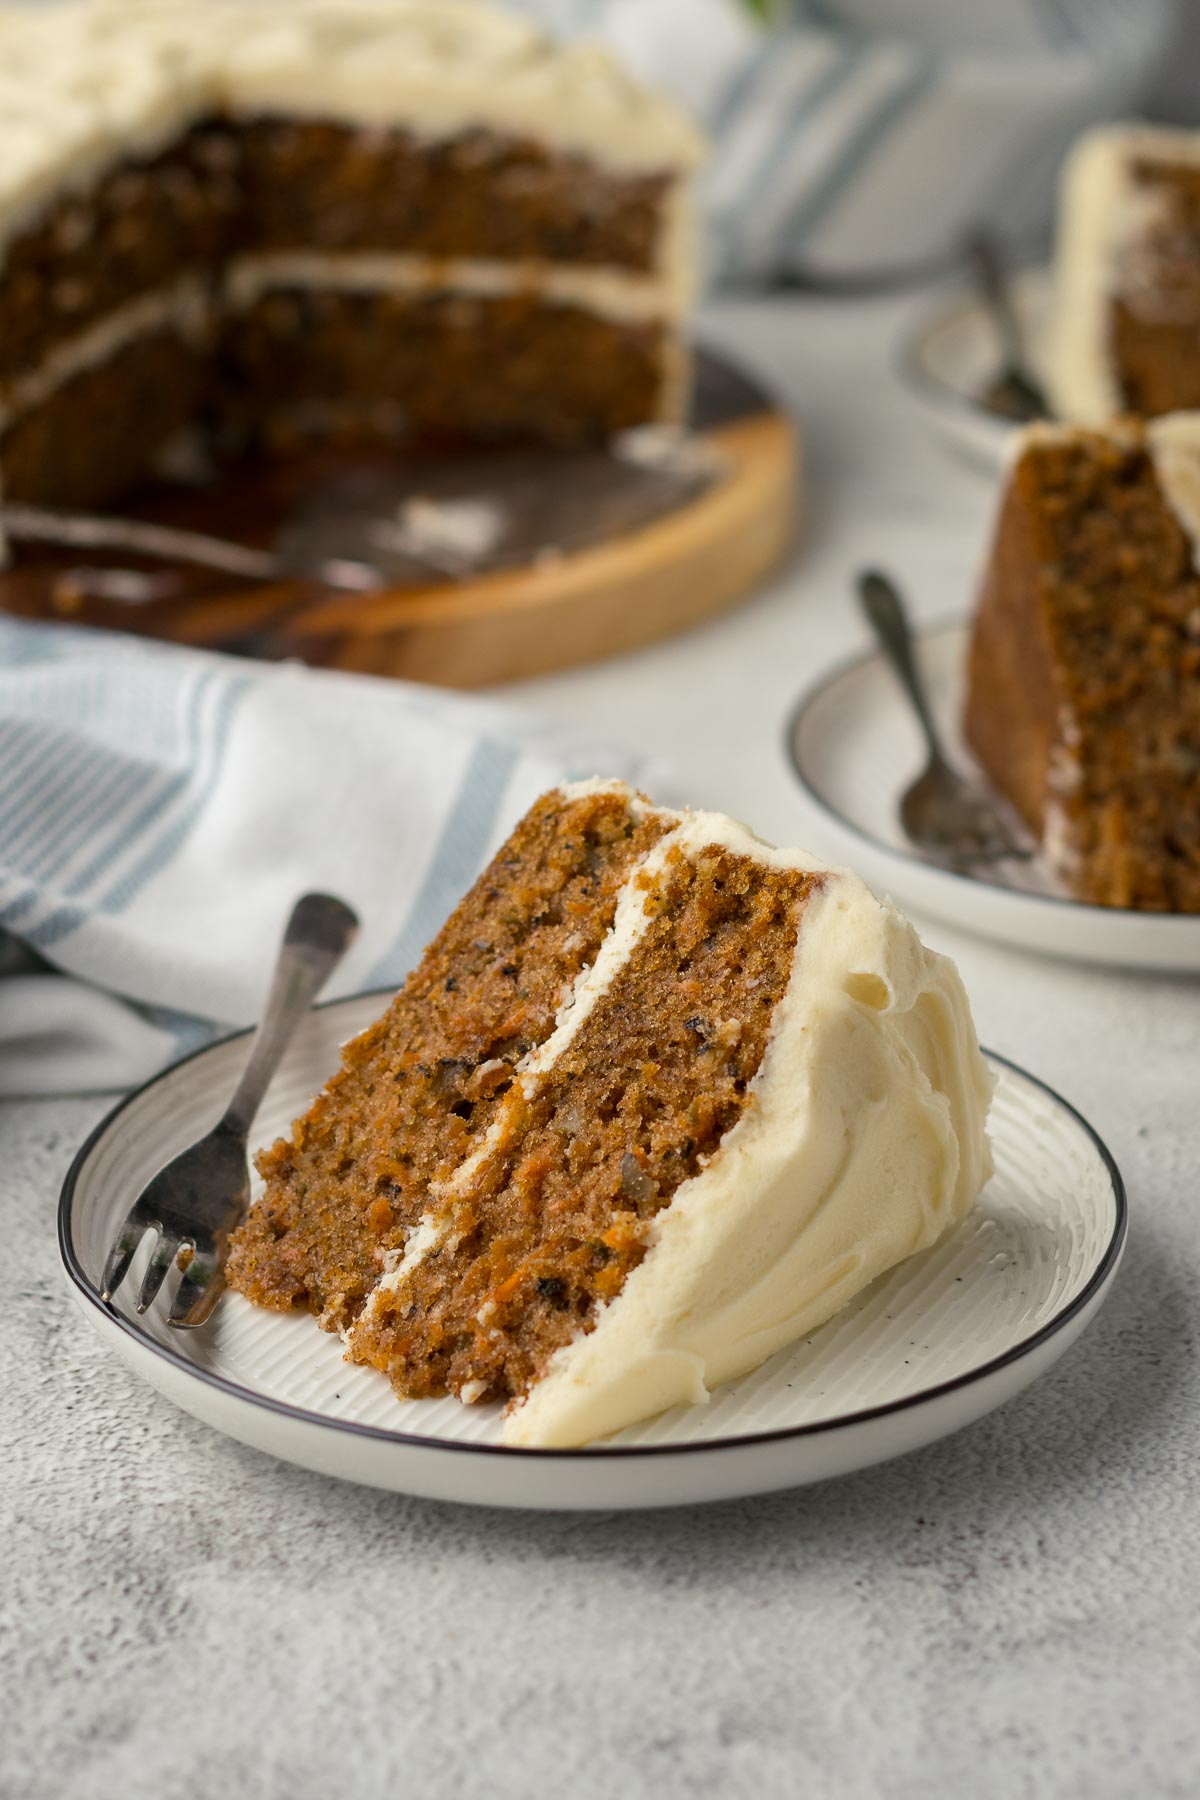
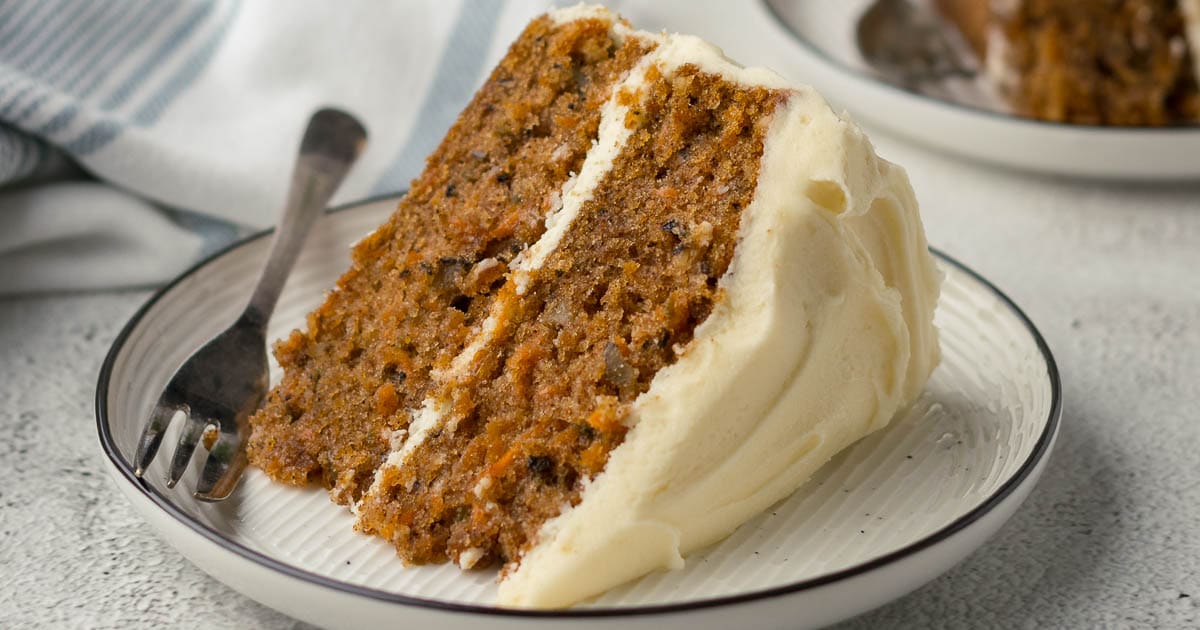
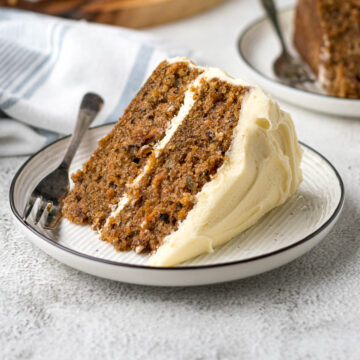
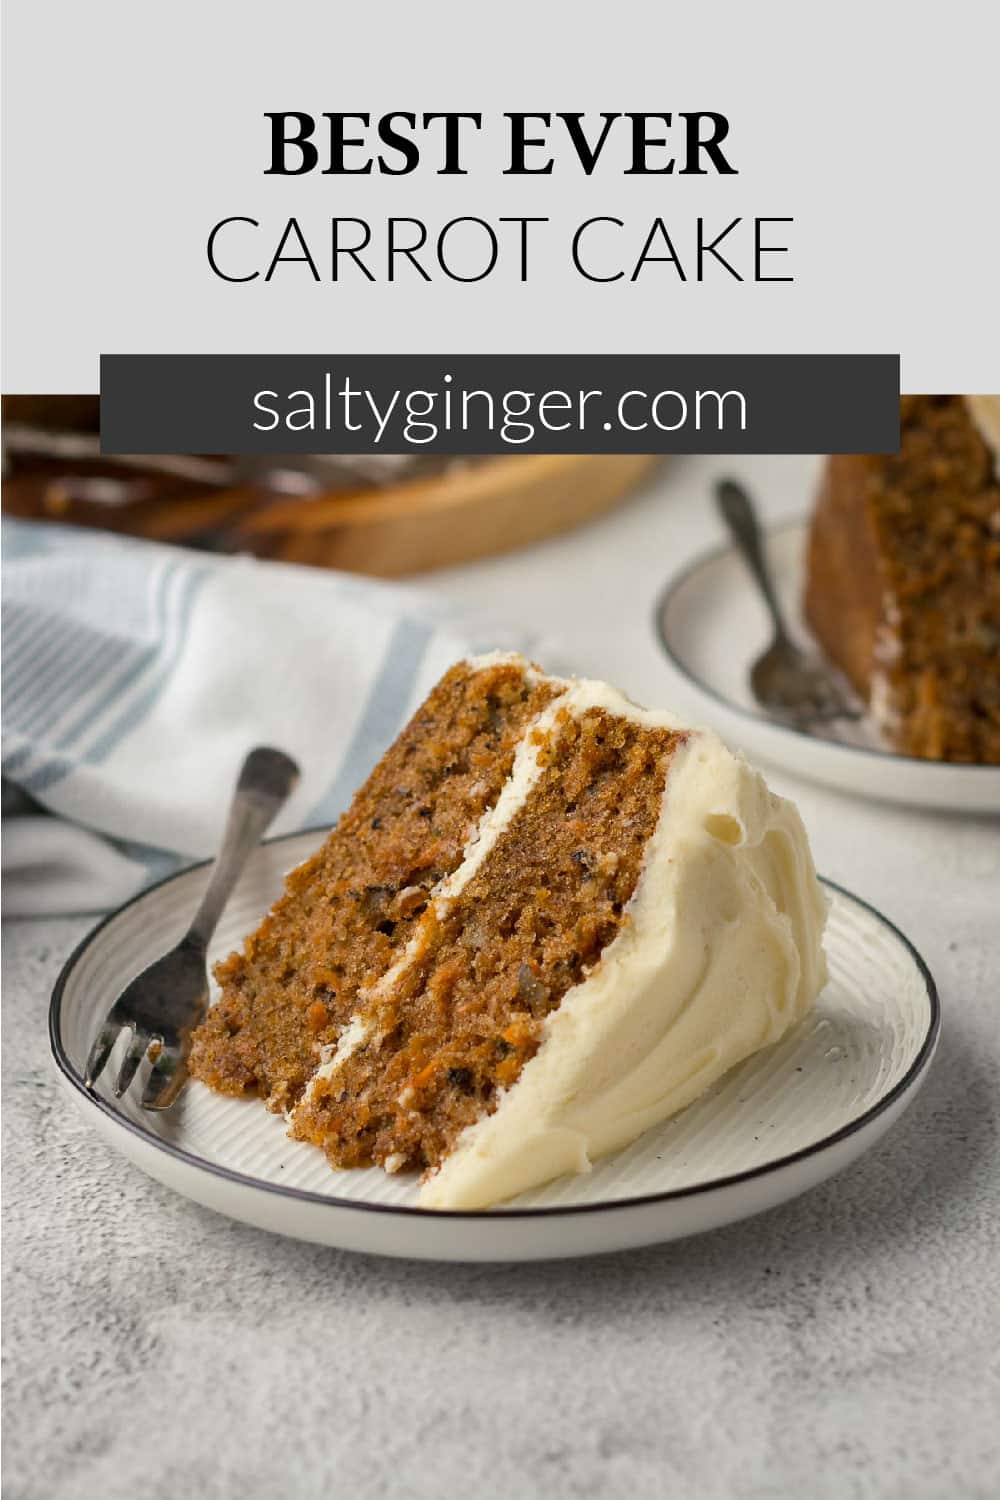
A deliciously simple, easy, moist, homemade spiced carrot cake with cream cheese icing! Hands down the best carrot cake I've ever had, balancing the traditional carrot flavor I grew up with, with a hint of walnut and a good smattering of cream cheese icing. This cake pairs well with a cuppa (tea or coffee - your choice).
Jump to:
Why You Will Love This Carrot Cake Recipe
- This is a classic two-layer carrot cake recipe smothered in cream cheese frosting filled with carrot, spices, and delicious nuts.
- This cake recipe is perfect for a celebration - whether it's for Spring, an Easter get-together, or even a birthday cake!
- It's super easy to make and will impress
Ingredients
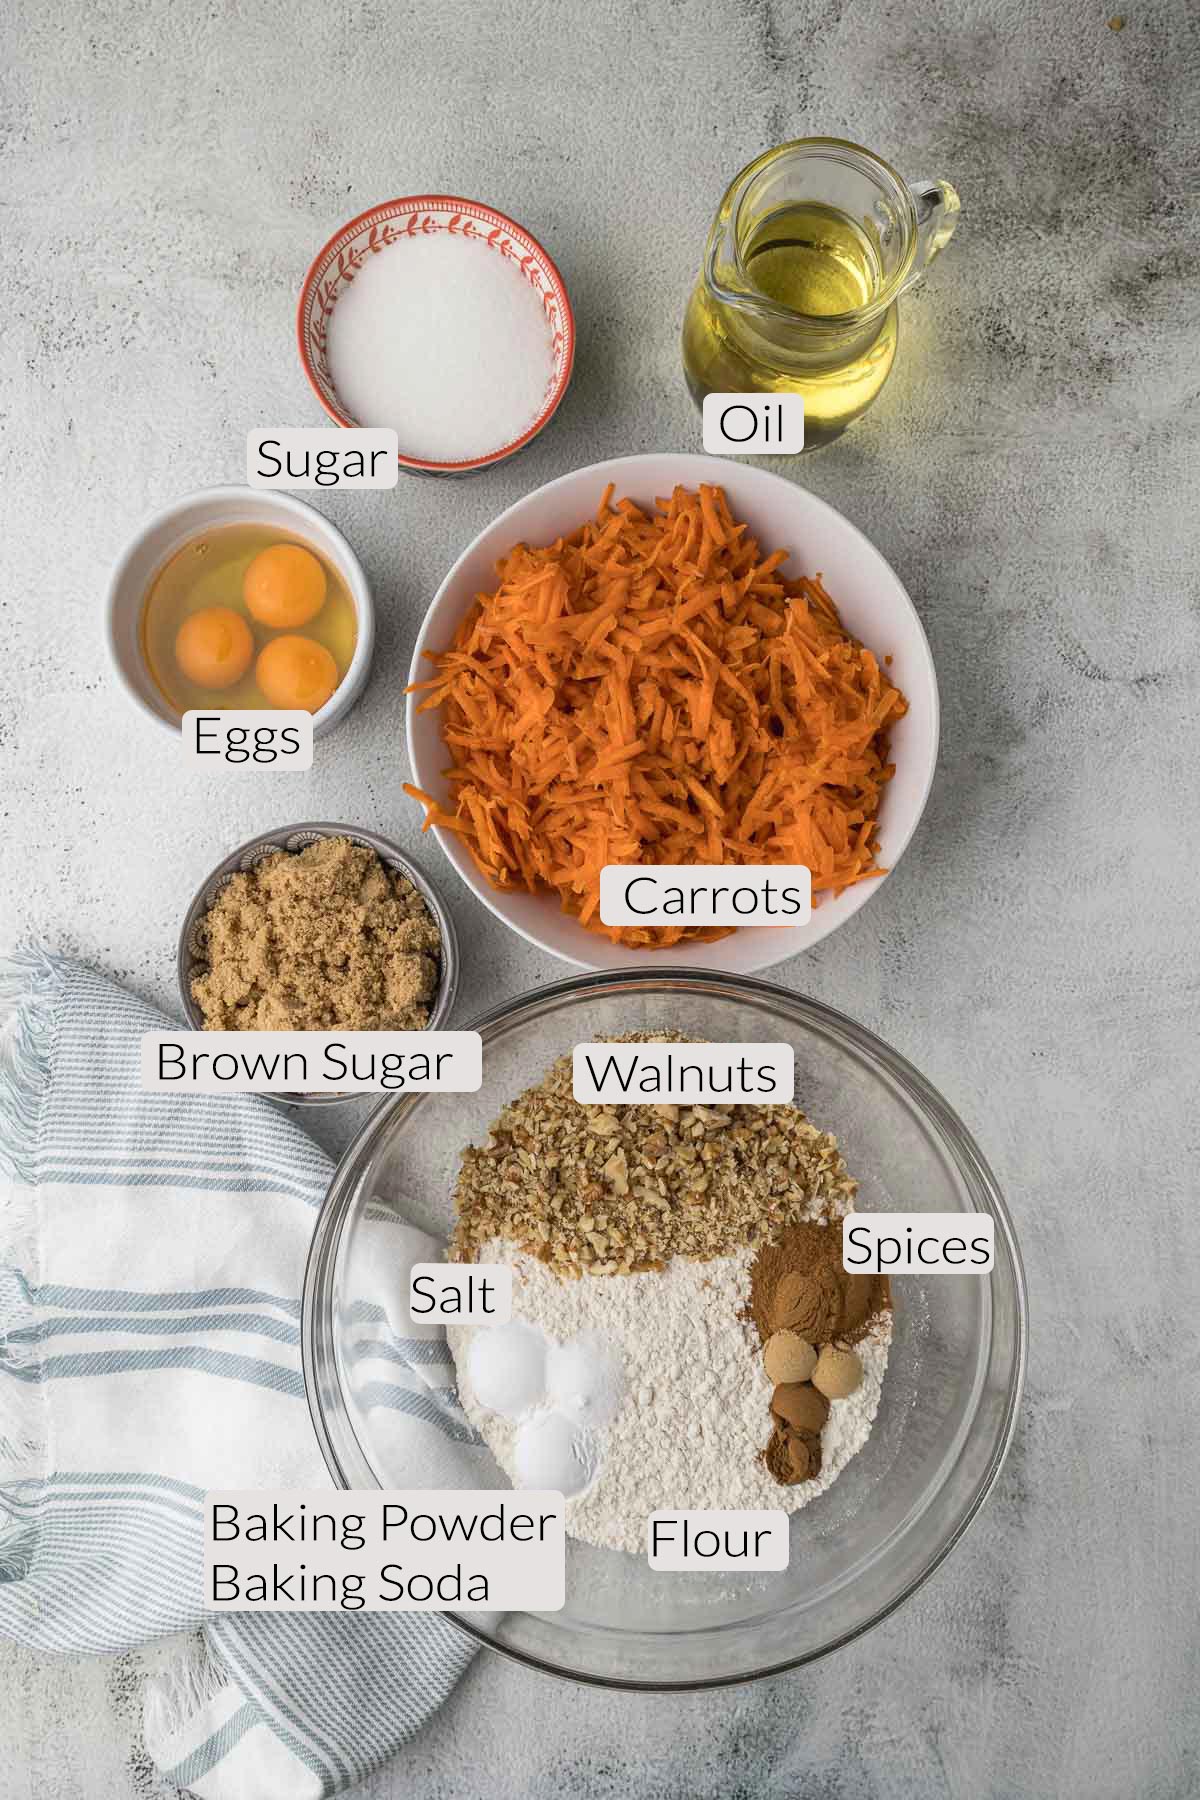
- Flour - plain all-purpose, standard-grade flour
- Caster Sugar & Soft Brown Sugar - to give sweet
- Eggs - large eggs, at room temperature
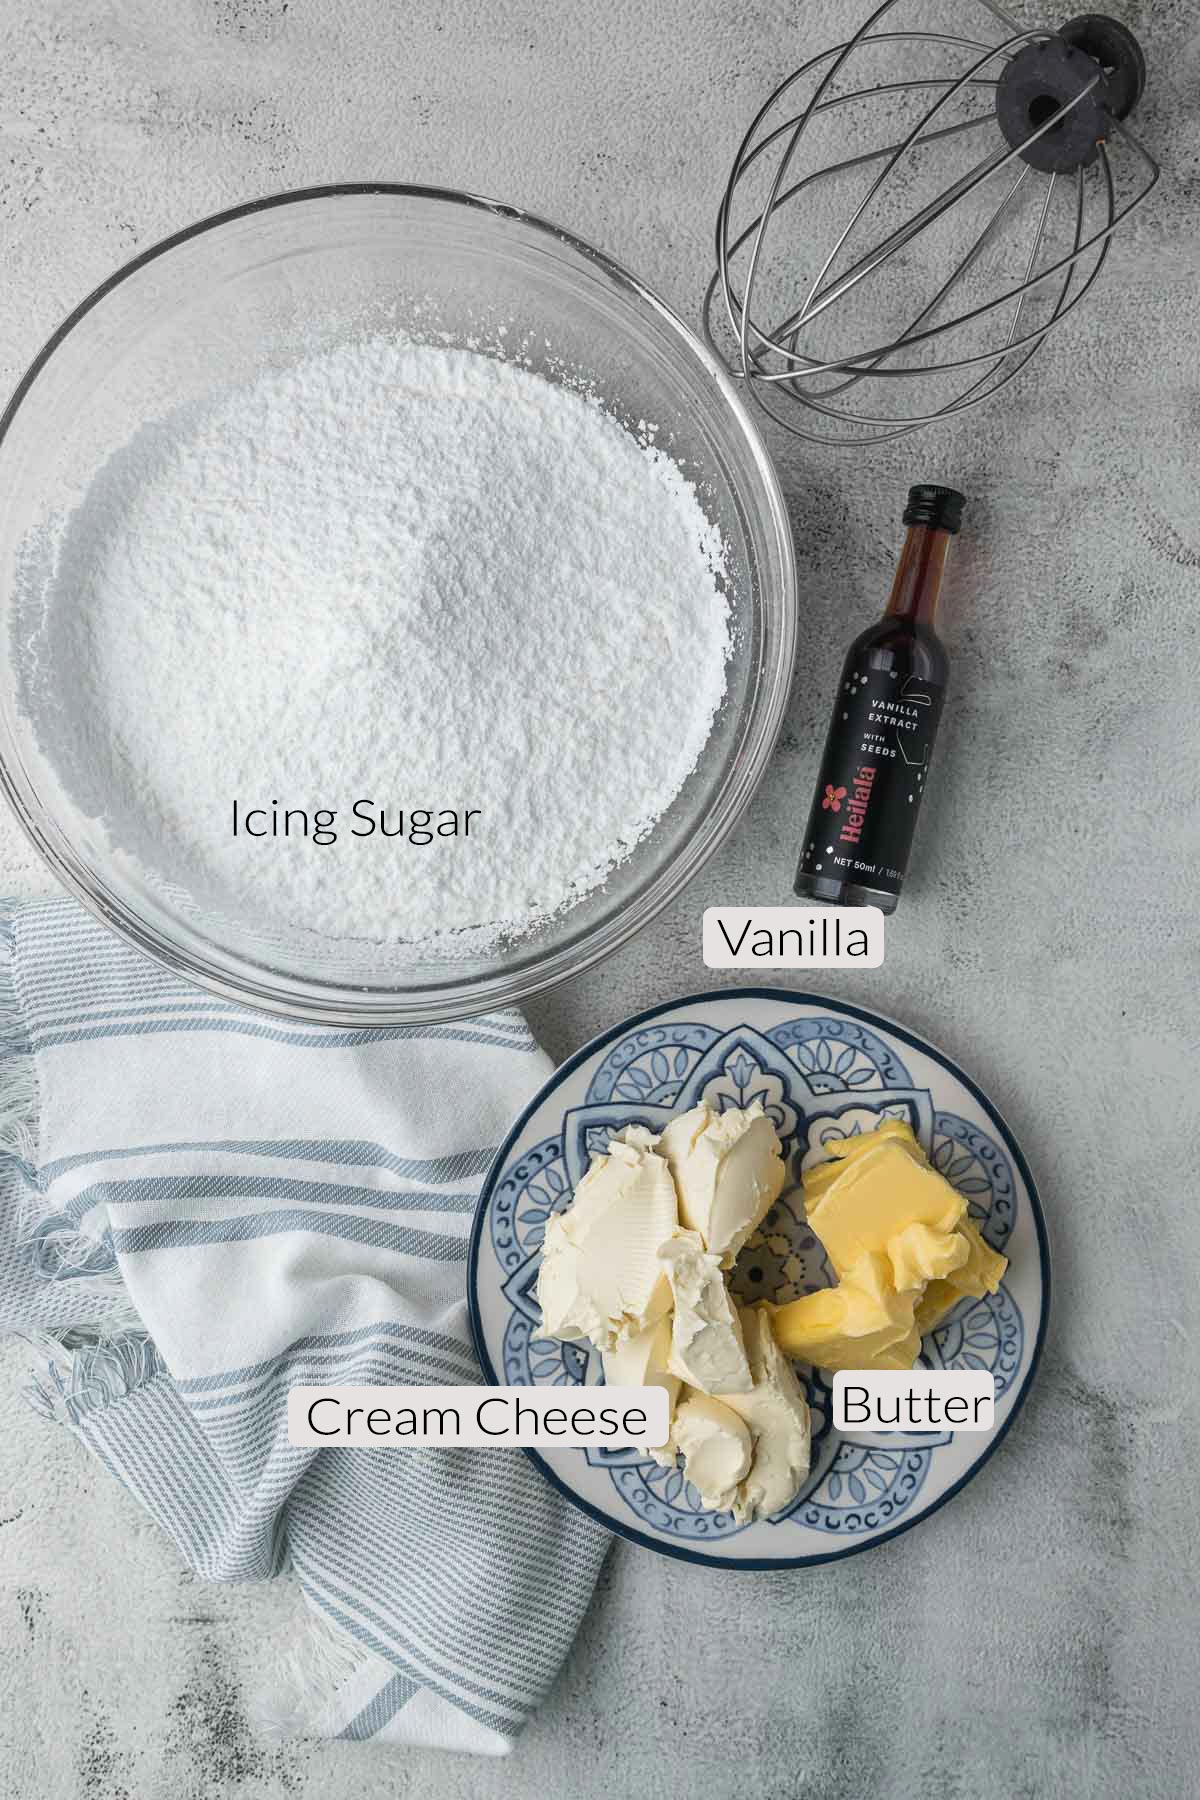
- Vanilla Extract
- Ground Cinnamon, Ground Ginger, and Mixed Spice - give a subtle spice to the cake
- Walnuts/Pecans - this recipe contains fewer walnuts than most walnut carrot cakes, as I feel that anything over 50 grams of walnuts results in more of a walnut cake than a carrot cake.
- Carrots - peeled and grated
- Vegetable Oil - any neutral-flavored vegetable oil, such as canola or sunflower oil
- Butter - for the frosting, adds structure and flavor to the cream cheese.
- Cream Cheese - Full-fat cream cheese, at room temperature. Here in New Zealand, I prefer the Philidelphia and Meadow Fresh cream cheese.
- Icing Sugar - sifted and weighed. Top tip when needed to weigh and sift ingredients - tare the scale with the bowl and the sieve, add in the ingredient, and sift away.
Make sure your baking powder/baking soda is fresh (especially if you haven't bought some in a while) by placing a ½ teaspoon into a cup or bowl. Pour about a ¼ cup of boiling water over the baking powder. If it foams and bubbles it is still fresh.
Salt is a crucial ingredient in all baked goods. I use table salt in all my recipes. One teaspoon of table salt equals 1.5 teaspoons of Morton Kosher Salt equals 2 teaspoons of Diamond Crystal.
Weighing & Measuring Ingredients
Weighing ingredients with a kitchen scale is more accurate than using measuring cups. All my recipes are developed and tested using grams only.
However, I have activated the metric-to-cup conversions. Simply click on "cups" or "metric" for your preferred measurements. For these conversions, cups are equal to 240 millilitres/8 fluid ounces, tablespoons are 15 milliliters and teaspoons are 5mL.
Substitutions/Variations
Walnuts and pecan nuts can be interchanged in this recipe. Typically in South Africa, I would have used pecans because they were generally more readily available. Here in New Zealand, I usually use walnuts because of the price point.
Mixed spice can be substituted with ground cloves (use half the volume).
The vanilla extract in the icing can be substituted with lemon juice. This gives the icing a bit more of a tangy flavor - which I endorse.
Step-By-Step Instructions
Making the Carrot Cake
Step 1 - Preheat the oven to 170°C or 150°C fan assisted. Grease and line two 8-inch/20-cm round cake pans. Peel and grate the carrots. Finely chop the walnuts. Set aside.
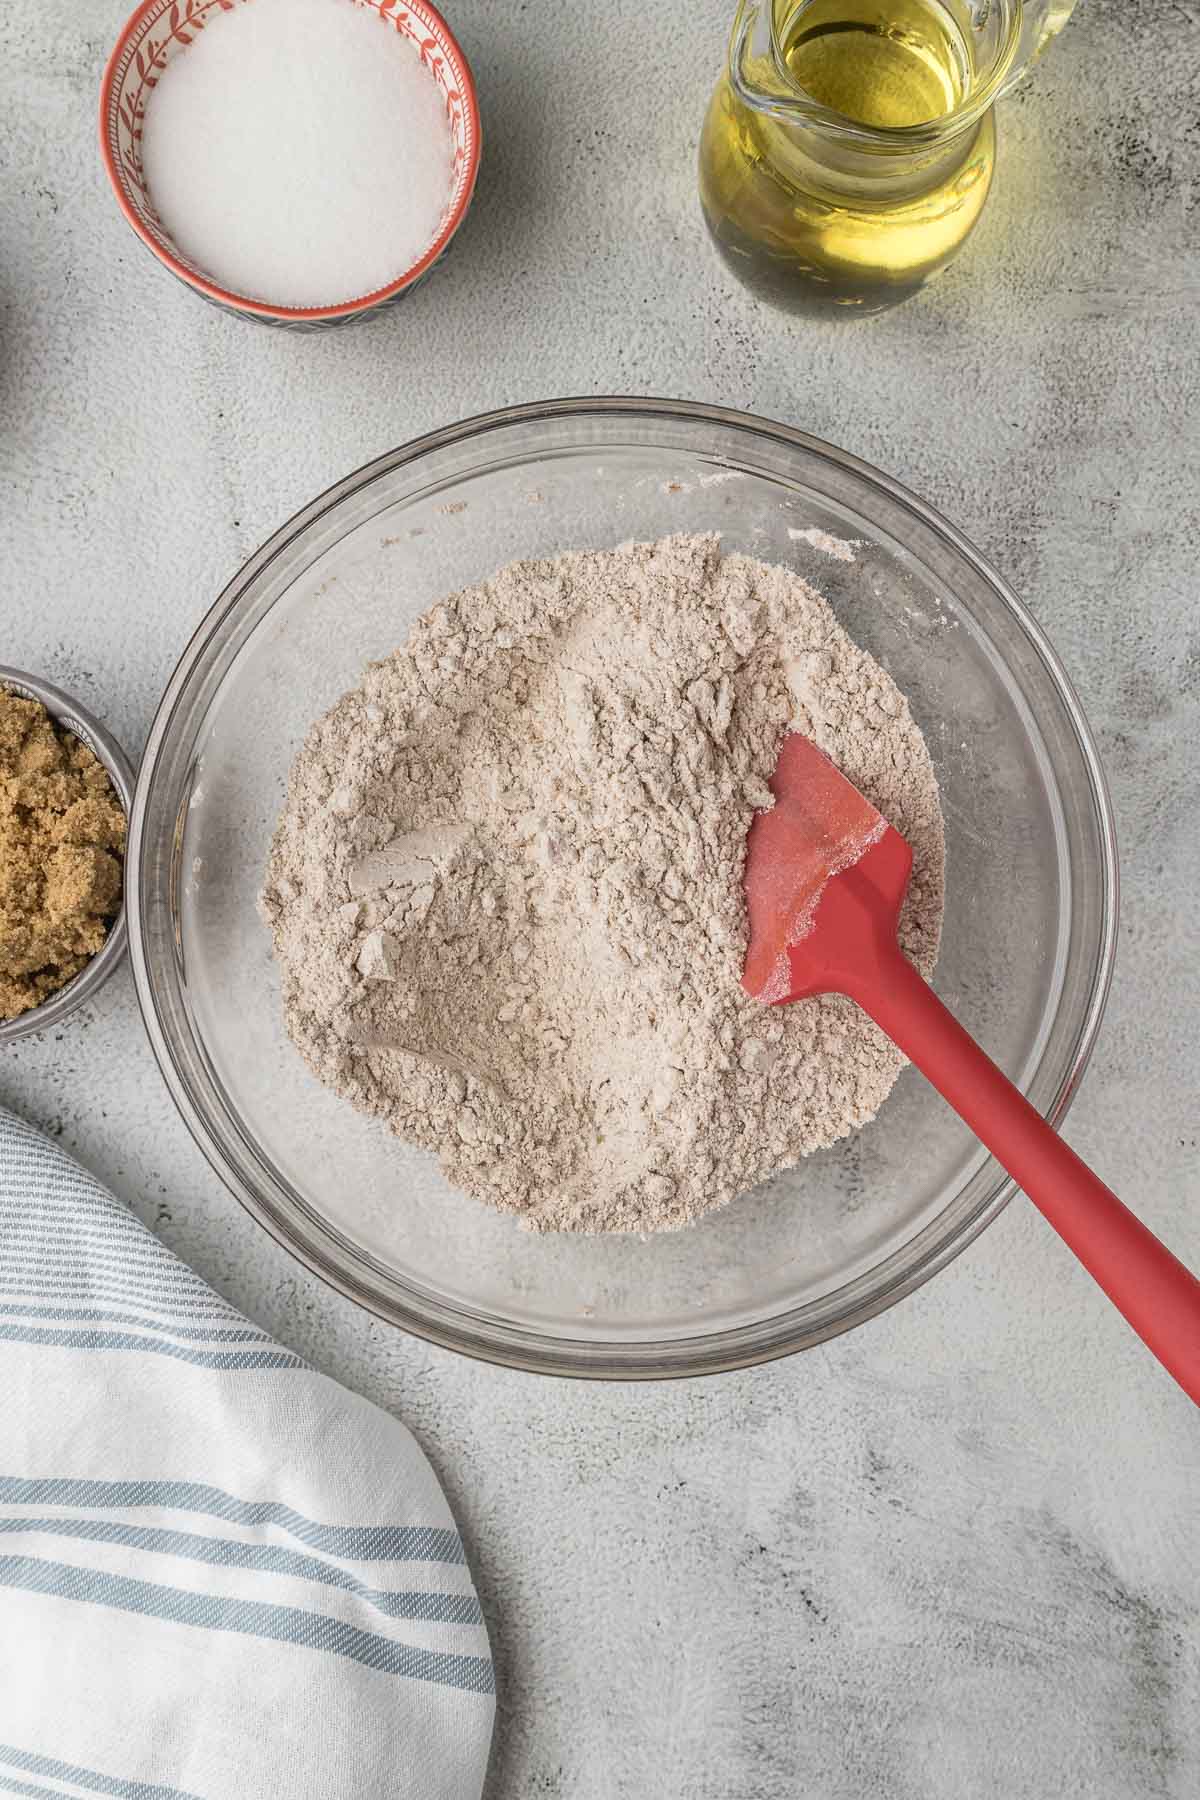
Step 2 - In a large mixing bowl, whisk together the flour, finely chopped walnuts, cinnamon, ginger, cloves, salt, baking powder, and baking soda. Set aside.
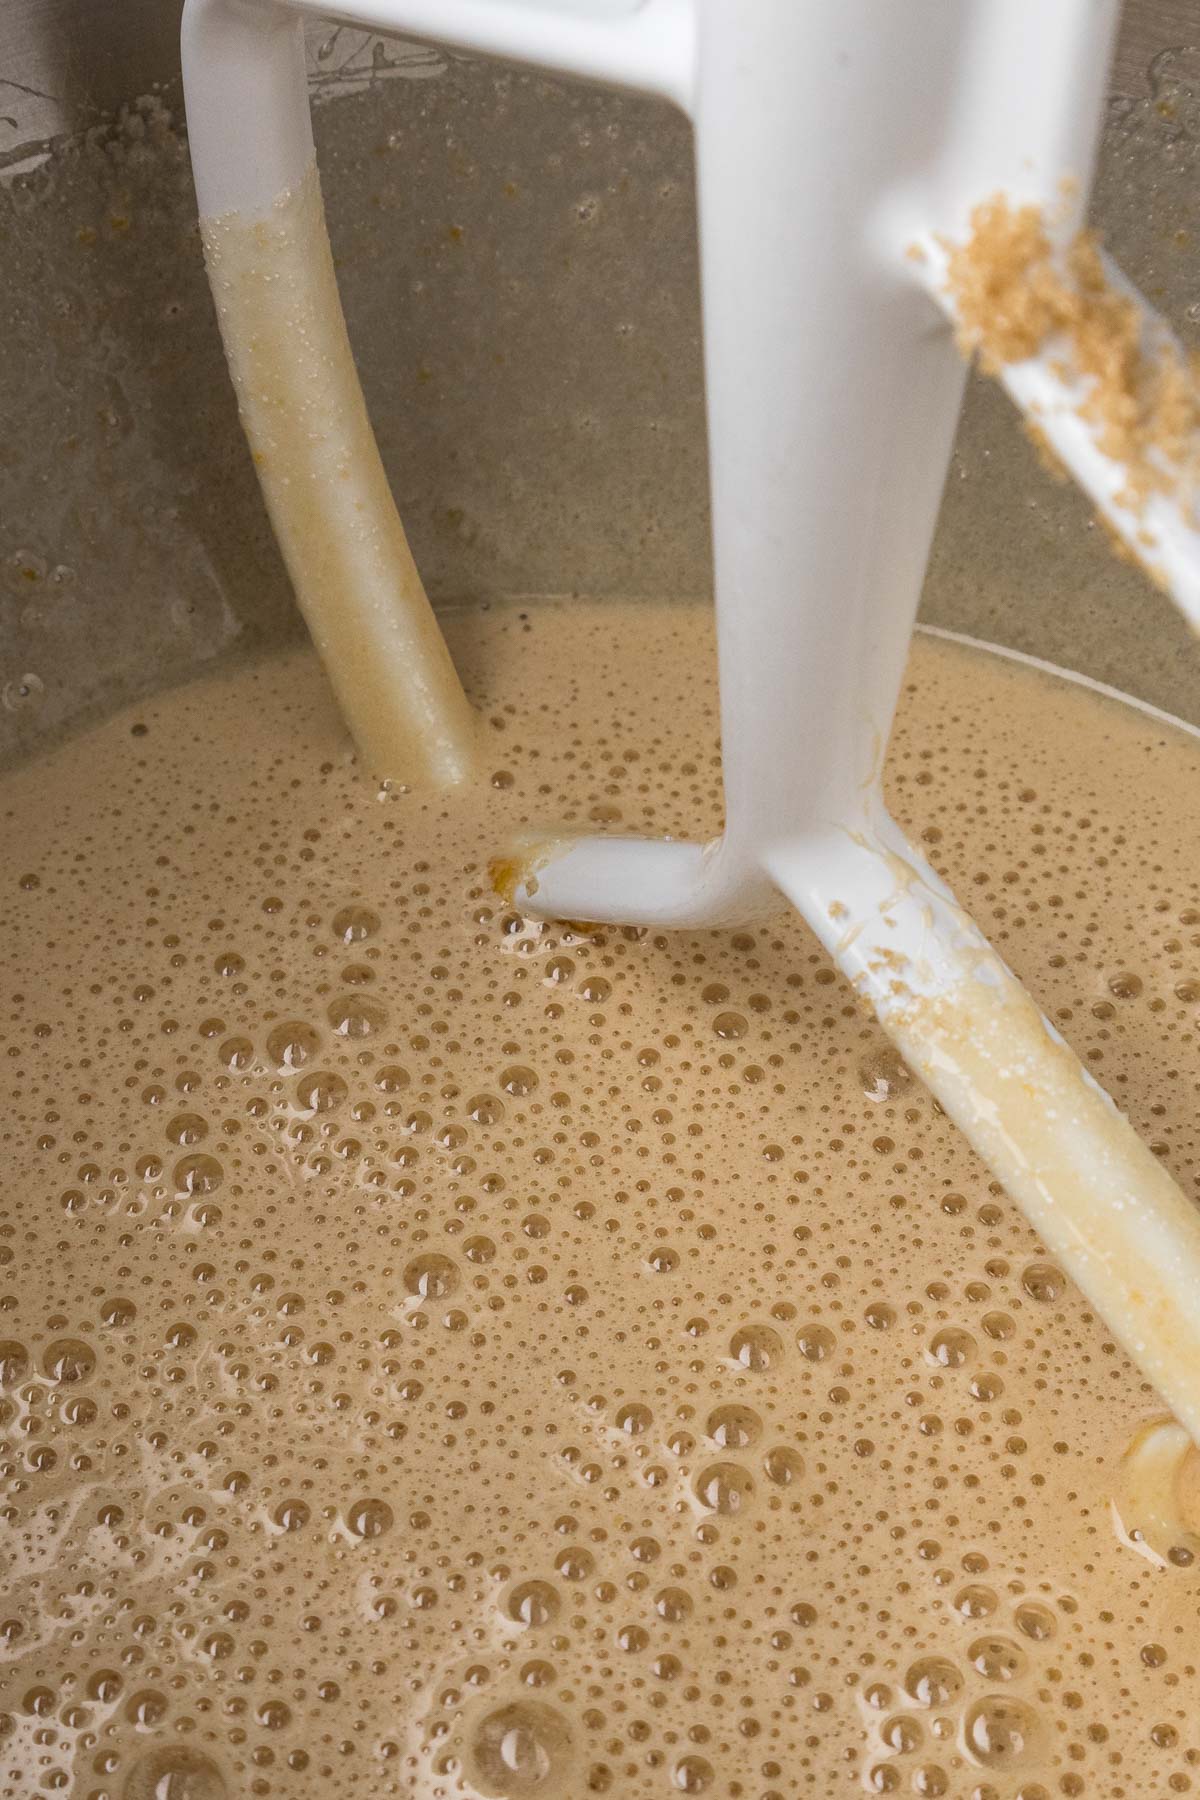
Step 3 - Using a stand mixer or handheld electric whisk, using the whisk attachment, beat the eggs and sugar together for about 3-4 minutes until the mixture has lightened, and at least doubled in size. Scrape down the sides of the bowl to make sure everything is mixed through.
Step 4 - With the mixer running, slowly pour in the vegetable oil to allow the eggs and oil to emulsify. Scrape down the sides of the bowl. Then add the vanilla and beat for an additional 30 seconds to really make sure everything is well combined.
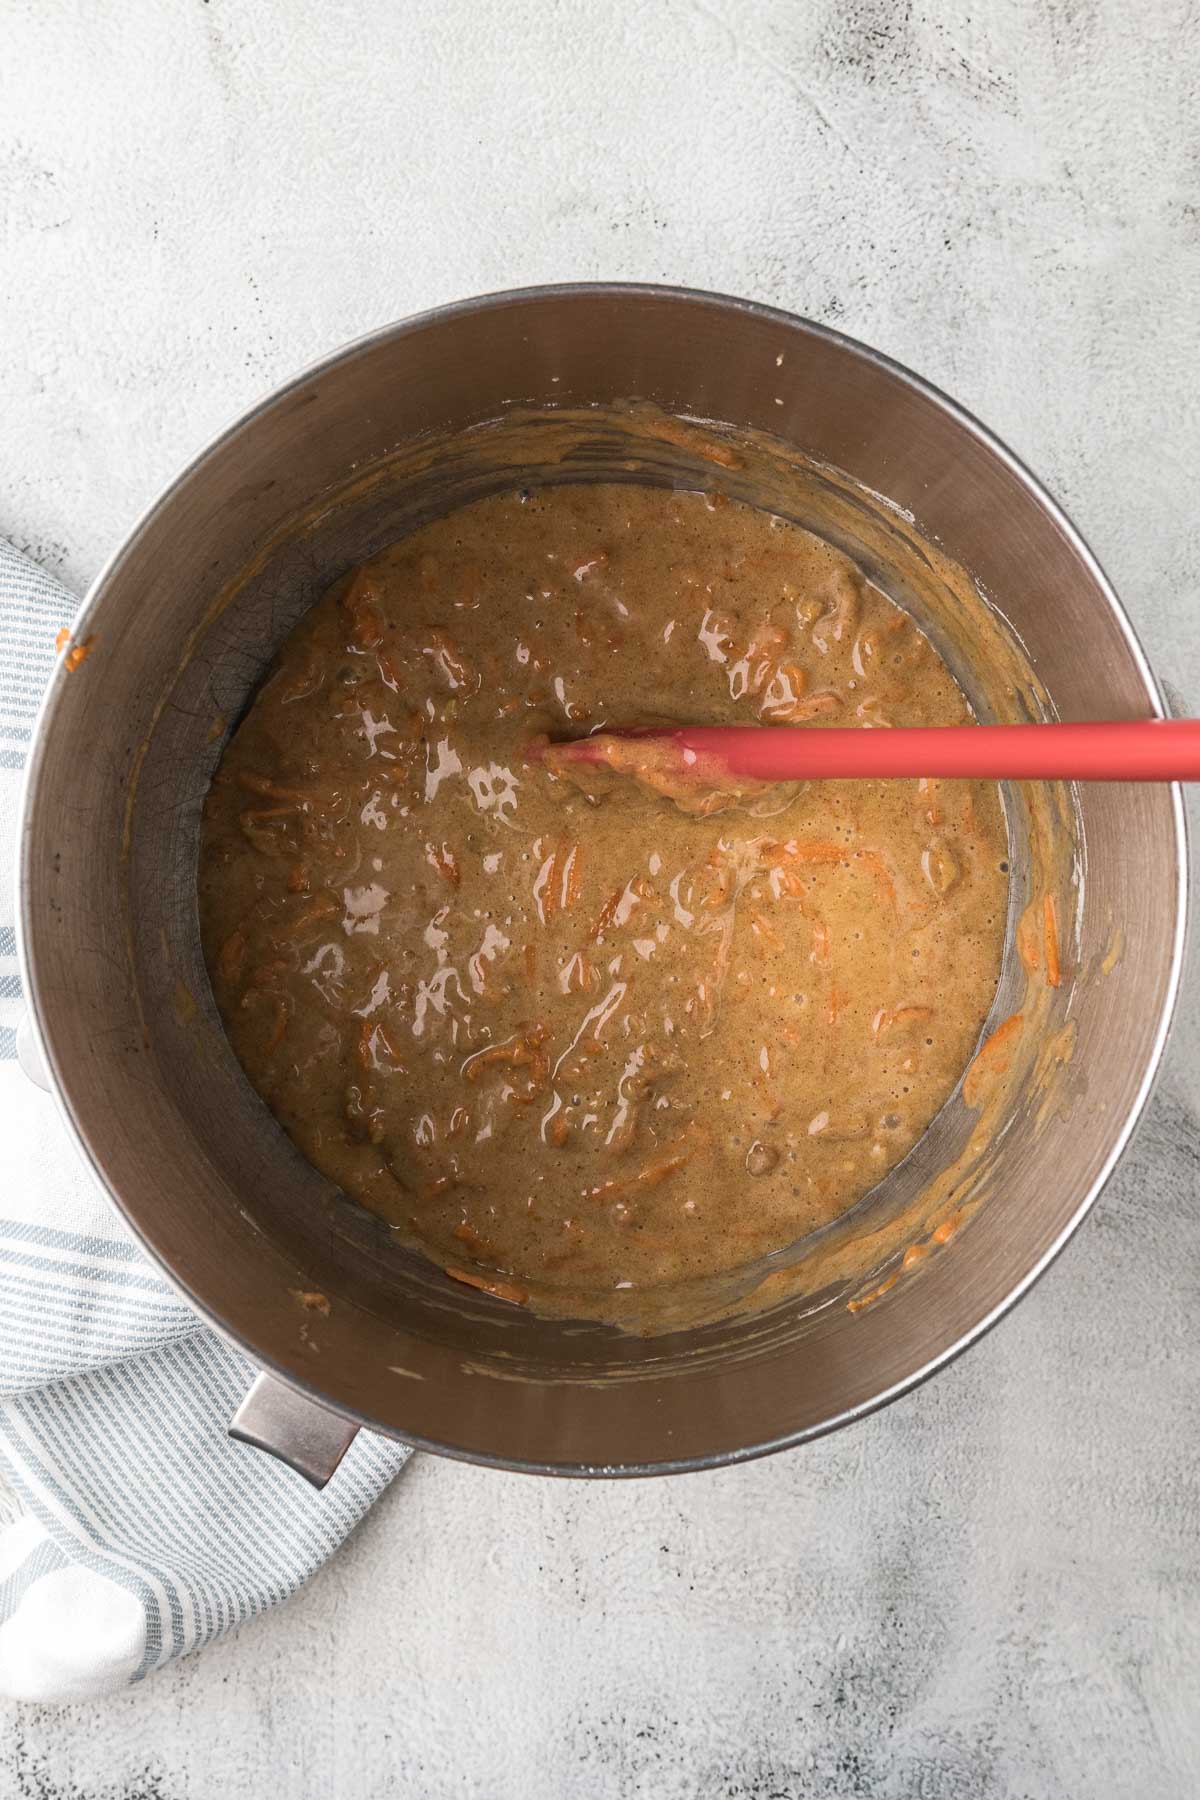
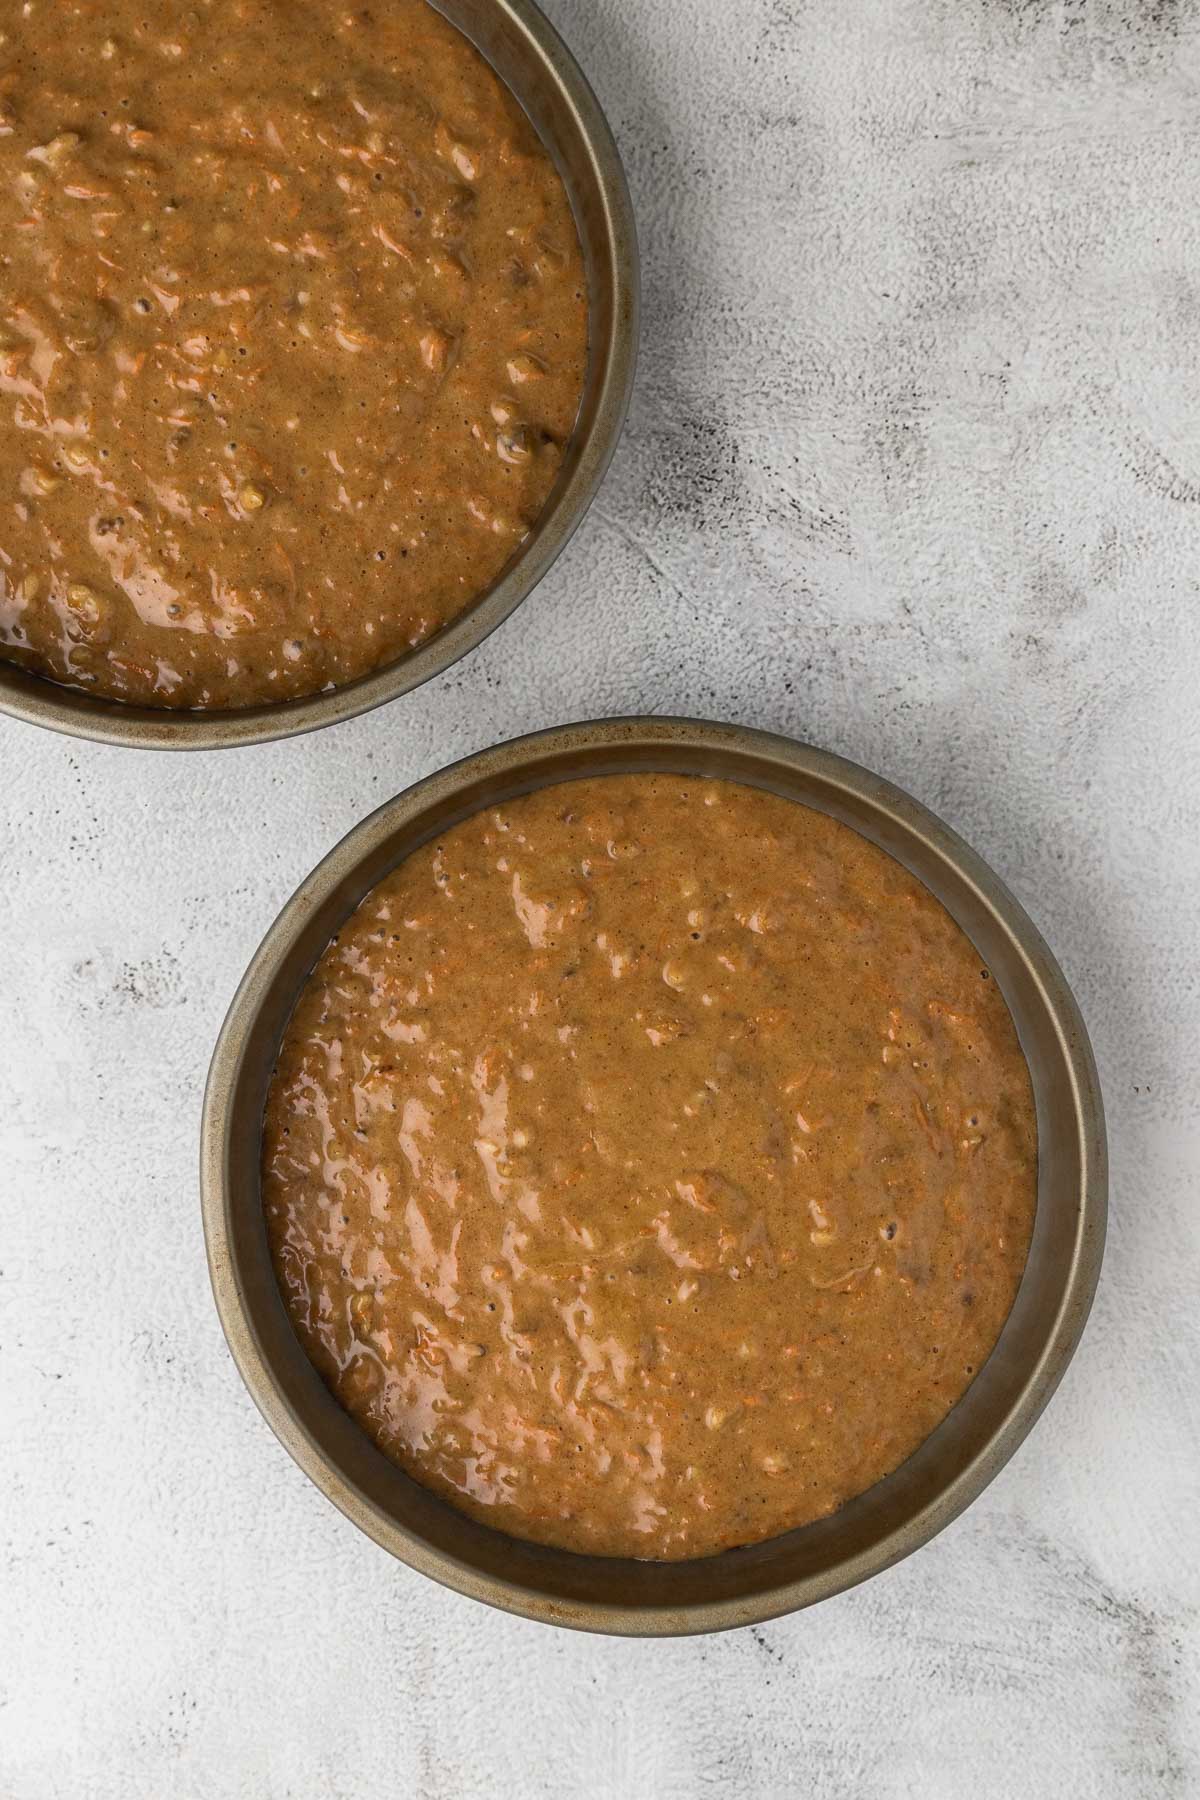
Step 5 - Add the grated carrots, and using the paddle attachment, at a low speed fold the carrots into the mixture. Add the dry ingredients, and again, at a low speed, mix to combine. Using a silicone spatula, fold the cake batter a few times before dividing it into the two prepared cake tins (about 525 grams per cake tin). Bake for 25 to 30 minutes or until a cake tester comes out mostly clean from the center of the cake. Allow the cakes to cool completely before assembly.
TIP - place the cool cakes in the fridge for about 30 minutes before icing. This makes sure the cakes are really cold, which will result in no icing slippage during assembly.
TIP - the cakes can be baked the day before assembly, or even frozen. Simply wrap the completely cooked cakes in cling film or plastic wrap before storing in the fridge or freezer.
Making the Cream Cheese Icing (Frosting)
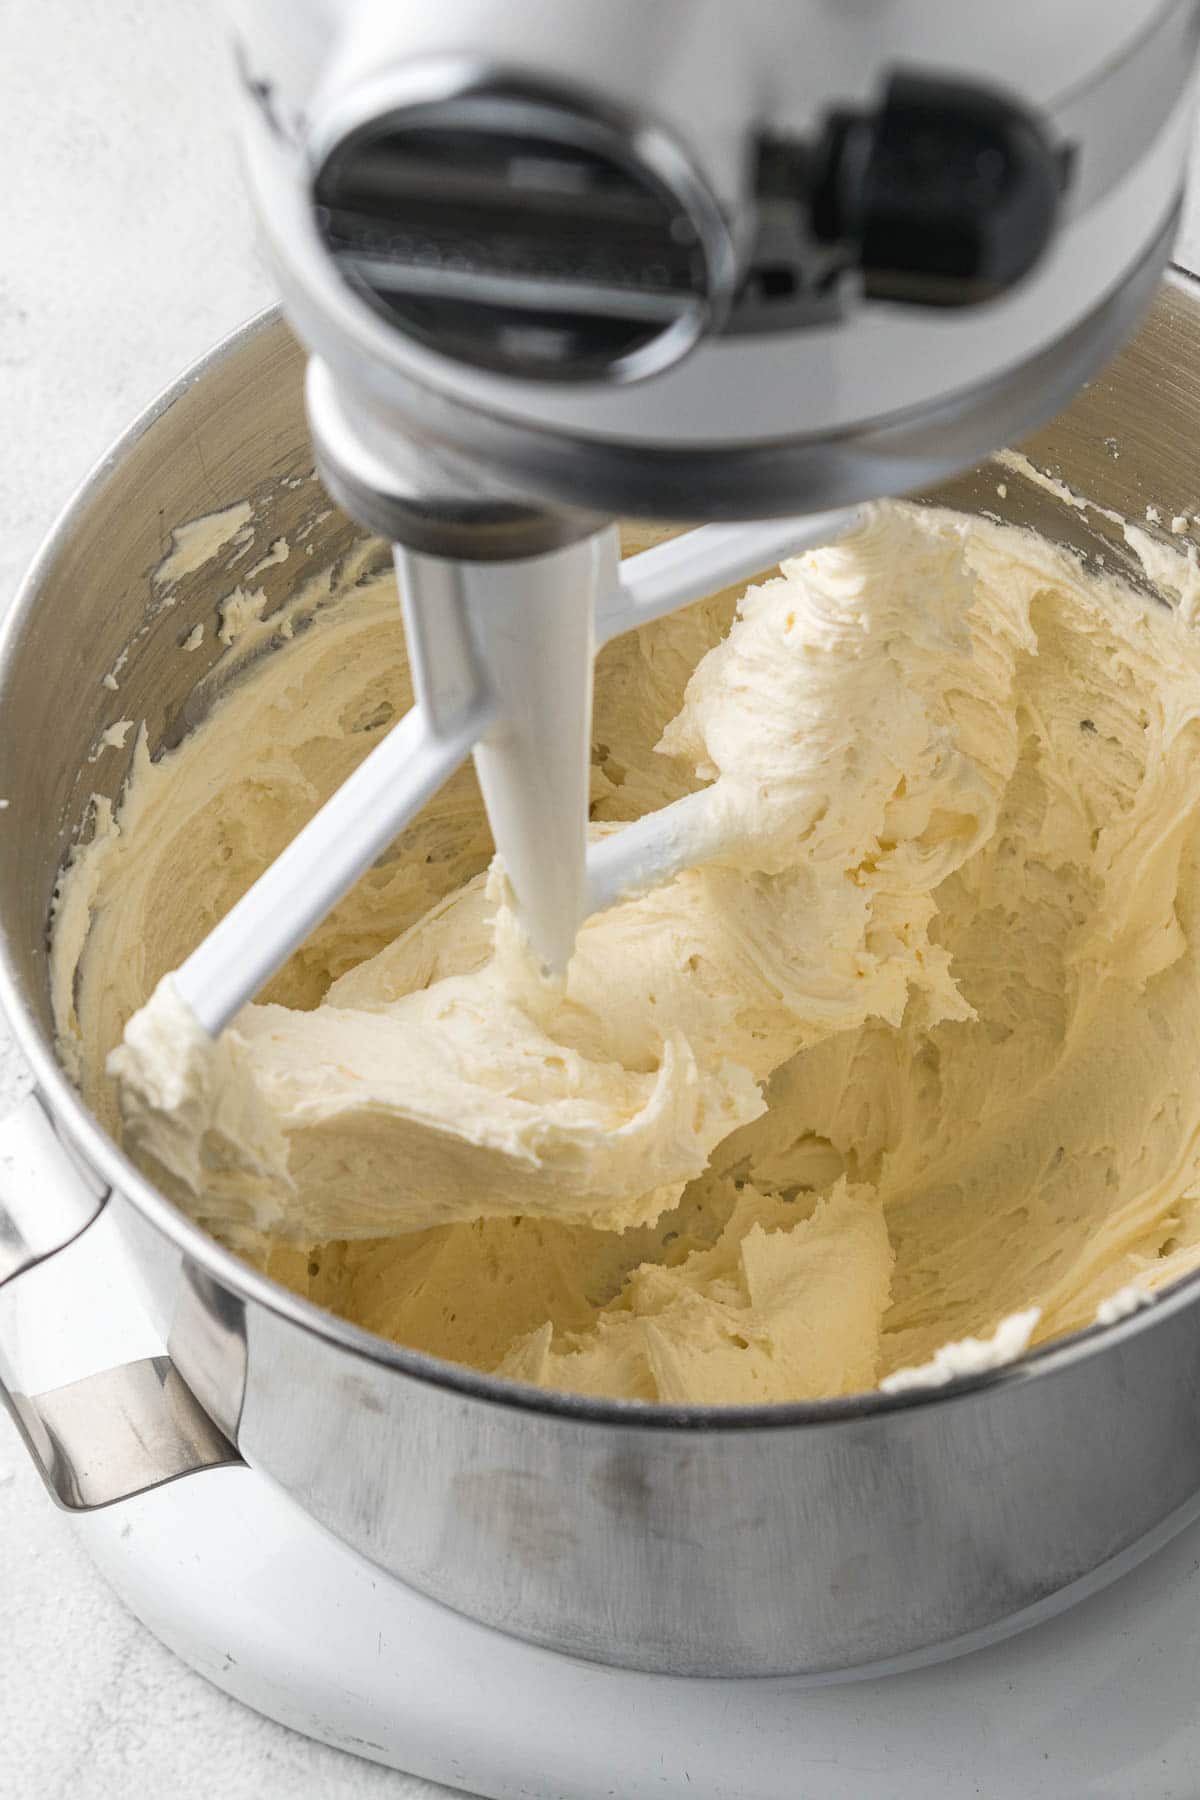
Step 1 - Allow all the ingredients to come to room temperature. Beat the butter using the balloon whisk of a stand mixer or handheld electric mixer until the butter has lightened in color (approximately 2 minutes). Scrape down the side of the bowl.
Step 2 - Add the room-temperature cream cheese to the butter and beat using the whisk until the butter and cream cheese are well combined. light and airy (approximately 2-3 minutes). Add in the vanilla, beat for a few seconds, and scrape down the sides of the bowl.
Step 3 - Sift the icing sugar to remove any lumps. Add in half the icing sugar and beat for about a minute until well combined. Scrape down the sides of the bowl, and add in the rest of the icing sugar. Beat again until combined, and scrape down the sides of the bowl. Swop over to the paddle attachment and beat at medium-high speed for an additional minute.
Assembling the Cake
Step 1 - Optional additional step. Make sure the cakes are level by trimming off any domed areas with a serrated knife or wired cake leveler.
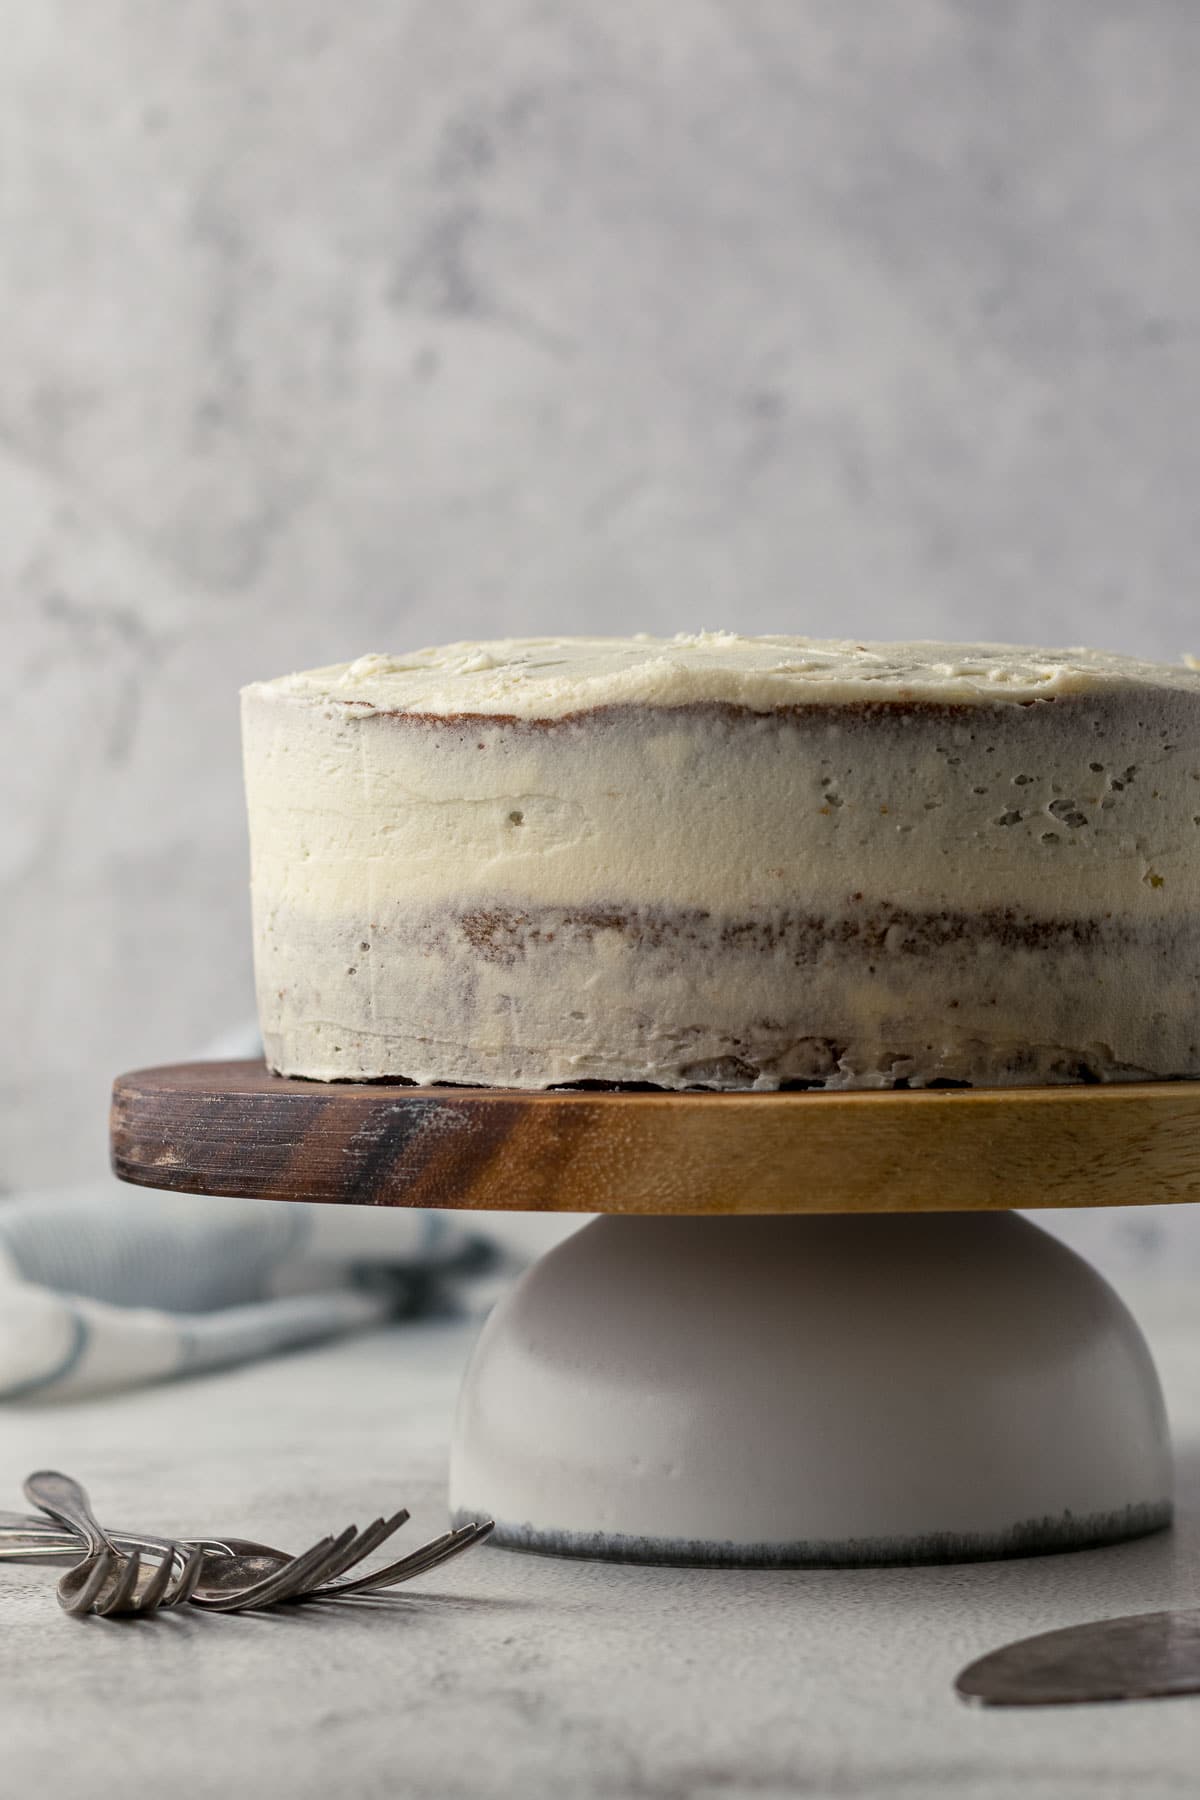
Step 2 - Coating the layers with a crumb coat (uses just a bit less than half the icing). On a cake board or cake stand, place about 1 tablespoon of the cream cheese frosting in the center of the board. Then place the first cake on the board. Place about half a cup to ⅔ of a cup of icing and spread to the edges of the cake. Then place the second layer on top of the frosting and pat down gently to secure. Using a butter knife or offset spatula, gently apply a thin layer of icing on the outside edges of the cake. Then using a bench scraper, even out the edges of the icing. Plop another half cup of icing on the top and smooth to the edge of the cake. Allow the cake to chill in the fridge for 30 minutes to an hour to allow the crumb coat to set.
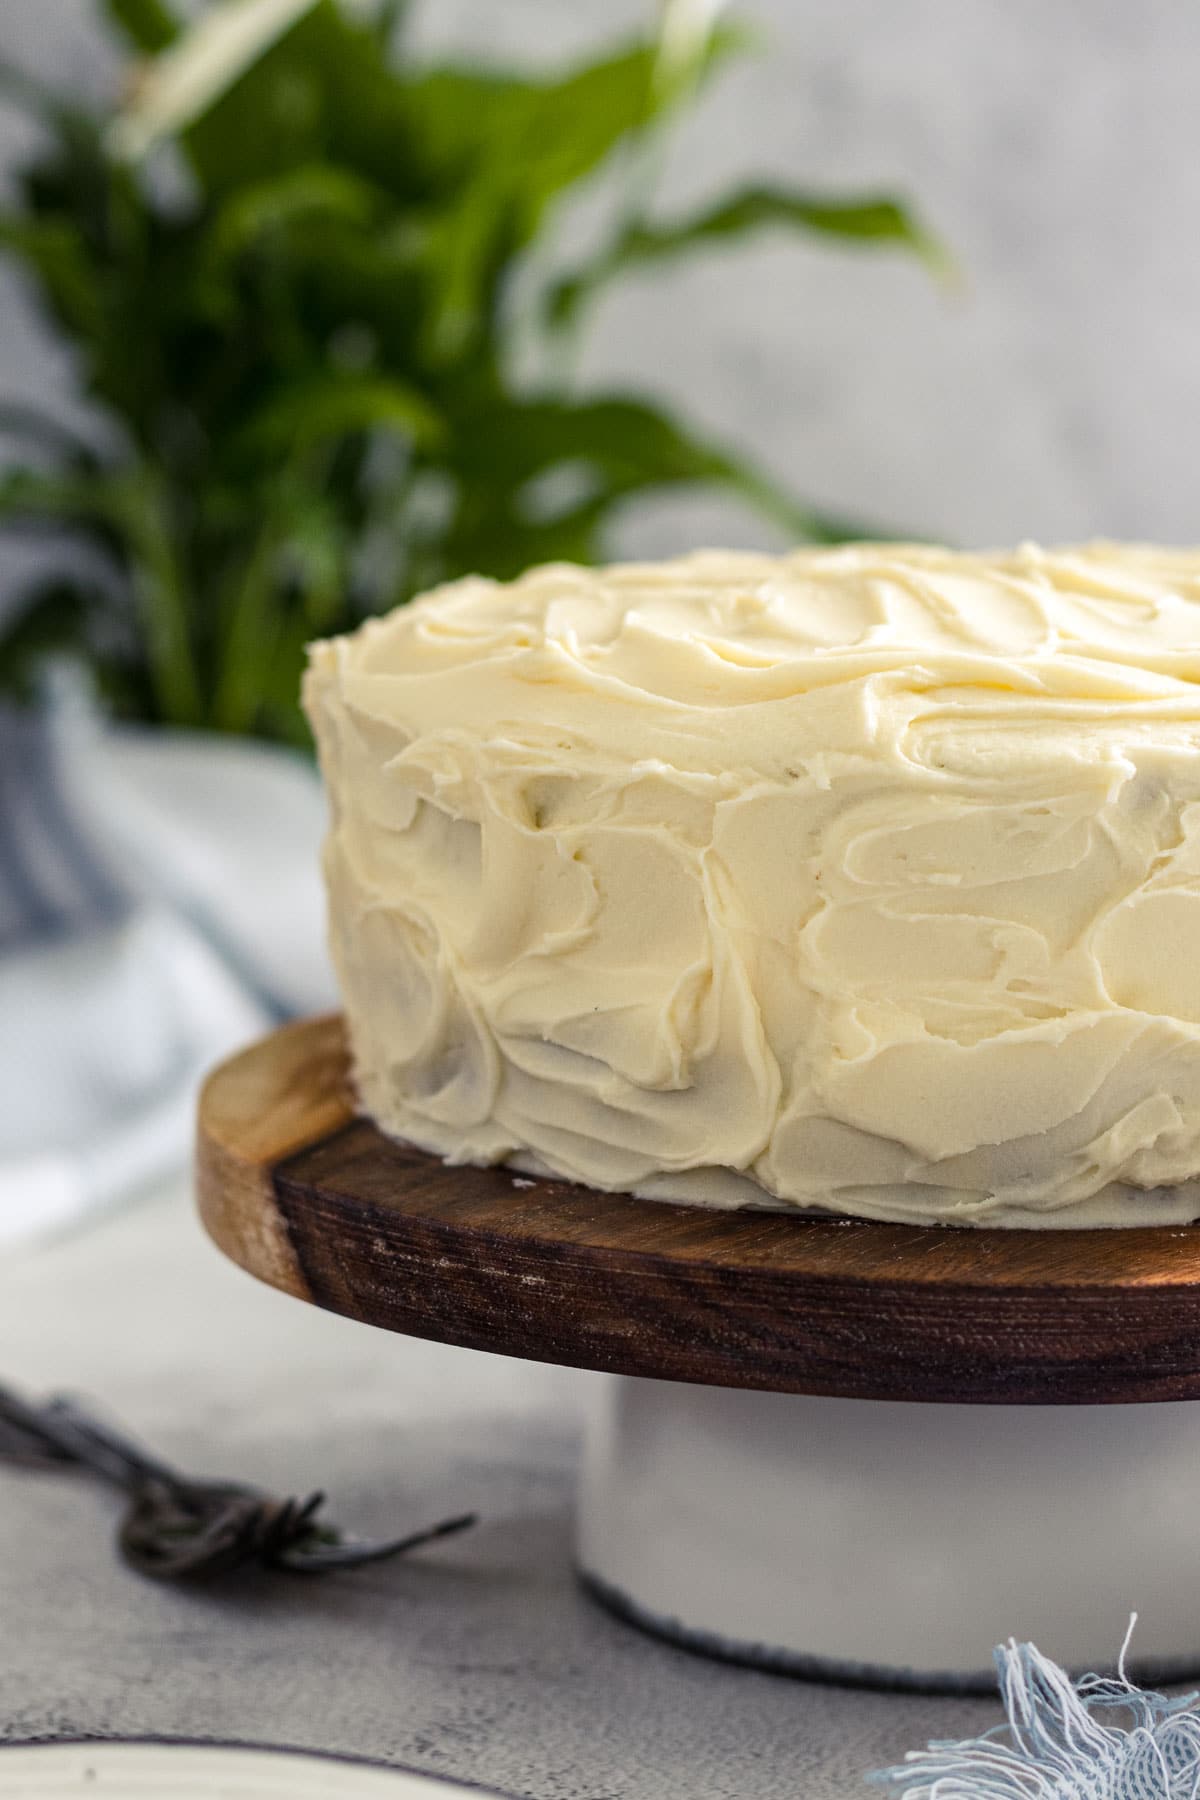
Step 3 - Plop about half of the remaining icing on the top of the cake and smooth to the edges. Using the other half, smooth over the sides of the cake. Depending on the look you are going for, the icing can be completely smoothed out using a bench scraper, or you can add in swirls using the pallet knife for a rustic look. Slice and serve.
Pro Tips for this Recipe
TIP - Keep the cake in the fridge until about an hour before serving, especially when the weather is warmer.
Oven Temperature and Cake
The temperatures stated are for conventional ovens. For convection, fan-forced, fan-assisted, or air-fryers, the temperature must be reduced by 20°C/25°F.
For baking, make sure the oven is fully preheated, and that the rack is in the middle of the oven. Open the oven as little as possible. For best baking results use an oven thermometer.
Remember that all ovens work slightly differently and bake times may need to be adjusted for your specific oven.
Oven temperature plays a crucial role in determining how fast a cake will rise in the pan. When the temperature is too hot, the cake will dome in the center. This happens because the edges of the cake bake faster than the center, which gives the raising agents more time to have an effect in the middle of the cake.
This is not a bad thing, some single-layer cakes look really cute with a slightly domed center. But flatter layers are better when it comes to layer cakes. It simply reduces the amount of trimming (if any) when it comes to putting the cakes together.
Baking Flat Cake Layers
To ensure you get layers that are as flat as possible, check the following:
- The oven temperature. Too hot an oven and you will have domed cakes. Use an oven thermometer to make sure your oven is at the right temperature.
- Grease the sides of the pan to make sure the cake can rise up the walls easily.
- Use damp cake pan baking strips to keep the sides of the cake tin cooler, allowing the sides to rise at a similar rate to the center of the cake. Alternatively, fold a piece of foil 4-5 times to create a strip (with the shiny side out) and wrap it around the sides of the cake tin before making your cake batter.
- Trimming the cakes is the last step in ensuring flat levels before layering. This can be done with a large serrated knife or with a wired cake leveler.
Storage and Freezing
Carrot cakes are typically stored in the fridge for up to a week. This keeps the cream cheese frosting or icing from melting in warmer temperatures.
Carrot cake layers can be frozen and unfrosted, simply allow the cakes to cool completely before wrapping them in plastic wrap and then foil.
If freezing an entire frosted or iced carrot cake, allow it to freeze solid before wrapping it in plastic wrap and tin foil. Individual portions can also be frozen in this manner, just slice the cake before freezing!
To thaw the cake, simply let it sit at room temperature for several hours or overnight. Remember to remove the foil and plastic wrap before thawing a frosted cake!
Classic Carrot Cake FAQ
Carrot cakes are typically stored in the fridge for up to a week. This keeps the cream cheese frosting or icing from melting in warmer temperatures
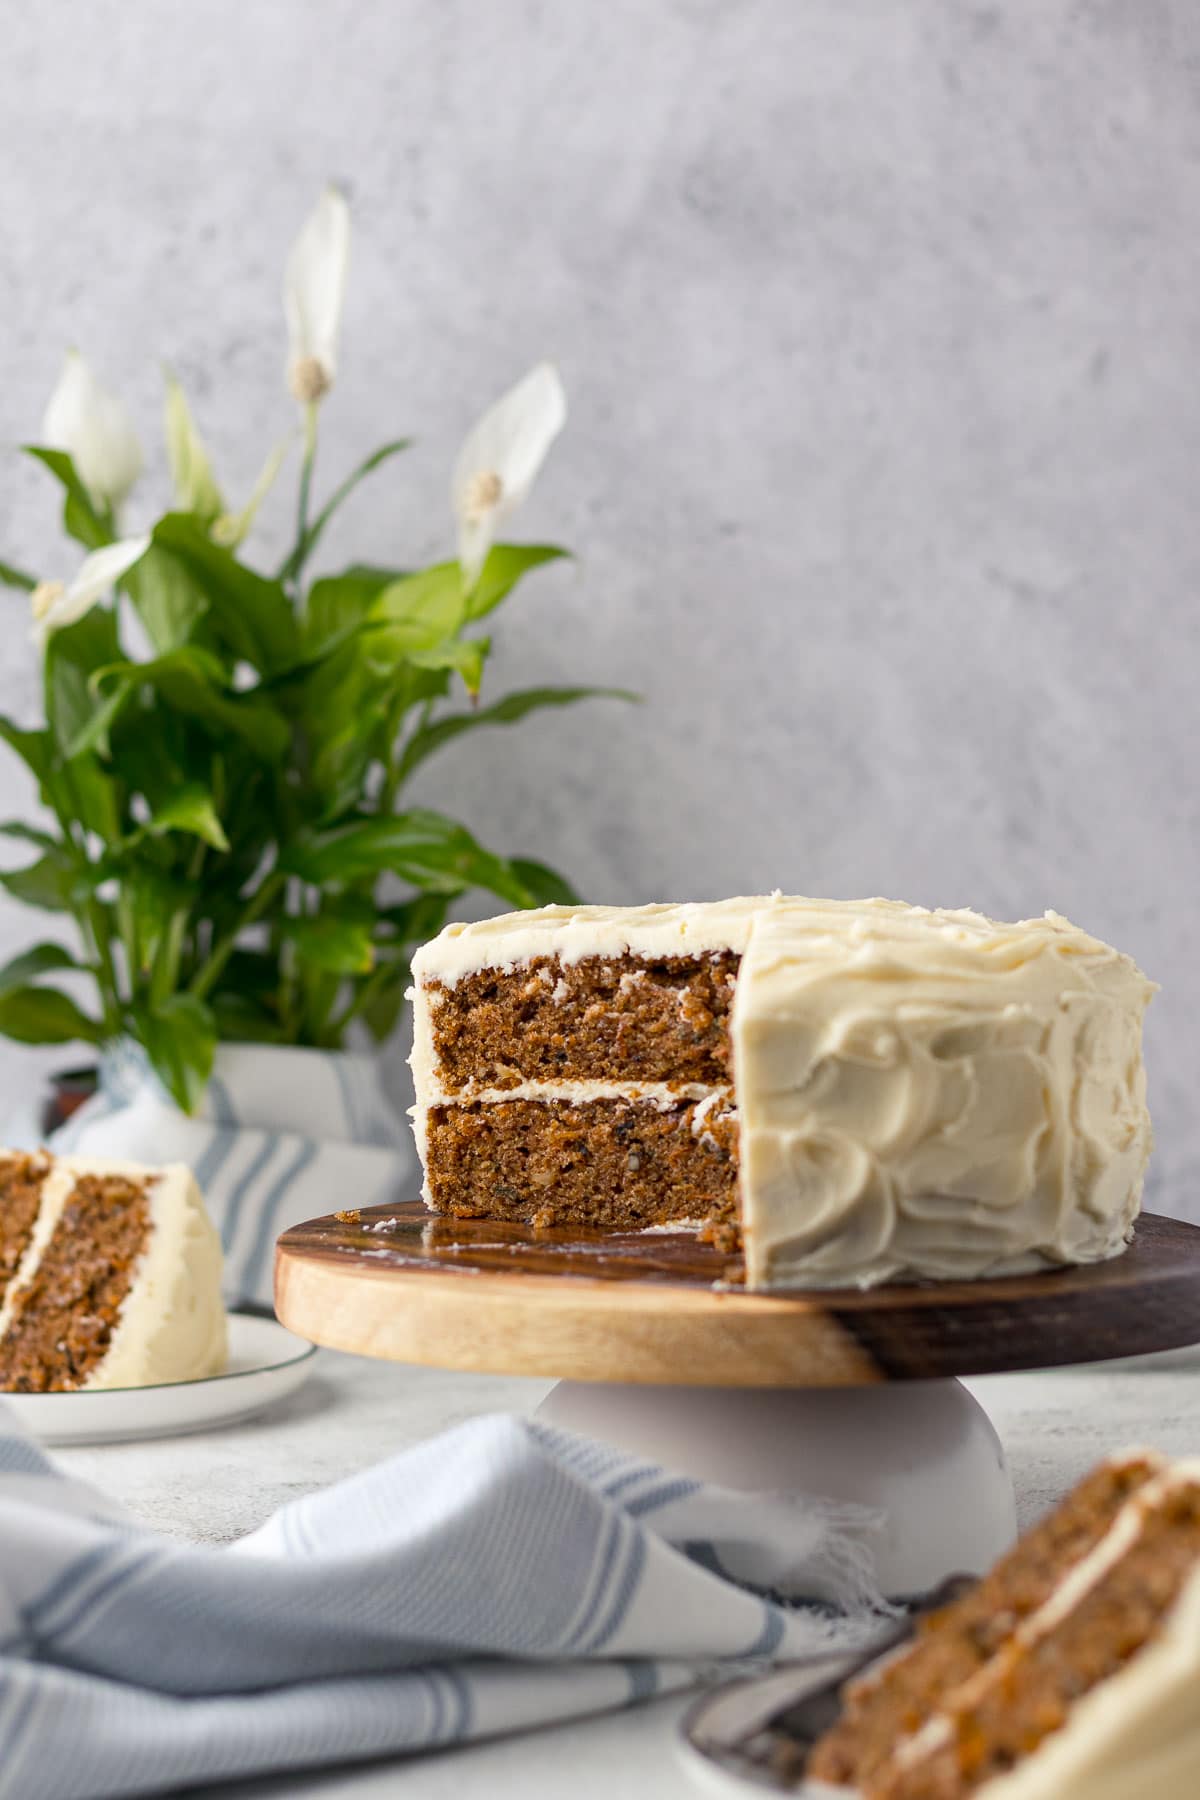
Carrot cakes are rich moist spiced cakes usually topped with tangy cream cheese frosting or icing.
Yes. If freezing an entire frosted or iced carrot cake, allow it to freeze solid before wrapping it in plastic wrap and tin foil. Individual portions can also be frozen in this manner, just slice the cake before freezing!
Usually, pecans or walnuts are found in a carrot cake. Pecan nuts usually have a slightly sweeter taste than walnuts.
The origin of the carrot cake is often disputed and may come from England, France, or Switzerland.
Other Recipes You May Like
Rate & Review!
If you made this recipe, please leave a star rating! It gives my readers and me helpful feedback. If you want more recipes, subscribe to my newsletter, and follow me on Instagram, Pinterest, and Facebook!
Recipe Card
Carrot Cake with Cream Cheese Icing
Equipment
- 8 Inch Round (20cm) Cake Pan
- Stand Mixer OR
- Electric hand mixer
Ingredients
Carrot Cake
- 50 grams walnuts
- 220 grams plain flour (all-purpose/standard grade)
- 2 teaspoons ground cinnamon
- ½ teaspoon ground ginger
- ½ teaspoon mixed spice
- ½ teaspoon table salt
- 1 teaspoon baking powder
- 1 teaspoon baking soda (bicarb/bread soda)
- 250 grams carrots (grated)
- 3 eggs (large)
- 120 grams white granulated sugar (caster/granulated)
- 120 grams light brown sugar
- 225 grams vegetable oil
- 2 teaspoons vanilla extract
Cream Cheese Icing
- 90 grams butter
- 150 grams cream cheese
- 500 grams icing sugar (powdered/confectioner's)
- 2 teaspoons vanilla extract
Instructions
Carrot Cake
- Preheat the oven to 170°C/340F. Grease and line two 8 inch/20cm round cake pans. Peel and grate the carrots. Finely chop the walnuts. Set aside.250 grams carrots, 50 grams walnuts
- In a large mixing bowl, whisk together the flour, finely chopped walnuts, cinnamon, ginger, mixed spice, salt, baking powder and baking soda. Set aside.50 grams walnuts, 220 grams plain flour, 2 teaspoons ground cinnamon, ½ teaspoon ground ginger, ½ teaspoon mixed spice, ½ teaspoon table salt, 1 teaspoon baking powder, 1 teaspoon baking soda
- Using a stand mixer or handheld electric whisk, using the whisk attachment, beat the eggs and sugar together for about 3-4 minutes until the mixture has lightened, and at least doubled in size. Scrape down the sides of the bowl to make sure everything is mixed through.3 eggs, 120 grams white granulated sugar, 120 grams light brown sugar
- With the mixer running, slowly pour in the vegetable oil to allow the eggs and oil to emulsify. Scrape down the sides of the bowl. Then add the vanilla and beat for an additional 30 seconds to really make sure everything is well combined.225 grams vegetable oil, 2 teaspoons vanilla extract
- Add the grated carrots, and using the paddle attachment, at a low speed fold the carrots into the mixture. Add the dry ingredients, and again, at a low speed, mix to combine. Using a silicone spatula, fold the cake batter a few times before dividing it into the two prepared cake tins (about 525 grams per cake tin). Bake for 25 to 30 minutes or until a cake tester comes out mostly clean from the centre of the cake. Allow the cakes to cool completely before assembly.
Cream Cheese Icing
- Allow all the ingredients to come to room temperature. Beat the butter using the balloon whisk of a stand mixer or handheld electric mixer until the butter has lightened in colour (approximately 2 minutes). Scrape down the side of the bowl.90 grams butter
- Add the room temperature cream cheese to the butter and beat using the whisk until the butter and cream cheese are well combined. light and airy (approximately 2-3 minutes). Add in the vanilla, beat for a few seconds and scrape down the sides of the bowl.150 grams cream cheese, 2 teaspoons vanilla extract
- Sift the icing sugar to remove any lumps. Add in half the icing sugar and beat for about a minute until well combined. Scrape down the sides of the bowl, add in the rest of the icing sugar. Beat again until combined, scrape down the sides of the bowl. Swop over to the paddle attachment and beat at medium-high speed for an additional minute.500 grams icing sugar
Cake Assembly
- Optional additional step. Make sure the cakes are level by trimming off any domed areas with a serrated knife or wired cake leveller.
- Coating the layers with a crumb coat (uses just a bit less than half the icing). On a cake board or cake stand, place about 1 tablespoon of the cream cheese frosting in the centre of the board. Then place the first cake on the board. Place about half a cup to ⅔ of a cup of icing and spread to the edges of the cake. Then place the second layer on top of the frosting and pat down gently to secure. Using a butter knife or offset spatula, gently apply a thin layer of icing on the outside edges of the cake. Then using a bench scraper, even out the edges of the icing. Plop another half cup of icing on the top and smooth to the edge of the cake. Allow the cake to chill in the fridge for 30 minutes to an hour to allow the crumb coat to set.
- Plop about half of the remaining icing on the top of the cake and smooth to the edges. Using the other half, smooth over the sides of the cake. Depending on the look you are going for, the icing can be completely smoothed out using a bench
Notes
A conventional oven needs to be set at 20°C higher than a fan-forced or convection oven. For even layers, make sure the oven is at the right temperature using an oven thermometer, and wrap the outsides of the cake tin with cake baking strips or foil to ensure an even bake. Carrot cakes are typically stored in the fridge for up to a week. This keeps the cream cheese frosting or icing from melting in warmer temperatures. Carrot cake layers can be frozen and unfrosted, simply allow the cakes to cool completely before wrapping them in plastic wrap and then foil. If freezing an entire frosted or iced carrot cake, allow it to freeze solid before wrapping it in plastic wrap and tin foil. Individual portions can also be frozen in this manner, just slice the cake before freezing!
Nutrition
Nutrition information is an estimate. If scaling the recipe remember to scale your cook and bakeware accordingly. All temperatures stated are conventional, unless otherwise stated. Recipes tested in grams and at sea level.
Pin for Later

Belinda says
Thanks for sharing this amazing carrot cake recipe, I'm most definitely going to bake it & the frosting sounds great, just a tip from my side, I add a small tin of crushed pineapple (drained) to my recipe.
Mary-Lou says
Thank you so much, Belinda!
I will definitely try a small tin of crushed and drained pineapple the next time I bake this cake!