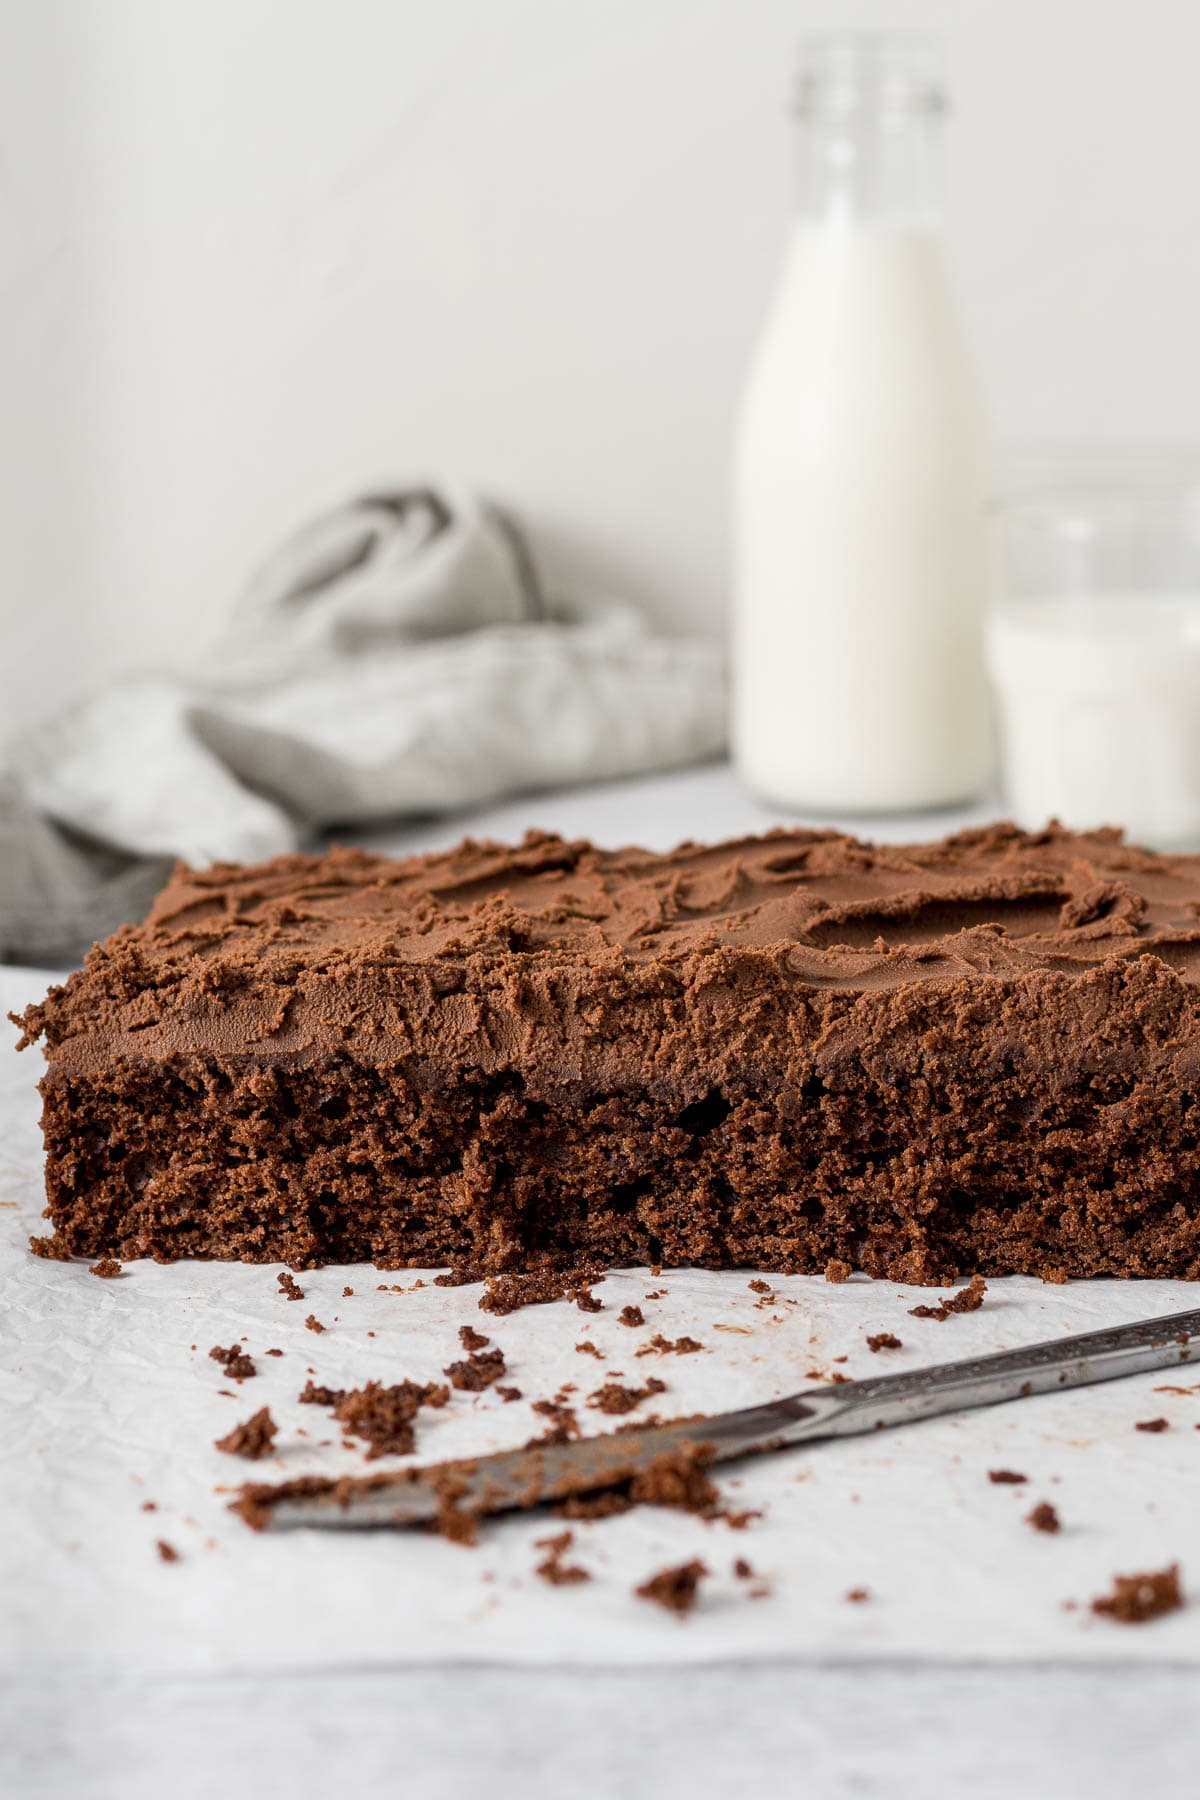
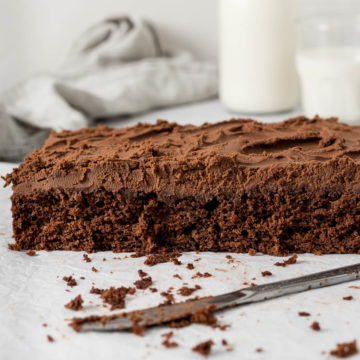
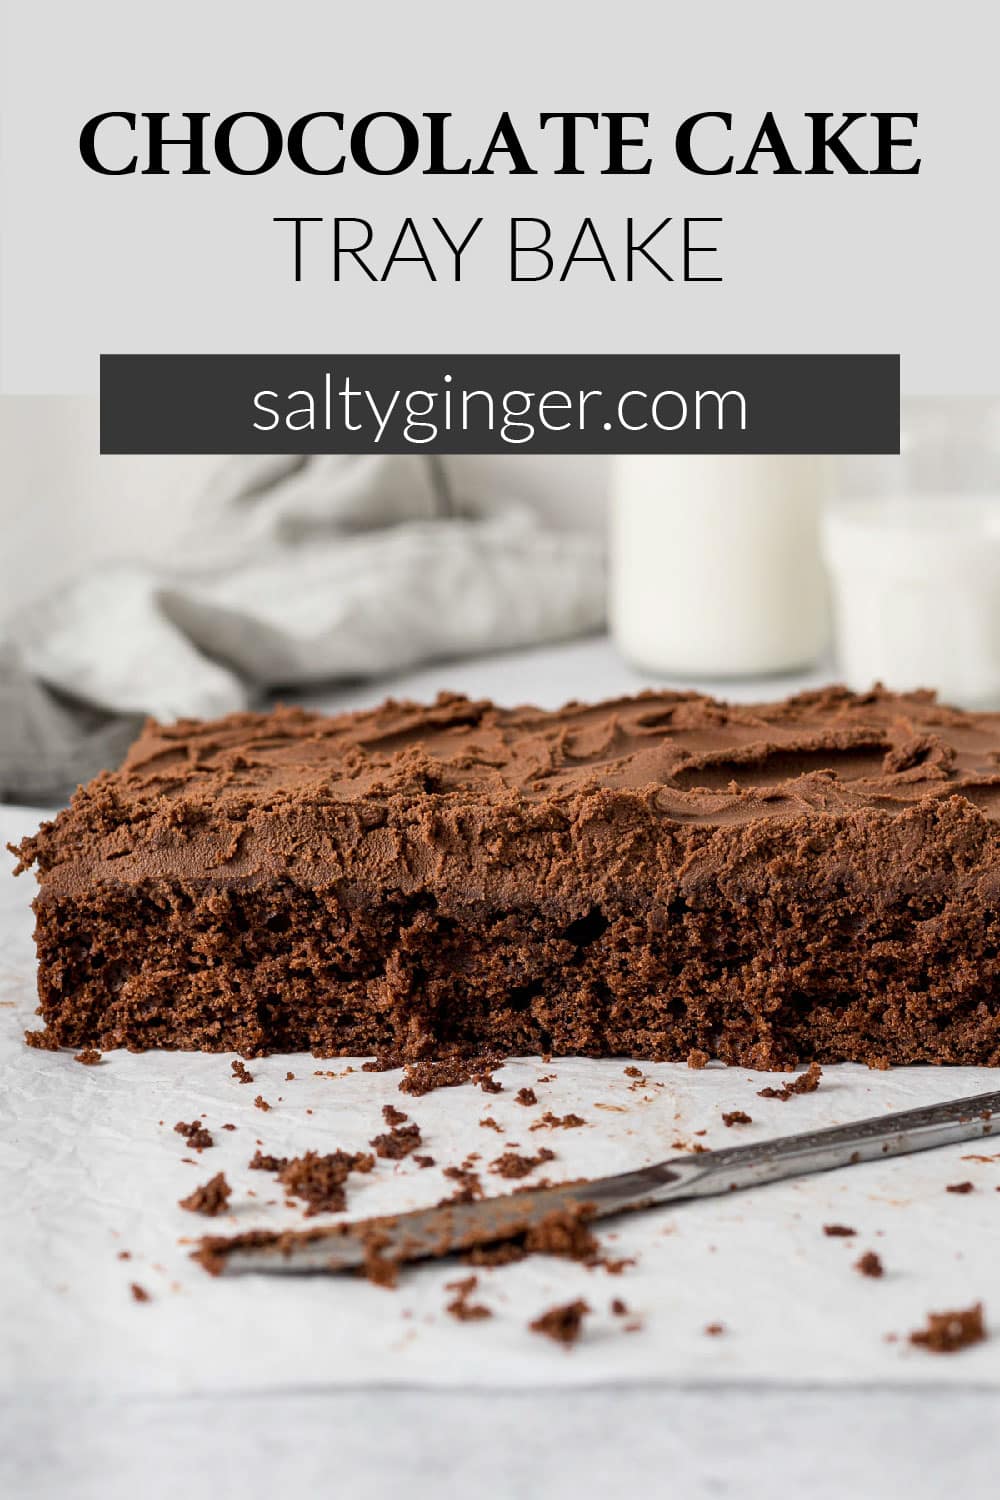
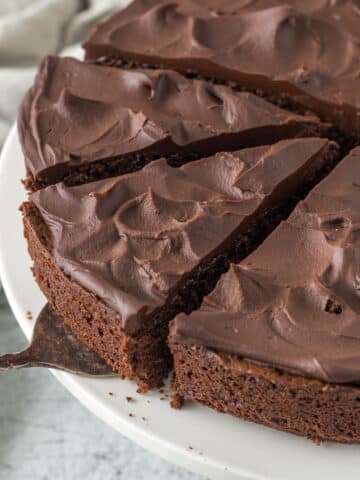
This super easy, delicious, moist tray bake chocolate cake consists of a soft chocolate sponge that is topped with a whipped milk chocolate ganache.
Jump to:
This particular chocolate cake recipe is a variation of my Vanilla Tray Bake. Over the years I have experimented with turning my Vanilla cake into a chocolate one.
These experimentations included simply adding cocoa powder, to bloom the cocoa powder - of which I decided for simplicity's sake that the cocoa powder does not need to be bloomed. However, I am a big believer that a few teaspoons of instant coffee or espresso coffee go a long way in creating a great chocolate cake.
I also decide on a whipped chocolate ganache over a chocolate buttercream to take an old-school chocolate traybake and kick it up a notch.
If you are looking for something fudgier - check out my chocolate fudge cake.
Why You Will Love this Chocolate Sheet Cake with Ganache Frosting
- This cake is super easy to make!
- It is a moist chocolate cake.
- This tray bake or sheet cake is great for a gathering or get-together.
- Top this chocolate tray bake with a few Easter eggs and you have a fantastic chocolate Easter Cake.
- This simple yet elegant tray bake makes for a great birthday cake. For a more festive feel, choose sprinkles that will coordinate with your particular theme.
Ingredients
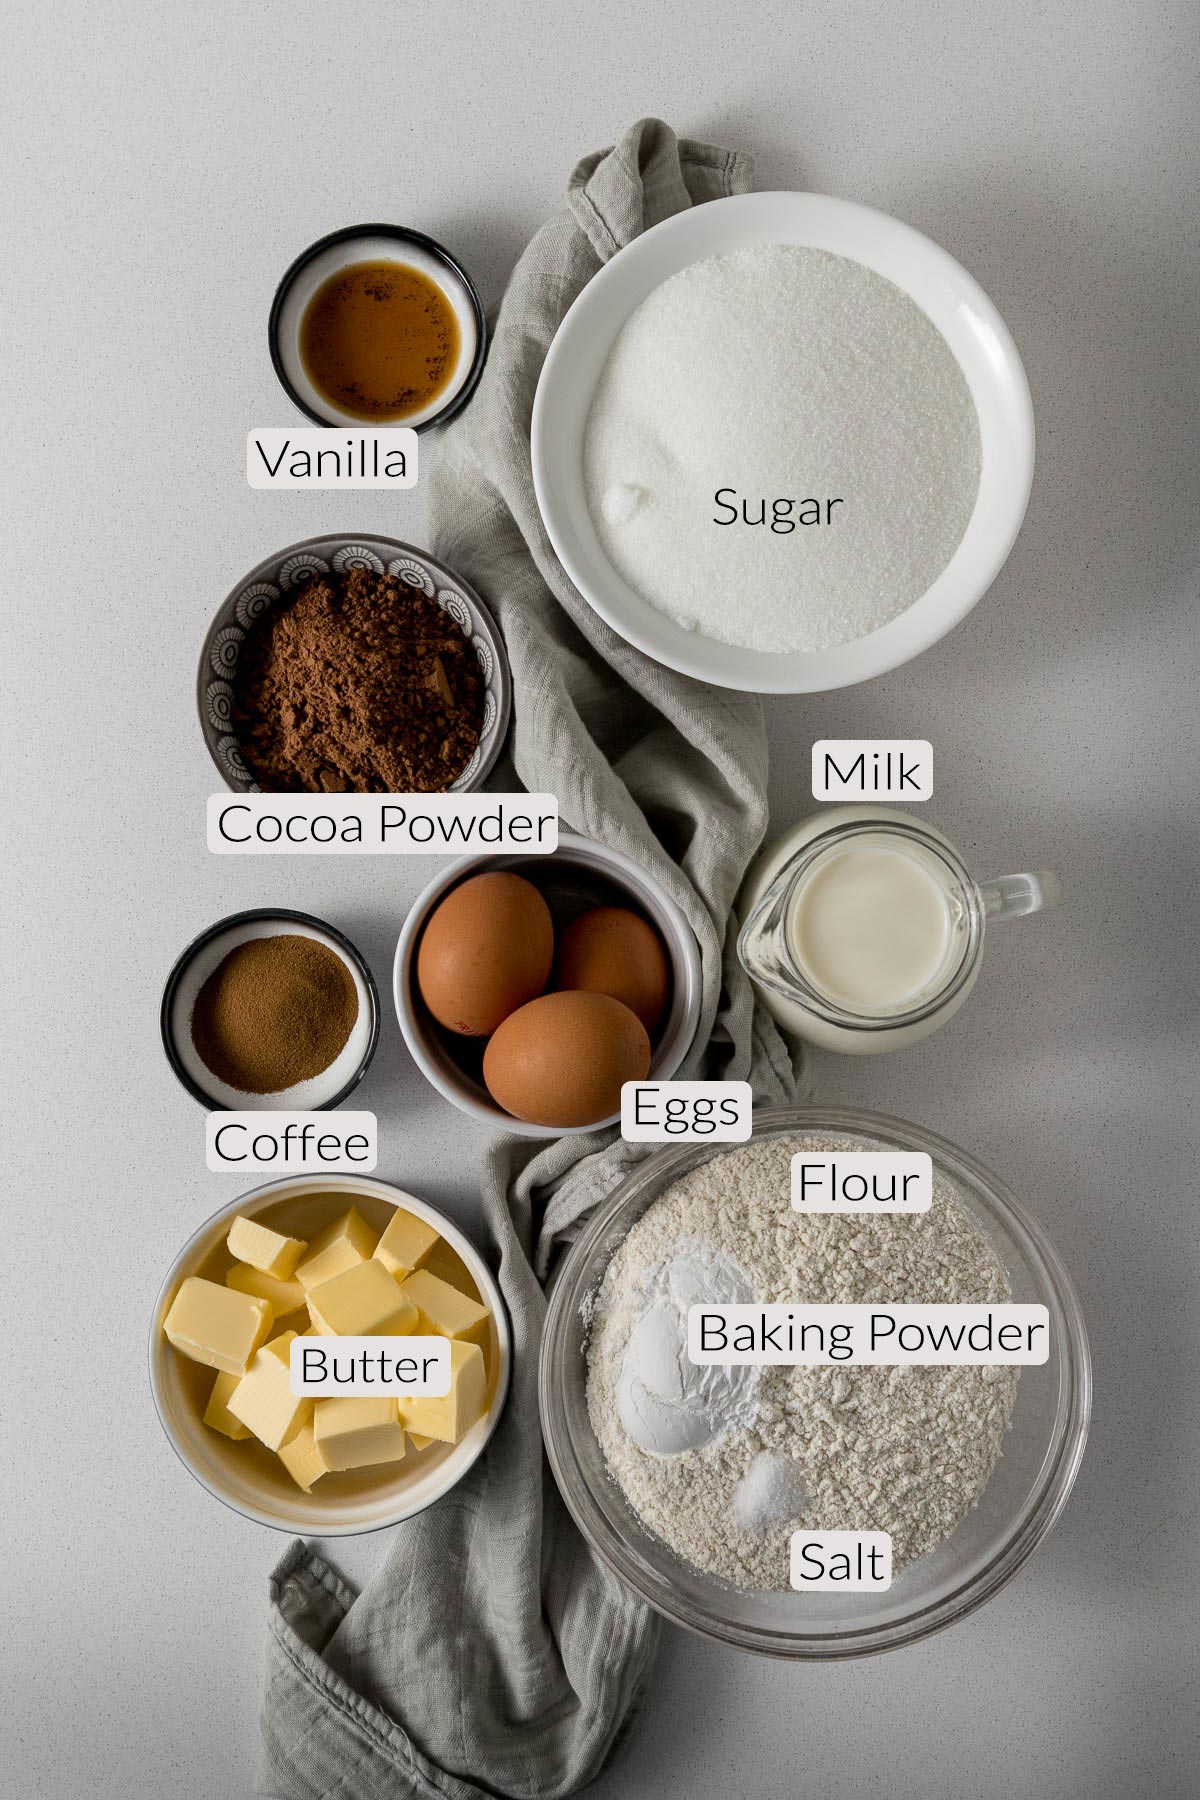
Here are some notes on the ingredients used in this recipe. Please see the recipe card for quantities.
- Cocoa powder: Dutch-processed cocoa powder.
- All-purpose, plain, standard grade or cake flour (South Africa)
- Butter
- Eggs
- Milk
- Granulated coffee or espresso powder
- Baking Powder
- Eggs
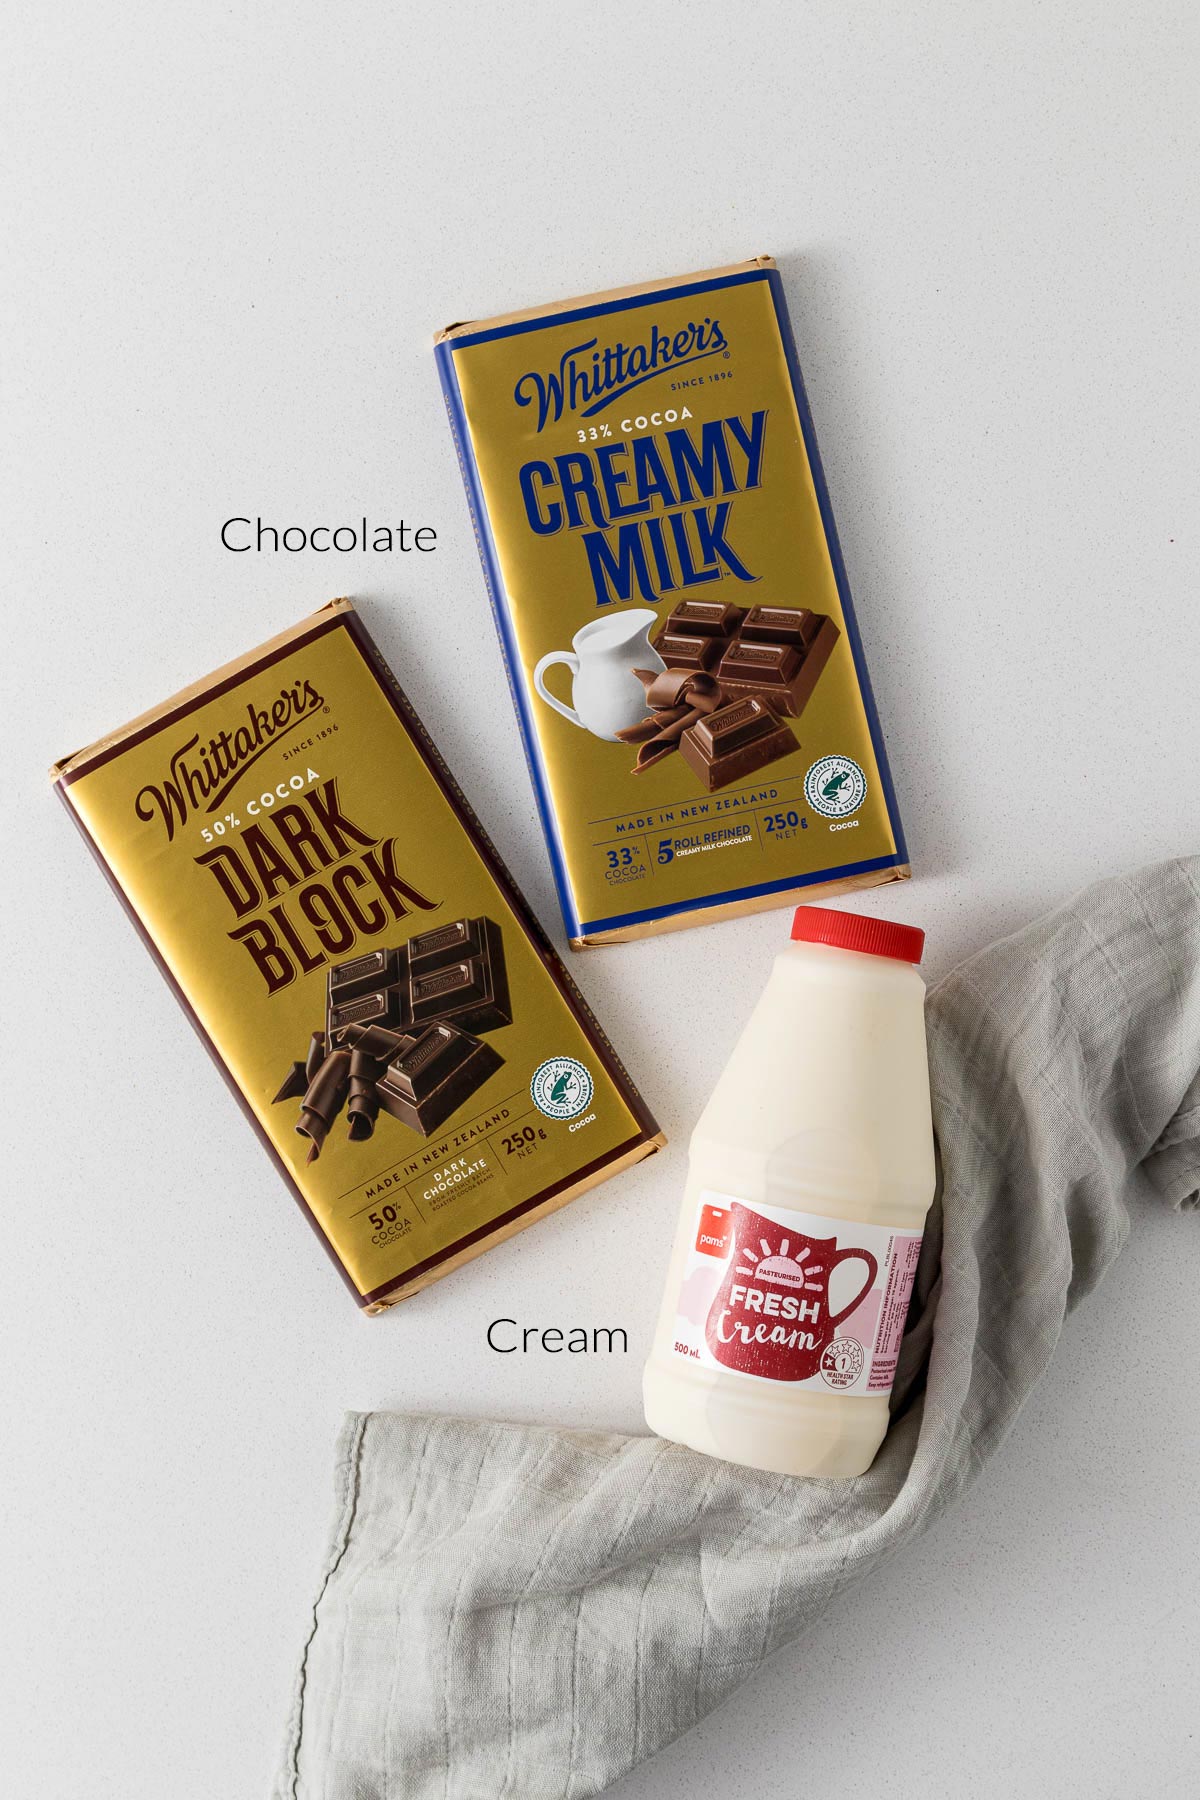
- Cream - heavy, double or whipping cream for the ganache
- A mix of milk and dark chocolate
Plain/all-purpose/standard grade flour can be substituted on a 1 to 1 basis for recipes that have ½ to 1 teaspoon of baking powder per 125 grams/1 cup of flour. If the recipe requires more than 1 teaspoon per cup, simply add the extra baking powder to the recipe to make up the difference. Self-raising/rising flours may already contain salt so this may need to be omitted from the recipe as well.
Test the freshness of your baking powder or baking soda (bicarbonate of soda or bread soda) by placing a small amount in some boiling water. If it bubbles and fizzes, it's good to use!
Salt is a crucial ingredient in all baked goods. I use table salt in all my recipes. One teaspoon of table salt equals 1.5 teaspoons of Morton Kosher Salt equals 2 teaspoons of Diamond Crystal.
Room Temperature Ingredients
Use room-temperature ingredients! Using room temperature ingredients ensures that ingredients in the batter or dough will incorporate easier. Take note that room temperature refers to around 20°C/68F.
- To bring eggs to room temperature quickly, place them into warm water for about 10 to 15 minutes.
- To bring butter to room temperature quickly, cut the butter into cubes and zap in the microwave at 20% power in 10-second intervals. Or place the cubes in a bowl over warm water (such as with a double boiler) over low heat for 1 minute!
- Milk, buttermilk, and cream can be brought to room temperature by zapping in the microwave at 20% power in 10-second intervals. Or on low heat for a minute or two swirling every 10-15 seconds.
Weighing & Measuring Ingredients
Weighing ingredients with a kitchen scale is more accurate than using measuring cups. All my recipes are developed and tested using grams only.
However, I have activated the metric-to-cup conversions. Simply click on "cups" or "metric" for your preferred measurements. For these conversions, cups are equal to 240 millilitres/8 fluid ounces, tablespoons are 15 milliliters and teaspoons are 5mL.
Step-by-Step Instructions
Step 1 - Preheat the oven the 170°C/340F. Grease and line a 9"x13" (23cm x 33cm) rectangular cake tin.
Step 2 - Toss the vanilla extract and granulated instant coffee or espresso powder into the milk. The coffee will dissolve into the milk, making it easier to mix in with the rest of the ingredients.
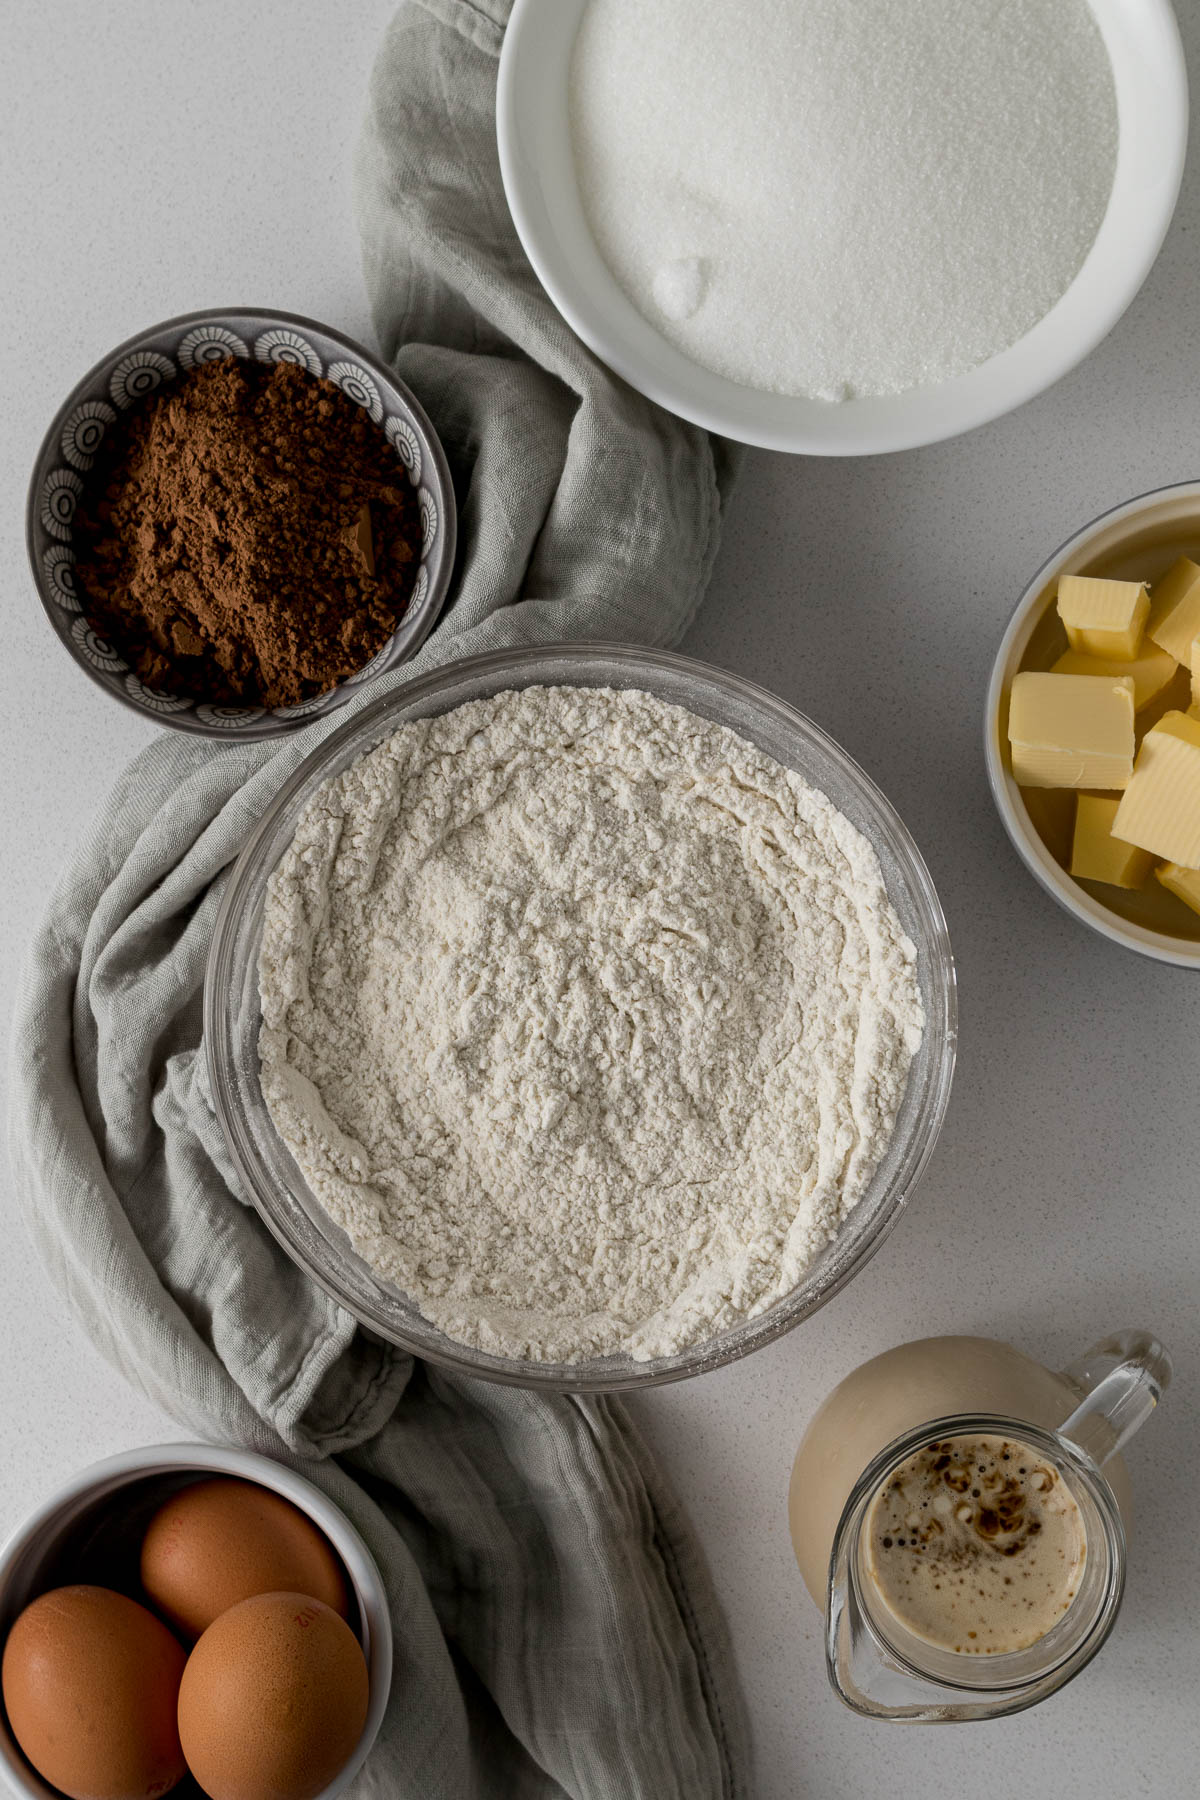
Step 3 - Whisk together the flour, baking powder and salt. Set aside. Melt the butter and allow it to cool while moving on to the next step.
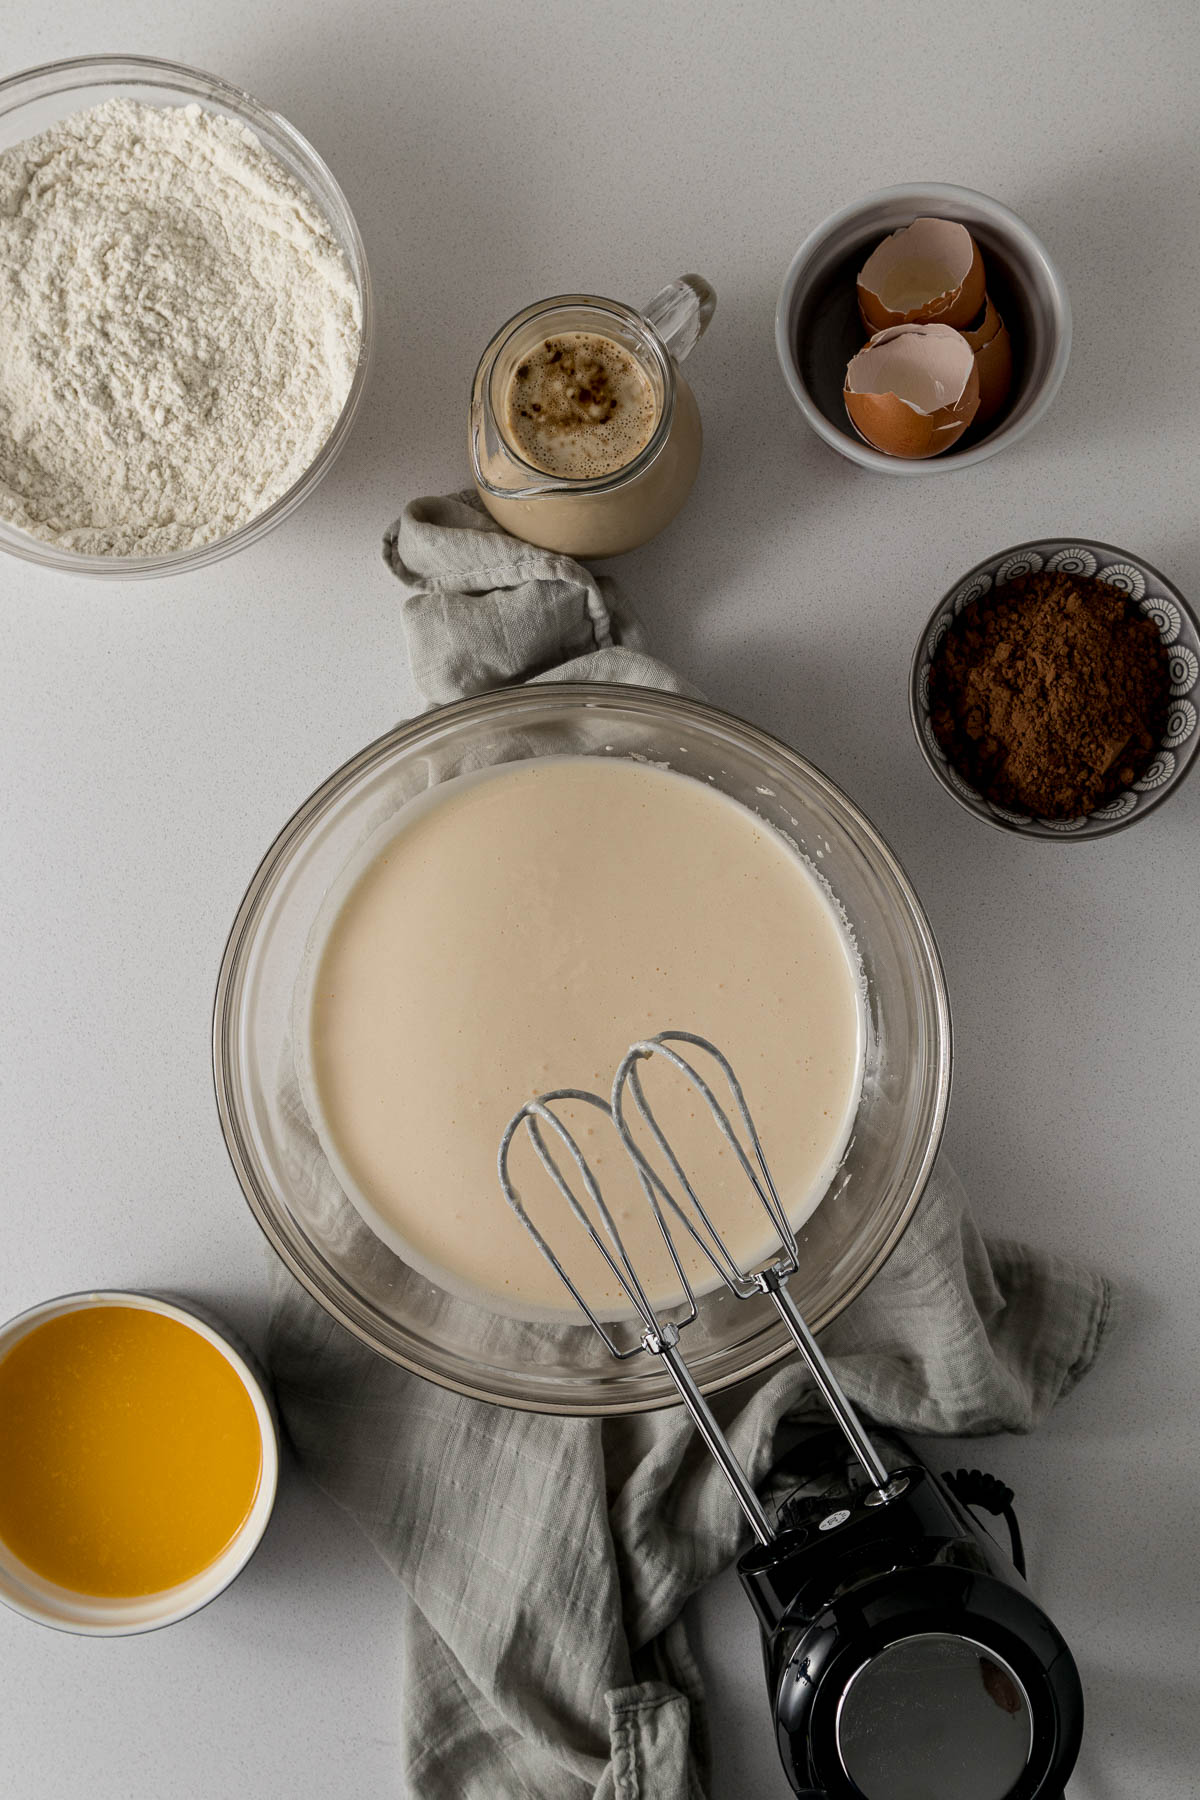
Step 4 - In a large mixing bowl beat the eggs and sugar until light and fluffy and have doubled in volume. About 3-5 minutes using an electric hand mixer/stand mixer.
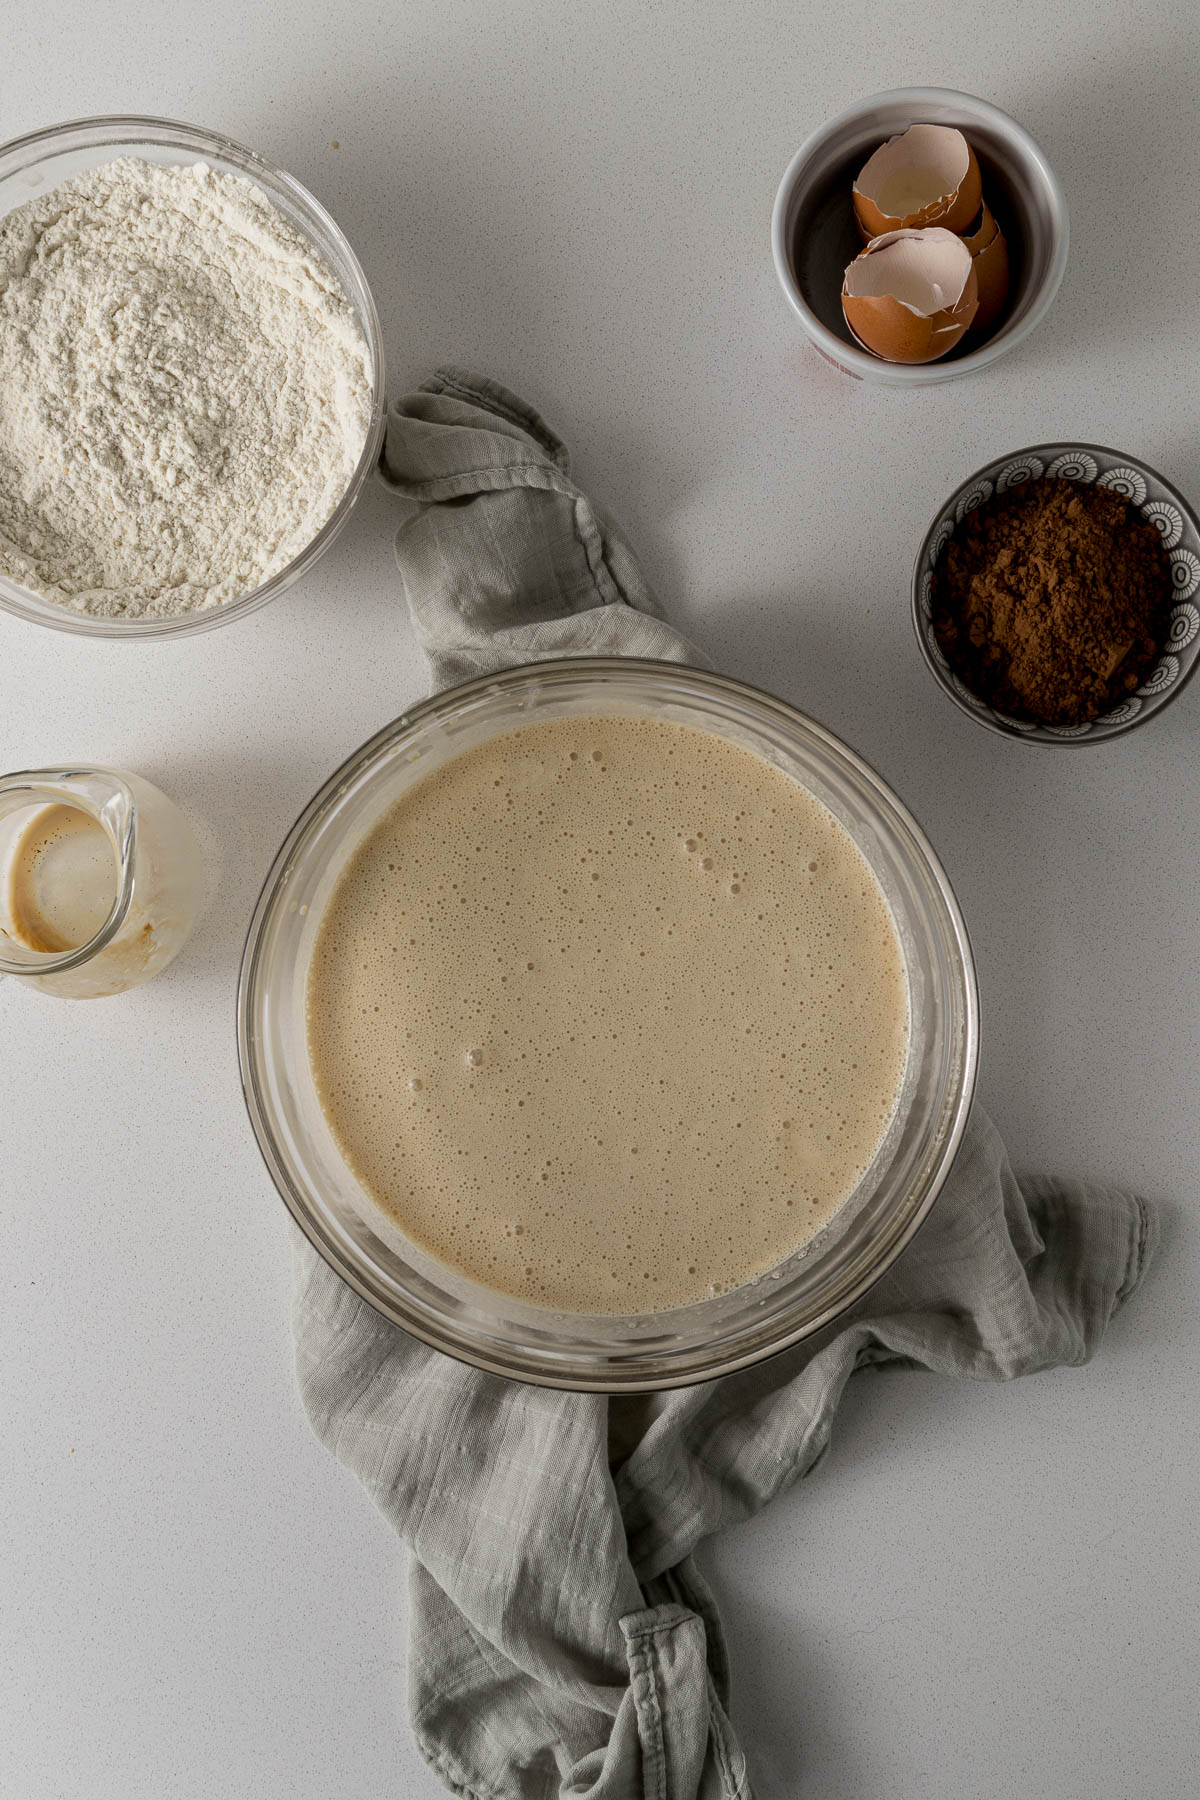
Step 5 - Pour the butter slowly down the side of the bowl with the mixer running. Mix until well combined. Similarly, add in the milk and mix through.
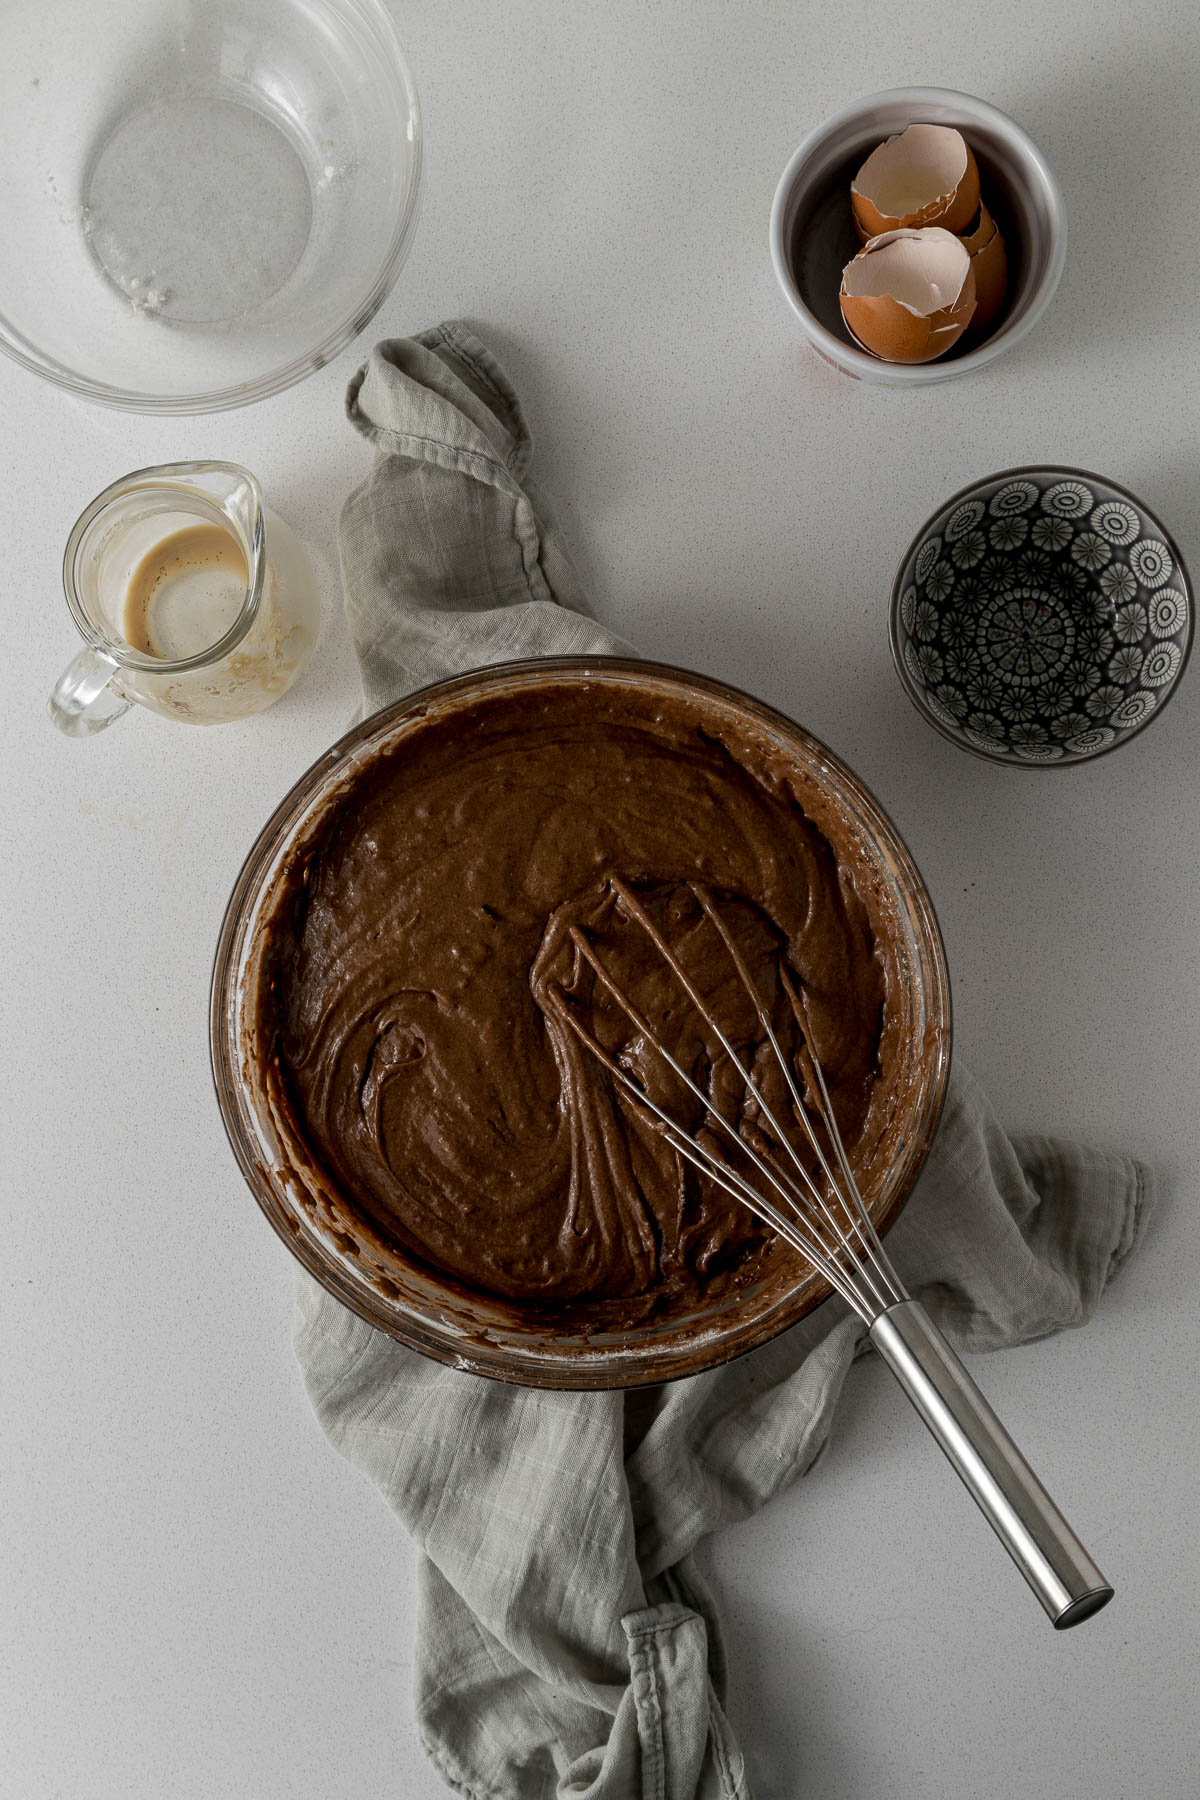
Step 6 - Sieve the cocoa powder over the egg mixture. Add in half the flour and whisk together until just combined. Add in the rest of the flour and mix until just combined.
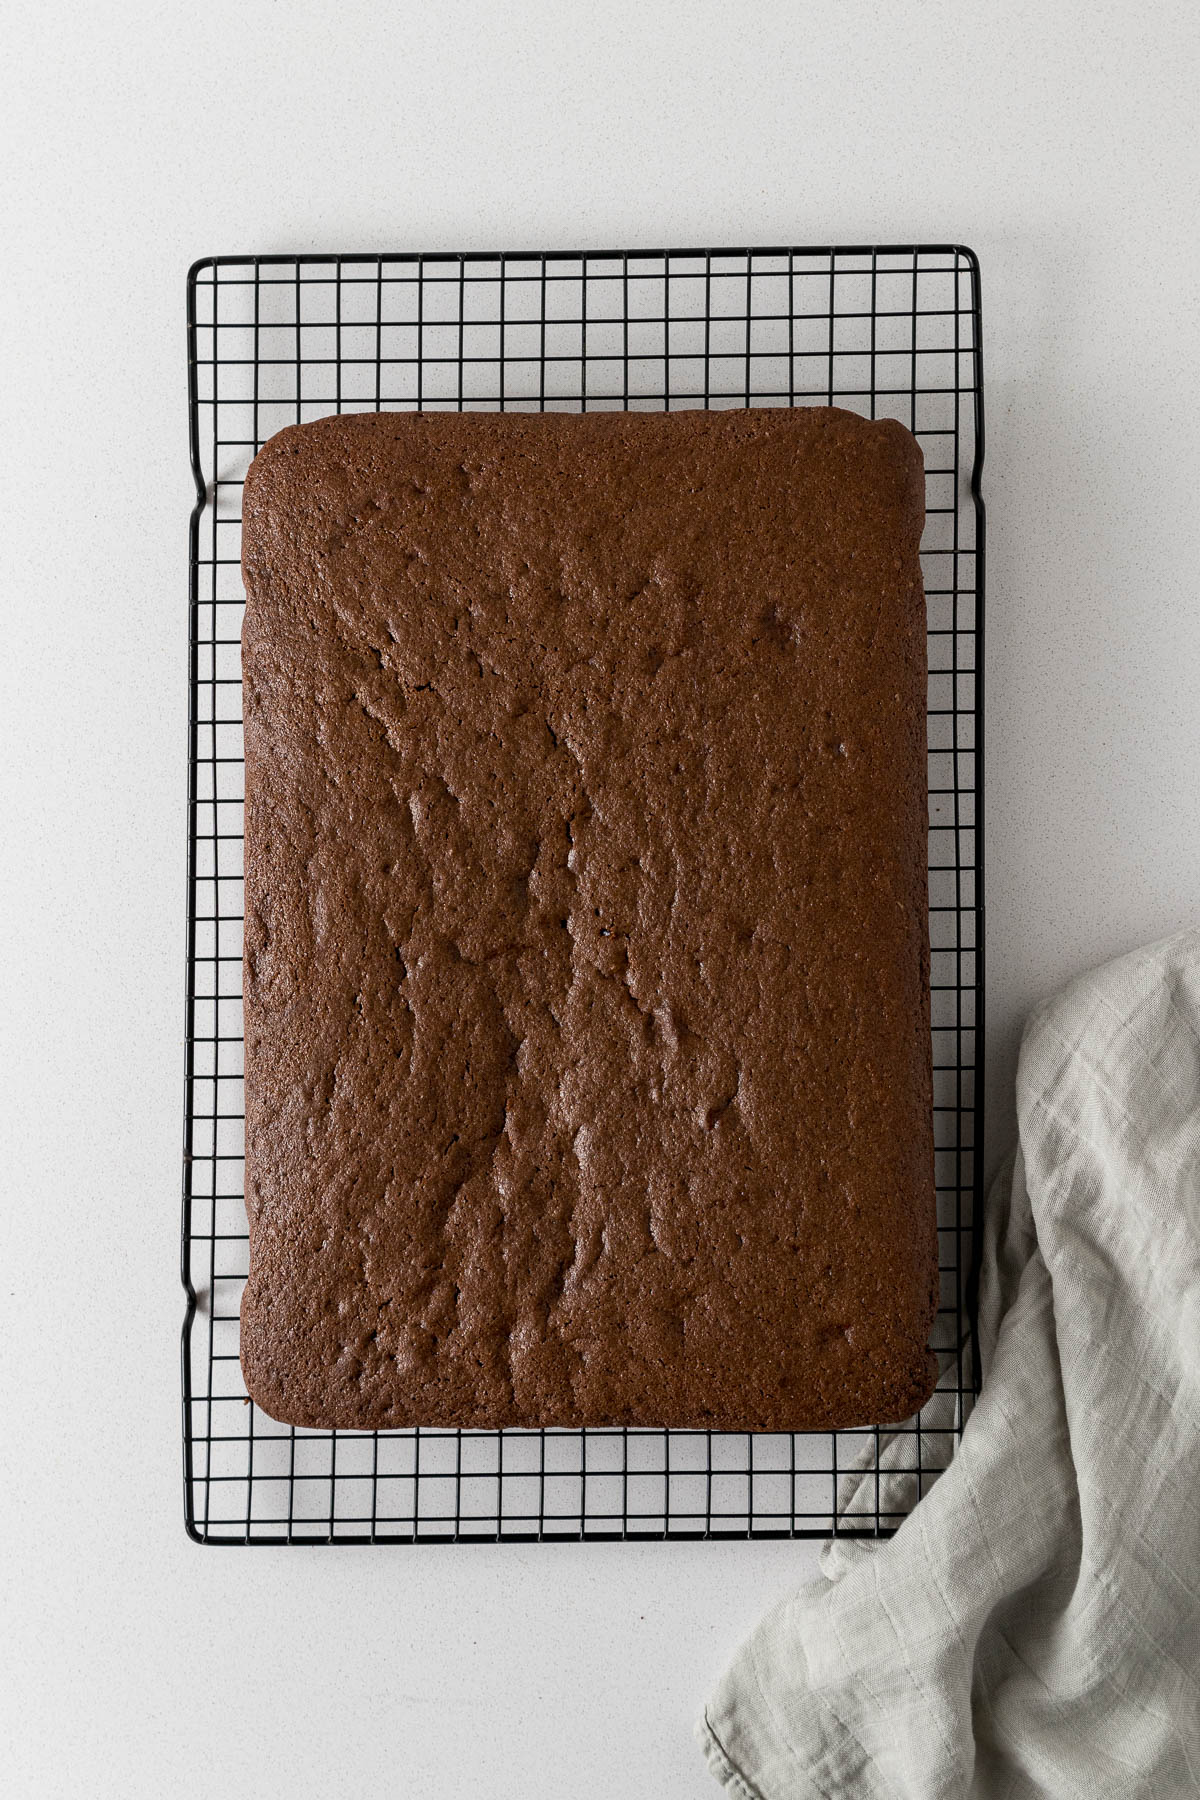
Step 7 - Pour the batter into the prepared baking tin. Smooth to the edges. Bake for 25 to 30 minutes or until a cake tester comes out clean from the centre of the cake. Cool in the tin for 10 minutes before turning out onto a cooling rack to completely cool.
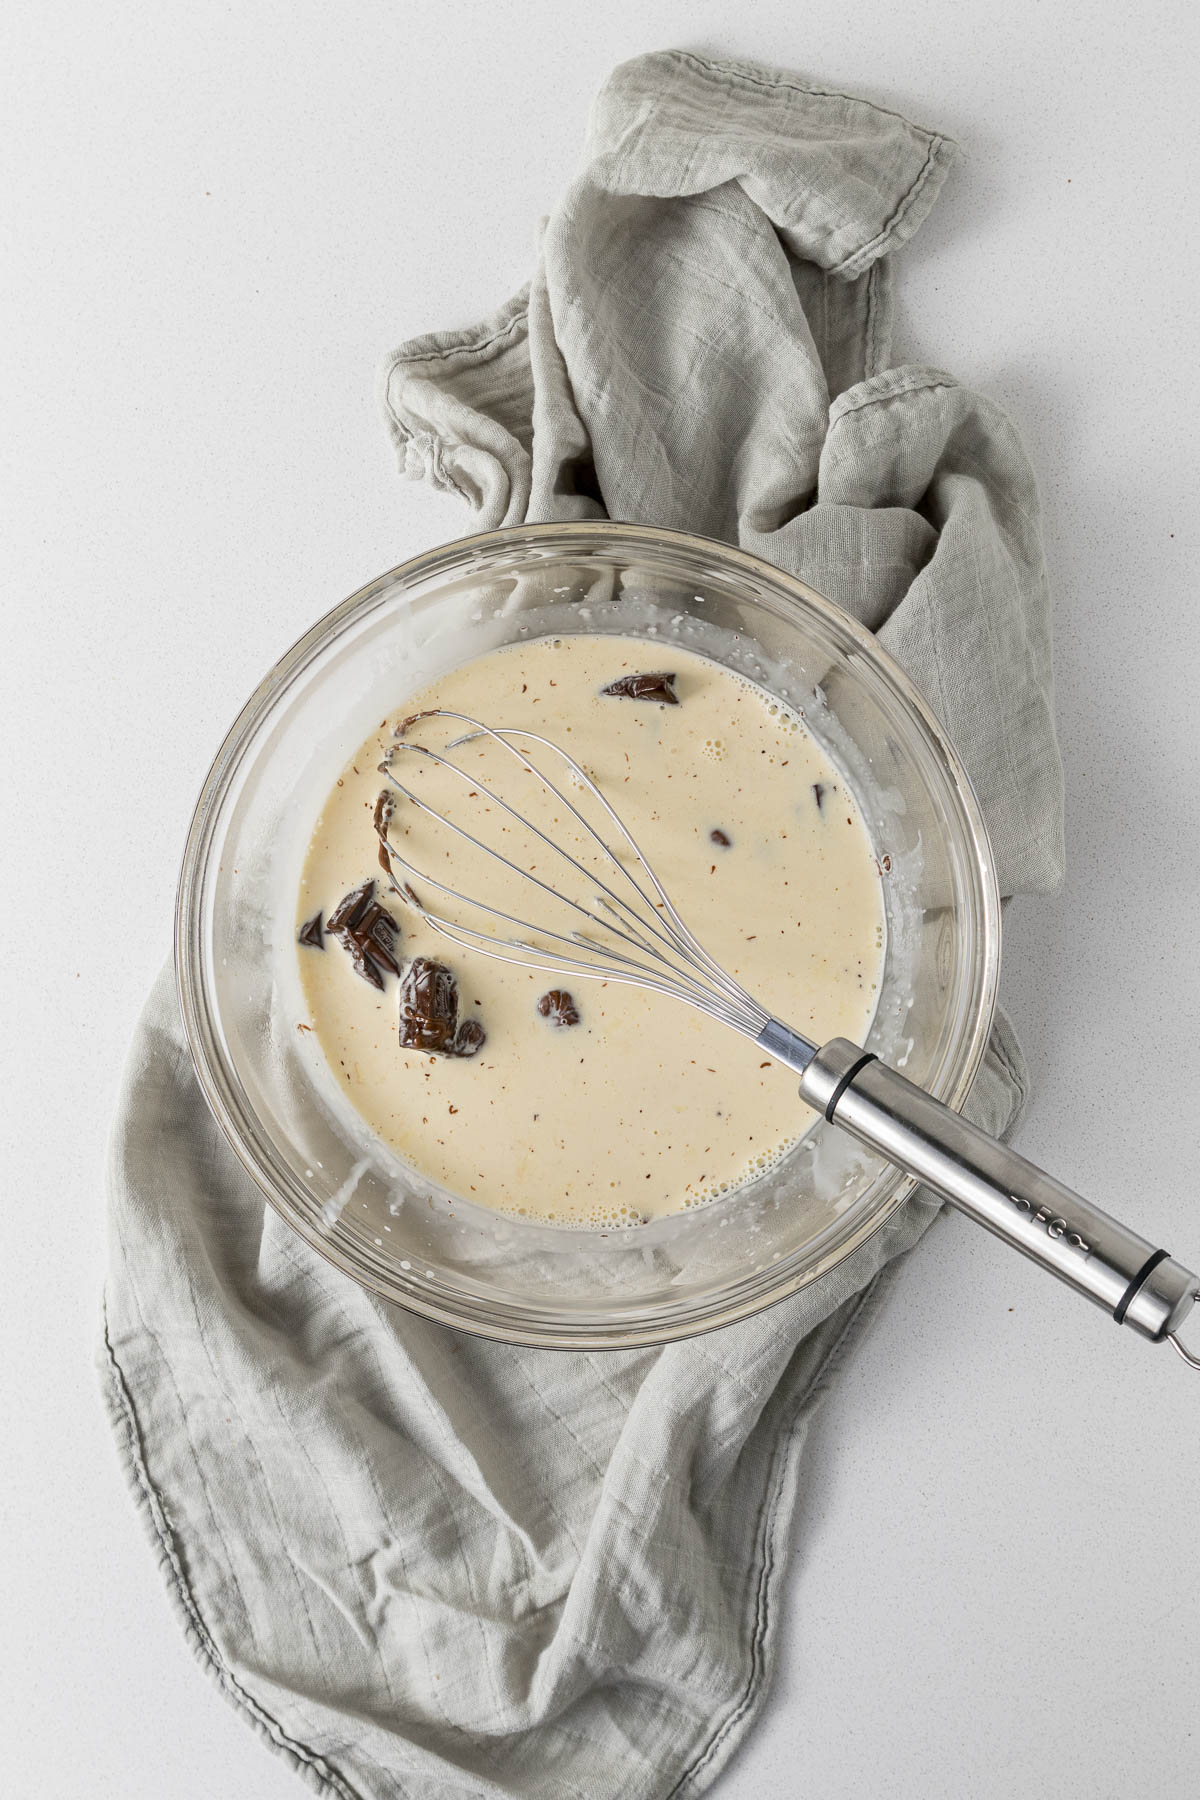
Step 8 - While the cake is baking and cooling, heat up the cream either over medium heat in a small saucepan or in a heatproof bowl in the microwave.
Step 9 - Once the cream is hot and bubbling around the edges, toss in the blocks of chocolate. Allow the mixture to sit for 5 minutes, then whisk the mixture together until the ganache is smooth and creamy.
Step 10 - Allow the ganache to cool in the fridge, stirring it every 15 minutes to check on how much the ganache has set.
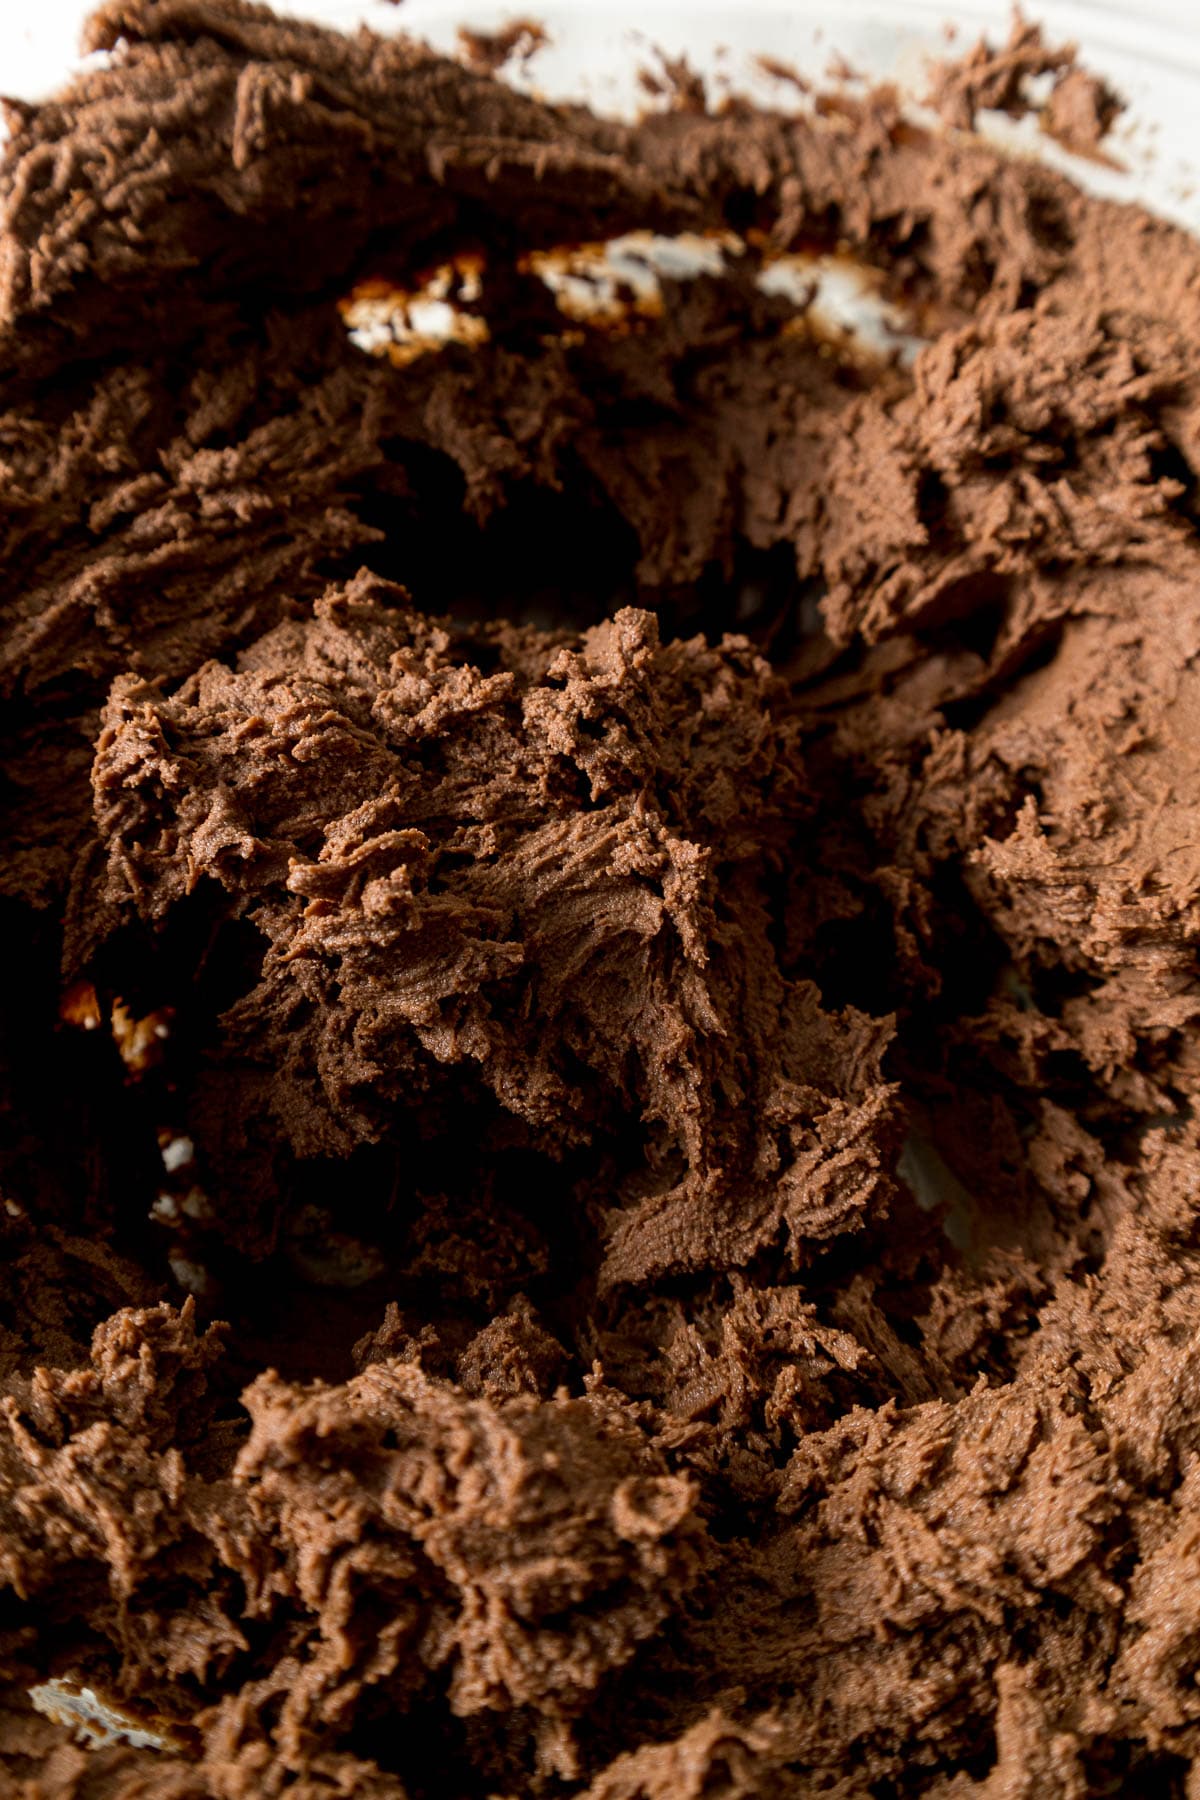
Step 11 - Once the ganache is set, meaning the ganache is firm yet still slightly stirrable. Beat the ganache either in a stand mixer or with an electric handheld mixture until the ganache has lightened in colour and is a bit fluffy.
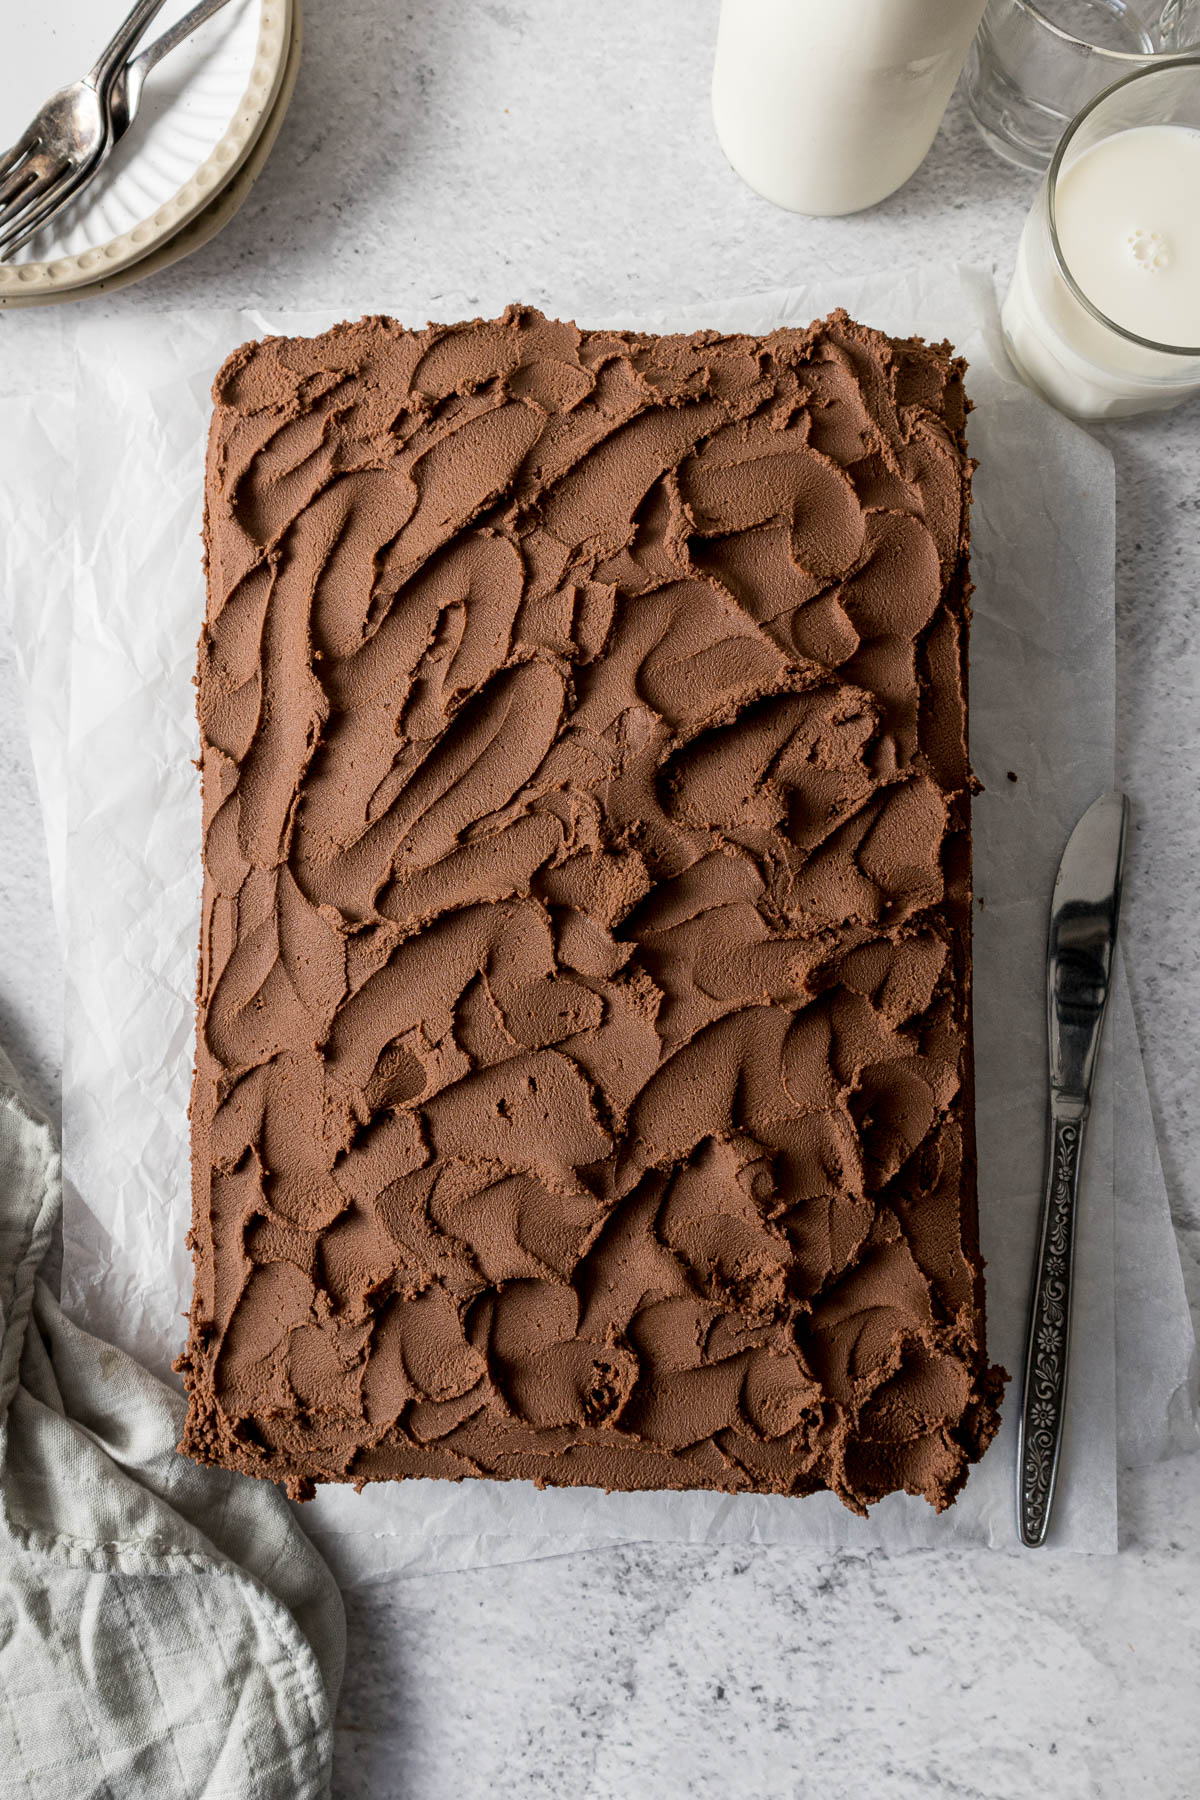
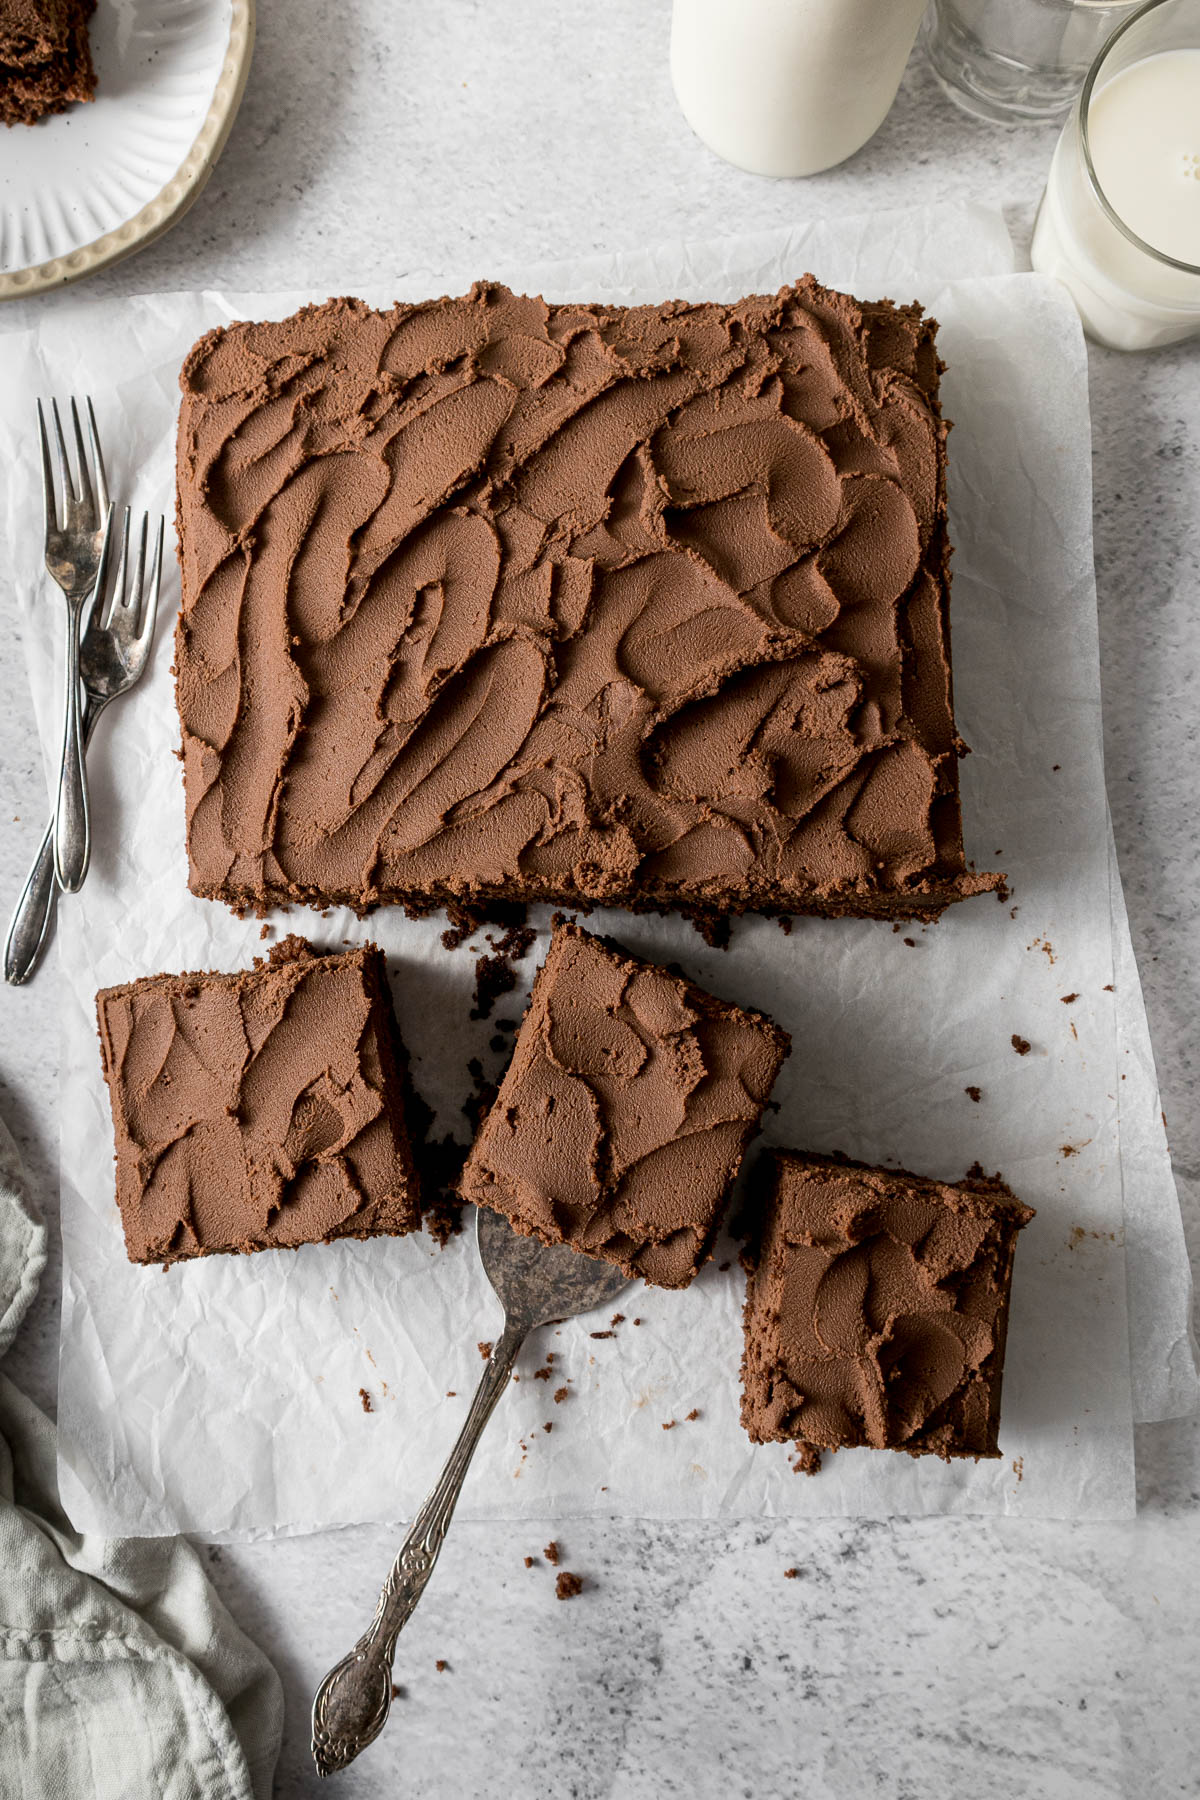
Step 12 - Plop the frosting/icing over the top of the completely cooled cake, smooth until mostly even using an offset spatula or the back of a dessert spoon. Then create swirly patterns on the top if desired.
Making Chocolate Cupcakes
This cake recipe also makes great cupcakes! This particular recipe makes about 18 cupcakes. I say about because cupcake liners can vary slightly in volume, and is also dependent on how far the liners are filled.
To make regular-sized cupcakes, follow the instructions to make the cake batter. Then divide the batter equally among the cupcake liners, filling each cupcake liner about ⅔ full. Bake for 18-22 minutes or until a cake tester comes out clean from the center of the cupcakes. Allow to cool completely on a wired rack before frosting/icing the cupcakes.
Making a 2 Layer Chocolate Cake
This cake recipe can also be used to bake a two-layer cake. Line and grease two 8" or 20cm cake tins. Follow the instructions to make the cake batter then divide the batter equally between the two cake tins.
Smooth out the cake batter and bake on the center rack for 20-25 minutes or until a cake tester comes out clean from the center of both cakes.
Pro Tips for this Recipe
Ovens
The temperatures stated are for conventional ovens. For convection, fan-forced, fan-assisted, or air-fryers, the temperature must be reduced by 20°C/25°F.
For baking, make sure the oven is fully preheated, and that the rack is in the middle of the oven. Open the oven as little as possible. For best baking results use an oven thermometer.
Remember that all ovens work slightly differently and bake times may need to be adjusted for your specific oven.
Bakeware
Metal bakeware is superior when it comes to baking biscuits, cookies, brownies, muffins and quick bread, scones, cakes. These heat up and cool down faster than glassware. Glassware is heavier, heats up and cools down slower than metal and is more suited for bread puddings, pies, crisps, crumbles and cobblers.
How to Bake Flat Cakes
To ensure you get layers or a sheet cake as flat as possible, check the following:
The oven temperature. Ovens that are too hot will result in domed cakes. To check if your oven is calibrated to the correct temperature use an oven thermometer.
Place the rack in the middle of the oven.
The sides of the cake tin should be greased to allow the cake to rise up the sides without gripping the edges.
Baking strips help keep the walls of the cake tin cooler which results in an even bake. Either use damp baking strips or simply create your own by folding a length of foil 4 to 5 times to create a strip. Wrap this strip around the outside of the cake tin. My sheet pan tin is rather dark, so I also wrapped my tin in foil to allow an even bake.
Finally, the cake can be trimmed either using a serrated knife or a wired cake trimmer.
Rate & Review!
If you made this recipe, please leave a star rating! It gives my readers and me helpful feedback. If you want more recipes, subscribe to my newsletter, and follow me on Instagram, Pinterest, and Facebook!
Recipe Card
Chocolate Tray bake
Equipment
- Stand Mixer OR
- Electric hand mixer
- Rectangular Cake Pan (13x9 Inch/33cmx23cm)
Ingredients
Chocolate Tray Bake Sponge
- 250 grams plain flour (all-purpose, standard grade)
- 4 teaspoons baking powder
- ½ teaspoon table salt
- 250 grams milk
- 2 teaspoons vanilla extract
- 2 teaspoons instant coffee or espresso
- 3 eggs (medium/large/size 6)
- 300 grams white granulated sugar
- 125 grams butter (melted)
- 50 grams unsweetened cocoa powder
Chocolate Ganache
- 300 grams cream (heavy/whipping)
- 200 grams milk chocolate
- 100 grams dark chocolate
Instructions
- Preheat the oven the 170°C/340F or 150°fan. Grease and line a 9"x13" (23cm x 33cm) rectangular cake tin.
- Toss the vanilla extract and granulated instant coffee or espresso powder into the milk. The coffee will dissolve into the milk, making it easier to mix in with the rest of the ingredients.250 grams milk, 2 teaspoons vanilla extract, 2 teaspoons instant coffee or espresso
- Whisk together the flour, baking powder and salt. Set aside. Melt the butter and allow it to cool while moving on to the next step.250 grams plain flour, 4 teaspoons baking powder, ½ teaspoon table salt
- In a large mixing bowl beat the eggs and sugar until light and fluffy and has doubled in volume. About 3-5 minutes using an electric hand mixer/stand mixer.3 eggs, 300 grams white granulated sugar
- Pour the butter slowly down the side of the bowl with the mixer running. Mix until well combined. Similarly, add in the milk and mix through.125 grams butter
- Sieve the cocoa powder over the egg mixture. Add in half the flour and whisk together until just combined. Add in the rest of the flour and mix until just combined.50 grams unsweetened cocoa powder
- Pour the batter into the prepared baking tin. Smooth to the edges. Bake for 25 to 30 minutes or until a cake tester comes out clean from the centre of the cake. Cool in the tin for 10 minutes before turning out onto a cooling rack to completely cool.
- While the cake is baking and cooling, heat up the cream either over medium heat in a small saucepan or in a heatproof bowl in the microwave.
- Once the cream is hot and bubbling around the edges, toss in the blocks of chocolate. Allow the mixture to sit for 5 minutes, then whisk the mixture together until the ganache is smooth and creamy.
- Allow the ganache to cool in the fridge, stirring it every 15 minutes to check on how much the ganache has set.
- Once the ganache is set, meaning the ganache is firm yet still slightly stirrable. Beat the ganache either in a stand mixer or with an electric handheld mixture until the ganache has lightened in colour and is a bit fluffy.
- Plop the frosting/icing over the top of the completely cooled cake, smooth until mostly even using an offset spatula or the back of a dessert spoon. Then create swirly patterns on the top if desired.
Notes
Nutrition
Nutrition information is an estimate. If scaling the recipe remember to scale your cook and bakeware accordingly. All temperatures stated are conventional, unless otherwise stated. Recipes tested in grams and at sea level.
Pin for Later

Mehjabeen says
Hi I dont have these will a springform pan work an if yes wats the baking time ?
Mary-Lou Watkins says
Hi,
There are instructions for baking in two 8 inch (20cm) cake pans. I also I have a chocolate fudge cake that bakes in a 9" pan. And my ferrero rocher chocolate cake is also baked in two 8 inch cake pans (you can do whatever frosting you want).I have not baked this cake as a single layer in a 9 inch/23cm springform pan.
Mehjabeen says
Hi i just need to double check that i understood u correctly then i know if i got that pans or not, so u said i must use 2 8 inch springform pans ?so those pans is it springform pans ? I do have round springform pans but i dont know the size of my pans
Mary-Lou Watkins says
Hi,
If you want to bake this cake in a round cake pan, I recommend two 8 inch cake pans (these can be regular cake pan or a springform pan). If you bake it in a 9 inch the layers will probably be too thin. If you are unsure of the size of your pans, please measure the diameter of the pan with a ruler or measuring tape before you begin. I have not tested this by baking all the batter as a single layer in a 9 inch pan (round or springform) so I don't know how it will turn out.
Sophie says
Delicious chocolate cake. I made it for my birthday and it made the kitchen smell nice. It's important to have the correct size metal tin, it came out evenly. Much lighter and softer than the chocolate cakes from shops.
The cake tasted so lovely, I didn't need any topping for it and ate it without ganache! It'll be great for Christmas and New Year too!
Mary-Lou Watkins says
Thank you so much for your kind words!
Mehjabeen says
Ok thanks for all your help , there's somethin i wanted to know that i heard that once batter is prepared u should not keep it standing out , i heard u must bake immediately so it applies for biscuit an cake or cake alone an if its true how Long is it fine to keep doughs and or cake batter standing , is 10 min to 15 min enough?
Mary-Lou Watkins says
Hi,
For cake batters it depends on what you are baking - if it is a sponge cake that relies only on the egg whites for lift - bake immediately. But for other cake batters letting it sit for a while is ok. I like to get mine in the oven within 20 minutes. The longer a cake batter sits (if it is more than an hour, pop it into the fridge) the less rising power it does have. Most resources reckon you can let the cake batter sit in the fridge for up to a day or two (I have no tested this). And then I would put the batter in an airtight container or cover it with plastic wrap or cling film that is directly touching the batter to prevent it from drying out.
Biscuits and cookies are different, they can usually be stored in the fridge for up to 72 hours before baking. When I rest my biscuits and cookies in the fridge I do like to portion them out, or roll them out and separate them with baking paper. Then I preheat and bake straight from the fridge.
As a rule of thumb - just see what the recipe says, most food bloggers will include a make ahead or storage instructions (especially for cookies and biscuits) that they have tested.
Mehjabeen says
Hi im hoping u can guide me , i did ask several peoples so only certain reply so those who did reply i never understand because i dont know baking got rules so i never caught on, anyway i always thought your ingredient make a difference so its your ingredient make cake rise i never knew that pans make cake rise an i never knew batter make cake rise so because of this reason i never knew a pan/ tray need only certain amount of batter not more an not less so my question is how do I know how much batter goes per pan wats quantity for ingredients
Mary-Lou Watkins says
Hi,
Yes. Baking has rules.
Baking has a fine line between science (the ingredients and how they interact and the role they play, accurate measurements, oven temperature, bakeware used), art (the methods, experience) and environmental factors (climate, weather, etc).
In cake rising - yes ingredients play a part (which is why accurate measurements are so important). I have a post on leavening and rising agents used in baking. What is used in the batter and the methods used to make the batter will have an impact on making a cake rise.
Bakeware also plays an important role. Glass heats up slower and cools down slower, metal heats up quicker and cools down quicker. I find light colored baked pans work best, as dark ones heat up very quickly, which cooks the outer edges more quickly. This includes preparing the bakeware for the type of batter used.
How much batter per pan? I would really look at the recipe and see what size they indicate they used, this is the size that they have tested the recipe in and know works. This is especially true if you are learning how to bake, it is best to execute the recipes exactly how they are written as you will learn from experience. Some recipes will have notes for different sized pans, some won't. It depends on what the author has tested, and had time to test.
There are general guidelines for the amount of batter per size.
8" square = 5 cups, 9" square = 7 cups, 13" x 9" Sheet Cake = 9 cups, 8" round = 4 cups, 9" round = 5 cups.
Mehjabeen says
Thanks soooo much I also want to let u know that when I make muffins, cupcakes :some rises more than others it's not flat but yes some rises more than my other muffins and cupcakes even same with my cakes when I use 2 pans to make normal cakes it rise but the one rise more than the other so I just stopped using multiple pans for normal cakes I only use one pan for nor
Mal cakes but I did observe sometimes cakes are tooo flat/ thin , I did observe when I bake sometimes my cakes rise well but not the case always
Mary-Lou Watkins says
Hi,
Baking powder and baking soda have expiration, so it is important to check that they are still active. And if they are old they don't work as well.
For the cupcakes and muffins in the same batch with uneven rising - to make sure they rise evenly I would make sure the baking powder/baking soda is mixed through the flour properly. Make sure the batter is properly mixed but not overmixed. Additionally make sure the same amount of batter is being placed into each cupcake liner (I typically note in my recipes how much batter I put in each liner).
For layer cakes to make sure the same amount of batter is placed in each pan, I tend to weigh it out. Alternatively I would use a cup and divide the batter equally.
Oven temperature can also impact how much the cake is rising. So if the oven is not preheated properly, or the oven runs hot, and where the cakes are placed in the oven can impact the rise. I have a post on ovens as well. Some ovens have hotspots (one corner that bakes faster than the rest of the oven).
Lastly - make sure you are using a proper teaspoon measure, using a teaspoon for making tea and coffee will add either too much or too little baking soda or baking powder.
Being consistent, and accurate will lead to better final results.