


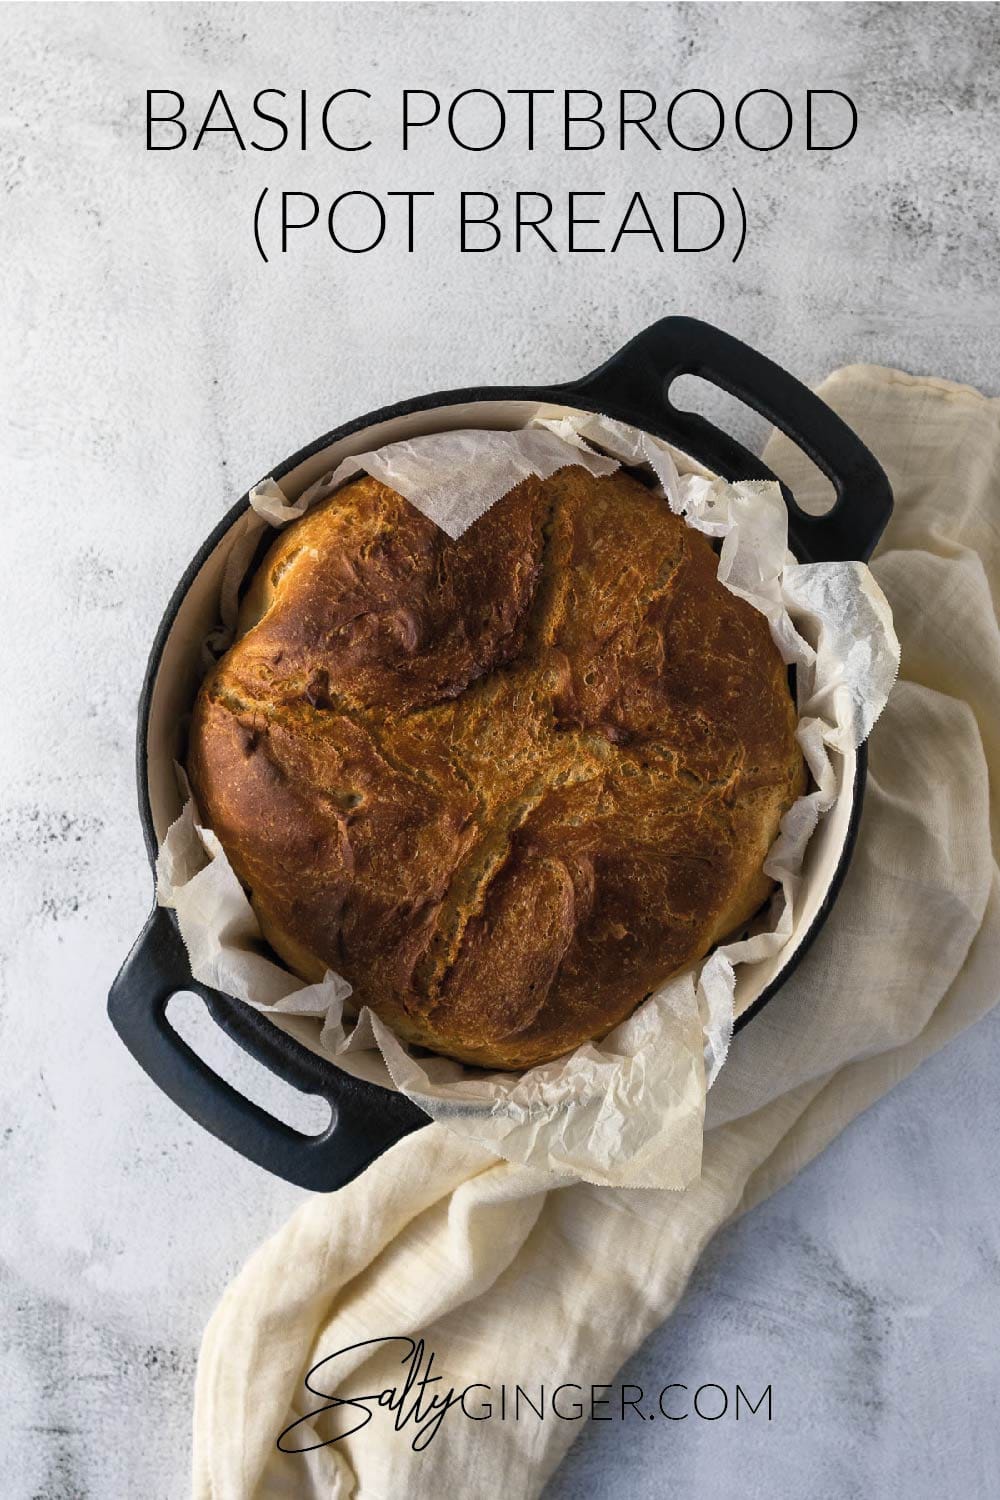
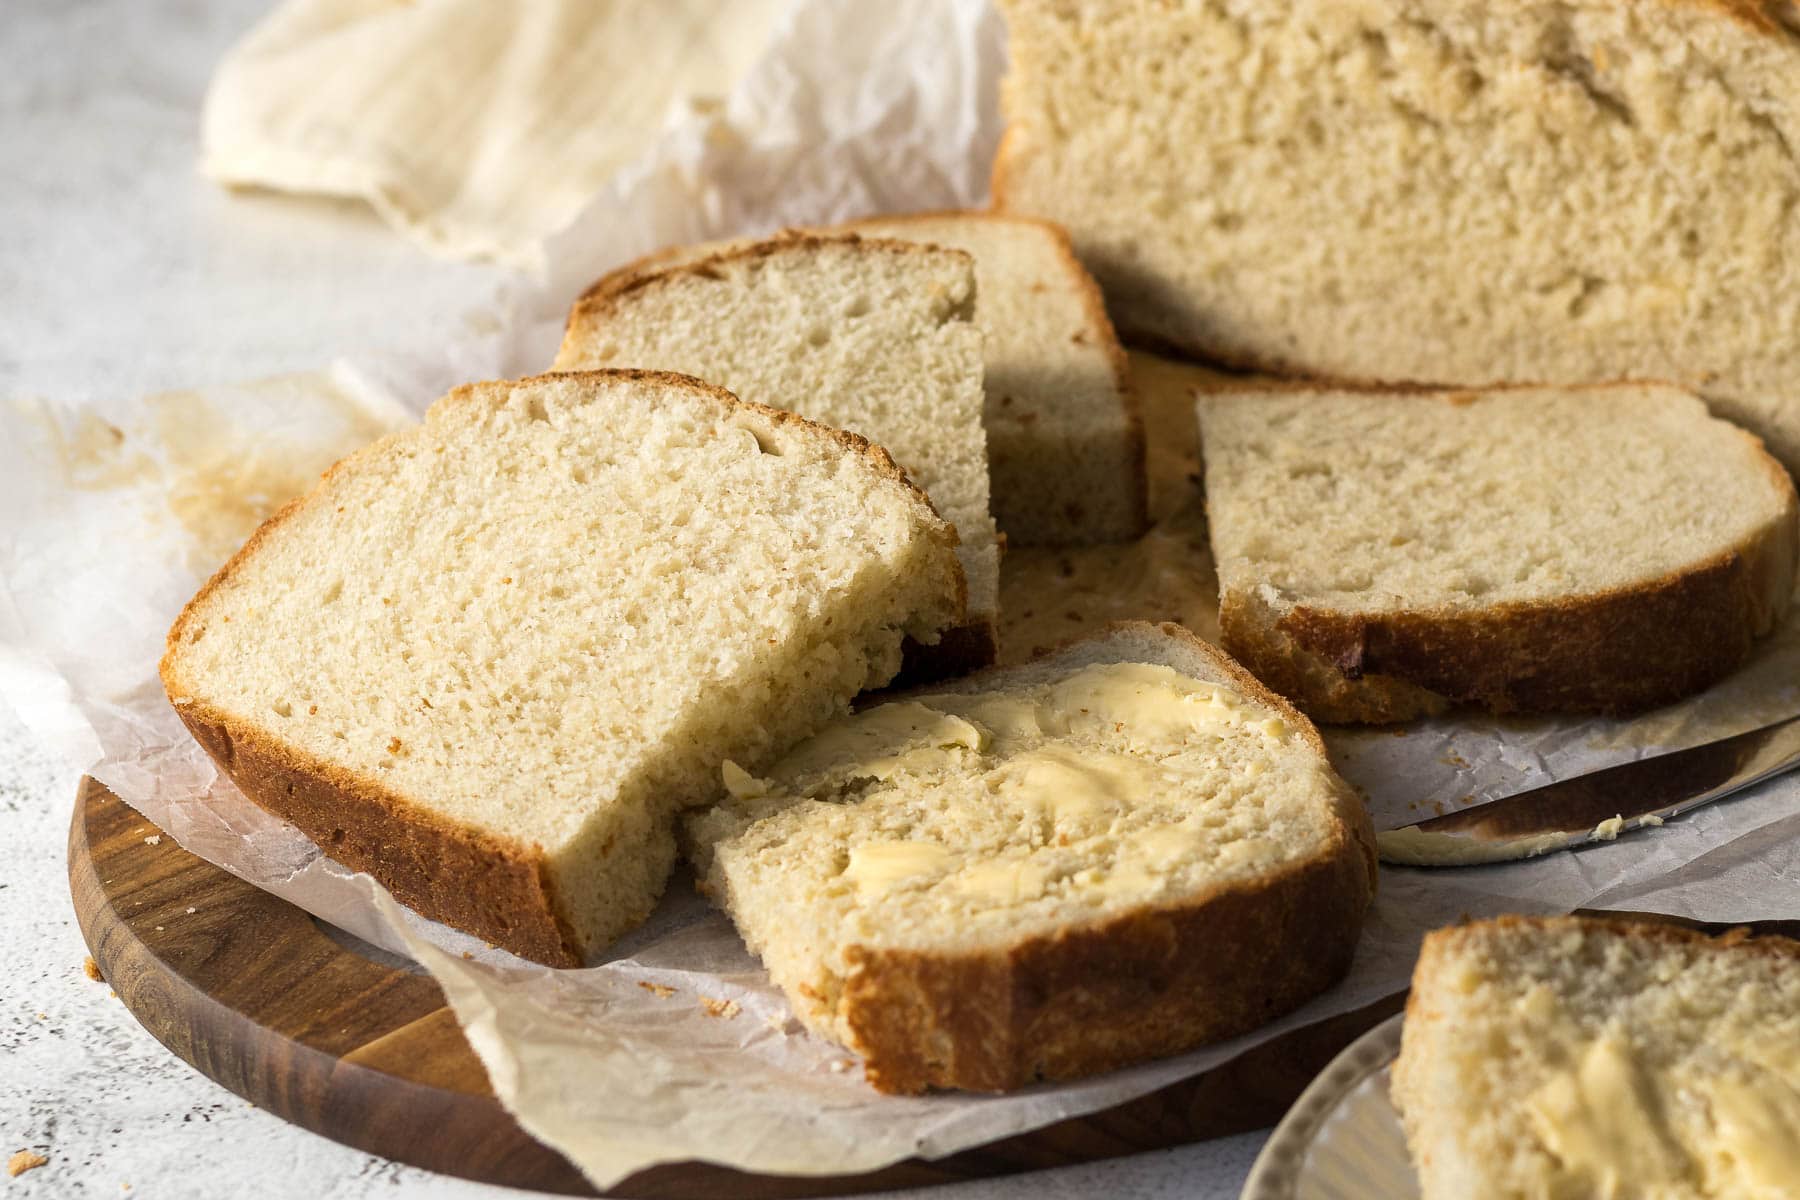
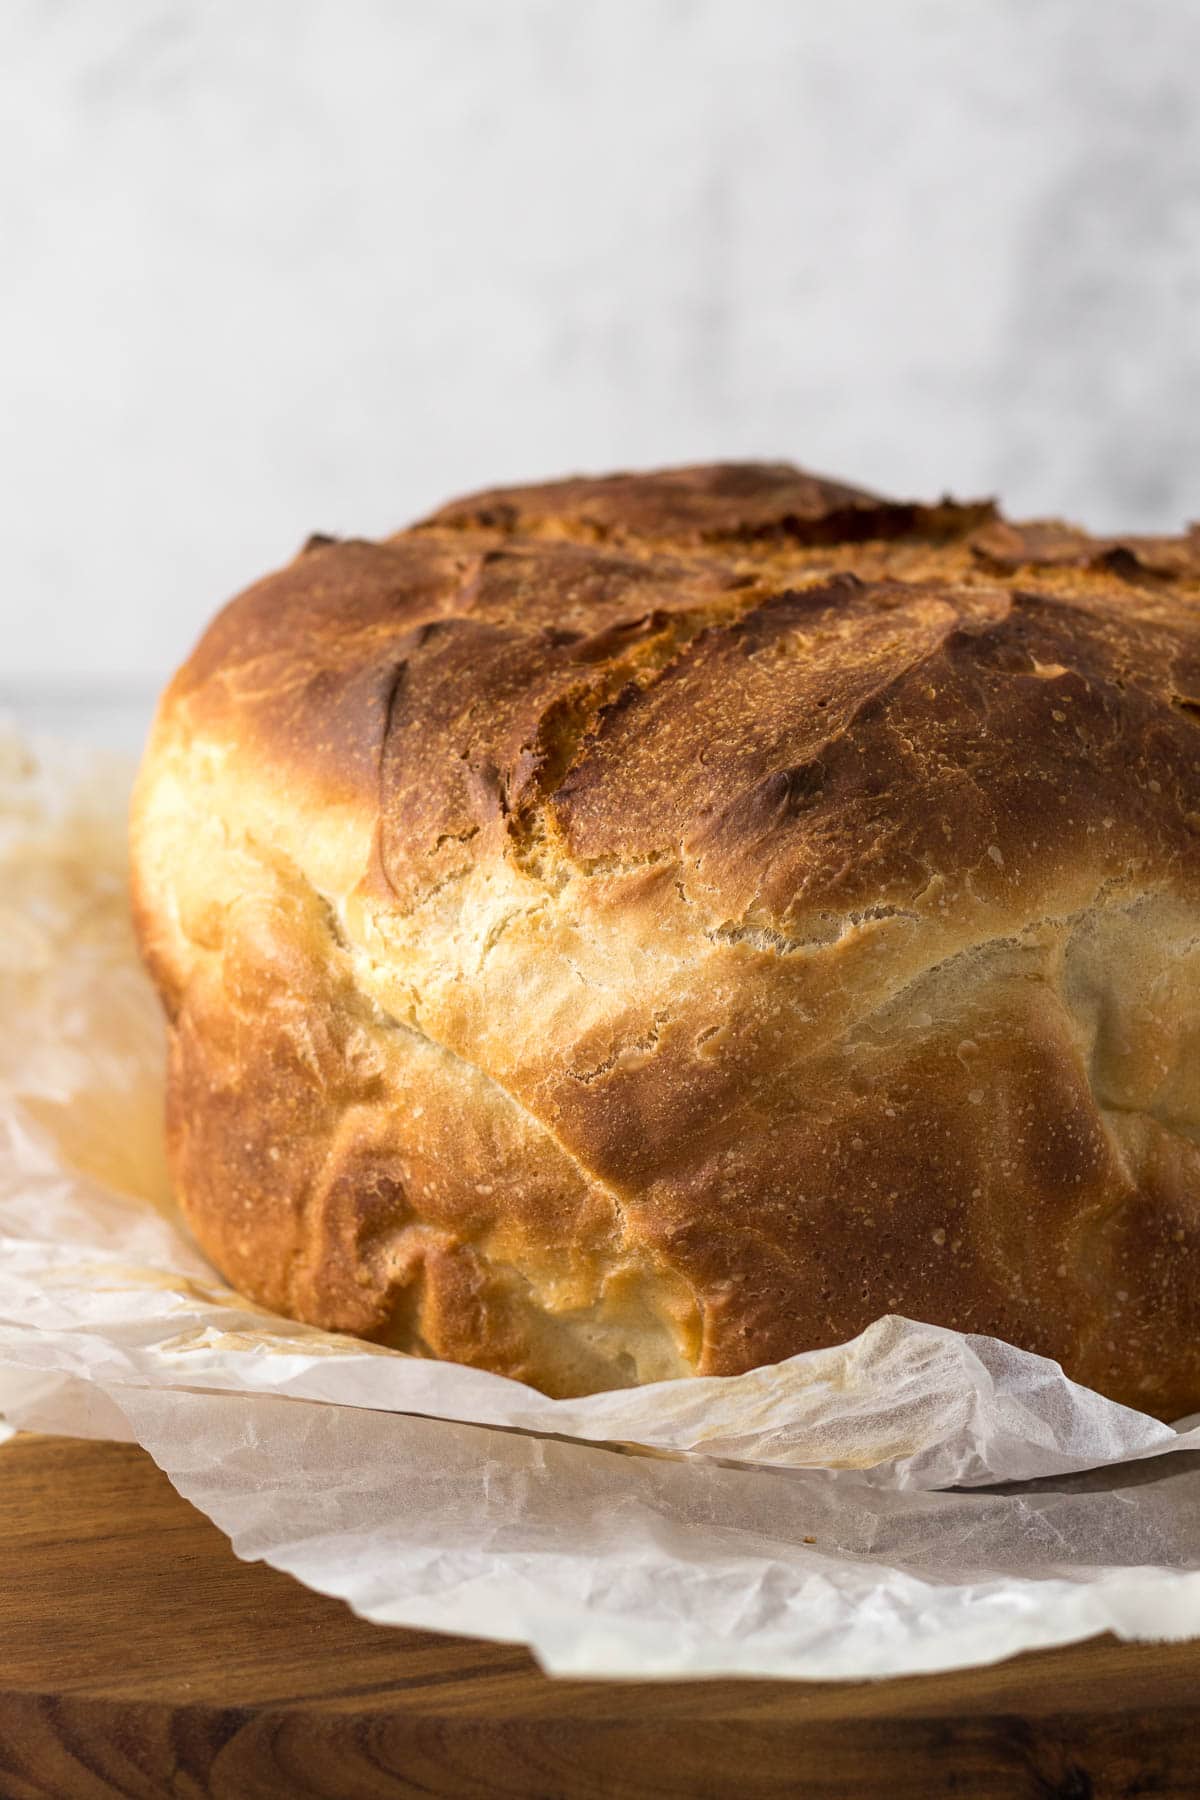
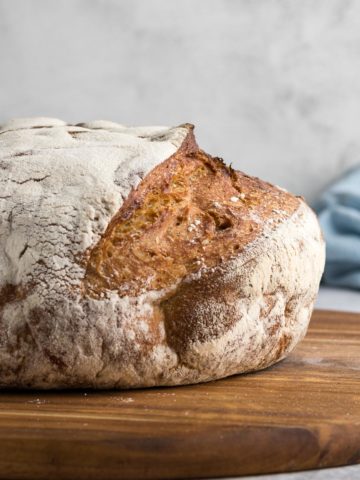
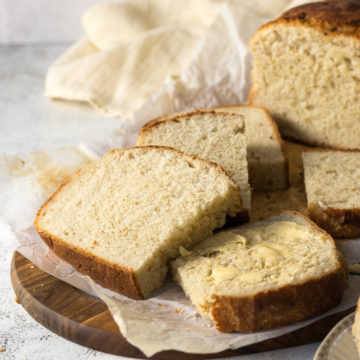
This easy, basic, foolproof potbrood recipe results in soft white bread with a thin crispy golden crust. The original South African braai bread!
Whether you smother a thick warm piece of bread with butter and enjoy it as is or dip it into the steaming hot potjie or stew you will be glad you tried it!
Potbrood is a type of bread that is traditionally made in a flat-bottomed cast-iron pot on the braai, or bbq. Once the bread dough has proofed, the post is nestled amongst the coals, with coals stacked on the top of the pot and the bread is baked.
This particular pot bread recipe is meant to be baked in a large 4L cast-iron pot in the oven. However, it can easily be baked on the fire!
Jump to:
Ingredients
Here are some notes on the ingredients used in this recipe. Please see the recipe card for quantities.
- White bread flour, strong or high-grade flour.
- White sugar
- Yeast
- Olive oil
- Lukewarm water
- Salt
Salt is a crucial ingredient in all baked goods. Especially in bread. I use table salt in all my recipes. One teaspoon of table salt equals 1.5 teaspoons of Morton Kosher Salt equals 2 teaspoons of Diamond Crystal.
Weighing & Measuring Ingredients
Weighing ingredients with a kitchen scale is more accurate than using measuring cups. All my recipes are developed and tested using grams only.
However, I have activated the metric-to-cup conversions. Simply click on "cups" or "metric" for your preferred measurements. For these conversions, cups are equal to 240 millilitres/8 fluid ounces, tablespoons are 15 milliliters and teaspoons are 5mL.
How to Make Potbrood
Step 1 - In a large mixing bowl or bowl of a stand mixer combine the flour and salt. Mix the salt through the flour.
Step 2 - Combine the lukewarm water, sugar and yeast. Once the yeast has started to bubble and foam, add the water, yeast and sugar mixture to the flour.
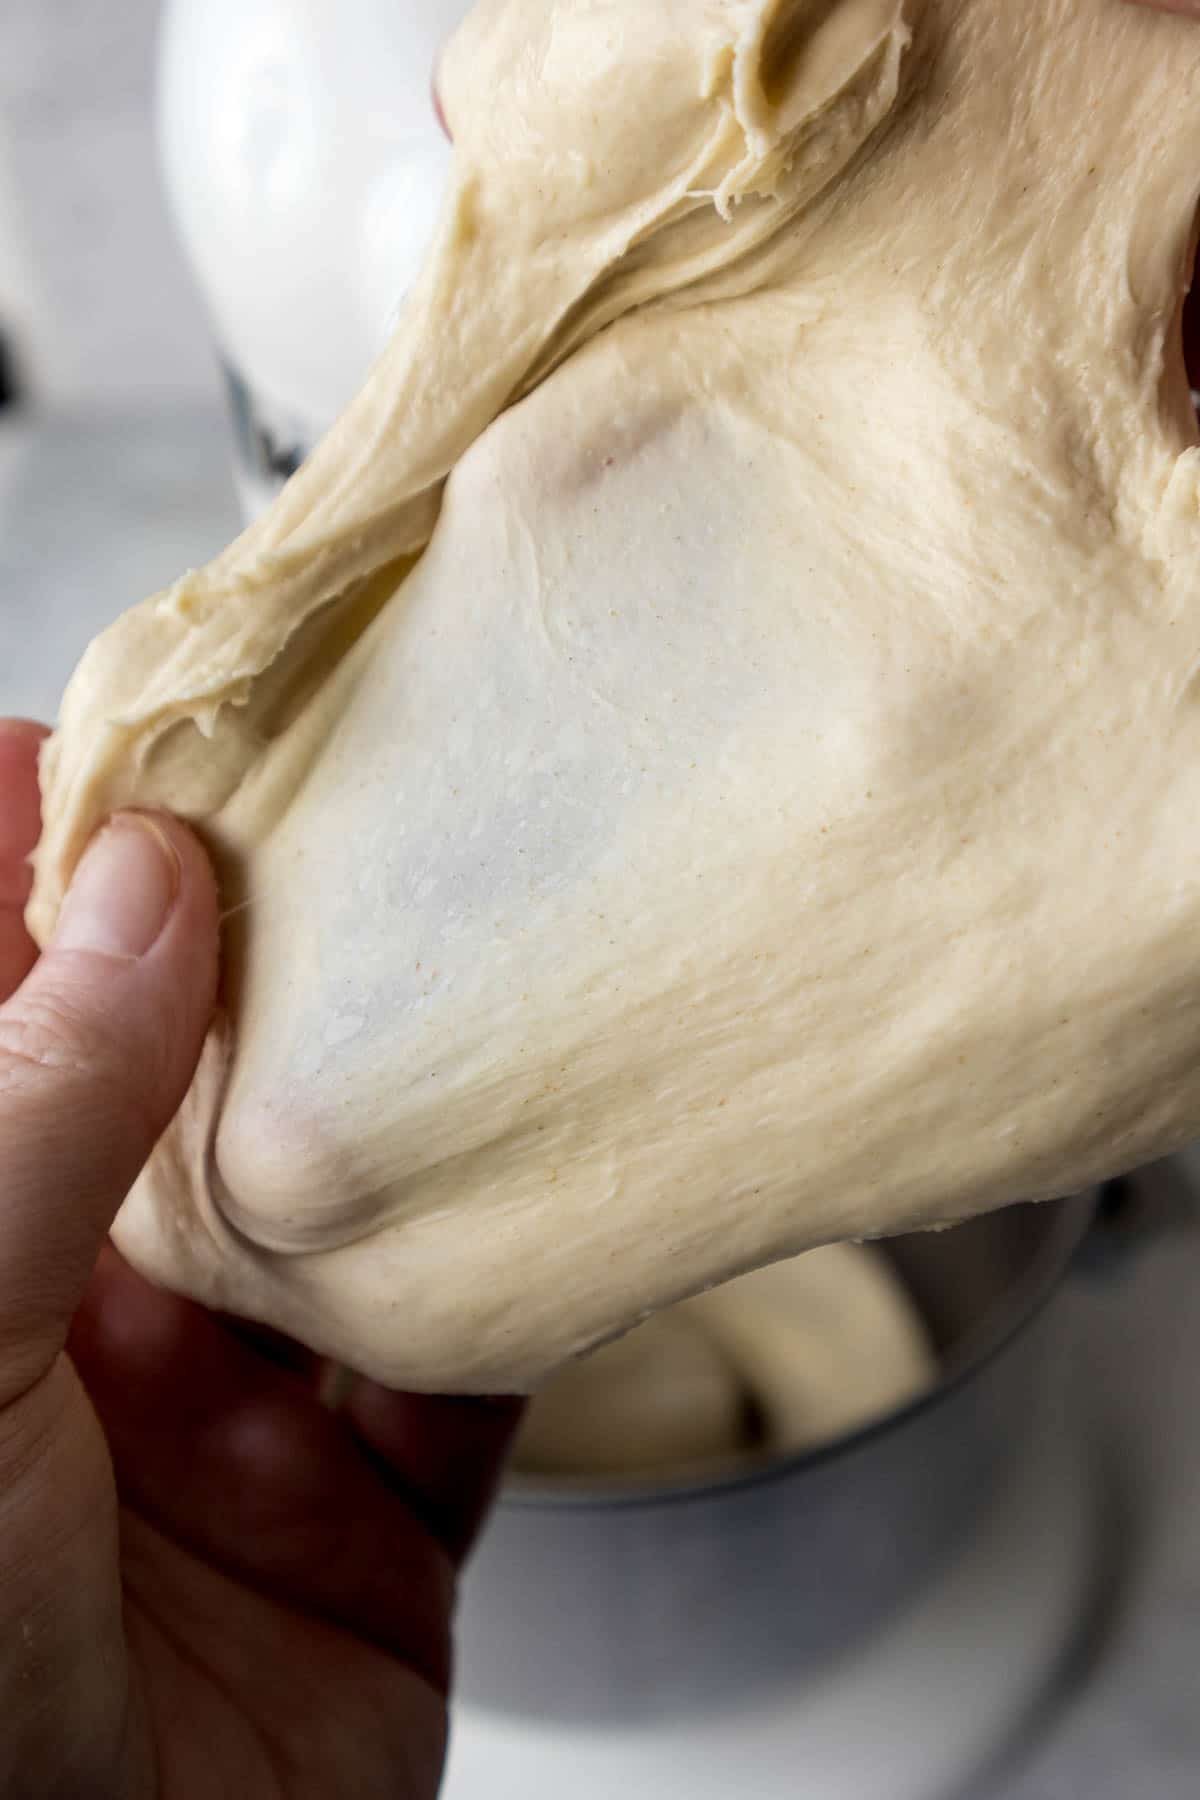
Step 3 - Toss the oil into the mixture and knead on a low speed for 8 to 10 minutes. To test if the dough has been kneaded enough, take a small portion of the dough and stretch it between your hands. If the dough stretches into a thin transparent dough without easily tearing it is ready. If the dough tears easily, knead for another minute or two before testing again.
Step 4 - Place about a tablespoon of vegetable oil into a large bowl. Toss the dough in and rotate to cover the dough with oil. Cover with a clean towel and allow to rise for 30 to 90 minutes, until it has doubled in size.
Step 5 - While the dough is proofing, line a cast-iron pot or Dutch oven with baking paper that comes all the way up the sides. This helps remove the bread from the pot once baked. If using a flat-bottomed cast-iron pot, coat the inside of the lid with oil too. This bread will rise up and touch the lid.
Step 6 - Place the dough on a clean surface (I did not flour my surface, but you can lightly flour yours if you want) and knock out the air bubbles. Fold the outer edges of the dough into the centre. Flip the dough ball over and using your cupped hands pull the dough towards yourself on the counter. Then spin the dough ball a few times until the top of the dough has become nice and taut.
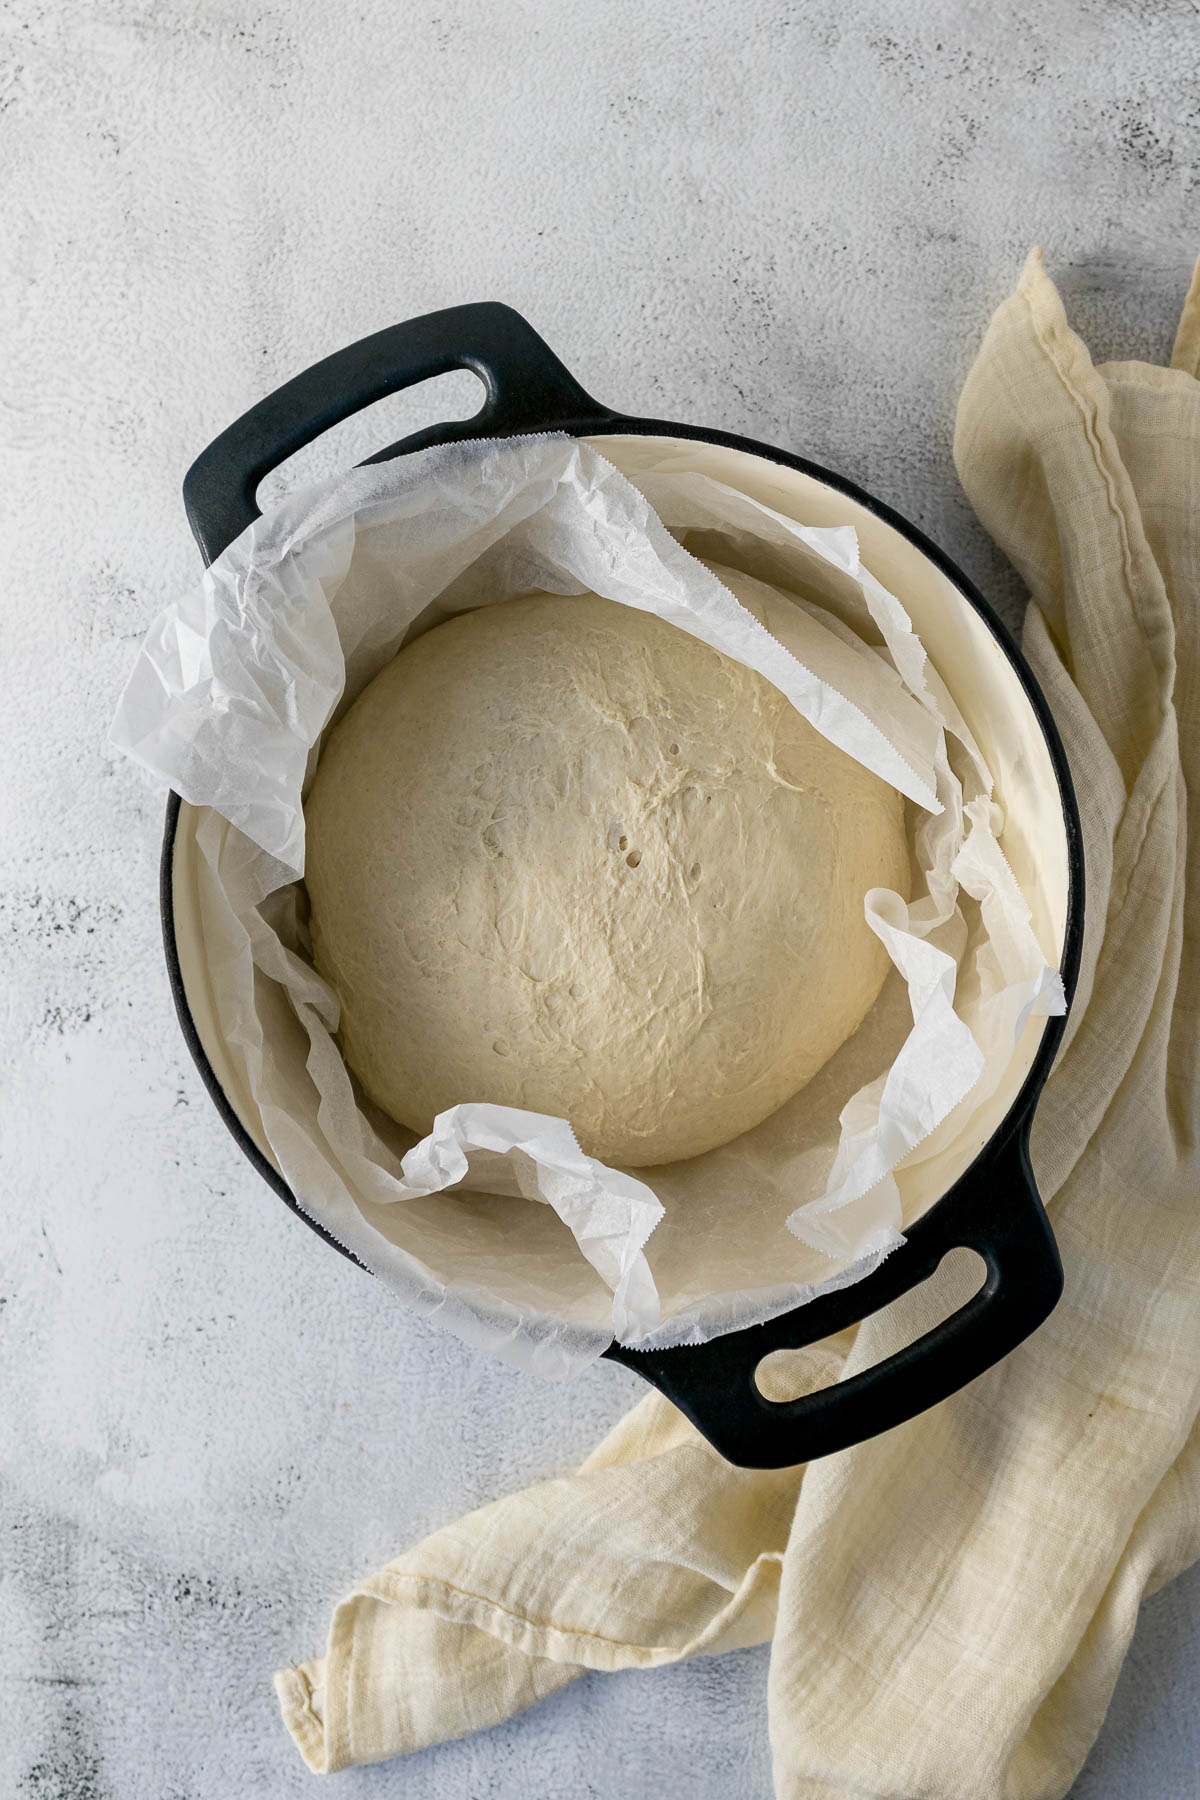
Step 7 - Place the dough ball seam side down into the pot, cover with a tea towel and allow to rise again. The dough is ready when you poke it with a lightly oiled or wet finger and the indentation pops back about halfway.
Step 8 - Preheat the oven to 220°C/430F or 200°C Fan.
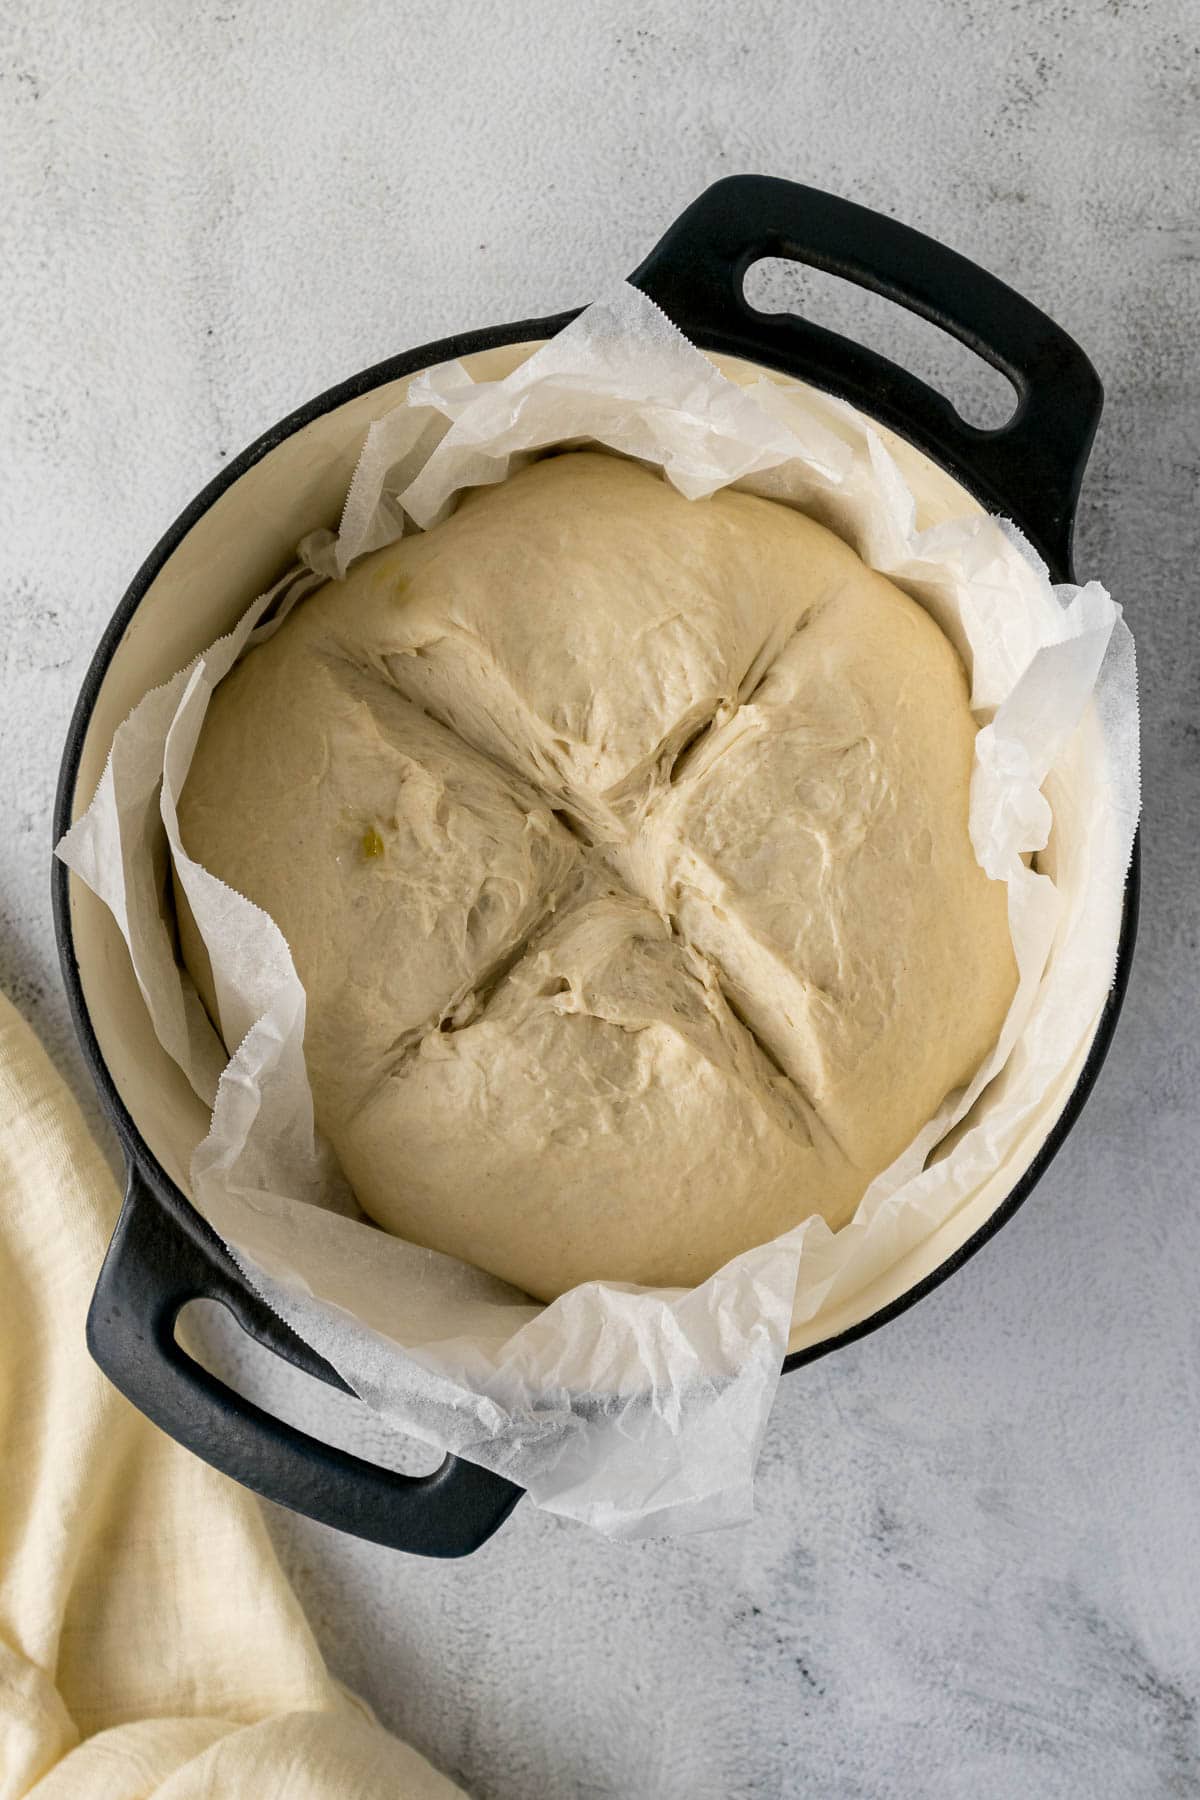
Step 9 - Score the loaf of bread with an inch deep cut (I like to put a cross over the top). The dough is soft and this might be hard to do but it gives the bread place to rise. Then wet your fingers and splash the top of the bread a few times.
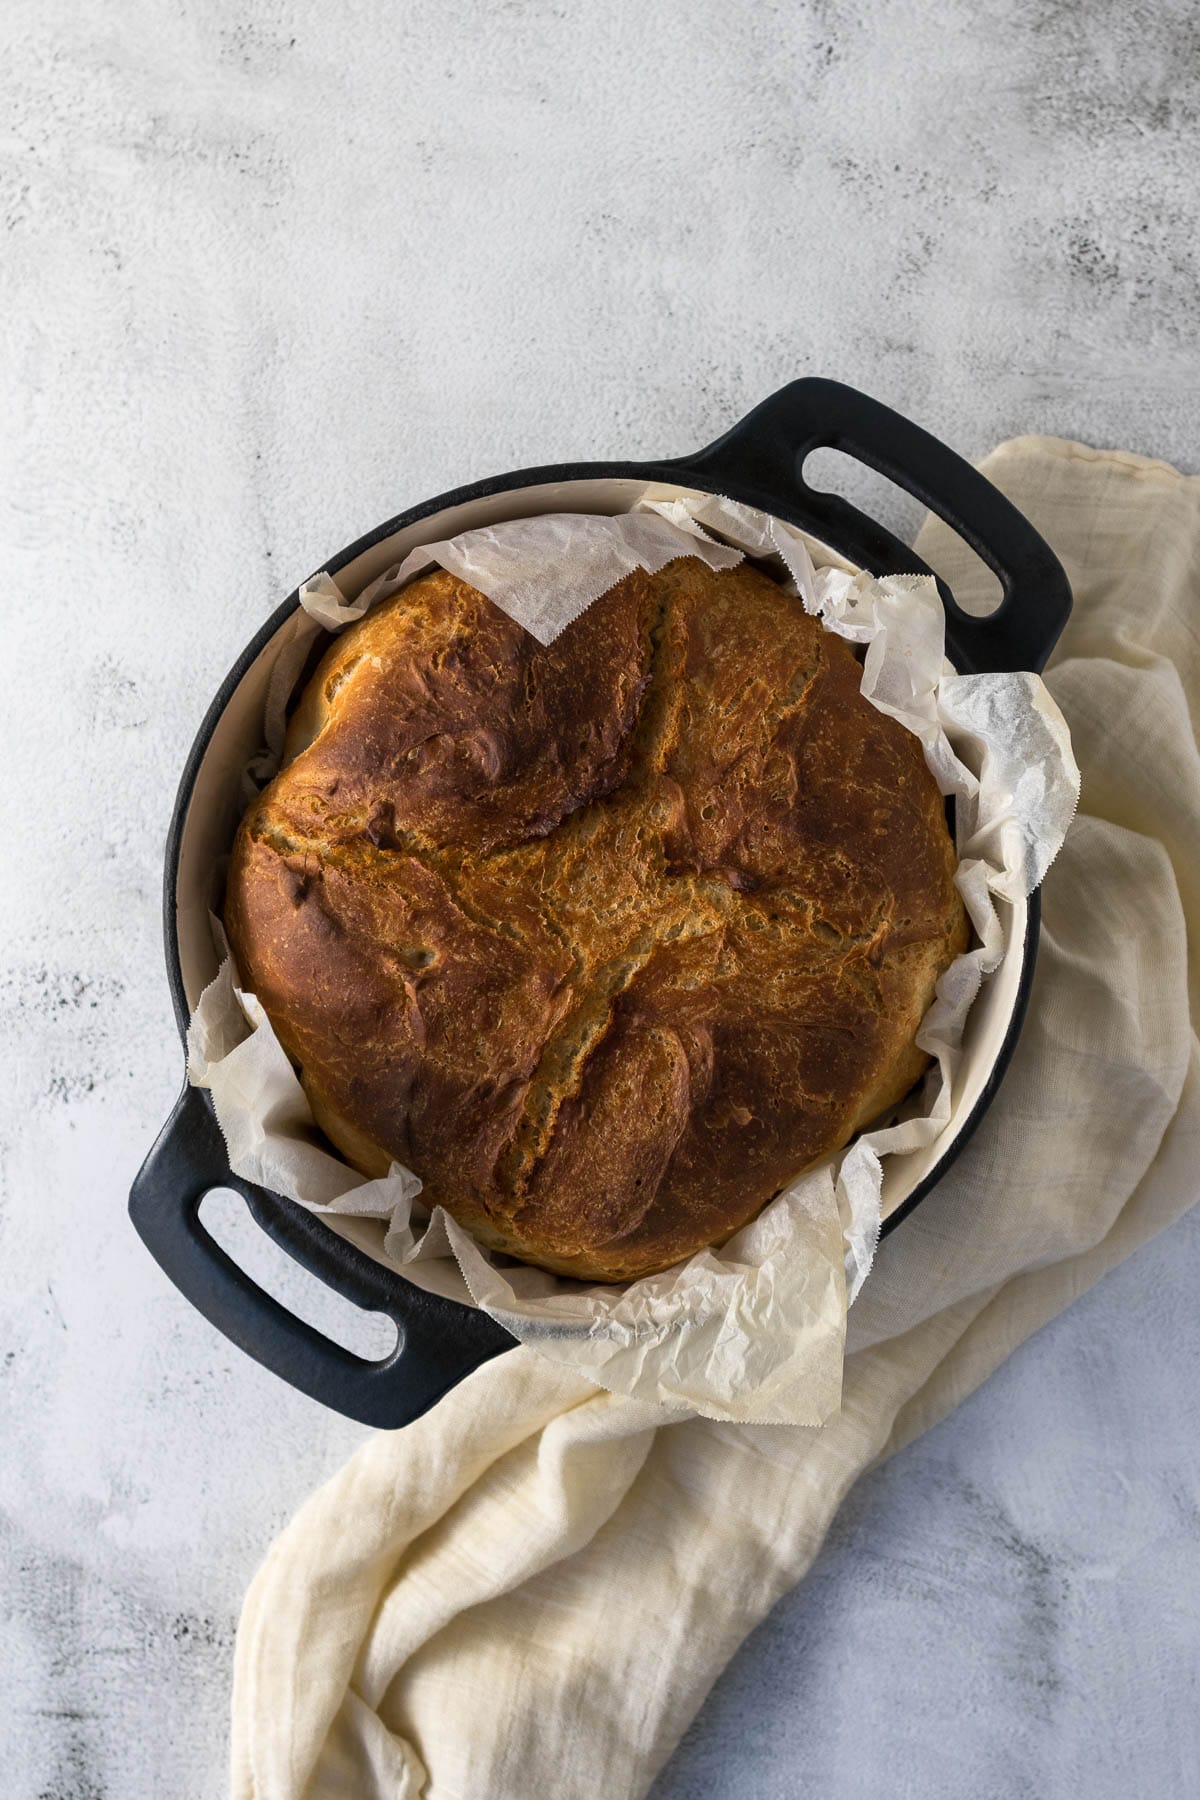
Step 10 - Cover the bread with the lid and bake for 25 minutes. Remove the bread and bake for a further 20 minutes. The bread is done when the internal temperature reaches 90°C/190F or when the bread sounds hollow when you tap the bottom of the loaf.
Step 11 - Remove from the pot and allow to cool slightly before serving with butter!
Potbrood on the Braai/op die vuur!
Follow the instructions from Step 1 to Step 7.
Step 8 - Get the fire going while the bread is proofing. Once the coals are nice and hot, place a tripod over the coals to hold the pot straight. Keep some coals aside to place on top of the pot.
Step 9 - Score the loaf of bread with an inch deep cut (I like to put a cross over the top). The dough is soft and this might be hard to do but it gives the bread place to rise. Then wet your fingers and splash the top of the bread a few times.
Step 10 - Place the pot on the tripod. Toss some coals onto the lid, sit bake and wait for the bread to bake. This could take anywhere from 40 to 60 minutes. Check the bread after 40 minutes - the bread is done when the internal temperature reaches 90°C/190F or when the bread sounds hollow when you tap the bottom of the loaf.
TIP - Keep adding to the coals to make sure you have a nice hot fire going to bake the bread. And to keep the ambiance alive!
Pro Tips for this Recipe
Cover your hands with some olive or vegetable oil before handling the dough, it prevents the dough from sticking.
Rising and proof times depend on how warm the environment of the bread is. If it's chilly, place the bread dough somewhere warm to rise. Keep in mind that using a stand mixer to knead the dough will result in warmer dough overall and will accelerate the first rise.
Kneading bread dough by hand
No stand mixer? No problem! If kneading by hand - do the following to make life a little easier. Don't add the salt to the flour, just add the lukewarm water, yeast and sugar mix. Stir through until you have a shaggy dough and let the dough rest for 30 minutes. This allows the flour to hydrate, stimulating gluten formation before you even begin kneading. Then add the salt and oil and knead on a clean surface.
Kneading by hand takes time. It can take up to 15-20 minutes to reach the window-pane phase. Especially for flours with slightly lower protein content.
Ovens
The temperatures stated are for conventional ovens. For convection, fan-forced, fan-assisted, or air-fryers, the temperature must be reduced by 20°C/25°F.
For baking, make sure the oven is fully preheated, and that the rack is in the middle of the oven. Open the oven as little as possible. For best baking results use an oven thermometer.
Remember that all ovens work slightly differently and bake times may need to be adjusted for your specific oven.
Other South African Recipes to Try

Rate & Review!
If you made this recipe, please leave a star rating! It gives my readers and me helpful feedback. If you want more recipes, subscribe to my newsletter, and follow me on Instagram, Pinterest, and Facebook!
Recipe Card
Basic Potbrood
Equipment
- 4L cast-iron pot/flat bottomed cast iron pot
- Stand Mixer
- Dough Hook
Ingredients
- 750 grams bread flour strong or high-grade flour
- 7.5 grams table salt 1¼ teaspoons
- 540 grams lukewarm water
- 15 grams yeast
- 30 grams sugar
- 30 grams vegetable oil olive or sunflower
- 2-3 tablespoons vegetable oil for lining the bowls and pot
Instructions
- In a large mixing bowl or bowl of a stand mixer combine the flour and salt. Mix the salt through the flour.750 grams bread flour, 7.5 grams table salt
- Combine the lukewarm water, sugar and yeast in a small bowl or jug. Once the yeast has started to bubble and foam, add the water, yeast and sugar mixture to the flour.540 grams lukewarm water, 15 grams yeast, 30 grams sugar
- Toss the oil into the mixture and knead on a low speed for 8 to 10 minutes. To test if the dough has been kneaded enough, take a small portion of the dough and stretch it between your hands. If the dough stretches into a thin transparent dough without easily tearing it is ready. If the dough tears easily, knead for another minute or two before testing again.30 grams vegetable oil
- Place about a tablespoon of vegetable oil into a large bowl. Toss the dough in and rotate to cover the dough with oil. Cover with a clean towel and allow to rise for 30 to 90 minutes, until it has doubled in size.2-3 tablespoons vegetable oil
- While the dough is proofing, line a cast-iron pot or Dutch oven with baking paper that comes all the way up the sides. This helps remove the bread from the pot once baked. If using a flat-bottomed cast-iron pot, coat the inside of the lid with oil too. This bread will rise up and touch the lid.2-3 tablespoons vegetable oil
- Place the dough on a clean surface (I did not flour my surface, but you can lightly flour yours if you want) and knock out the air bubbles. Fold the outer edges of the dough into the centre. Flip the dough ball over and using your cupped hands pull the dough towards yourself on the counter. Then spin the dough ball a few times until the top of the dough has become nice and taut.
- Place the dough ball seam side down into the pot, cover with a tea towel and allow to rise again. The dough is ready when you poke it with a lightly oiled or wet finger and the indentation pops back about halfway.
Pot Brood in the Oven
- Preheat the oven to 220°C/430F or 200°C Fan.
- Score the loaf of bread with an inch deep cut (I like to put a cross over the top). The dough is soft and this might be hard to do but it gives the bread place to rise. Then wet your fingers and splash the top of the bread a few times.
- Cover the bread with the lid and bake for 25 minutes. Remove the bread and bake for a further 20 minutes. The bread is done when the internal temperature reaches 90°C/190F or when the bread sounds hollow when you tap the bottom of the loaf.
- Remove from the pot and allow to cool slightly before serving with butter!
Potbrood on the fire!
- Follow the instructions from Step 1 to Step 7 above.
- Get the fire going while the bread is proofing. Once the coals are nice and hot, place a tripod over the coals to hold the pot straight. Keep some coals aside to place on top of the pot.
- Score the loaf of bread with an inch deep cut (I like to put a cross over the top). The dough is soft and this might be hard to do but it gives the bread place to rise. Then wet your fingers and splash the top of the bread a few times.
- Place the pot on the tripod. Toss some coals onto the lid, sit bake and wait for the bread to bake. This could take anywhere from 40 to 60 minutes. Check the bread after 40 minutes - the bread is done when the internal temperature reaches 90°C/190F or when the bread sounds hollow when you tap the bottom of the loaf.
Notes
Kneading bread dough by hand
No stand mixer? No problem! If kneading by hand - do the following to make life a little easier. Don't add the salt to the flour, just add the lukewarm water, yeast and sugar mix. Stir through until you have a shaggy dough and let the dough rest for 30 minutes. This allows the flour to hydrate, stimulating gluten formation before you even begin kneading. Then add the salt and oil and knead on a clean surface. Kneading by hand takes time. It can take up to 15-20 minutes to reach the window-pane phase. Especially for flours with slightly lower protein content.Nutrition
Nutrition information is an estimate. If scaling the recipe remember to scale your cook and bakeware accordingly. All temperatures stated are conventional, unless otherwise stated. Recipes tested in grams and at sea level.
Riaan says
Good morning Mary-Lou
Well I just saw your website today and I was reading through some of your recipes and the treats looks delicious especially the Peppermint Crisp Tart.
I am surely looking forward to making some of your recipes soon.
Thank you for publishing your recipes.
Yours Sincerely
Riaan
Mary-Lou says
Hi Riaan,
Thank you so much for your kind words!
I am also looking forward to you making some of these recipes 🙂 the peppermint crisp tart is also a fave of mine.
ML