


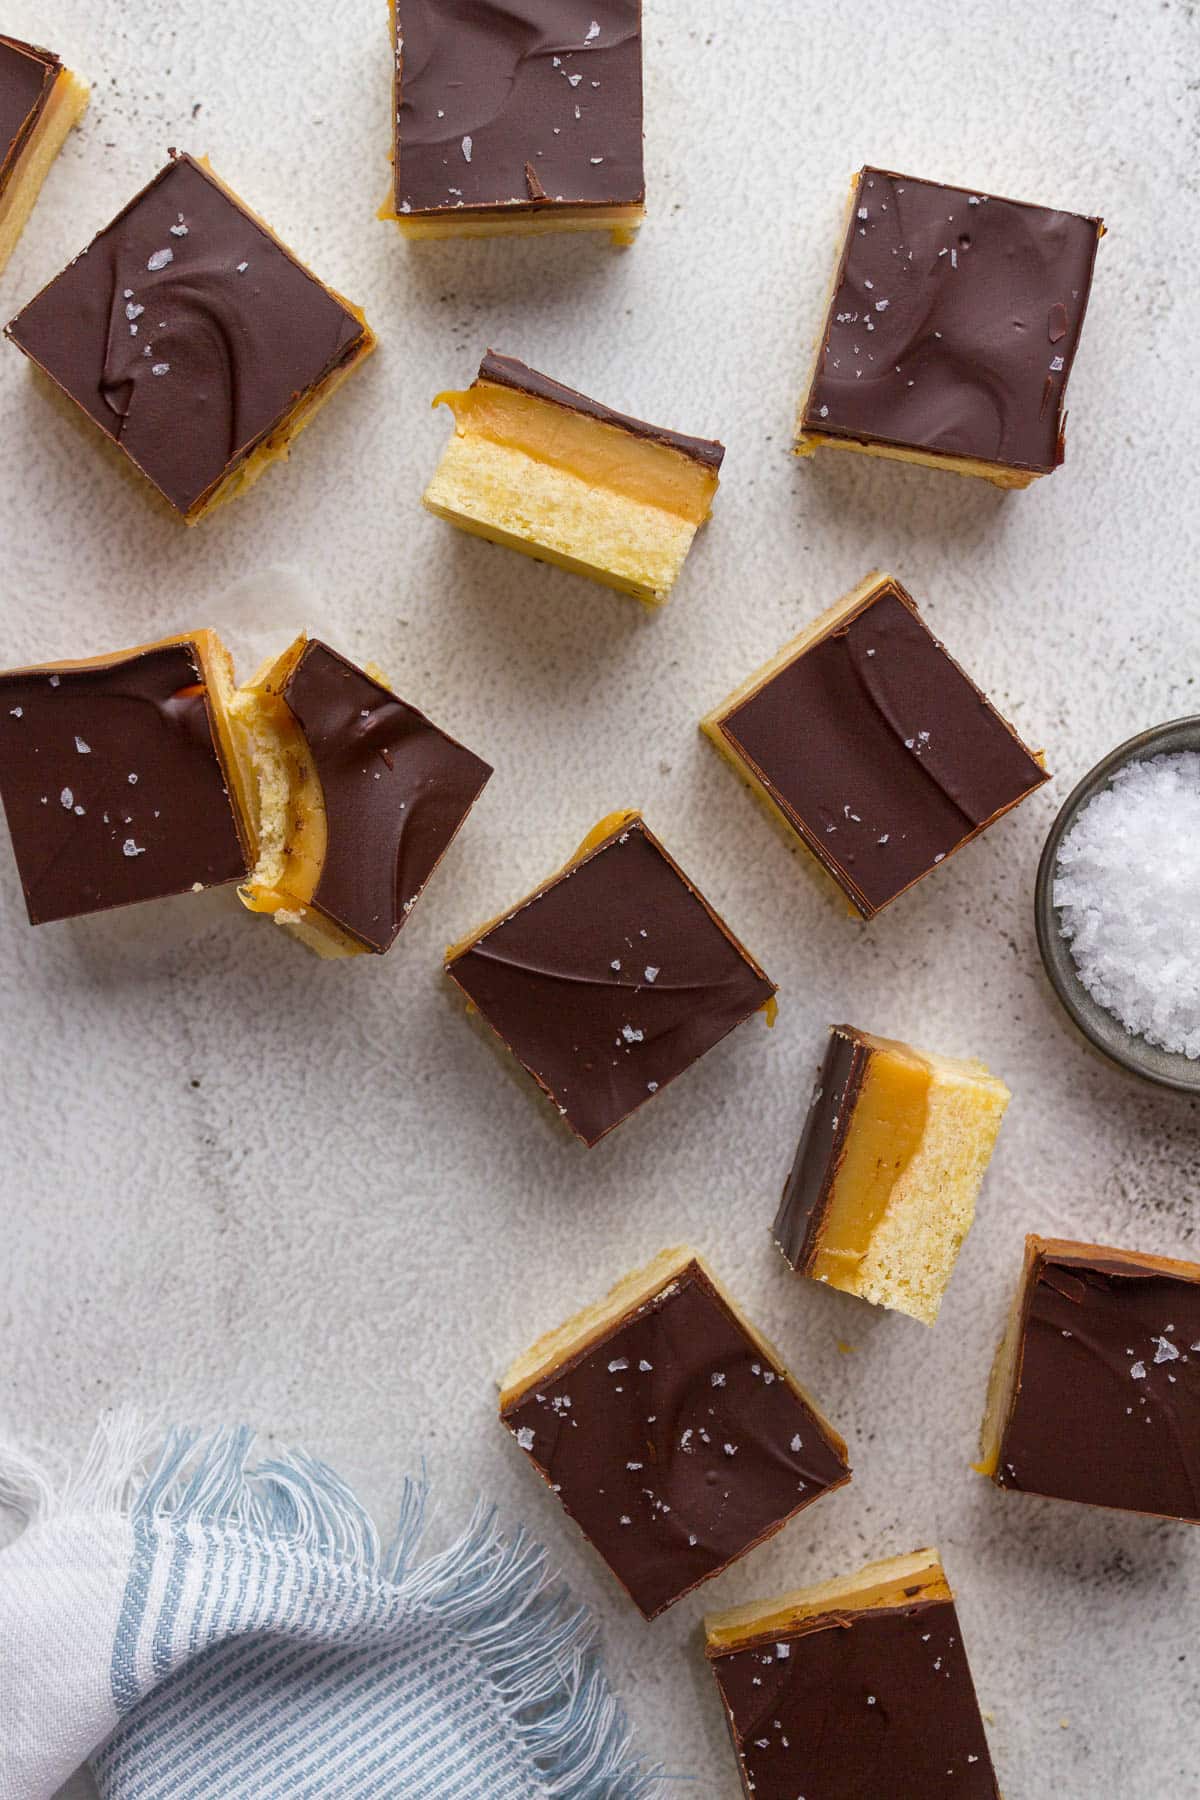
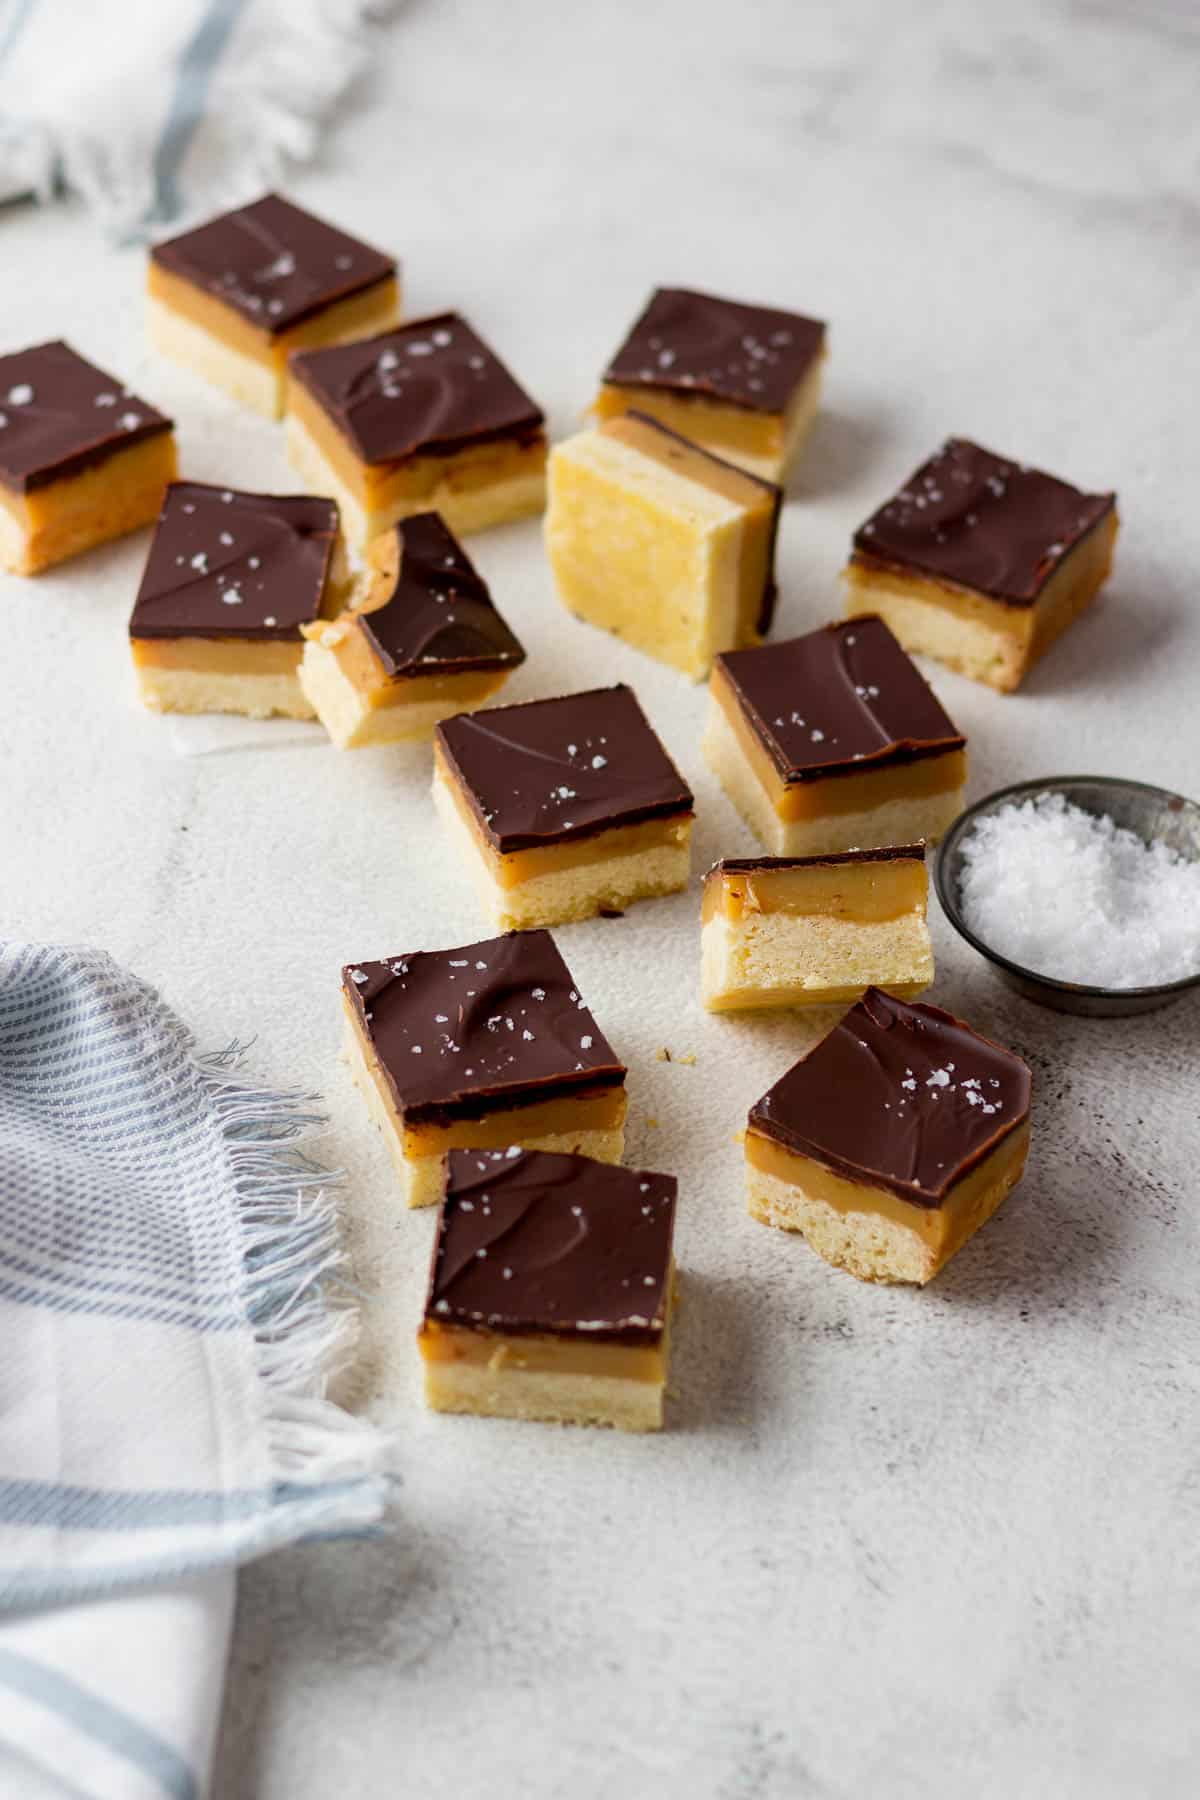
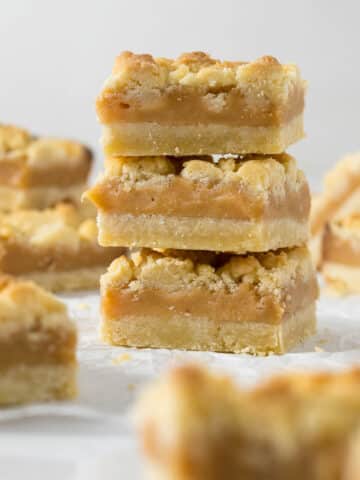
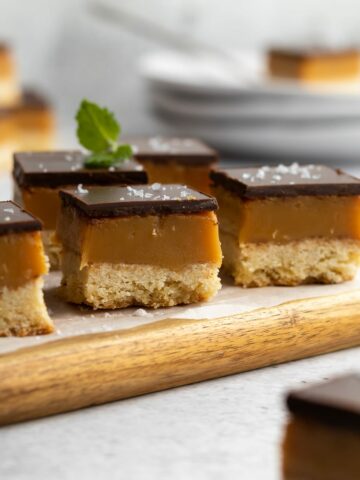
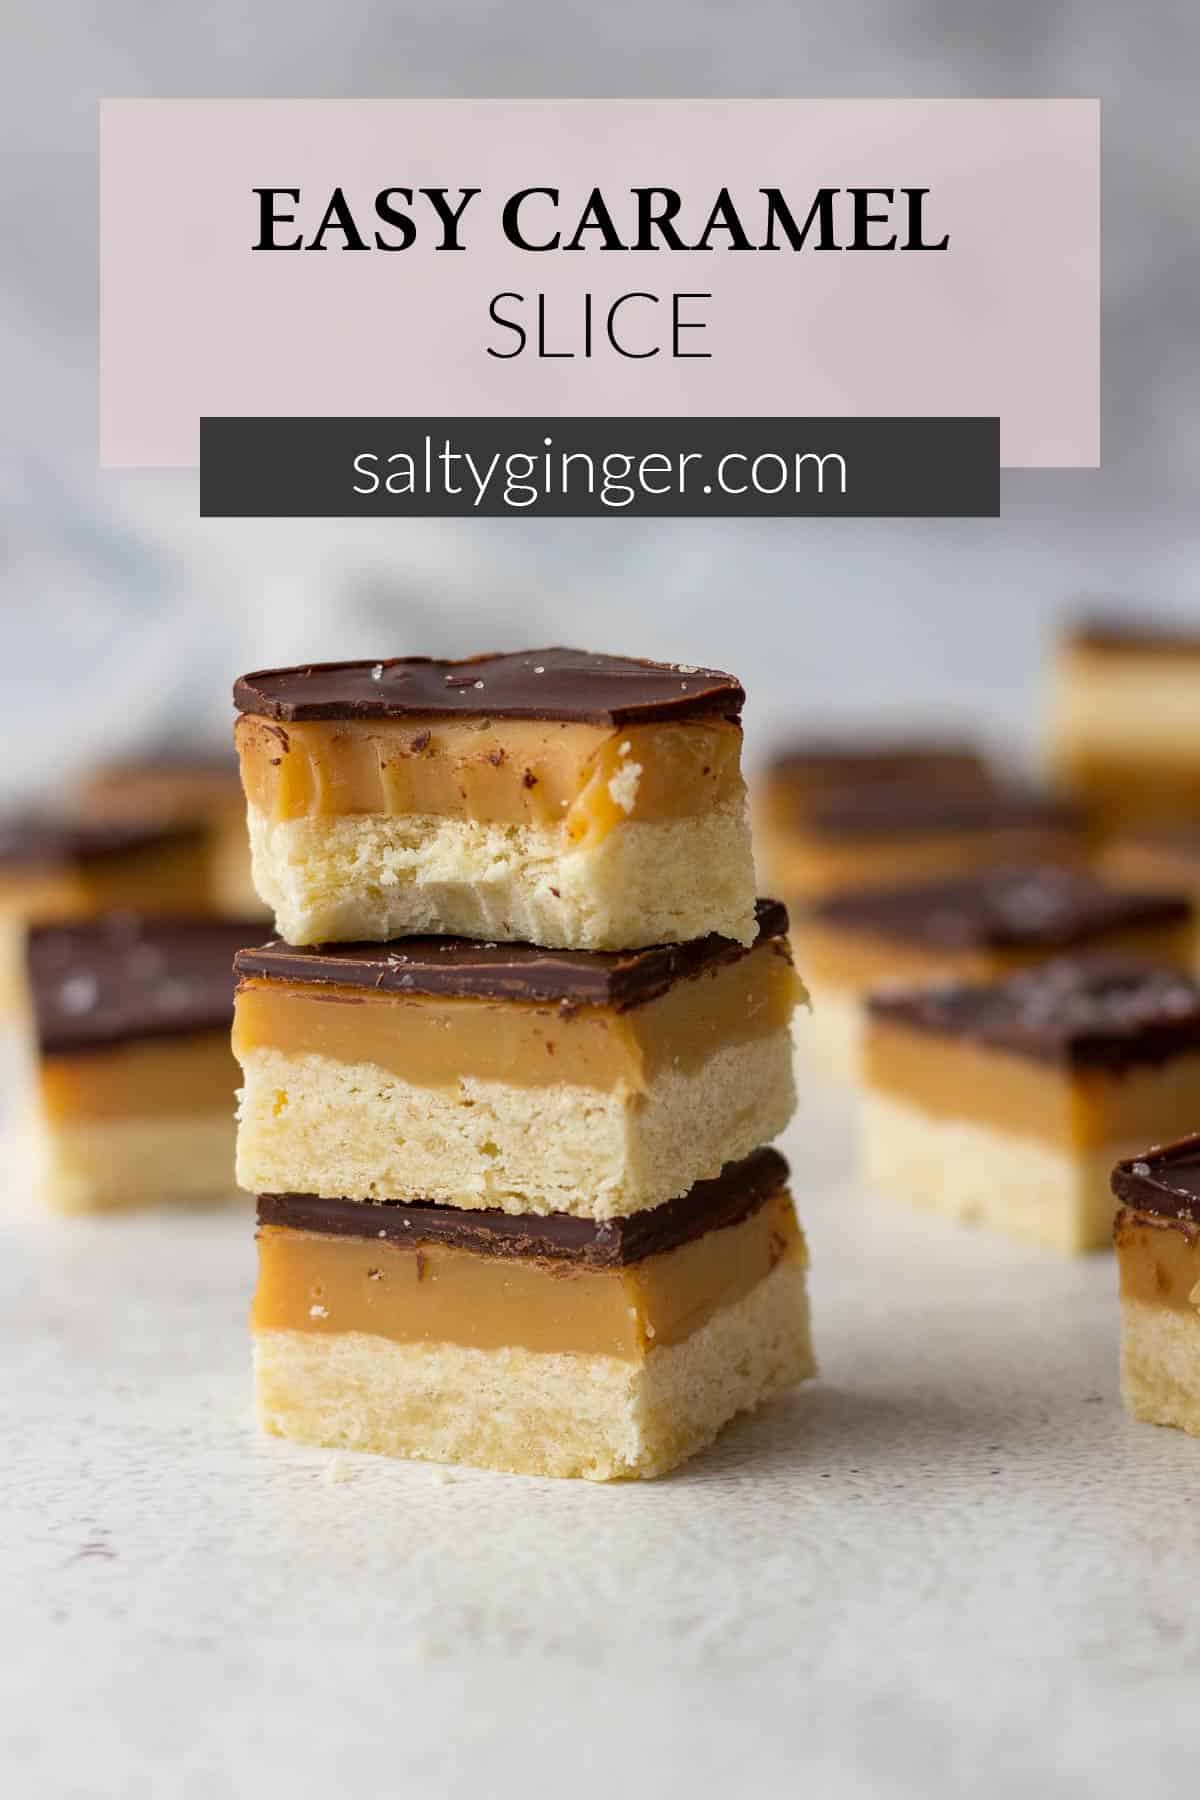
This easy, homemade chocolate caramel slice, aka Millionaire's shortbread, is built on a foundation of whipped shortbread, filled with sweet and salty caramel, topped with a layer of dark chocolate.
Jump to:
I have always loved a great Millionaire's shortbread, a delicious, decadent treat in a small square. And I needed to add a simple, easy recipe for this delicious dessert to the repertoire. This recipe was originally published in 2021, but I decided to give the post a bit of an overhaul (mostly by re-editing photographs).
What is a Caramel Slice?
Here in New Zealand, every single supermarket, convenience store, and bakery worth its weight in gold will be selling Caramel Slices (alongside the tan slice, lolly cake slice, ginger slices, and brownies).
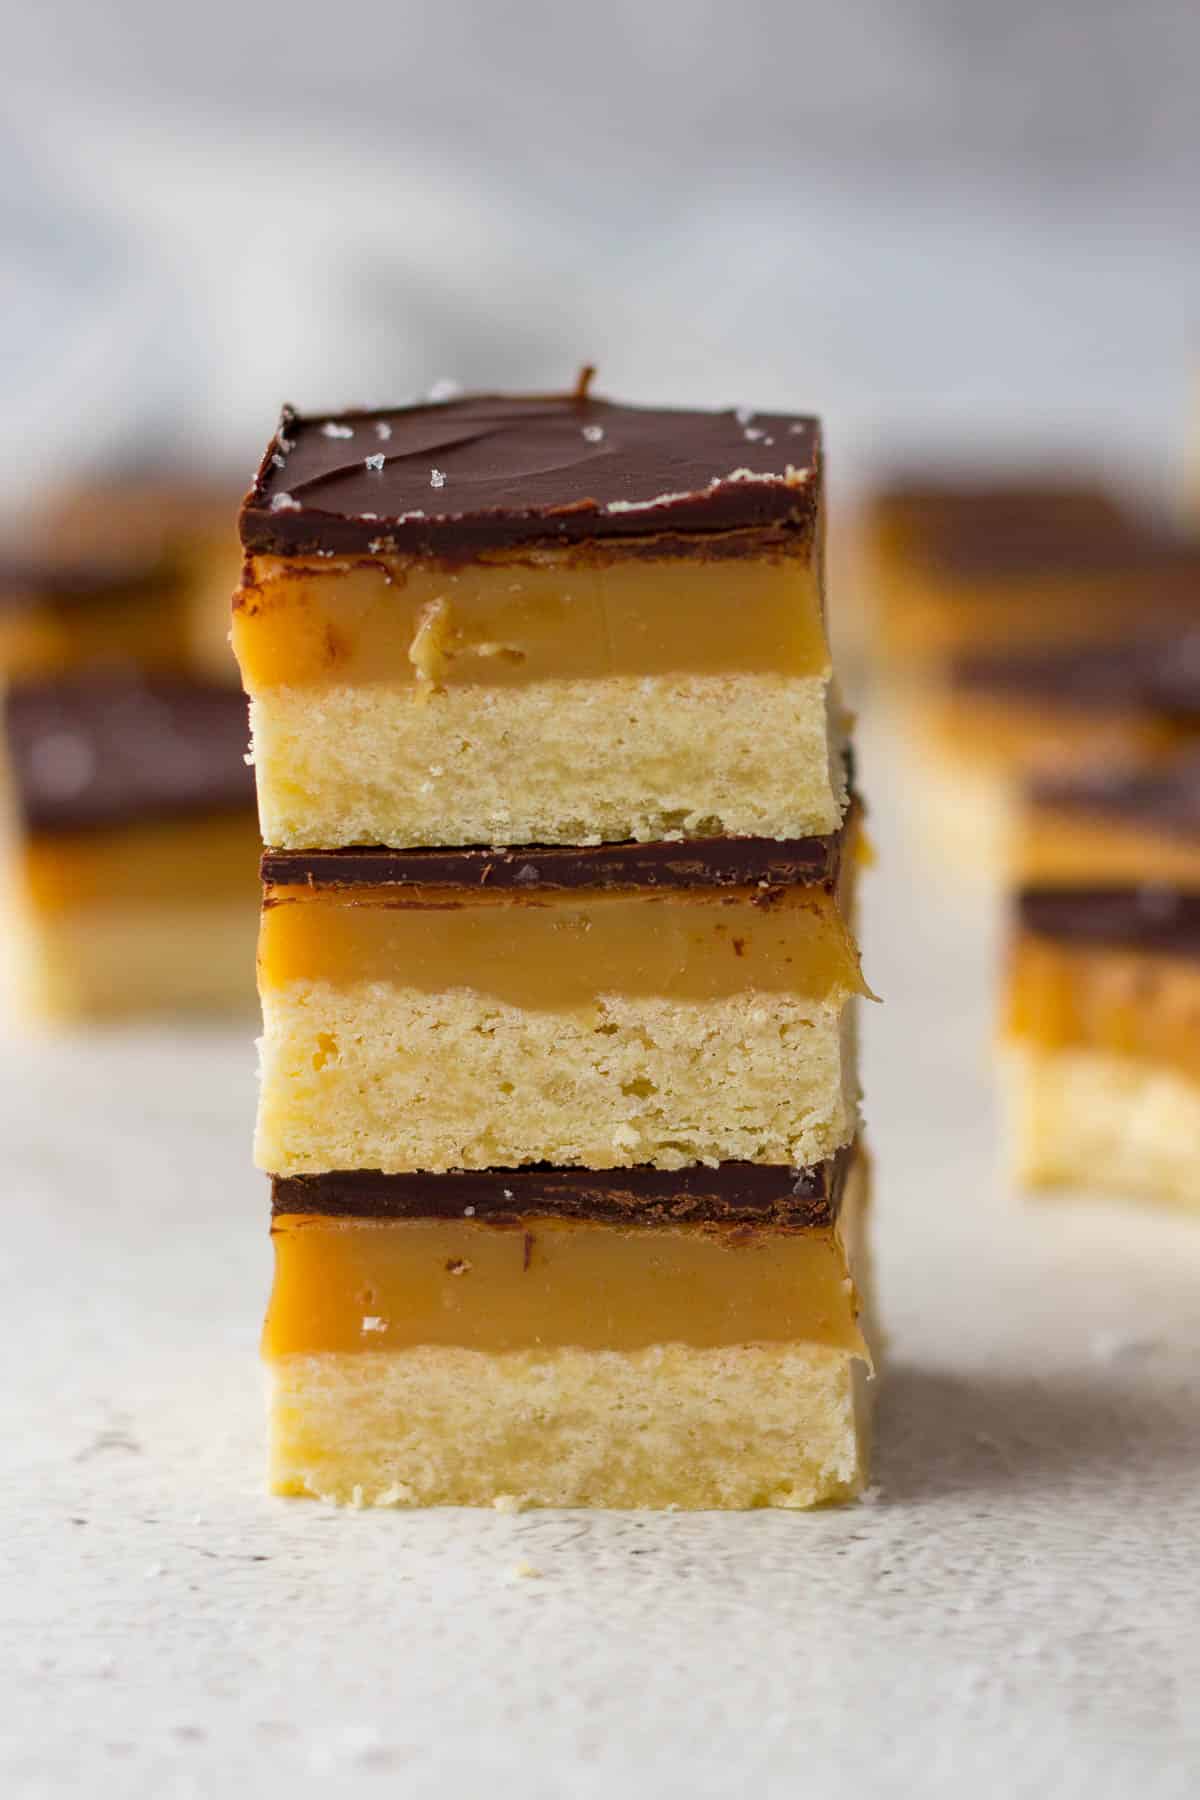
What New Zealand and Australia call a caramel slice or chocolate caramel slice, the rest of the world may know as millionaire's shortbread. This sweet treat begins with a shortcrust biscuit bas,e which is then generously slathered with caramel and then topped off with dark or milk chocolate.
The first known recipes for this delightful little confectionery date back to the 1970s in Australia. Millionaire's shortbread seems to have originated in Scotland.
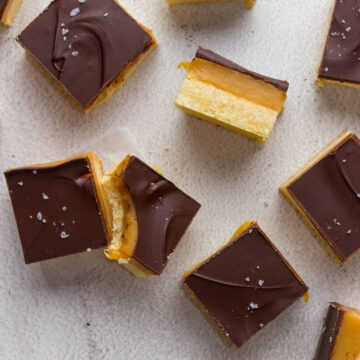
I have had my fair share of slices here in New Zealand. My favorite is definitely the salted caramel slice. I love salt (I am the Salty Ginger), and I love it when it's combined with a sweet treat.
For a minty twist on this classic caramel slice, why not have a look at my peppermint crisp caramel slice!
Why This Recipe Works
- The whipped shortbread biscuit base has minimal ingredients, comes together easily, and is a delicious buttery base for the salted caramel and chocolate topping.
- The smooth caramel filling is also reasonably simple to make and doesn't require a candy thermometer. The additional step of baking it on the shortbread base ensures the caramel sets properly, resulting in those beautiful, delicious layers.
- This gooey caramel is topped with a dark-chocolate layer, making for a gorgeous caramel slice.
- This homemade caramel slice is certain to please any audience!
Testing Notes
During the testing phase, I tried the ever-popular method of using melted butter in the biscuit base, but I didn't like it. I felt the base was oily and knew I could make a better shortbread crust, and I think I did.
I also tested out various methods and ingredient ratios for the caramel filling. I tried out a few recipes that didn't use golden syrup and way less butter, but I felt like this resulted in a thin, lackluster caramel filling for this particular recipe.
Taking my tests into account, I really feel I have come up with the best caramel slice, made with simple ingredients any home baker would be proud of.
Ingredients
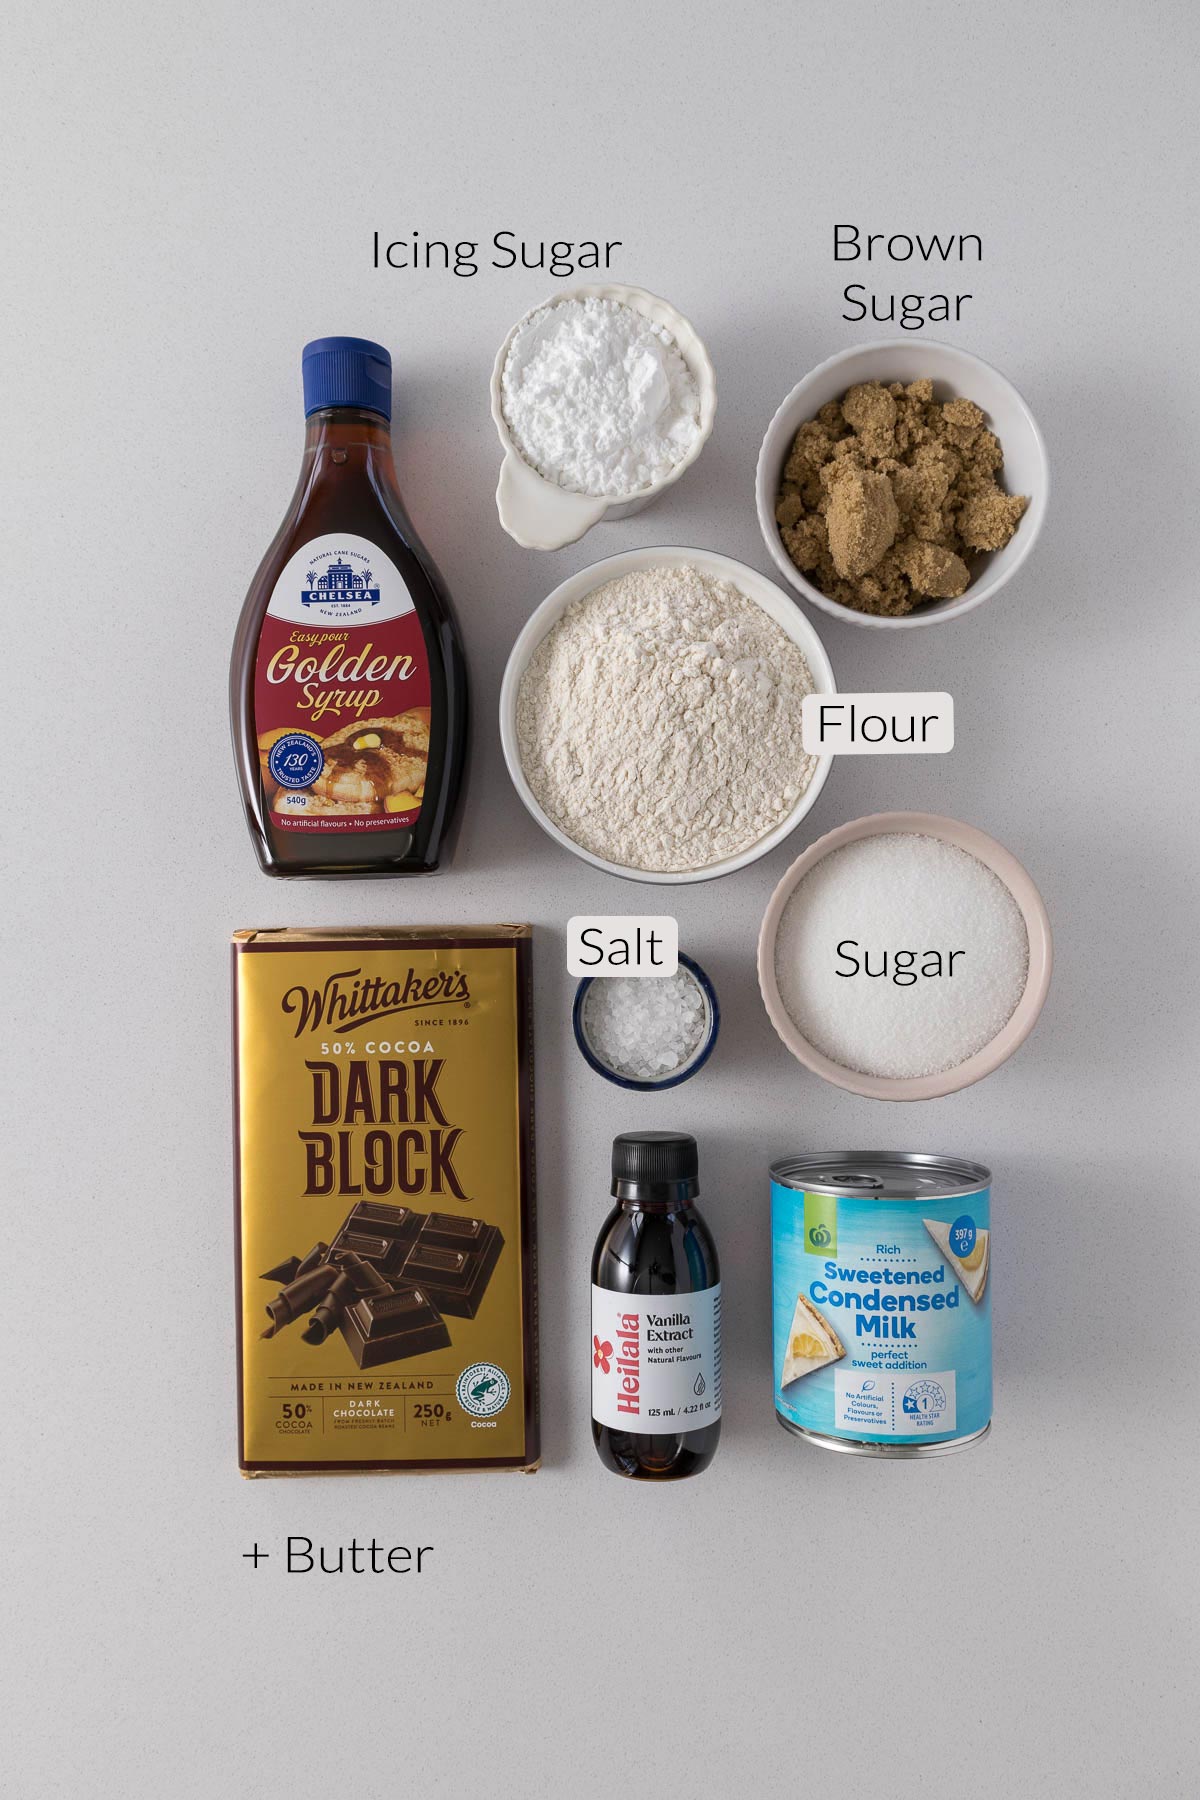
Butter is the key flavor to the biscuit base and adds fat and richness to the caramel. I use New Zealand butter in my recipes, which has approximately 82% butterfat and can be very yellow (similar to European or Irish butter). Butter cannot be substituted with butter or margarine spreads, but it can be substituted with baking margarine.
Plain flour (all-purpose flour/standard grade flour) refers to flour that has a protein content of approximately 9.5-12%. For cakes, this can be replaced with cake flour. If measuring ingredients by cups, aerate the flour, then scoop it into the measuring cup with a spoon before leveling it off. Scooping directly from the flour container will add too much flour to the mixture.
Icing Sugar or Powdered Sugar adds sweetness, while the starches give the biscuit a tender snap.
Caster sugar can be substituted with white granulated sugar. Plain white or caster sugar gives this biscuit a crispness that is otherwise completely lost when using icing sugar.
Salt - add if using unsalted butter. The salt brings out the flavor of the butter and flour in the biscuit base. It also gives the caramel its salty deliciousness. For the caramel, measure to taste. I found that 2 teaspoons of sea salt provide a nice level of saltiness.
Light brown sugar is used in the caramel. Light brown sugar can usually be substituted for dark brown sugar in a pinch.
Golden Syrup adds flavor and keeps the caramel soft, even though it sets enough to be sliced. Golden syrup can be substituted with maple syrup or light corn syrup.
Full cream sweetened cream condensed milk adds sweetness and creaminess. Do not use a low-fat version as the fat in the condensed milk is necessary for the caramel to thicken and set up.
Chocolate: I like to use 50% dark or bittersweet chocolate. I highly recommend using a chocolate you enjoy eating on its own. My go-to is Whittaker's, although I'm also a huge fan of Lindt.
Coconut oil/ butter for the chocolate topping allows the chocolate caramel slice to be sliced without cracking.
Room Temperature Ingredients
Use room-temperature ingredients! Using room temperature ingredients ensures that ingredients in the batter or dough will incorporate more easily. Note that room temperature is around 20°C/68°F.
Weighing & Measuring Ingredients
Weighing ingredients with a kitchen scale is more accurate than using measuring cups. All my recipes are developed and tested using grams only.
However, I have activated the metric-to-cup conversions. Click on "cups" or "metric" for your preferred measurements. For these conversions, cups are equal to 240mL/8 fl oz, tablespoons are 15mL, and teaspoons are 5mL.
How to Make a Chocolate Caramel Slice
Whipped Shortbread Biscuit Base
Step 1 - Preheat the oven to 200°C/390F/Gas Mark 6. Grease and line an 8 or 9-inch/ 20 or 23-cm square baking tin with parchment paper, leaving an overhang to allow for easy removal of the slice.
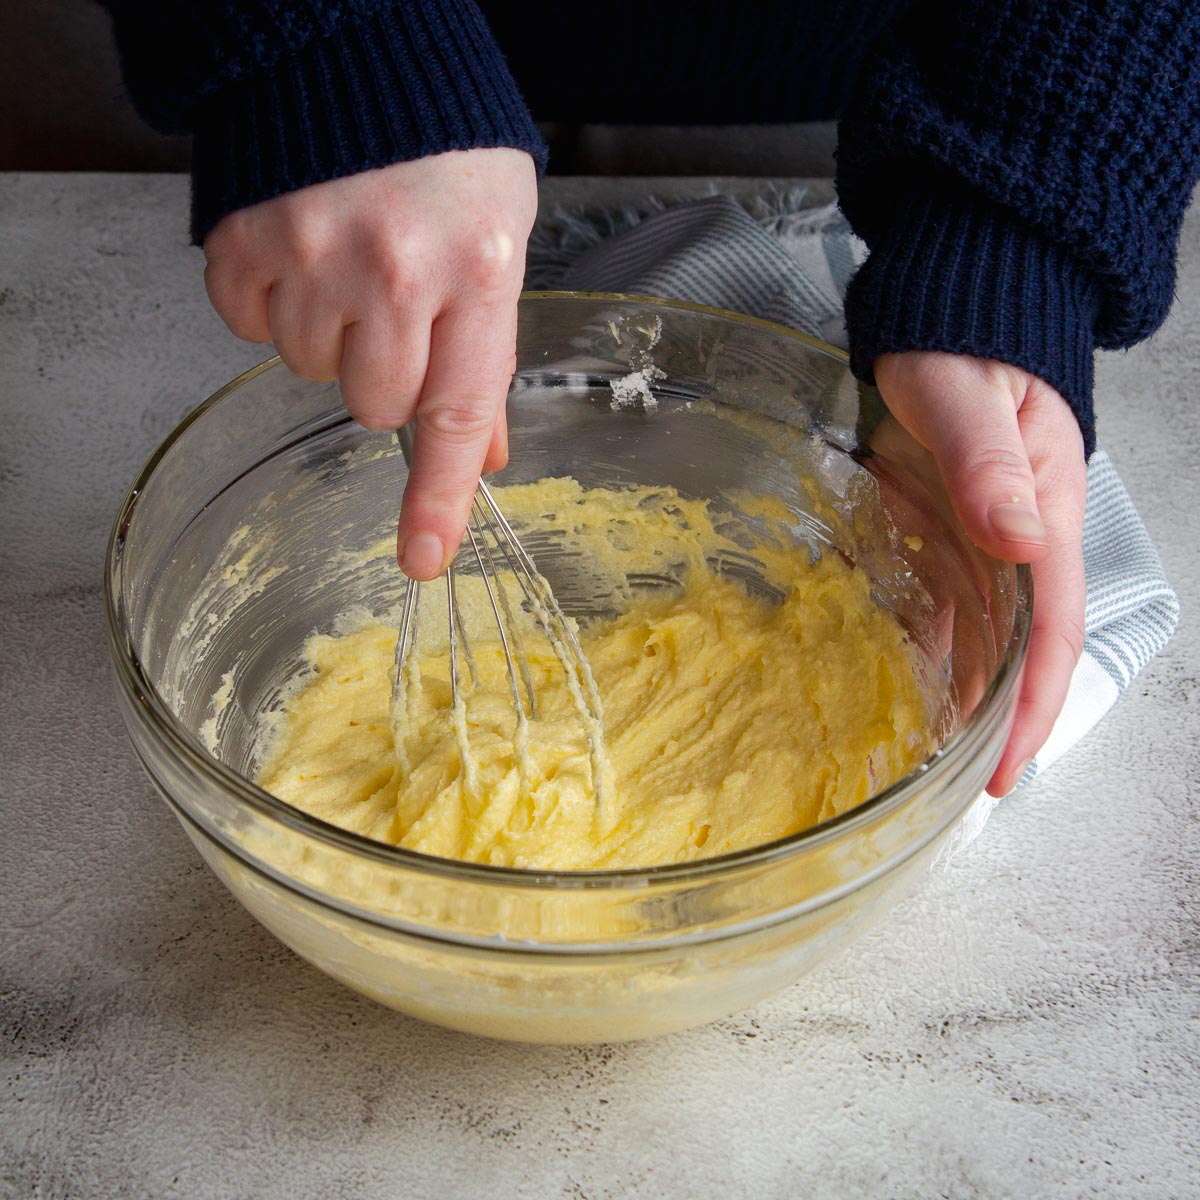
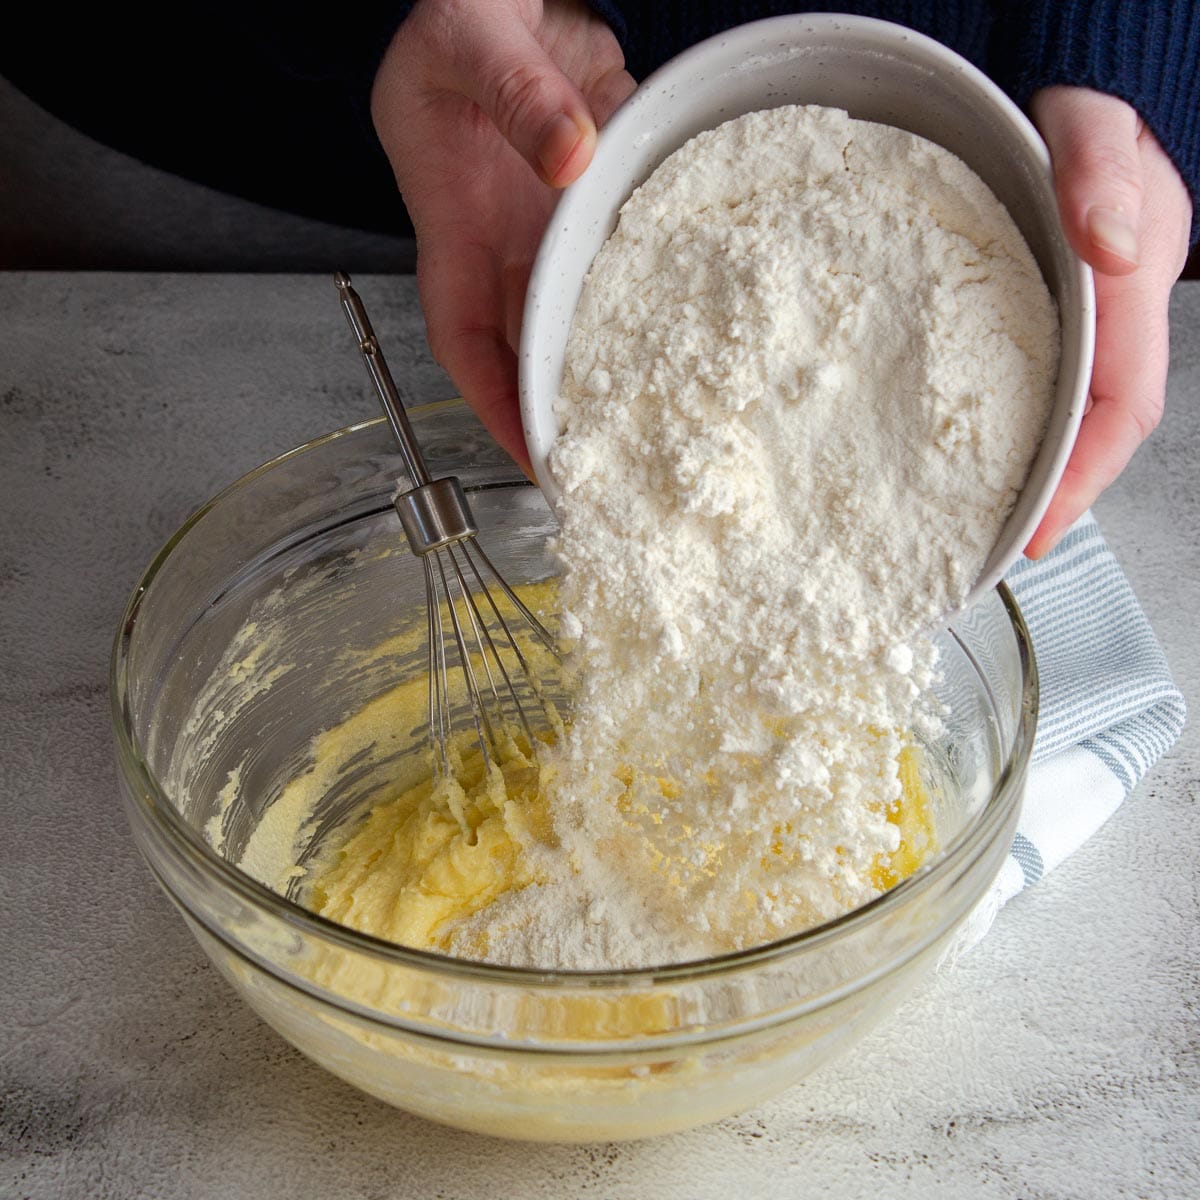
Step 2 - Soften the butter to a whipping consistency. If the room-temperature butter is not soft enough, pop it in the microwave for 15-second bursts until soft but not melted. Beat the butter, caster sugar, and icing sugar together in a stand mixer, electric handheld mixer, or with a whisk until the butter is light, fluffy, and aerated.
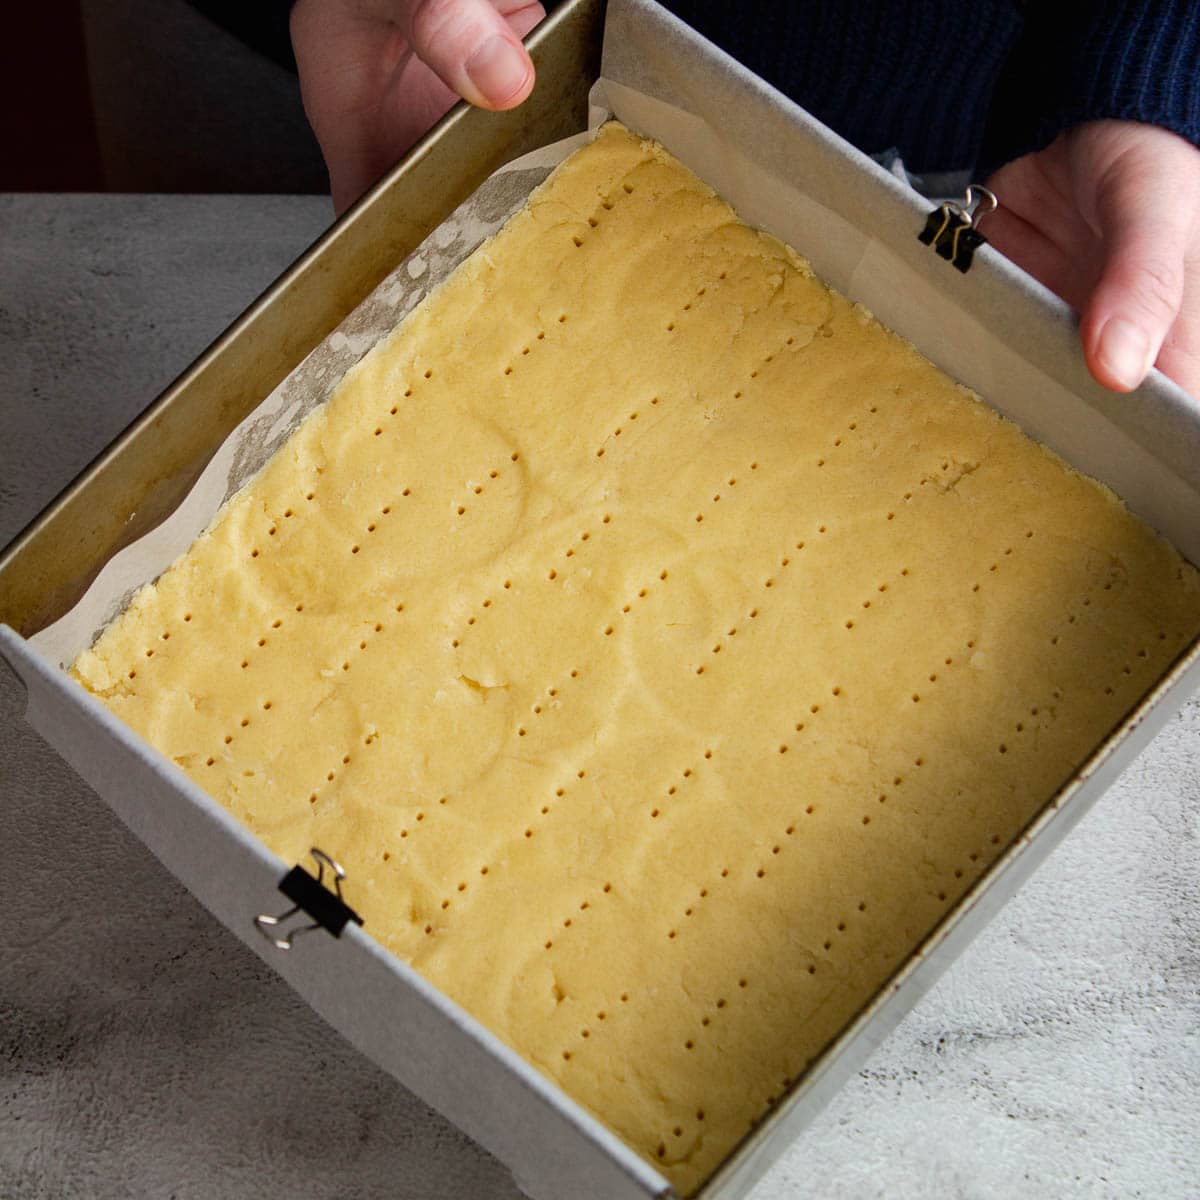
Step 3 - Add in the flour and salt, mixing with a spatula or wooden spoon until a soft pliable dough forms. Press this dough into the bottom of the lined tin. Use the back of a cup measurer or offset spatula to really press the dough into the pan. Prick the dough with a fork throughout and bake for 15 minutes until the biscuit base is a nice light golden brown.
Step 4 - Allow the biscuit base to cool in the tin while you make the caramel filling, and turn down the oven to 180°C/350°F.
Caramel Layer
Step 1 - Place the butter, syrup, sugar, and condensed milk in a medium saucepan and bring to a boil, stirring the entire time, until all the ingredients are melted together. Once the caramel begins to heat and boil, whisk/stir constantly for 5 to 10 minutes, until it thickens and turns brown. To test the caramel, take a cold teaspoon or knife and dip it in; if it sets up fairly quickly, the caramel is done. Take off the heat and stir through the salt and vanilla.
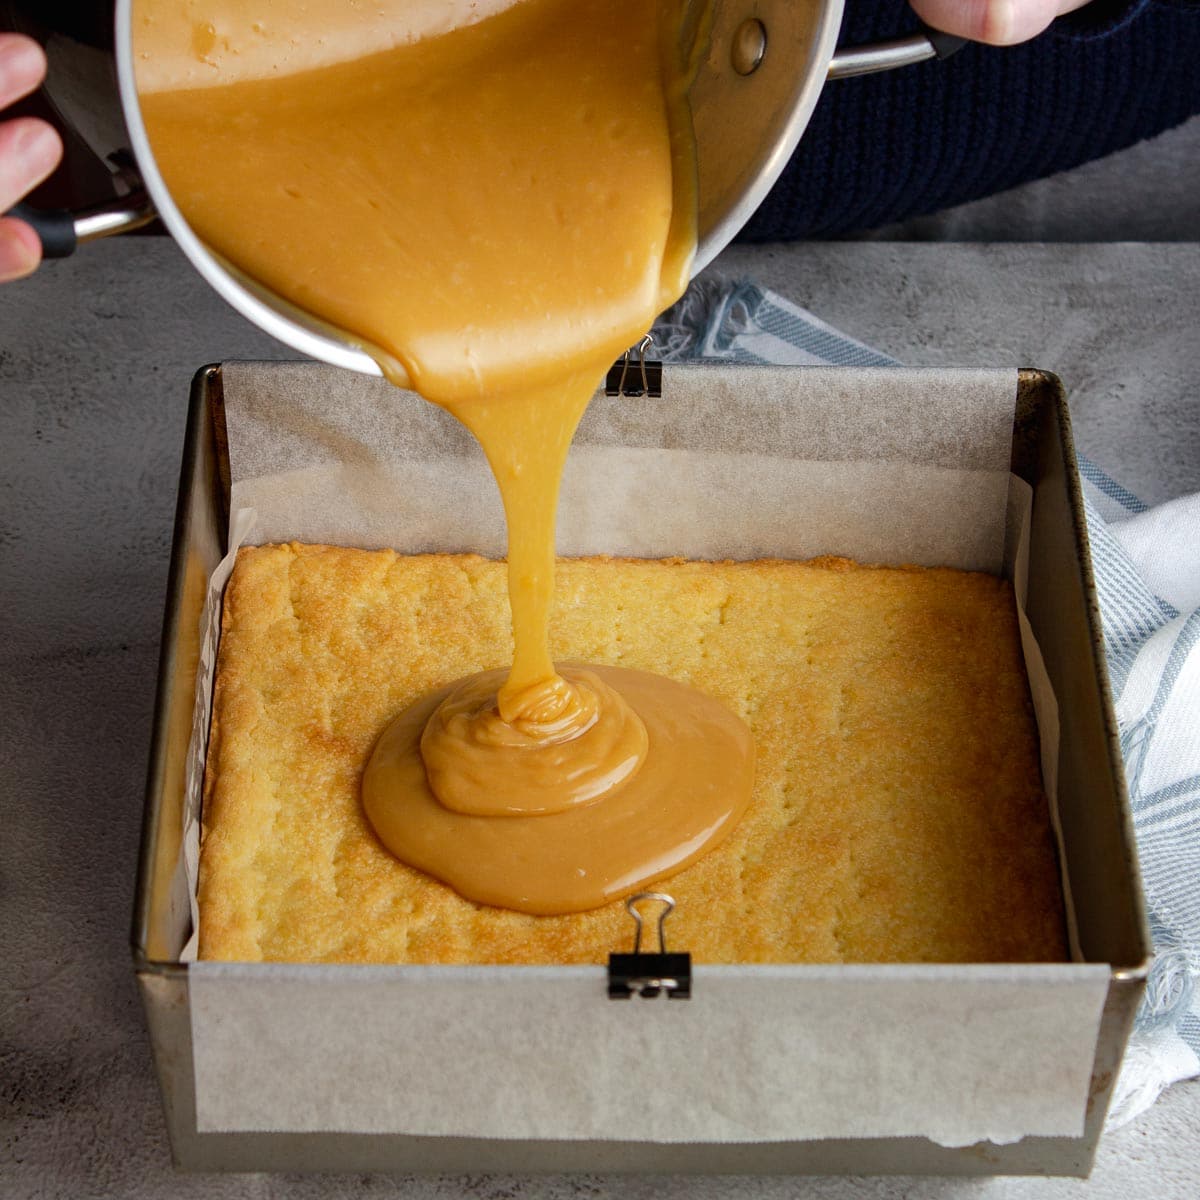
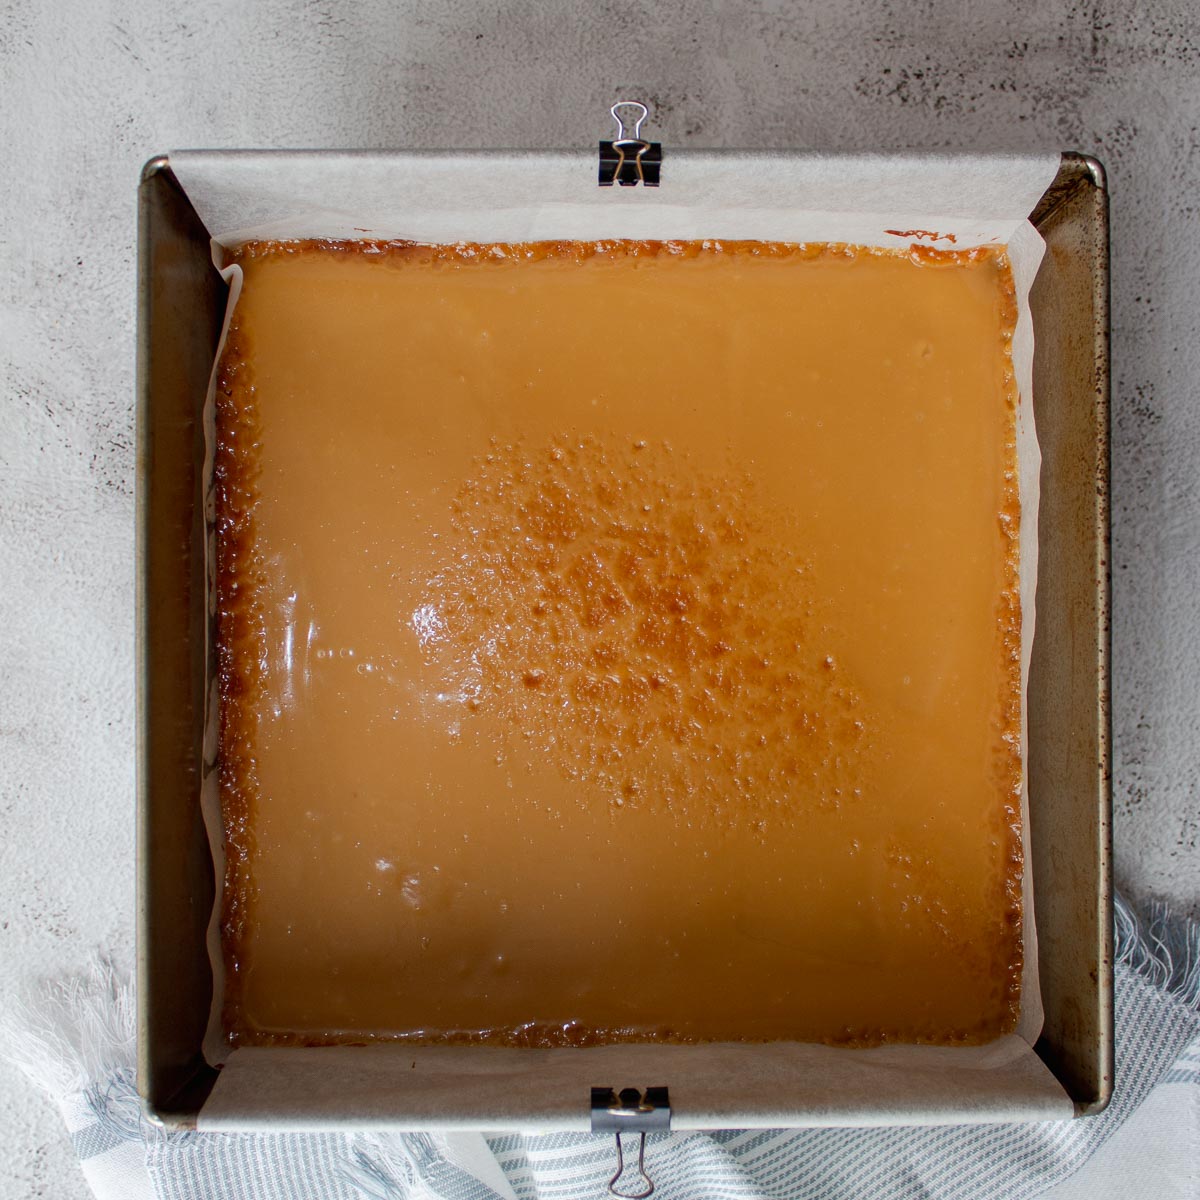
Step 2 - Pour the caramel filling over the biscuit base and bake for 10-15 minutes at 180 °C. Once the edges have just started to caramelize, remove from the heat and allow to cool completely.
Chocolate Topping
Step 1 - In a heatproof microwave-safe bowl, place the chocolate and butter or oil, and zap in 20-30 second increments until the chocolate is melted, stirring after each interval. Alternatively, melt the chocolate in a glass dish over a pot of water on the stove. Do not let the water touch the bottom of the glass bowl. Do not add water to the chocolate; it will seize.
Step 2 - Pour the smooth chocolate over the cooled caramel filling and spread it evenly with the back of a spoon or an offset spatula. Allow the slice to cool completely, letting the caramel filling and chocolate set before slicing into squares. You can place the entire cake tin into the fridge for at least 2 hours or overnight.
Note - I like to make 25 squares from a 9-inch brownie tin or square pan. But lately, I have also taken to dividing those small squares into 2 or 4 for mini bites.


Pro Tips for this Recipe
When lining the slice tin, make sure you have an overhang on each side of the tin, this allows for easy removal.
Stir the caramel constantly to ensure it doesn't catch on the bottom of the saucepan.
The caramel layer needs to be cool but not necessarily cold before adding the chocolate; this keeps the slice layers crisp and neat.
Ovens and Air-Fryers
The temperatures stated are for conventional ovens. For convection, fan-forced, fan-assisted, or air-fryers, the temperature must be reduced by 20°C/25°F.
For baking, make sure the oven is fully preheated, and that the rack is in the middle of the oven. Open the oven as little as possible. For best baking results use an oven thermometer.
Remember that all ovens work slightly differently and bake times may need to be adjusted for your specific oven.
Storage and Freezing
Caramel slices can be stored in an airtight container at room temperature for about 5 days.
To freeze this decadent slice, wrap individual servings in plastic wrap/cling film, and then foil. Freeze for up to 3 months, and allow the slice to come to defrost and come to room temperature before serving.
Other Recipes You May Like
Caramel Slice / Millionaire's Shortbread FAQ
Yes. Wrap the slice in plastic wrap and foil in individual servings. Allow the slices to thaw before serving.
The trick is to add a neutral oil to the chocolate. To get clean, even slices, mark your slice with a ruler, then warm your sharp knife in hot water, wipe it dry, and cut. By warming up the blade and wiping it clean in between each slice, you will get perfect slices.
The caramel slice should only be cut once the caramel and chocolate have set completely. To ensure this, place the slice in the fridge for two hours or overnight.
The caramel was not cooked enough. The easiest way to prevent this is to test the caramel by using a cold teaspoon or knife. If the caramel sets up fairly quickly and doesn't run, it's ready to pour over the biscuit base. If the caramel is still fairly runny, cook it longer. Baking the caramel for 15 minutes, until the edges are bubbly and dark, will also ensure it sets properly.
Nothing really. They both have a shortcrust biscuit base, a caramel filling and are topped with chocolate. Many Australian and New Zealand varieties also contain coconut in the biscuit base.
Caramel slices can be stored in an airtight container at room temperature for about 5 days. When frozen, for up to 3 months.
Rate & Review!
If you made this recipe, please leave a star rating! It gives my readers and me helpful feedback. If you want more recipes, subscribe to my newsletter, and follow me on Instagram, Pinterest, and Facebook!
Recipe Card
Chocolate Caramel Slice
Equipment
- 9x9 Inch (23x23cm) Square Cake Pan
Ingredients
Whipped Shortbread Base
- 180 grams butter
- 50 grams icing sugar (powdered/confectioner's)
- 100 grams white granulated sugar (caster/white sugar)
- 250 grams plain flour (standard-grade/all-purpose)
- ½ teaspoon table salt if using unsalted butter
Salted Caramel Filling
- 100 grams light brown sugar
- 397 grams sweetened condensed milk (1 tin - full cream)
- 50 grams golden syrup (light corn syrup/maple syrup)
- 125 grams butter
- 2 teaspoon sea salt (salt to taste)
- ½ teaspoon vanilla extract
Chocolate Topping
- 180 grams dark chocolate
- 30 grams butter or coconut oil
Instructions
Whipped Shortbread Base
- Preheat the oven to 200°C/390F/Gas Mark 6. Grease and line a 20-23 cm square cake tin with parchment paper leaving an overhang to allow for easy removal of the slice.
- Soften the butter to a whipping consistency. If room temperature butter is not soft enough, pop in the microwave for 15-second bursts until soft but not melted. Beat the butter, caster sugar, icing sugar together using a stand mixer, electric handheld mixer or whisk until the butter is light, fluffy and aerated.180 grams butter, 50 grams icing sugar, 100 grams white granulated sugar
- Add in the flour and salt, mixing with a spatula or wooden spoon until a soft pliable dough forms. Press this dough into the bottom of the prepared tin. Use the back of a cup measurer or offset spatula to really press the dough into the pan. Prick the dough with a fork throughout and bake for 15 minutes until the biscuit base is a nice light golden brown.250 grams plain flour, ½ teaspoon table salt
- Allow the biscuit base to cool in the tin while you make the caramel filling.
Caramel Filling
- Place the butter, syrup, sugar, condensed milk in a medium-sized saucepan and bring to a boil, stirring the entire time all the ingredients are melting together. Once the caramel has started to heat up and boil, whisk/stir constantly for 5 to 10 minutes until the caramel has started to thicken and brown. To test the caramel, take a cold teaspoon or knife and dip it in, if it sets up fairly quickly the caramel is done. Take off the heat and stir through the salt and vanilla.100 grams light brown sugar, 397 grams sweetened condensed milk, 125 grams butter, 2 teaspoon sea salt, ½ teaspoon vanilla extract, 50 grams golden syrup
- Pour the caramel filling over the biscuit base and bake at 180°C for 10-15 minutes. Once the edges have just started to caramelize, remove from the heat and allow to cool completely.
Chocolate Topping
- In a heatproof bowl, place the chocolate and butter or oil, and zap in 20-30 second increments until the chocolate is melted, stirring after each interval. Alternatively, melt the chocolate in a glass dish over a pot of water on the stove. Do not let the water touch the bottom of the glass bowl. Do not get water into the chocolate, the chocolate will seize.180 grams dark chocolate, 30 grams butter or coconut oil
- Pour the chocolate over the cooled caramel filling, and spread evenly using the back of a spoon or offset spatula. Allow the slice to cool completely before slicing. You can place the entire tin into the fridge for at least 2 hours or overnight.
Notes
Nutrition
Nutrition information is an estimate. If scaling the recipe remember to scale your cook and bakeware accordingly. All temperatures stated are conventional, unless otherwise stated. Recipes tested in grams and at sea level.
Pin for Later
Sandra says
I hate to admit but I make this toooo for often. Last night used it with another slice as a sweet treat after drinks and cocktails. The guests were loving it, going back and back. Mine is cut into small squares with my catering marker.
Sandra says
I’ve lost track of the times I’ve made this fabulous slice. I have a patisserie cutter so am able to share small evenly cut pieces to friends and family. This batch is going to school as my daughter starts teaching a new class and school on Monday. The staff will be thrilled I’m sure. It’s a very small country school so your recipe will be handed around.
Mary-Lou says
Oh wow, thank you so much! That is so nice to hear 🙂 And now I'm going to look into getting a patisserie cutter for myself. Love hearing these types of lessons from my readers.
Good luck to your daughter and her new school! I really do hope the staff enjoys it.
Have a fantastic weekend,
ML