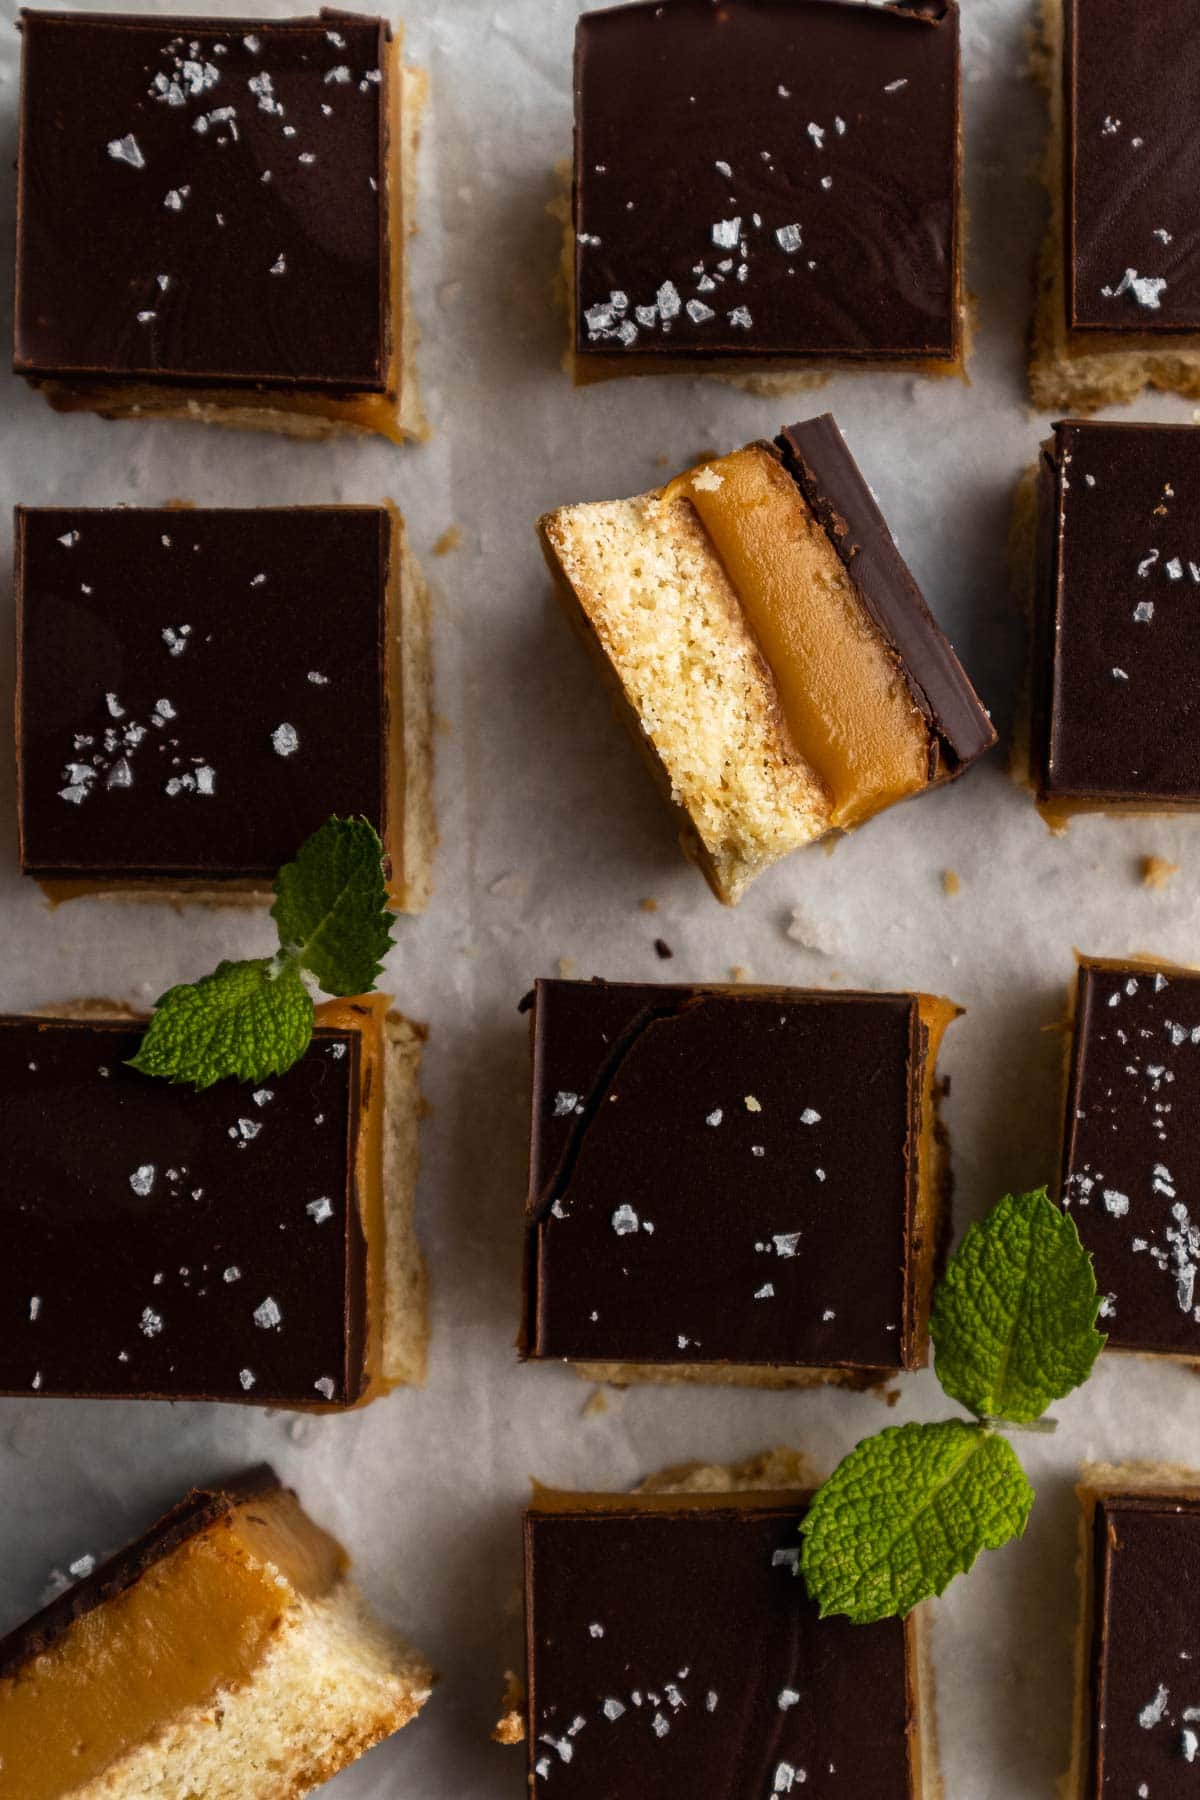
This peppermint crisp caramel slice takes the classic South African peppermint crisp tart and transforms it into a delicious on-the-go caramel slice. A peppermint crisp infused caramel layer is sandwiched between a coconut whipped shortbread and dark chocolate. Taking the Millionaire's shortbread to the next level.
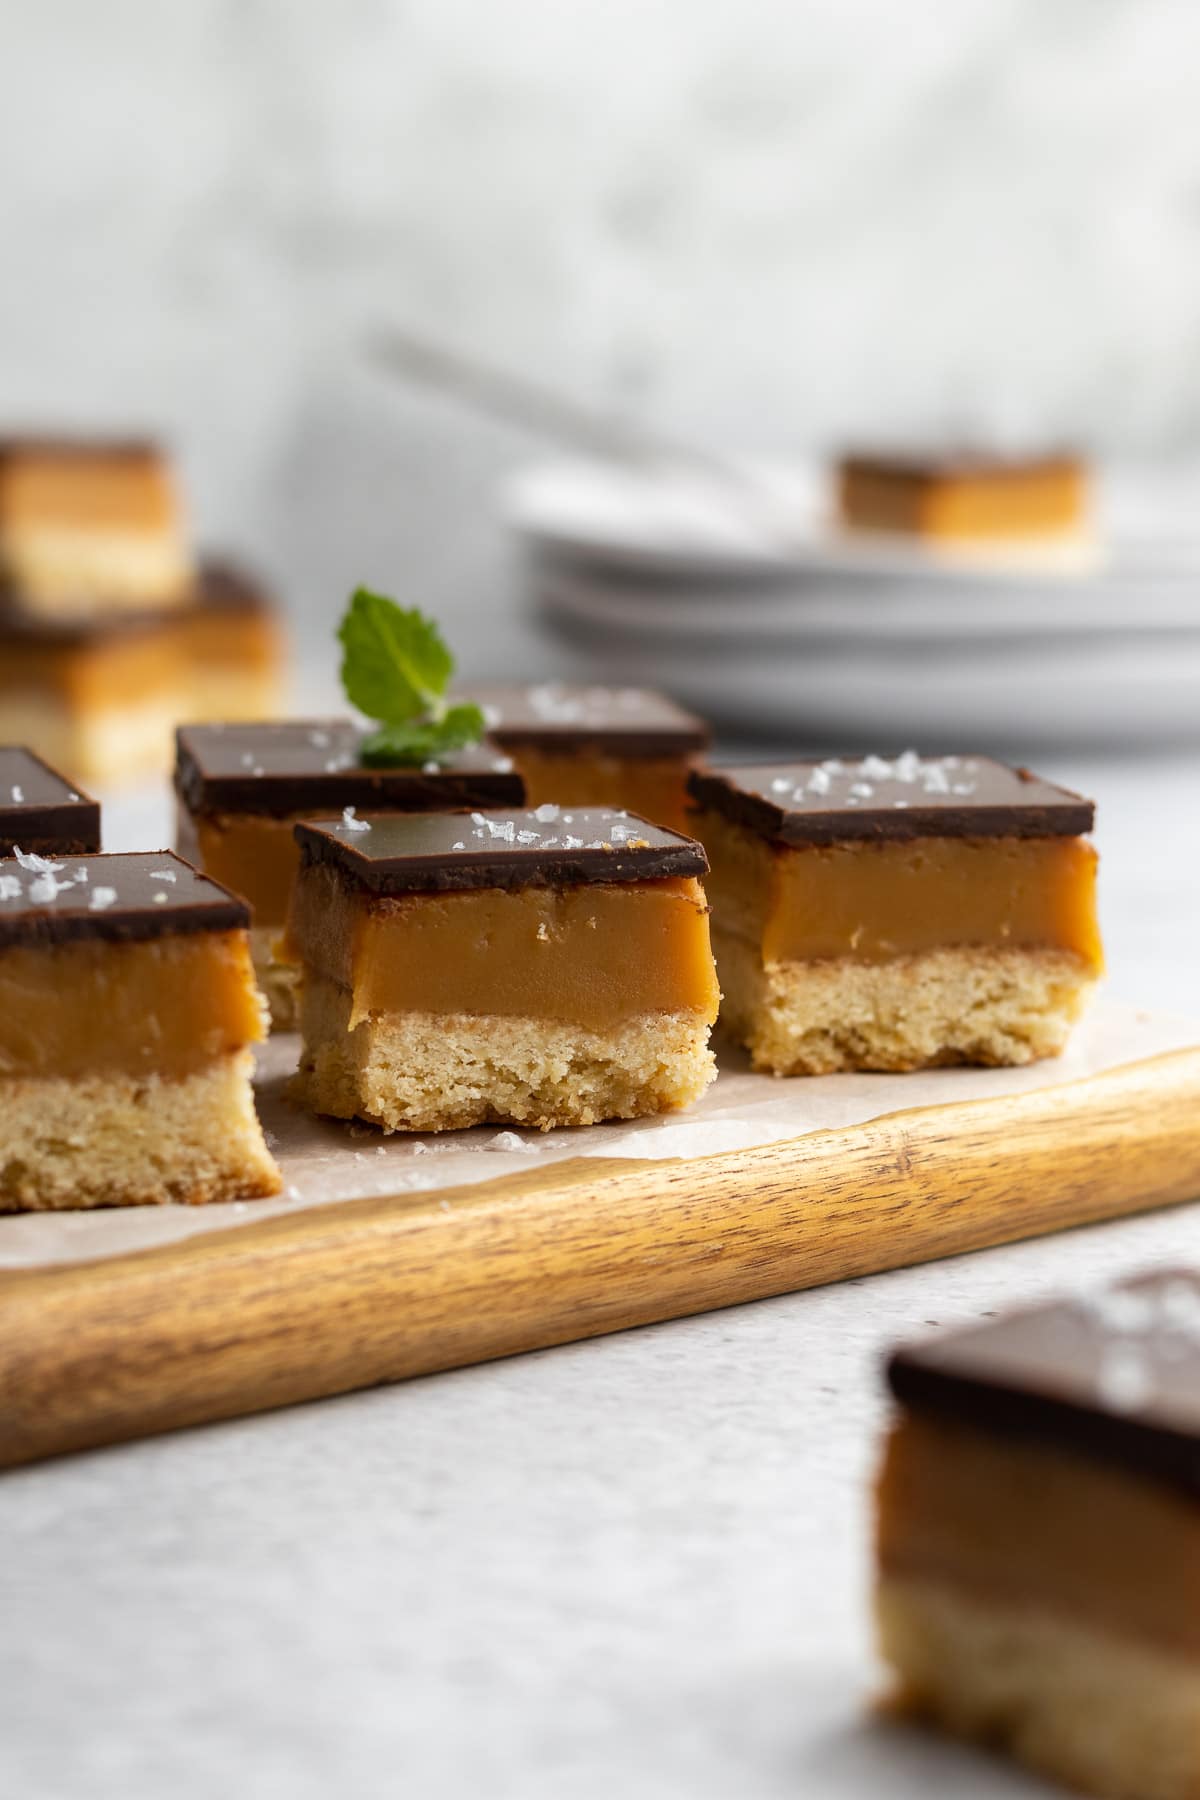
A few months ago while scrolling through Instagram I was struck by ATE Kitchen's Peppermint Crisp Thumbprint cookies - such a great idea! Taking a classic South African Pudding and giving it a delicious twist.
Immediately I knew I needed to turn my Caramel Slice aka Millionaire's Shortbread into a Peppermint Crisp Slice
Jump to:
Why a Peppermint Crisp Slice?
Well, when in Rome! Here in New Zealand, every single supermarket, convenience store and bakery worth its weight in gold will be selling Caramel Slices (alongside the lolly cake slice, ginger slices, and brownies). So it just seemed natural to make a South African - Kiwi blend.
Knowing that caramel and mint are a perfect pair, with a trusted recipe at hand, adding in peppermint crisp to the caramel was all I needed to turn my Kiwi Slice into a Caramel Slice with a South African twist.
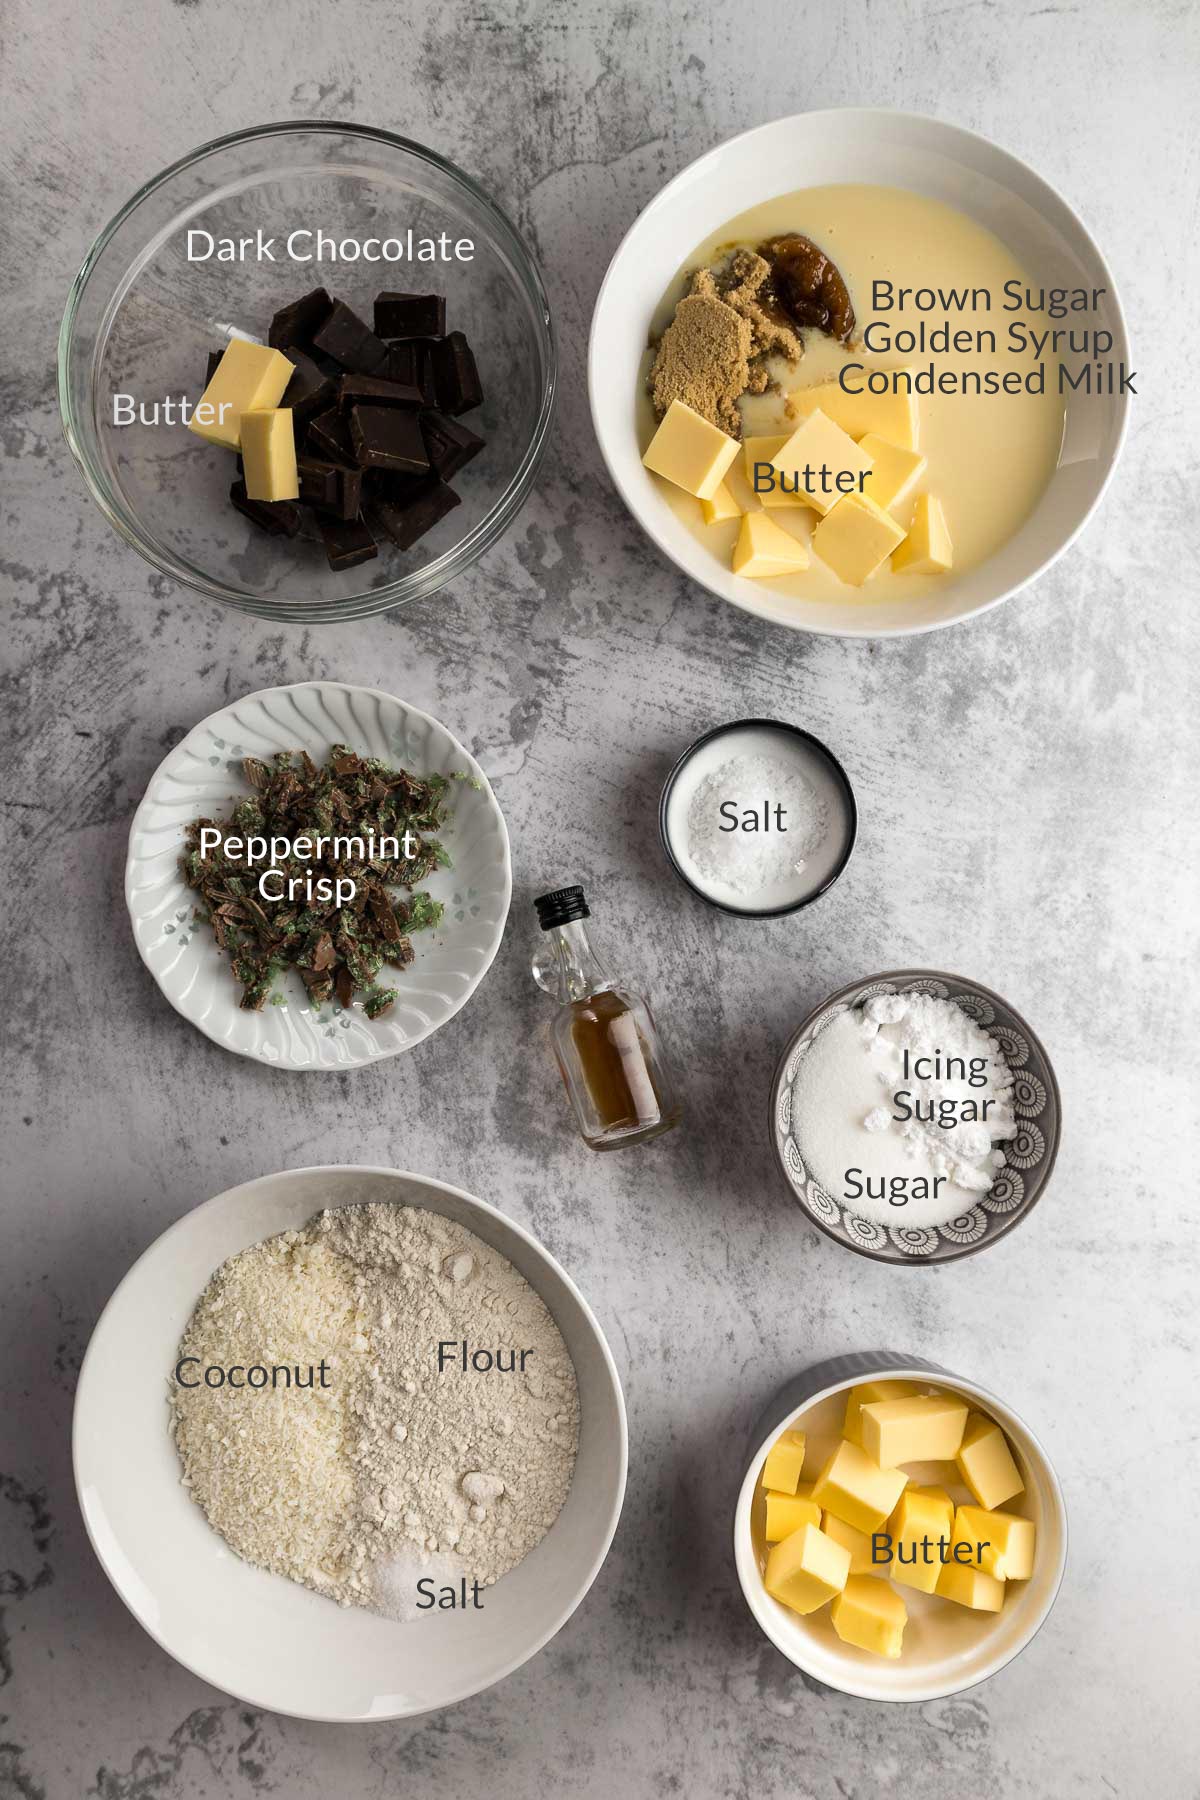
What You Need for this Recipe
Equipment
Special Equipment needed includes a loaf tin or an 8 inch or 20cm round cake tin.
Ingredients
Whipped Shortbread Base
- Butter is a key flavour in these biscuits. If using salted butter, simply leave out the additional salt, if using unsalted butter, additional salt is a must!
- Flour - plain, standard grade or all-purpose flour is what this recipe calls for.
- Icing Sugar or Powdered Sugar adds sweetness with the added starches give the biscuit a tender snap.
- Caster sugar can be substituted with white granulated sugar. Plain white or caster sugar gives a crispness to this biscuit that is otherwise completely lost with just using icing sugar.
- Salt - add if using unsalted butter. The salt brings out the flavour of the butter and flour.
- Dessicated Coconut - finely ground dried unsweetened coconut, this gives the biscuit base a little coconut flavour that mimics the tennis biscuit flavour of the peppermint crisp tart.
Peppermint Caramel Filling
- Brown sugar - this is a caramel filling after all and needs sugar to form a delightful caramel in the end.
- Full cream condensed milk adds sweetness and creaminess. Do not use a low-fat version as the fat in the condensed milk is necessary for the caramel to thicken and set up.
- Golden Syrup adds flavour and keeps the caramel soft, even though it sets enough to be sliced.
- Butter is a crucial element in caramel. It adds fat and richness.
- Salt - to balance the sweet.
- Peppermint crisp - to add the peppermint flavour.
Chocolate Topping
Dark chocolate and a neutral oil such as coconut oil or even some butter. This allows the chocolate to be sliced without cracking. I suggest using 50% dark chocolate, I tried 72% and it was just too much for me. This is a personal choice.
Substitutions/Variations
Golden syrup can be substituted with corn syrup or liquid glucose.
Dark chocolate can be substituted with peppermint dark chocolate.
Coconut does not need to be added to the base, but I do feel it adds a nice contrast to the slice and gives it that classic peppermint crisp tart flavour.
Peppermint crisp can be replaced with 2 teaspoons of peppermint essence. However, it does not have the same flavour as a peppermint crisp but does make a nice minty caramel anyway.
Salt is a crucial ingredient in all baked goods. I use table salt in all my recipes. One teaspoon of table salt equals 1.5 teaspoons of Morton Kosher Salt equals 2 teaspoons of Diamond Crystal.
Making Peppermint Crisp Caramel Slice
Whipped Shortbread Base
Step 1 - Preheat the oven to 180°C(fan-forced). Grease and line a loaf tin or 8 inch/20cm round cake tin with parchment paper leaving an overhang to allow for easy removal of the slice.
Note - these overhands are essential to having the caramel slice release easily when it is completed. The first time I made this slice in a loaf tin, I only had overhangs on two sides and I battled to get the slice to release.
Step 2- Soften the butter to a whipping consistency. If room temperature butter is not soft enough, pop in the microwave for 15-second bursts until soft but not melted. Beat the butter, caster sugar, icing sugar together using a stand mixer, electric handheld mixer or whisk until the butter is light, fluffy and aerated.
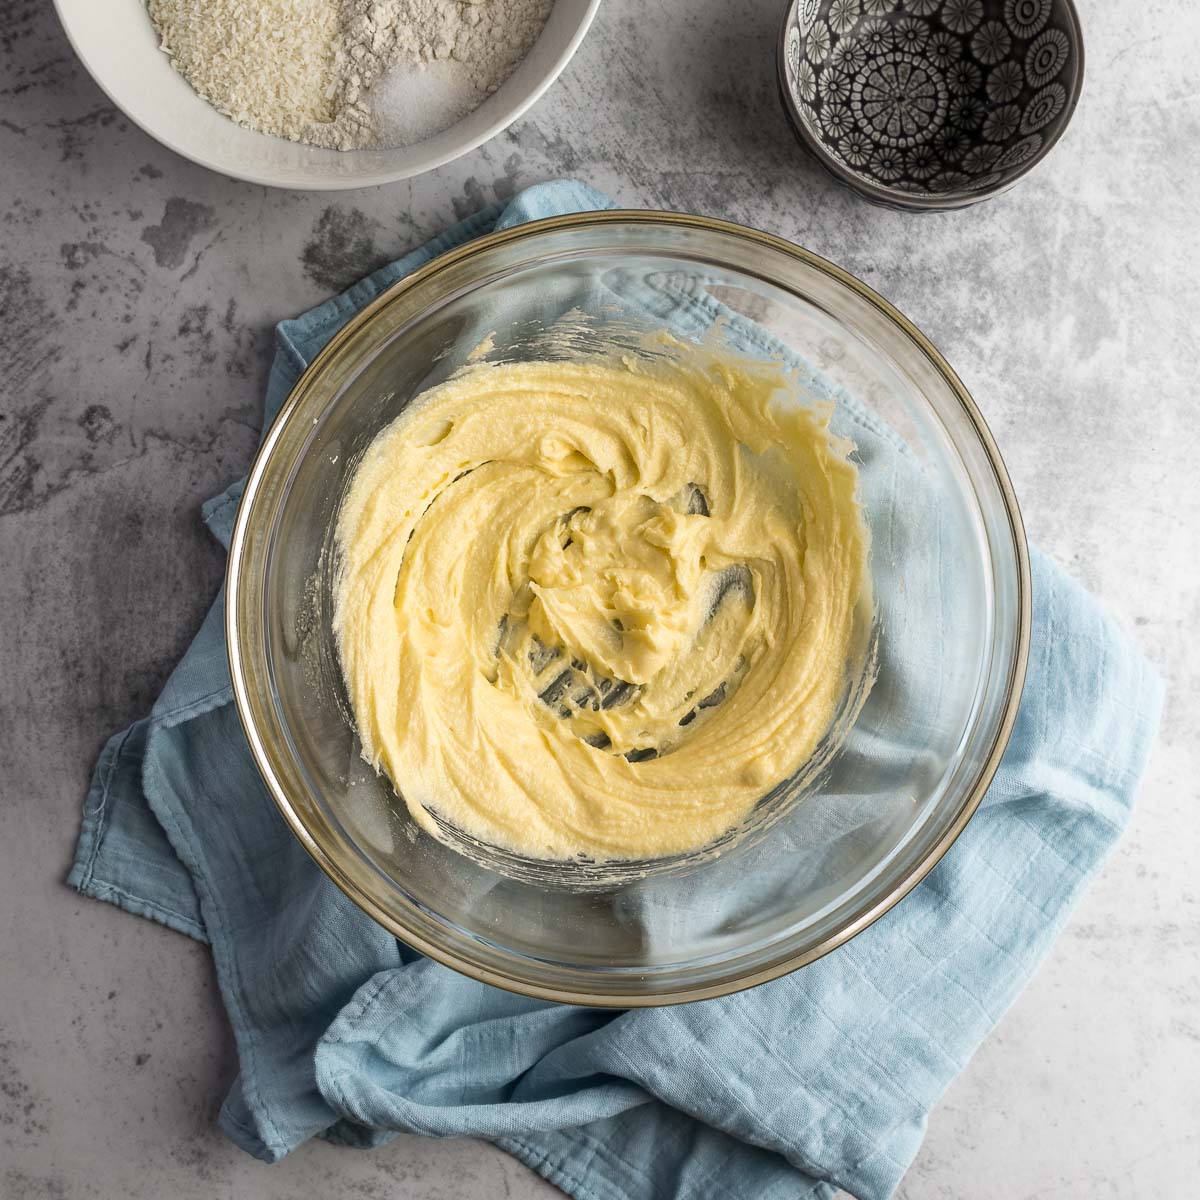
Step 3 - Add in the flour and salt, mixing with a spatula or wooden spoon until a soft pliable dough forms. Press this dough into the bottom of the prepared tin. Use the back of a cup measurer or offset spatula to really press the dough into the pan. Prick the dough with a fork throughout and bake for 15 minutes until the biscuit base is a nice light golden brown.
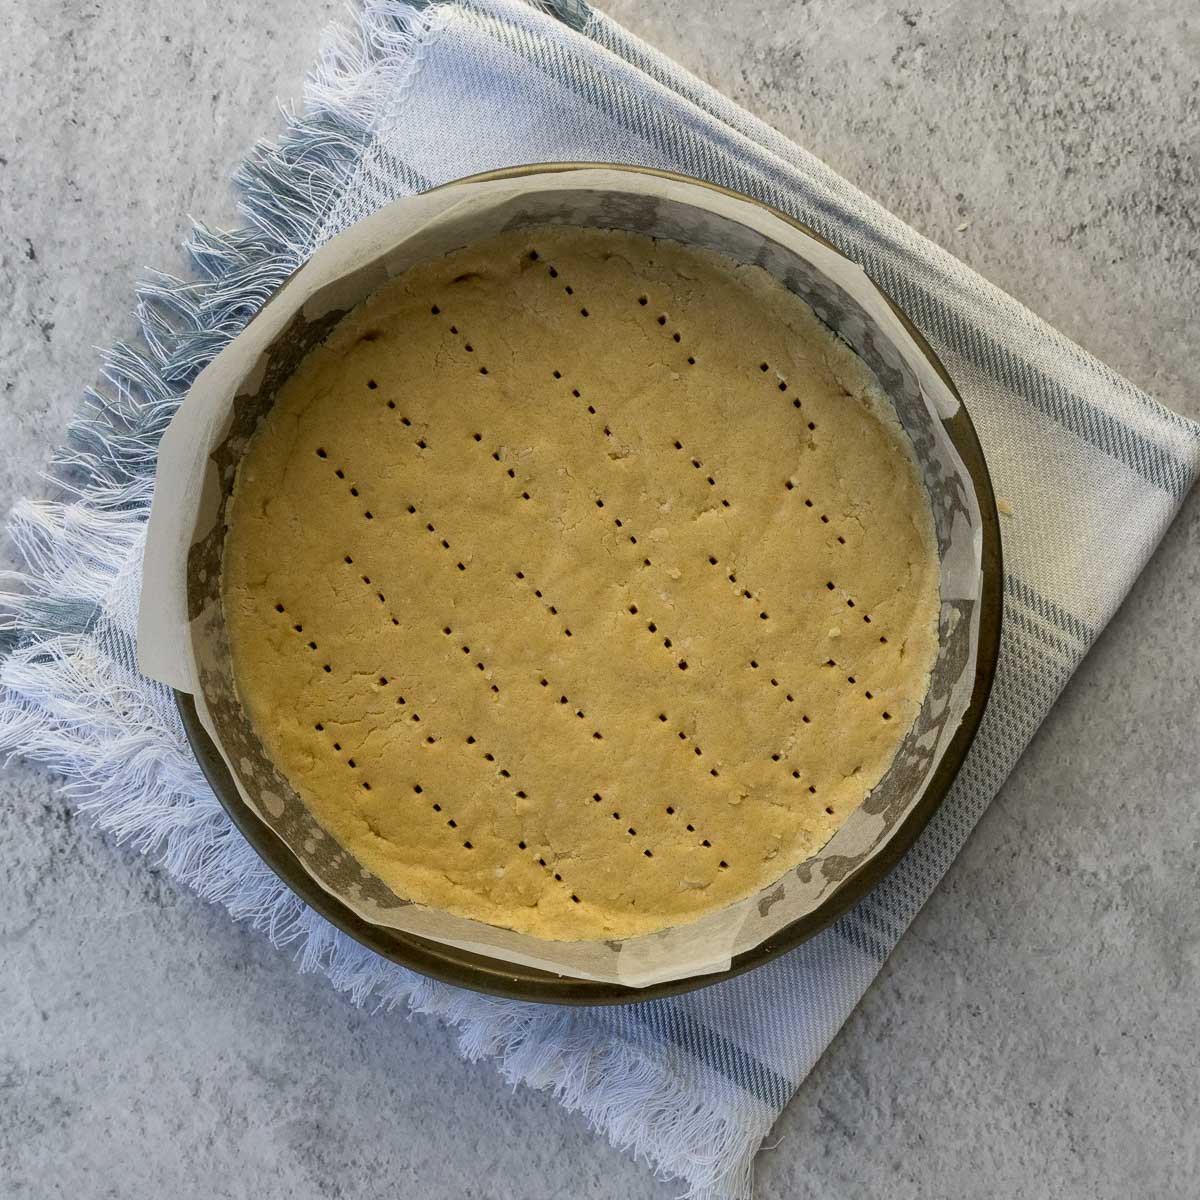
Step 4 - Allow the biscuit base to cool in the tin while you make the caramel filling.
Peppermint Caramel Filling
Step 1 - Using a sharp knife, carefully remove the bulk of the chocolate surrounding the peppermint crisp. Keep the chocolate for the chocolate topping. Finely chop the crisp and set aside while making the caramel.
Step 2 - Place the butter, syrup, condensed milk in a medium-sized saucepan and bring to a boil, stirring the entire time all the ingredients are melting together. Once the caramel has started to heat up and boil, whisk/stir constantly for 5 to 10 minutes until the caramel has started to thicken and brown. To test the caramel, take a cold teaspoon or knife and dip it in, if it sets up fairly quickly the caramel is done. Take off the heat and stir through the salt, vanilla and peppermint crisp pieces.
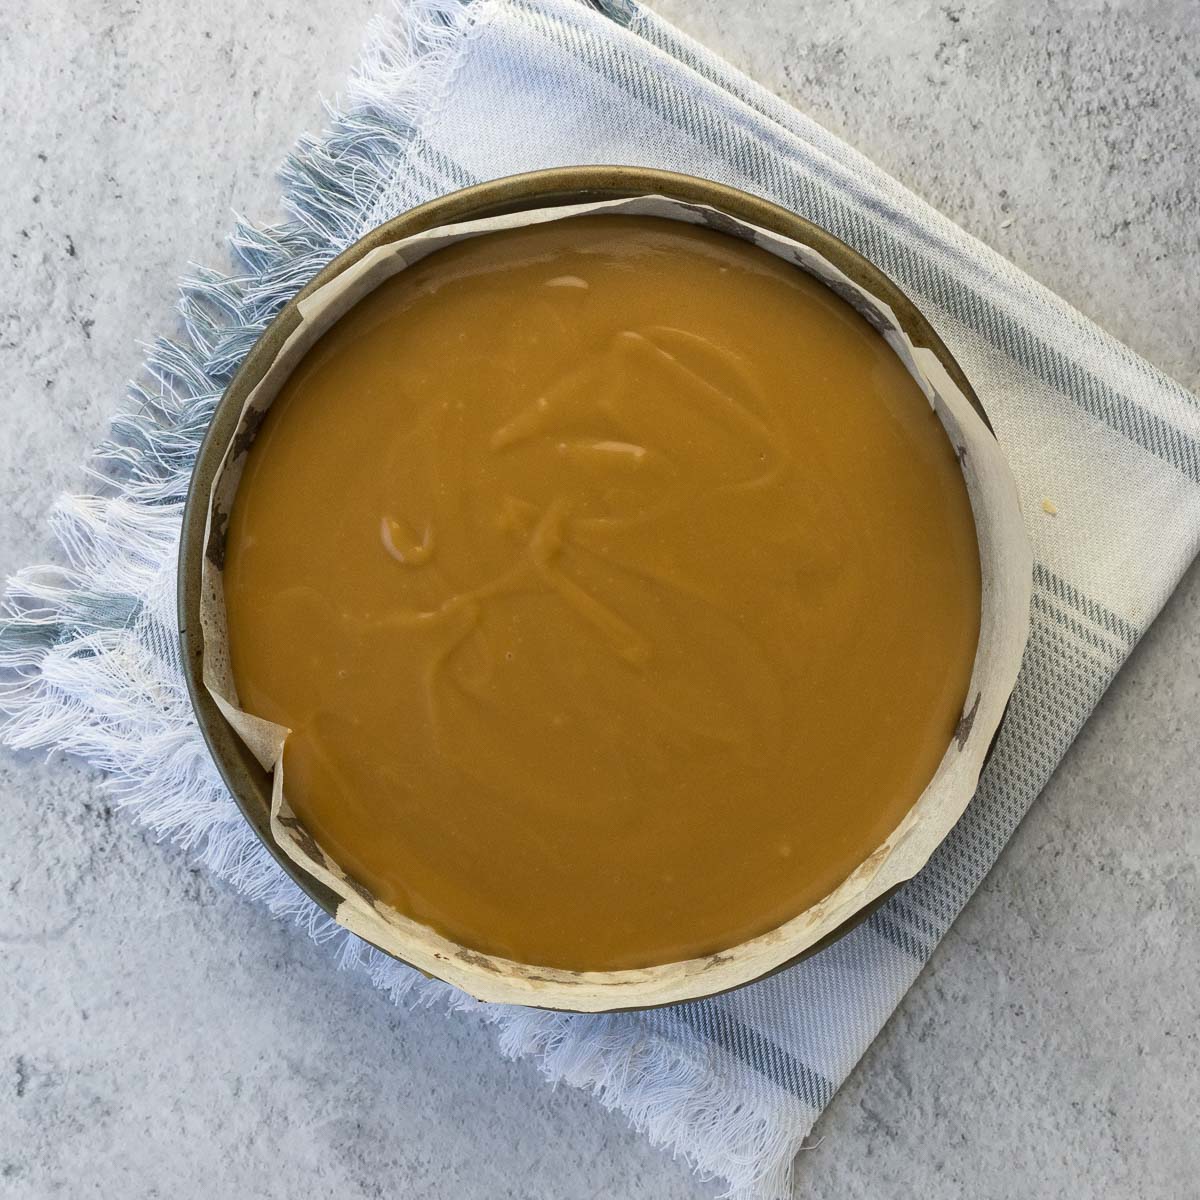
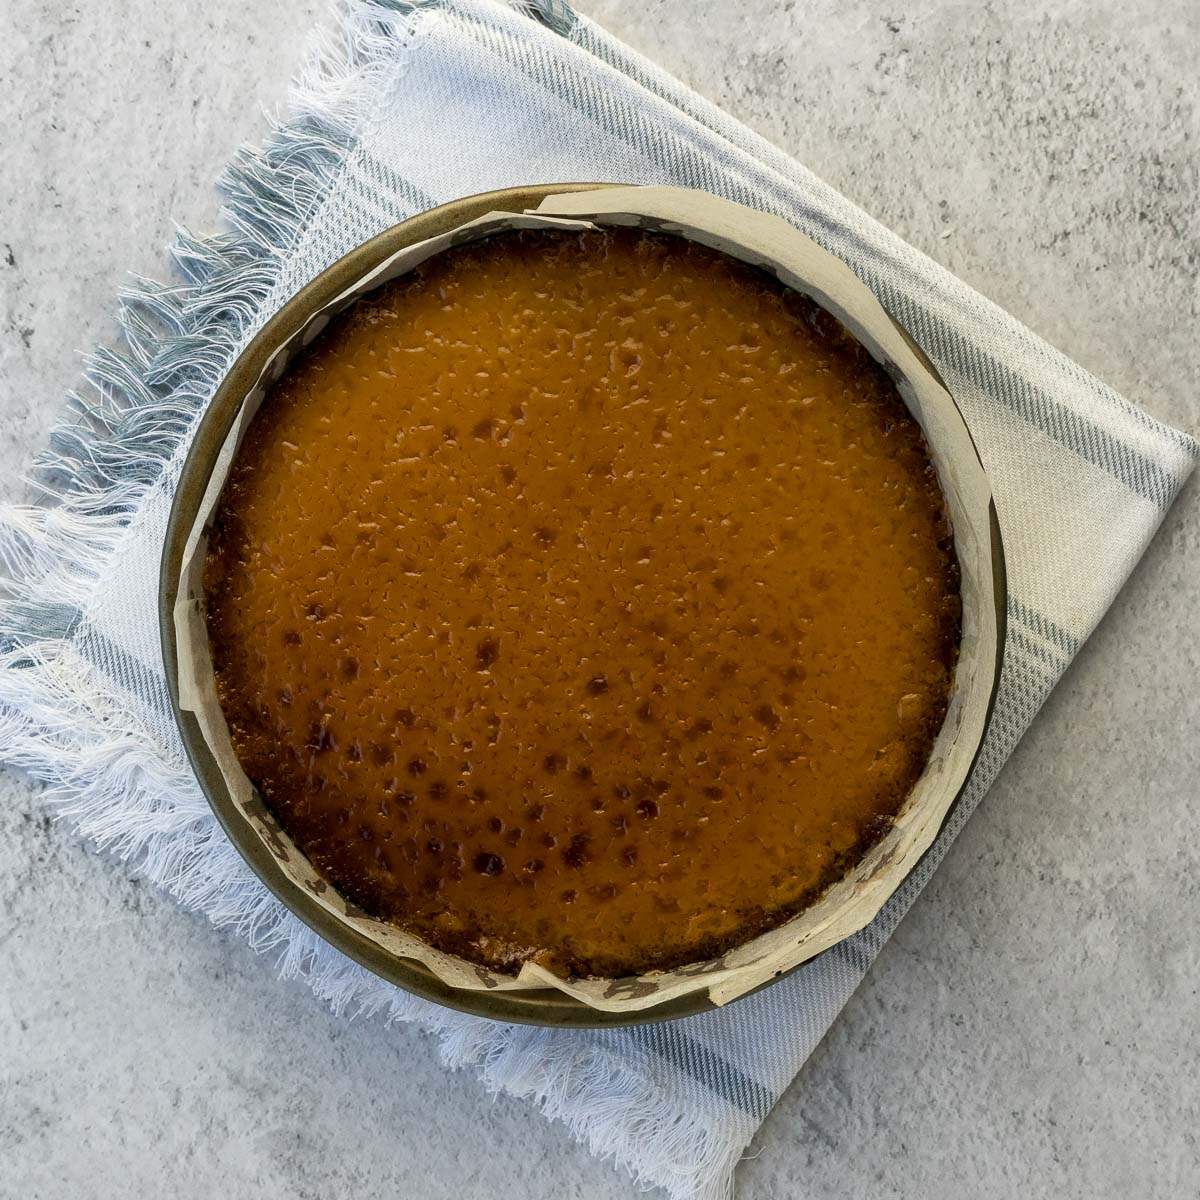
Step 3 - Pour the caramel filling over the biscuit base and bake at 180°C for 5 to 10 minutes. Once the edges have just started to caramelize, remove from the heat and allow to cool completely.
Note - baking the caramel really ensures that the caramel will be nicely set when slicing into the peppermint caramel slice.
Chocolate Topping
Step 1 - In a heatproof bowl, place the chocolate and butter or oil, and zap in 20-30 second increments until the chocolate is melted, stirring after each interval. Alternatively, melt the chocolate in a glass dish over a pot of water on the stove. Do not let the water touch the bottom of the glass bowl. Do not get water into the chocolate, the chocolate will seize.
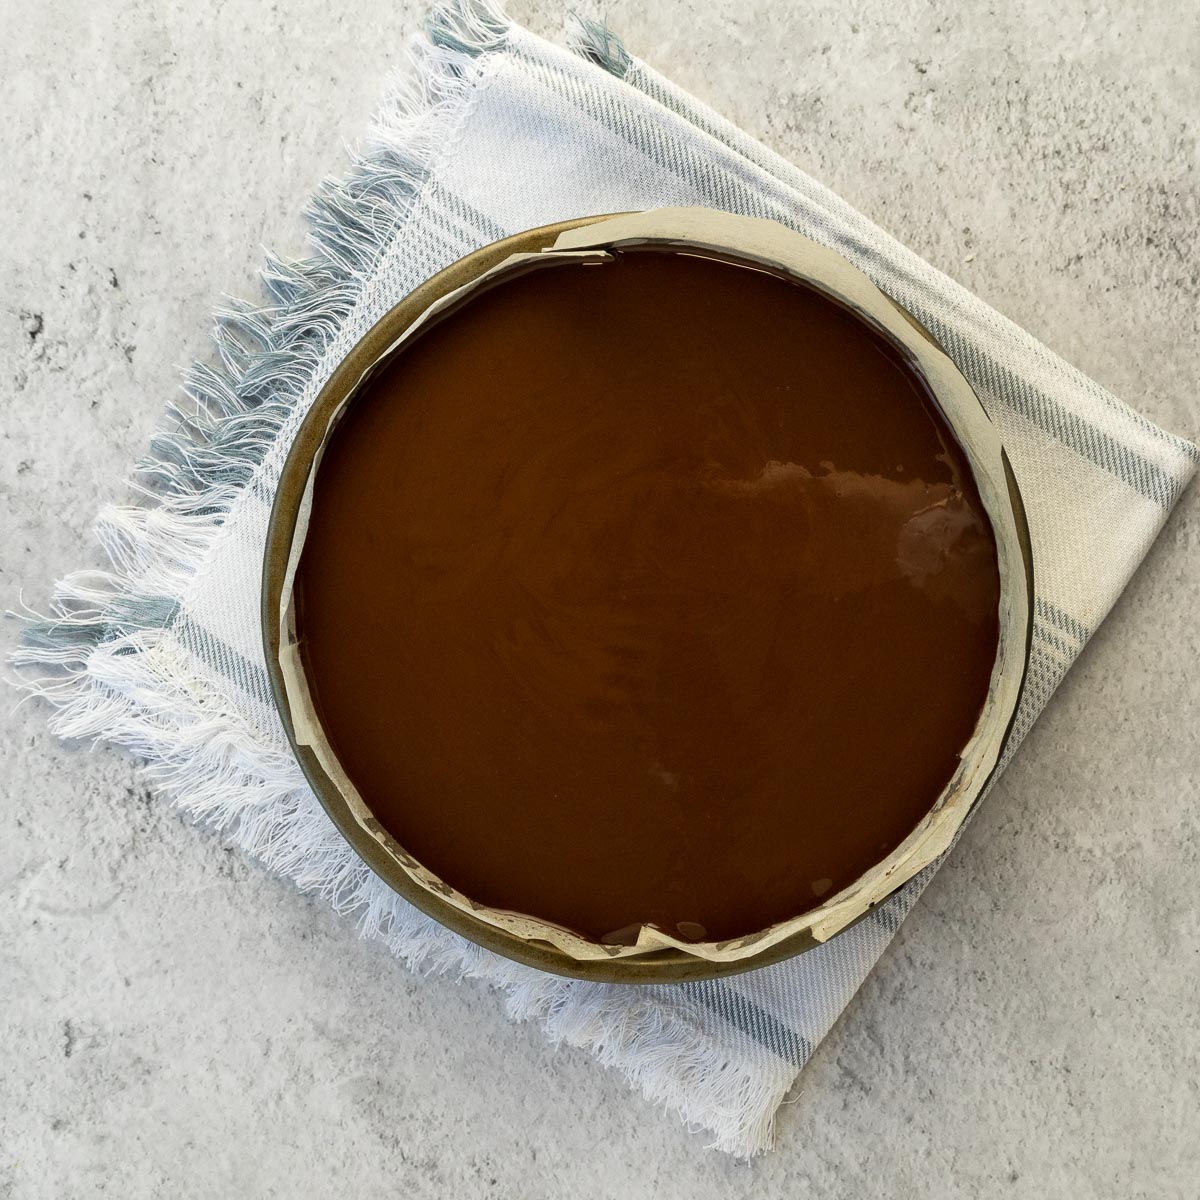
Step 2 - Pour the chocolate over the cooled caramel filling, and spread evenly using the back of a spoon or offset spatula. Allow the slice to cool completely before slicing. You can place the entire tin into the fridge for at least 2 hours or overnight before slicing.
Watch the Peppermint Crisp Caramel Slice Web Story here.
Pro Tips for this Recipe
When lining the slice tin, make sure you have an overhang on each side of the tin, this allows for easy removal.
Stir the caramel constantly to ensure the caramel doesn't catch at the bottom of the saucepan.
The caramel layer needs to be cool but not necessarily cold before adding the chocolate, this keeps the slice layers crisp and neat.
Weighing & Measuring Ingredients
Weighing ingredients with a kitchen scale is more accurate than using measuring cups. All my recipes are developed and tested using grams only.
However, I have activated the metric-to-cup conversions. Simply click on "cups" or "metric" for your preferred measurements. For these conversions, cups are equal to 240 millilitres/8 fluid ounces, tablespoons are 15 milliliters and teaspoons are 5mL.
The temperatures stated are for conventional ovens. For convection, fan-forced, fan-assisted, or air-fryers, the temperature must be reduced by 20°C/25°F.
For baking, make sure the oven is fully preheated, and that the rack is in the middle of the oven. Open the oven as little as possible. For best baking results use an oven thermometer.
Remember that all ovens work slightly differently and bake times may need to be adjusted for your specific oven.
Storage and Freezing
Caramel slices can be stored in an airtight container at room temperature for about 5 days.
For Freezing, wrap the slice in plastic wrap and foil in individual servings. Allow thawing completely before serving.
Peppermint Crisp Slice FAQ
Yes. Wrap the slice in plastic wrap and foil in individual servings. Allow thawing completely before serving.
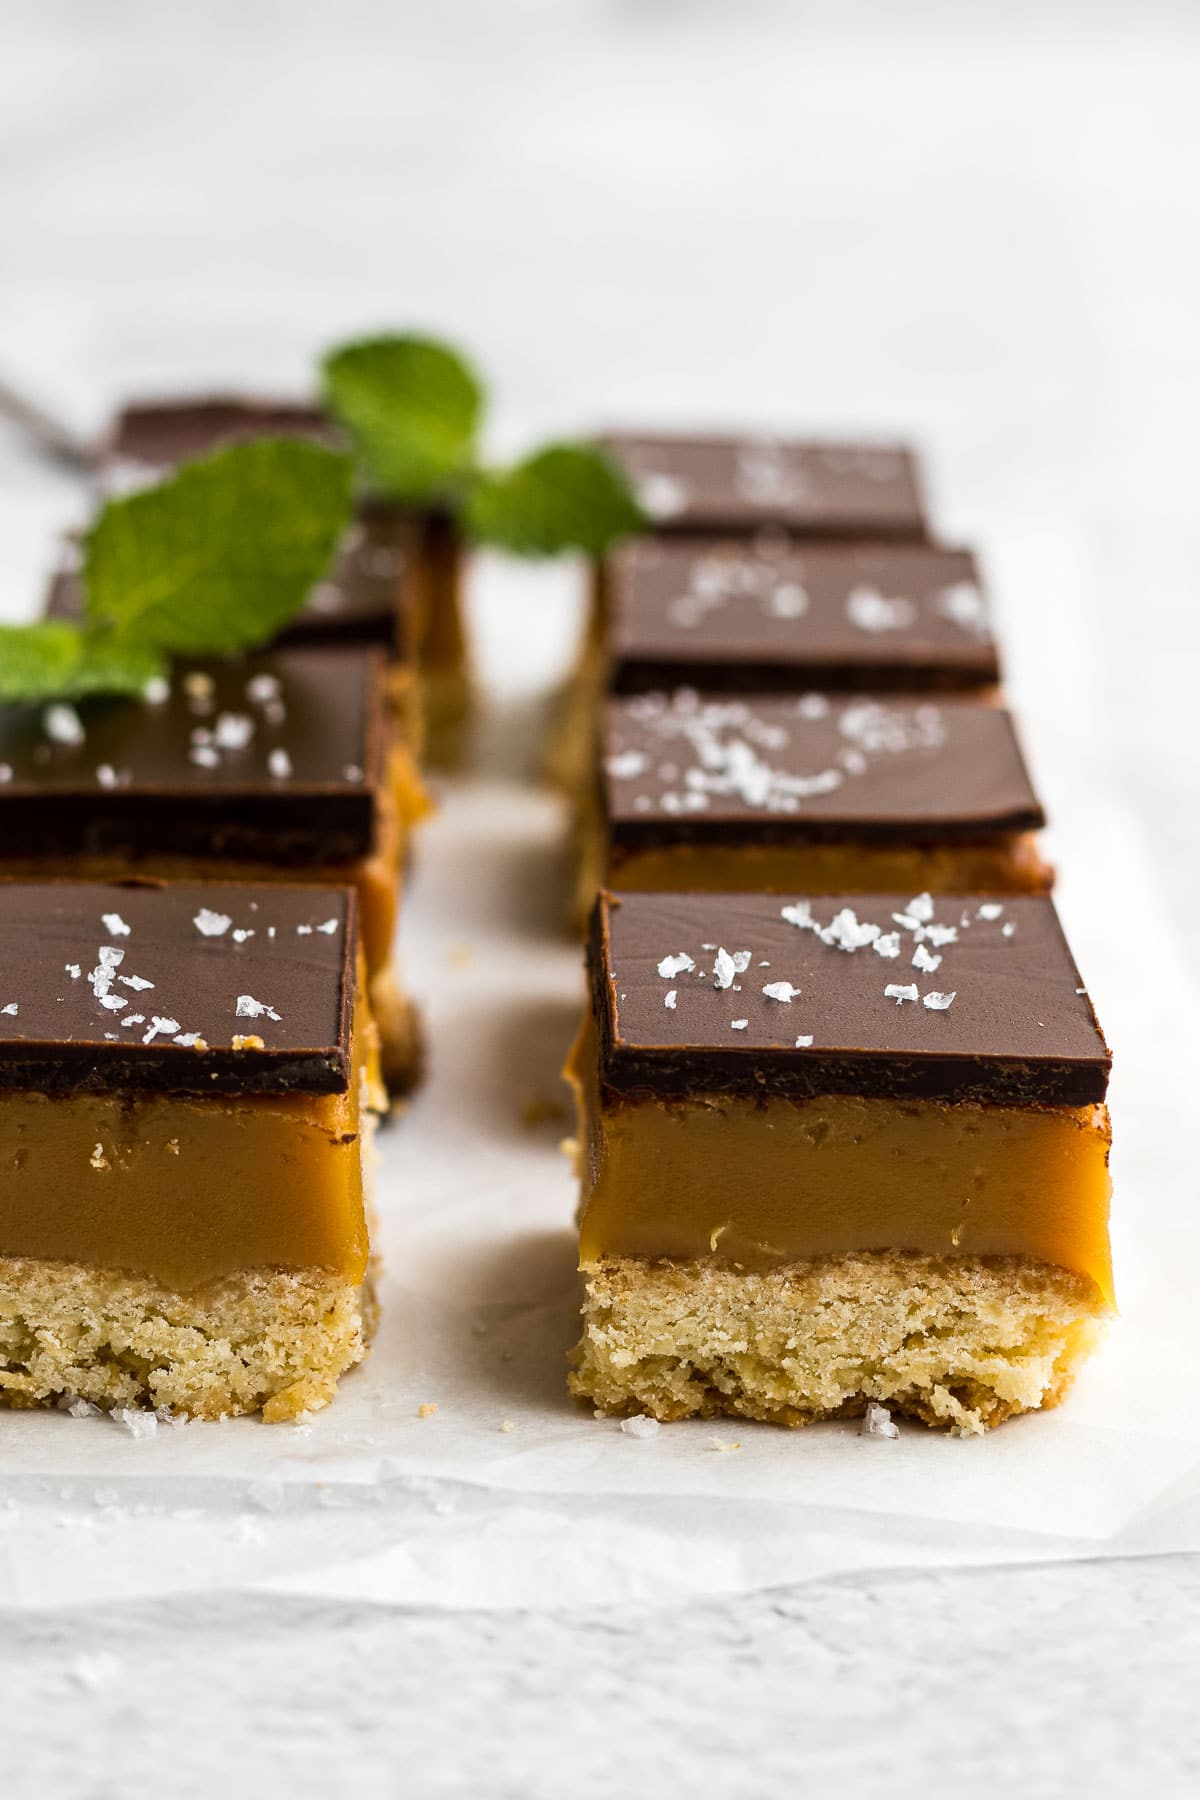
The trick is to add a neutral oil or butter to the chocolate. To get clean even slices, mark your slice using a ruler, and then warm up your sharp knife in hot water, wipe dry and cut. By warming up the blade and wiping it clean in between each slice you will get perfect slices.
The slice should only be cut once the caramel and chocolate have been set completely. To ensure this, place the slice in the fridge for two hours or overnight.
The caramel was not cooked enough. The easiest way to prevent this is to test the caramel by using a cold teaspoon or knife. If the caramel sets up fairly quickly and doesn't run, your caramel is ready to pour over the biscuit base. If the caramel is still fairly runny, cook it longer. Baking the caramel for 15 minutes until the edges are bubbly and dark will also ensure the caramel sets properly.
Caramel slices can be stored in an airtight container at room temperature for about 5 days.
Rate & Review!
If you made this recipe, please leave a star rating! It gives my readers and me helpful feedback. If you want more recipes, subscribe to my newsletter, and follow me on Instagram, Pinterest, and Facebook!
Pin for Later
Recipe Card
Peppermint Crisp Caramel Slice
Equipment
- 9x9 Inch (23x23cm) Square Cake Pan
Ingredients
Whipped Shortbread Base
- 90 grams butter
- 25 grams icing sugar
- 50 grams white granulated sugar (caster/granulated)
- 125 grams plain flour (all-purpose/standard grade)
- ¼ teaspoon table salt (if using unsalted butter)
- 40 grams desiccated coconut
Peppermint Crisp Caramel Filling
- 75 grams light brown sugar
- 300 grams sweetened condensed milk (¾ tin of full cream condensed milk)
- 35 grams golden syrup (light corn syrup/maple syrup)
- 90 grams butter
- 1 teaspoon sea salt salt to taste
- ½ teaspoon vanilla extract
- peppermint crisp of a peppermint crisp bar
Chocolate Topping
- 100 grams dark chocolate
- 15 grams butter or coconut oil
Instructions
Whipped Shortbread Base
- Preheat the oven to 200°C/390F. Grease and line a loaf tin or 8 inch/20cm round cake tin with parchment paper leaving an overhang to allow for easy removal of the slice.
- Soften the butter to a whipping consistency. If room temperature butter is not soft enough, pop in the microwave for 15-second bursts until soft but not melted. Beat the butter, caster sugar, icing sugar together using a stand mixer, electric handheld mixer or whisk until the butter is light, fluffy and aerated.90 grams butter, 50 grams white granulated sugar, 25 grams icing sugar
- Add in the flour, coconut and salt, mixing with a spatula or wooden spoon until a soft pliable dough forms. Press this dough into the bottom of the prepared tin. Use the back of a cup measurer or offset spatula to really press the dough into the pan. Prick the dough with a fork throughout and bake for 15 minutes until the biscuit base is a nice light golden brown.125 grams plain flour, ¼ teaspoon table salt, 40 grams desiccated coconut
- Allow the biscuit base to cool in the tin while you make the caramel filling.
Caramel Filling
- Using a sharp knife, carefully remove the bulk of the chocolate surrounding the peppermint crisp. Keep the chocolate for the chocolate topping. Finely chop the crisp and set aside while making the caramel.peppermint crisp of a peppermint crisp bar
- Place the butter, syrup, brown sugar, condensed milk in a medium-sized saucepan and bring to a boil, stirring the entire time all the ingredients are melting together. Once the caramel has started to heat up and boil, whisk/stir constantly for 5 to 10 minutes until the caramel has started to thicken and brown. To test the caramel, take a cold teaspoon or knife and dip it in, if it sets up fairly quickly the caramel is done. Take off the heat and stir through the salt, vanilla and peppermint crisp pieces.75 grams light brown sugar, 300 grams sweetened condensed milk , 35 grams golden syrup, 90 grams butter, ½ teaspoon vanilla extract, 1 teaspoon sea salt
- Pour the caramel filling over the biscuit base and bake at 180°C for 5-10 minutes. Once the edges have just started to caramelize, remove from the heat and allow to cool completely.
Chocolate Topping
- In a heatproof bowl, place the chocolate and butter or oil, and zap in 20-30 second increments until the chocolate is melted, stirring after each interval. Alternatively, melt the chocolate in a glass dish over a pot of water on the stove. Do not let the water touch the bottom of the glass bowl. Do not get water into the chocolate, the chocolate will seize.100 grams dark chocolate, 15 grams butter or coconut oil
- Pour the chocolate over the cooled caramel filling, and spread evenly using the back of a spoon or offset spatula. Allow the slice to cool completely before slicing. You can place the entire tin into the fridge for at least 2 hours or overnight.
Notes
Nutrition
Nutrition information is an estimate. If scaling the recipe remember to scale your cook and bakeware accordingly. All temperatures stated are conventional, unless otherwise stated. Recipes tested in grams and at sea level.
Weighing & Measuring Ingredients
Weighing ingredients with a kitchen scale is more accurate than using measuring cups. All my recipes are developed and tested using grams only.
However, I have activated the metric-to-cup conversions. Simply click on "cups" or "metric" for your preferred measurements. For these conversions, cups are equal to 240 millilitres/8 fluid ounces, tablespoons are 15 milliliters and teaspoons are 5mL.

Comments
No Comments