


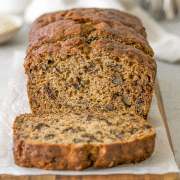


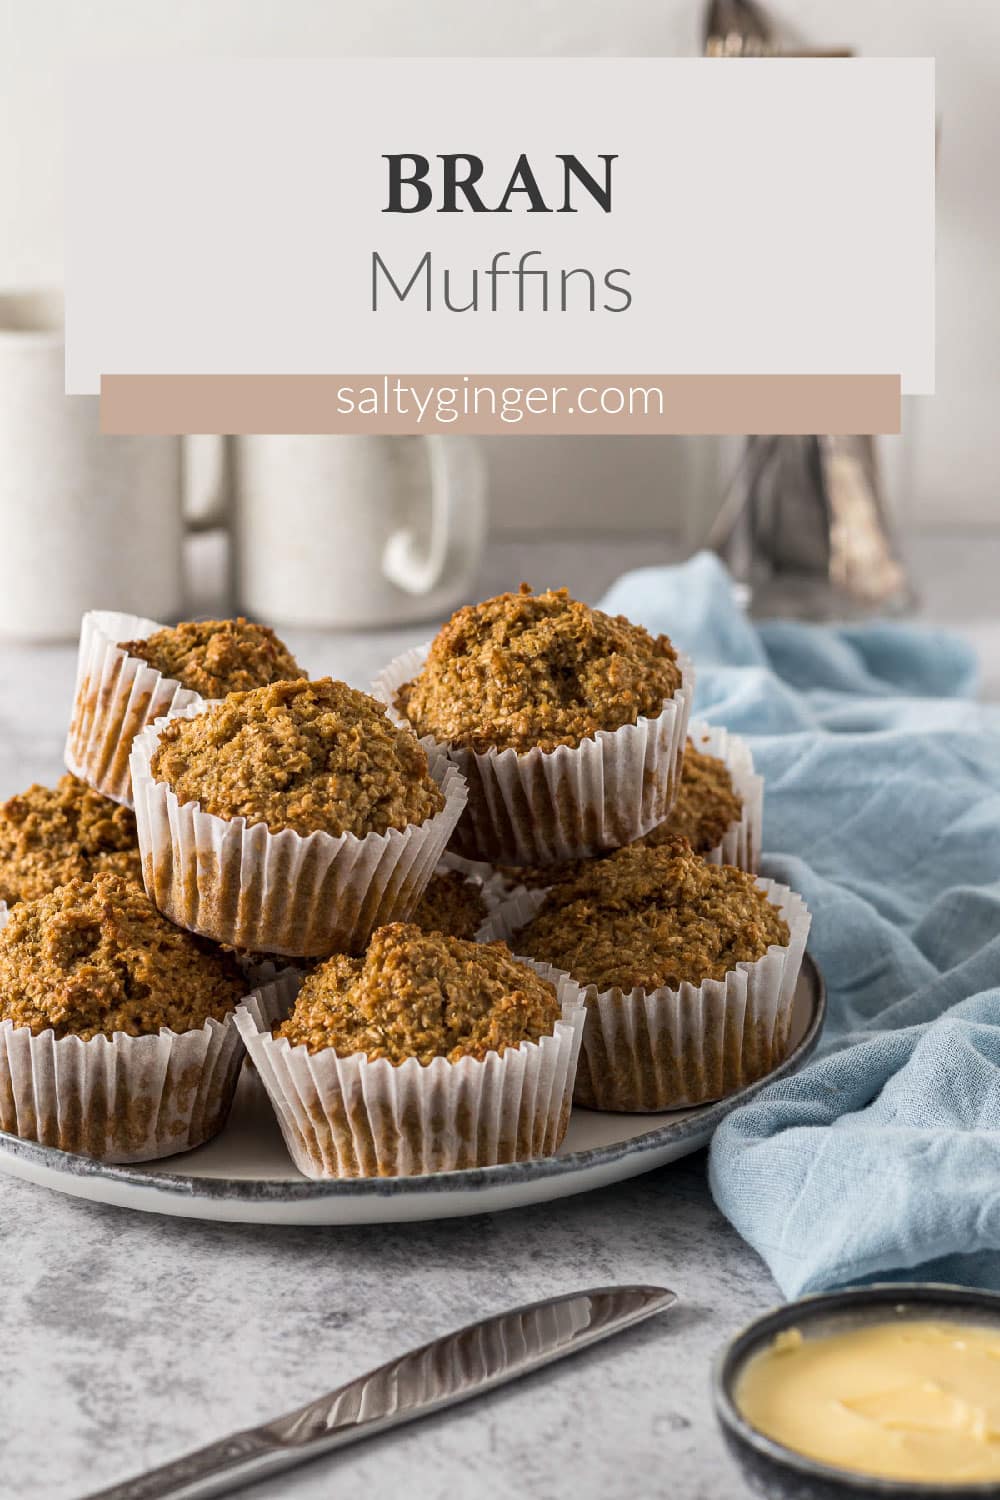
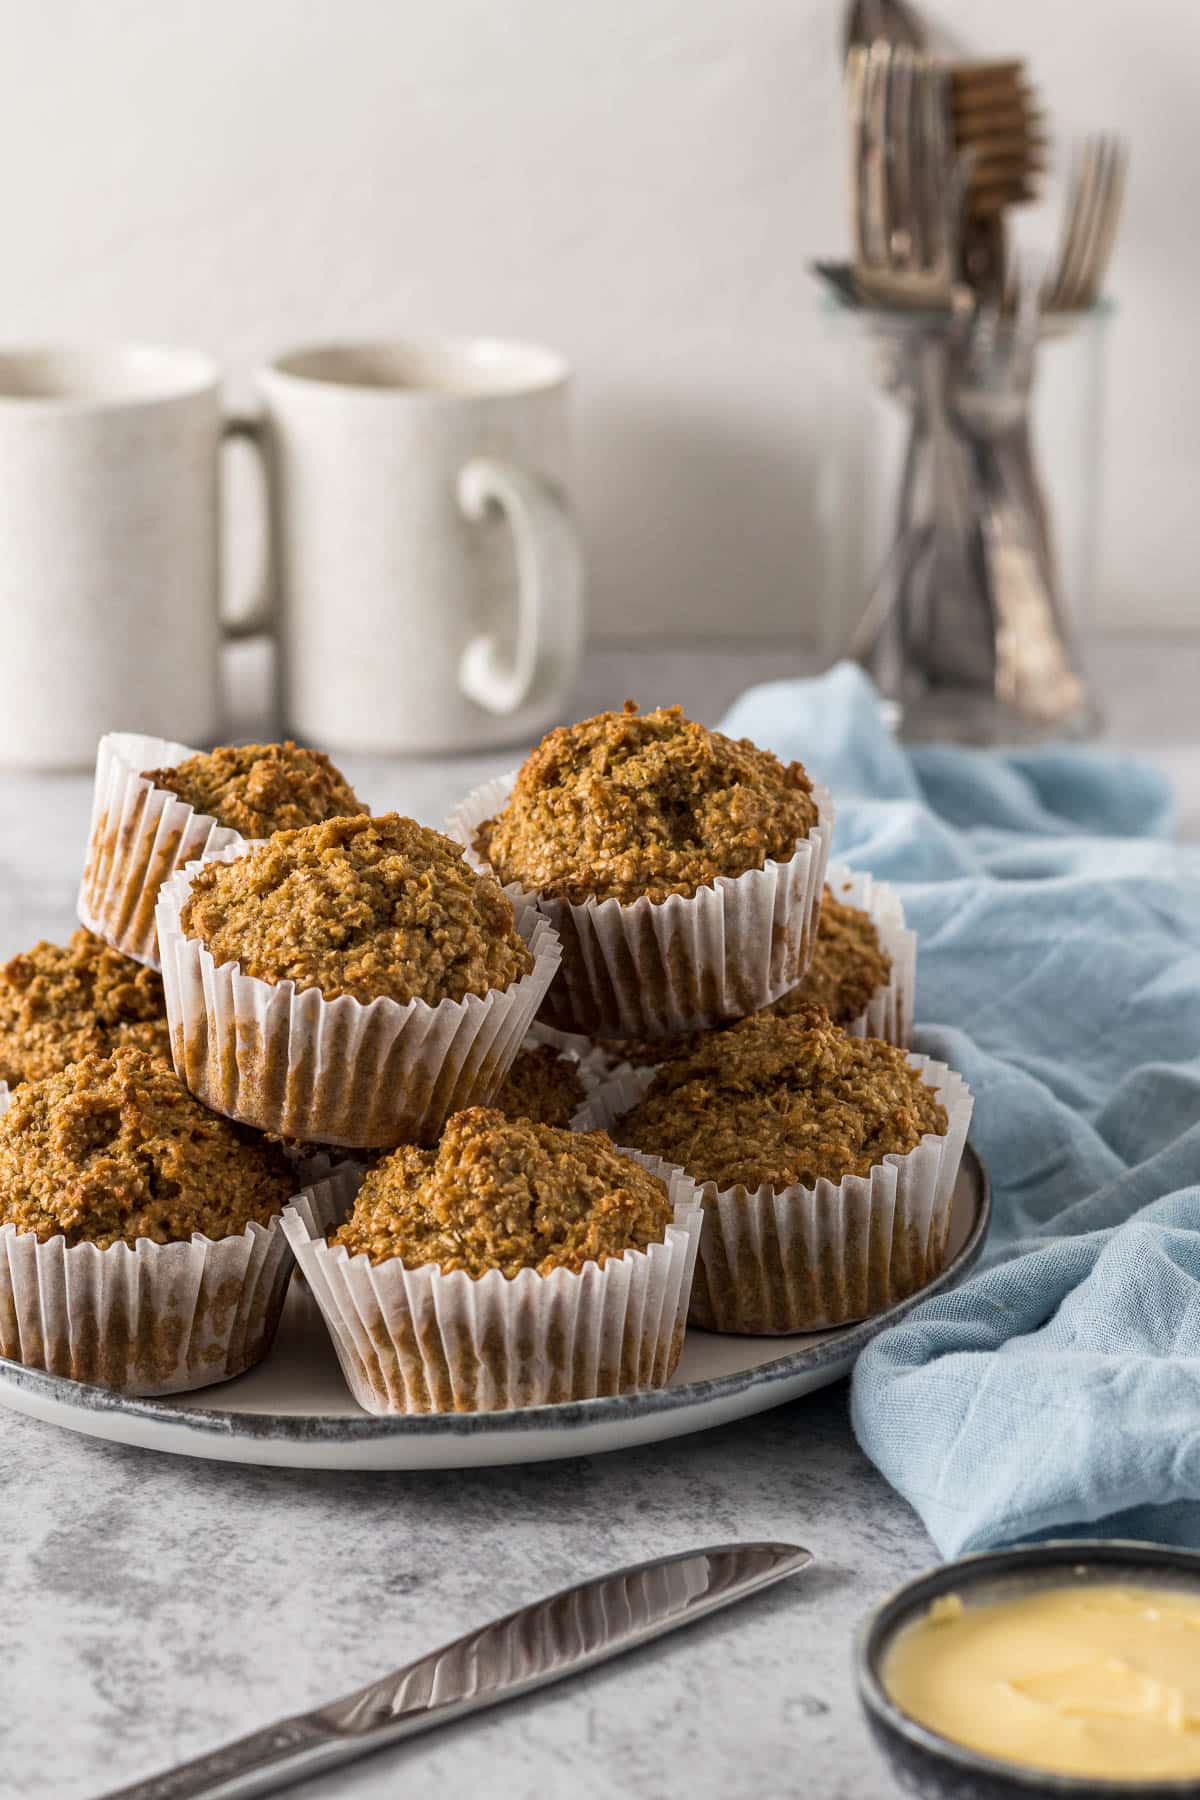
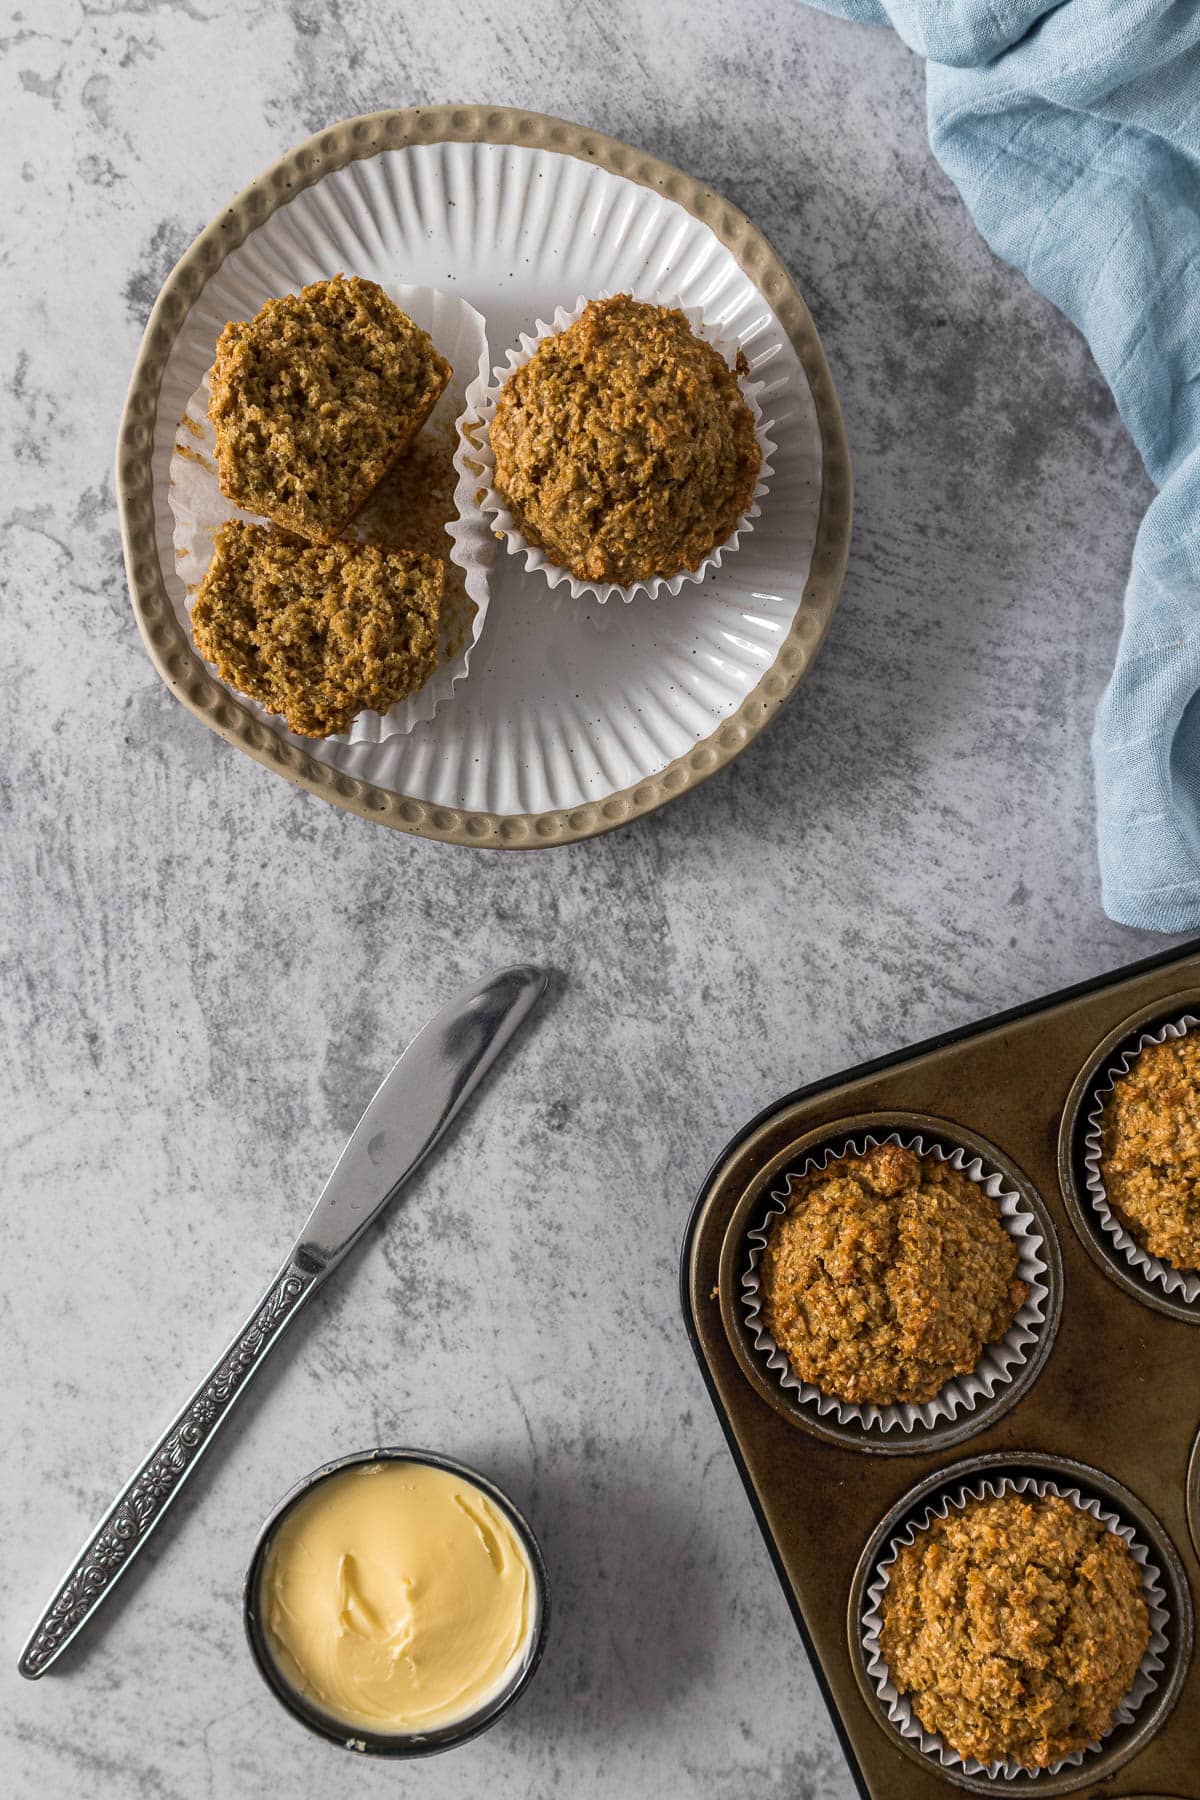
These classic bran muffins are everything a good muffin should be — quick to make, wonderfully moist, and packed with wholesome flavor using simple pantry staples. Serve them warm with butter, jam, or even a sliver of cheese for a satisfying treat any time of day.
This recipe was born out of nostalgia. Growing up in South Africa, bran muffins made from a beloved local mix were a staple in kitchens everywhere, and recreating that familiar taste became a personal mission.
After experimenting with several variations, I landed on what I truly believe are the best bran muffins — hearty, delicious, and remarkably easy to pull together.
Jump to:

Ingredients
This recipe requires either a regular-sized or a large-sized muffin tin, and the following ingredients (refer to the recipe card for details):
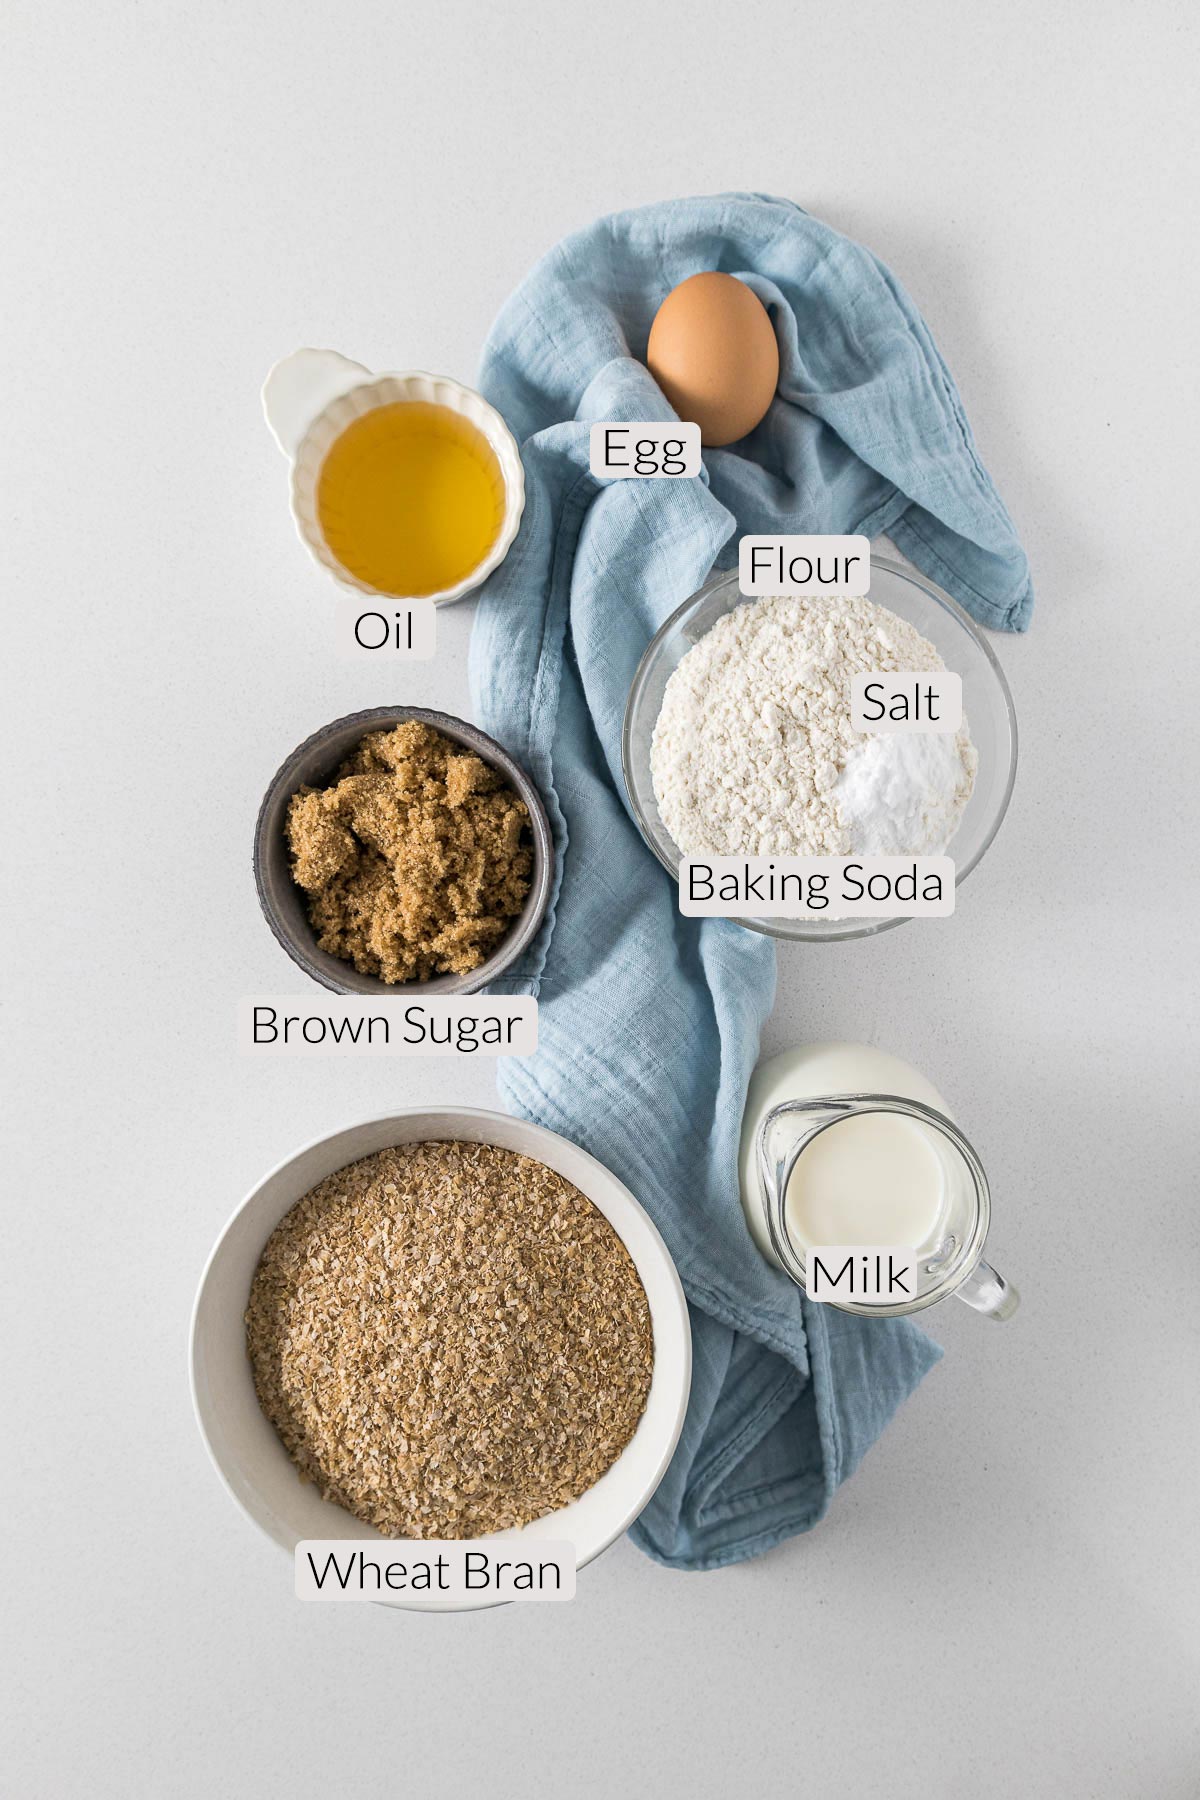
Here is a list of ingredients. Please refer to the recipe card for full measurements.
Wheat bran - this is the main ingredient for the muffin, giving the delightful bran flavor, and adding a punch when it comes to fibre. Wheat bran is usually sold alongside flour. I use Edmond's wheat bran which is made in New Zealand.
Flour - plain, standard grade or all-purpose flour. In a pinch, you can also use bread flour, but keep the mixing to a minimum.
Egg to bind this muffin all together, while adding some moisture.
Vegetable oil, preferably one with a neutral flavor. This adds the all-important fat component to the muffin and also keeps the muffin moist.
Whole Milk also adds flavor and moisture, however, you can use a lower-fat version. If looking at using plant-based milk I would stick to soy milk.
Brown Sugar sweetens the muffin and adds moisture, baking soda gives lift, and salt brings out the flavor of the wheat and bran.
Test the freshness of your baking powder or baking soda (bicarbonate of soda or bread soda) by placing a small amount in some boiling water. If it bubbles and fizzes, it's good to use!
Salt is a crucial ingredient in all baked goods. I use table salt in all my recipes. One teaspoon of table salt equals 1.5 teaspoons of Morton Kosher Salt equals 2 teaspoons of Diamond Crystal.
For raisin bran muffins, add a cup of raisins or sultanas.
Alternatively, you can add one of the following: 1 cup of chopped nuts, 1 cup of grated carrots, or 1 cup of chocolate chips.
Room Temperature Ingredients
Using room temperature ingredients ensures that ingredients in the batter or dough will be incorporated more easily. Take note that room temperature refers to around 20°C/68F. Eggs can be brought to room temperature quickly by placing them into warm water for 10 to 15 minutes.
Weighing & Measuring Ingredients
Weighing ingredients with a kitchen scale is more accurate than using measuring cups. All my recipes are developed and tested using grams only.
However, I have activated the metric-to-cup conversions. Simply click on "cups" or "metric" for your preferred measurements. For these conversions, cups are equal to 240 millilitres/8 fluid ounces, tablespoons are 15 milliliters and teaspoons are 5mL.
How to Make Easy Bran Muffins
Step 1 - Preheat the oven to 180°C/355F. Line a regular 12-well muffin pan with cupcake liners or muffin liners.
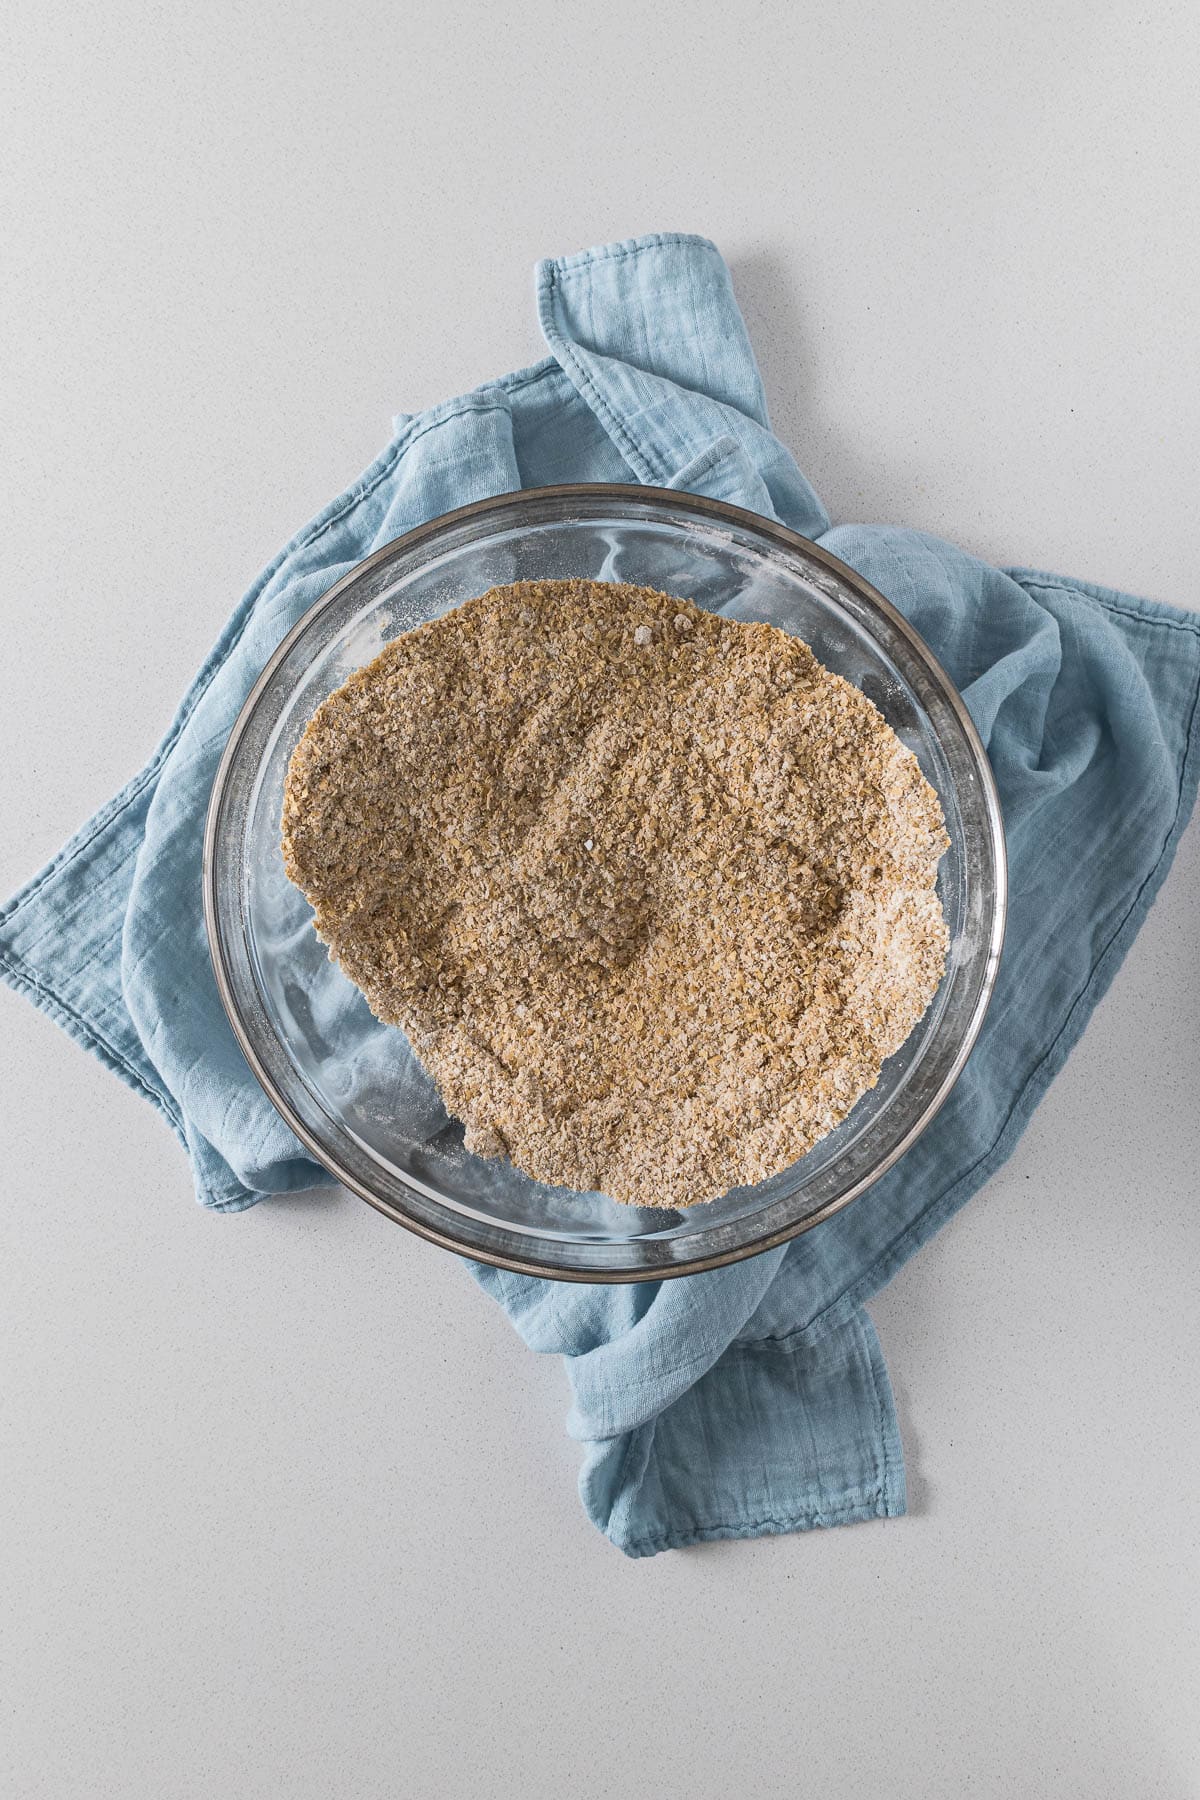
Step 2 - In a large bowl, whisk together the flour, bran, salt, sugar and baking soda.
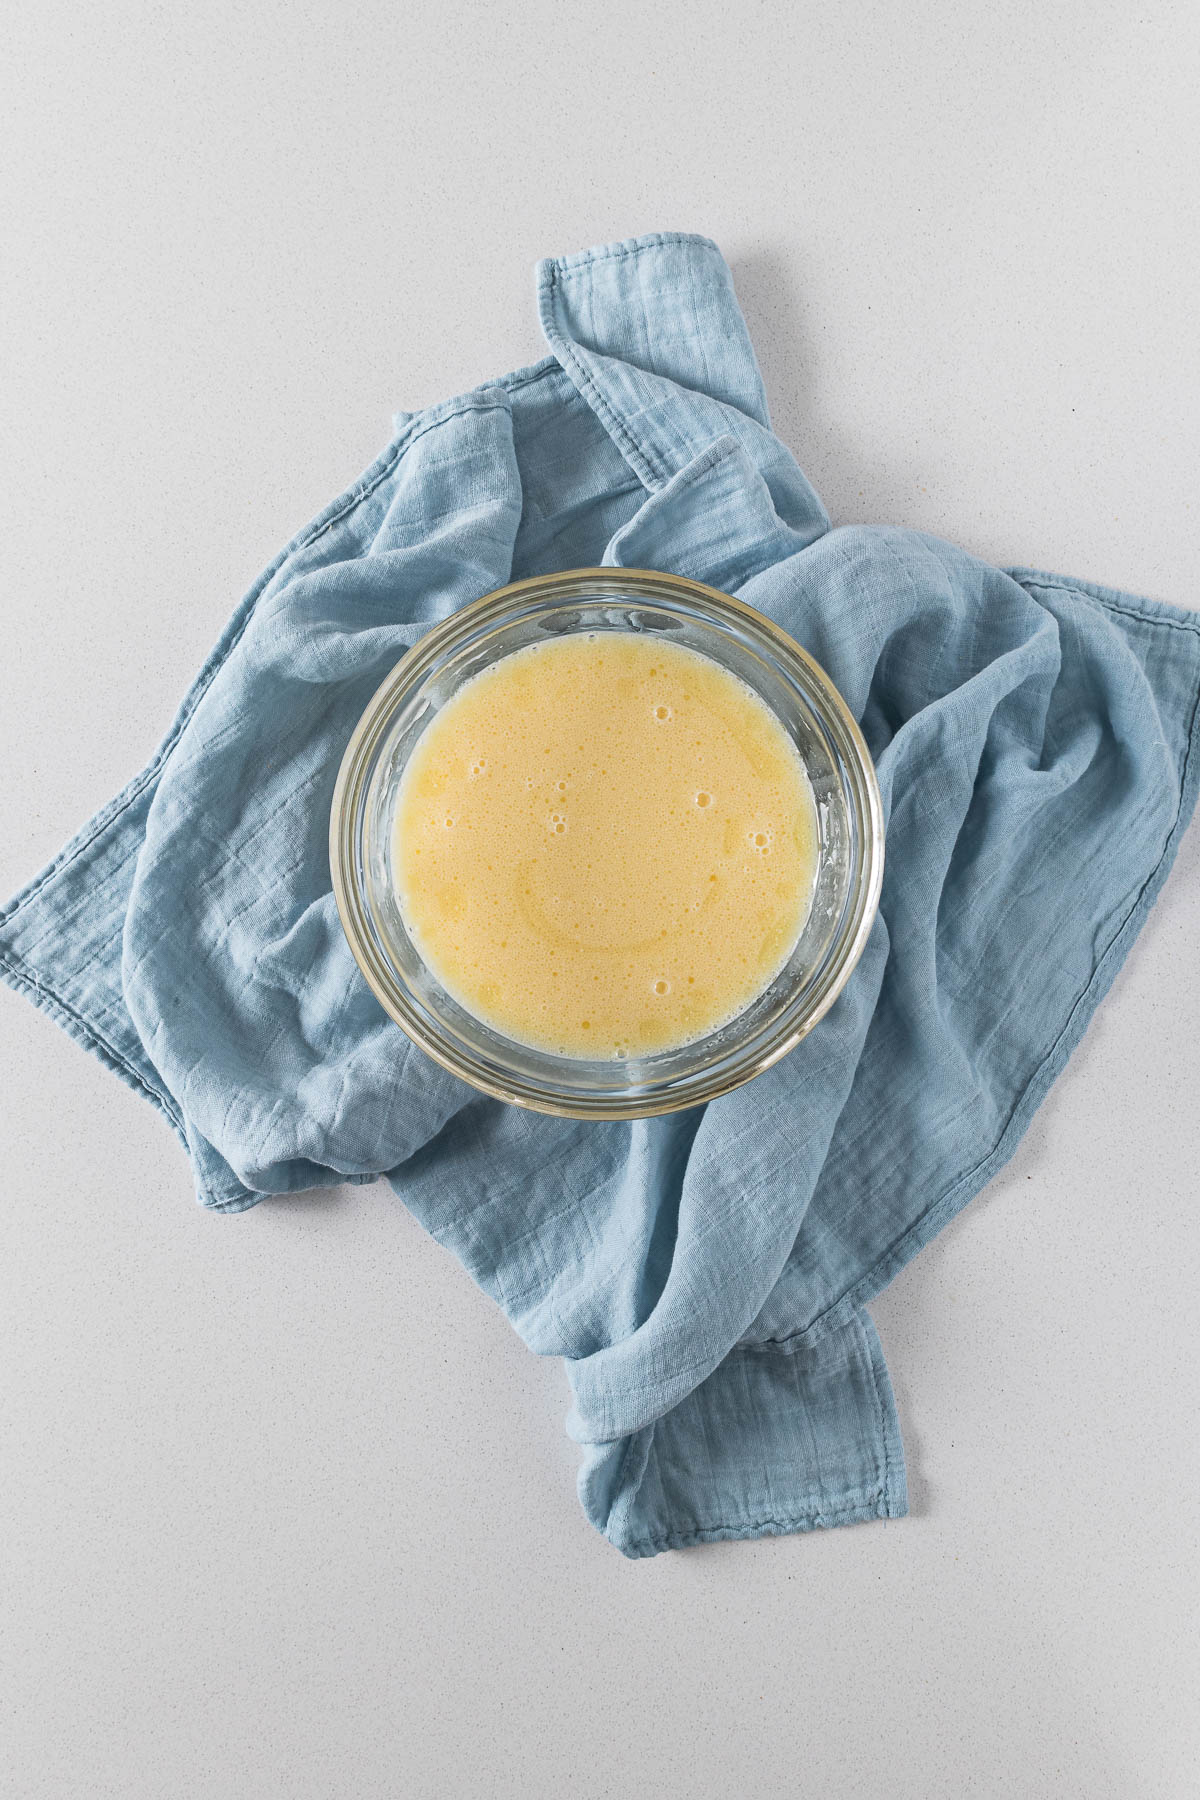
Step 3 - In a medium bowl or a jug, whisk together the egg, milk, and oil.
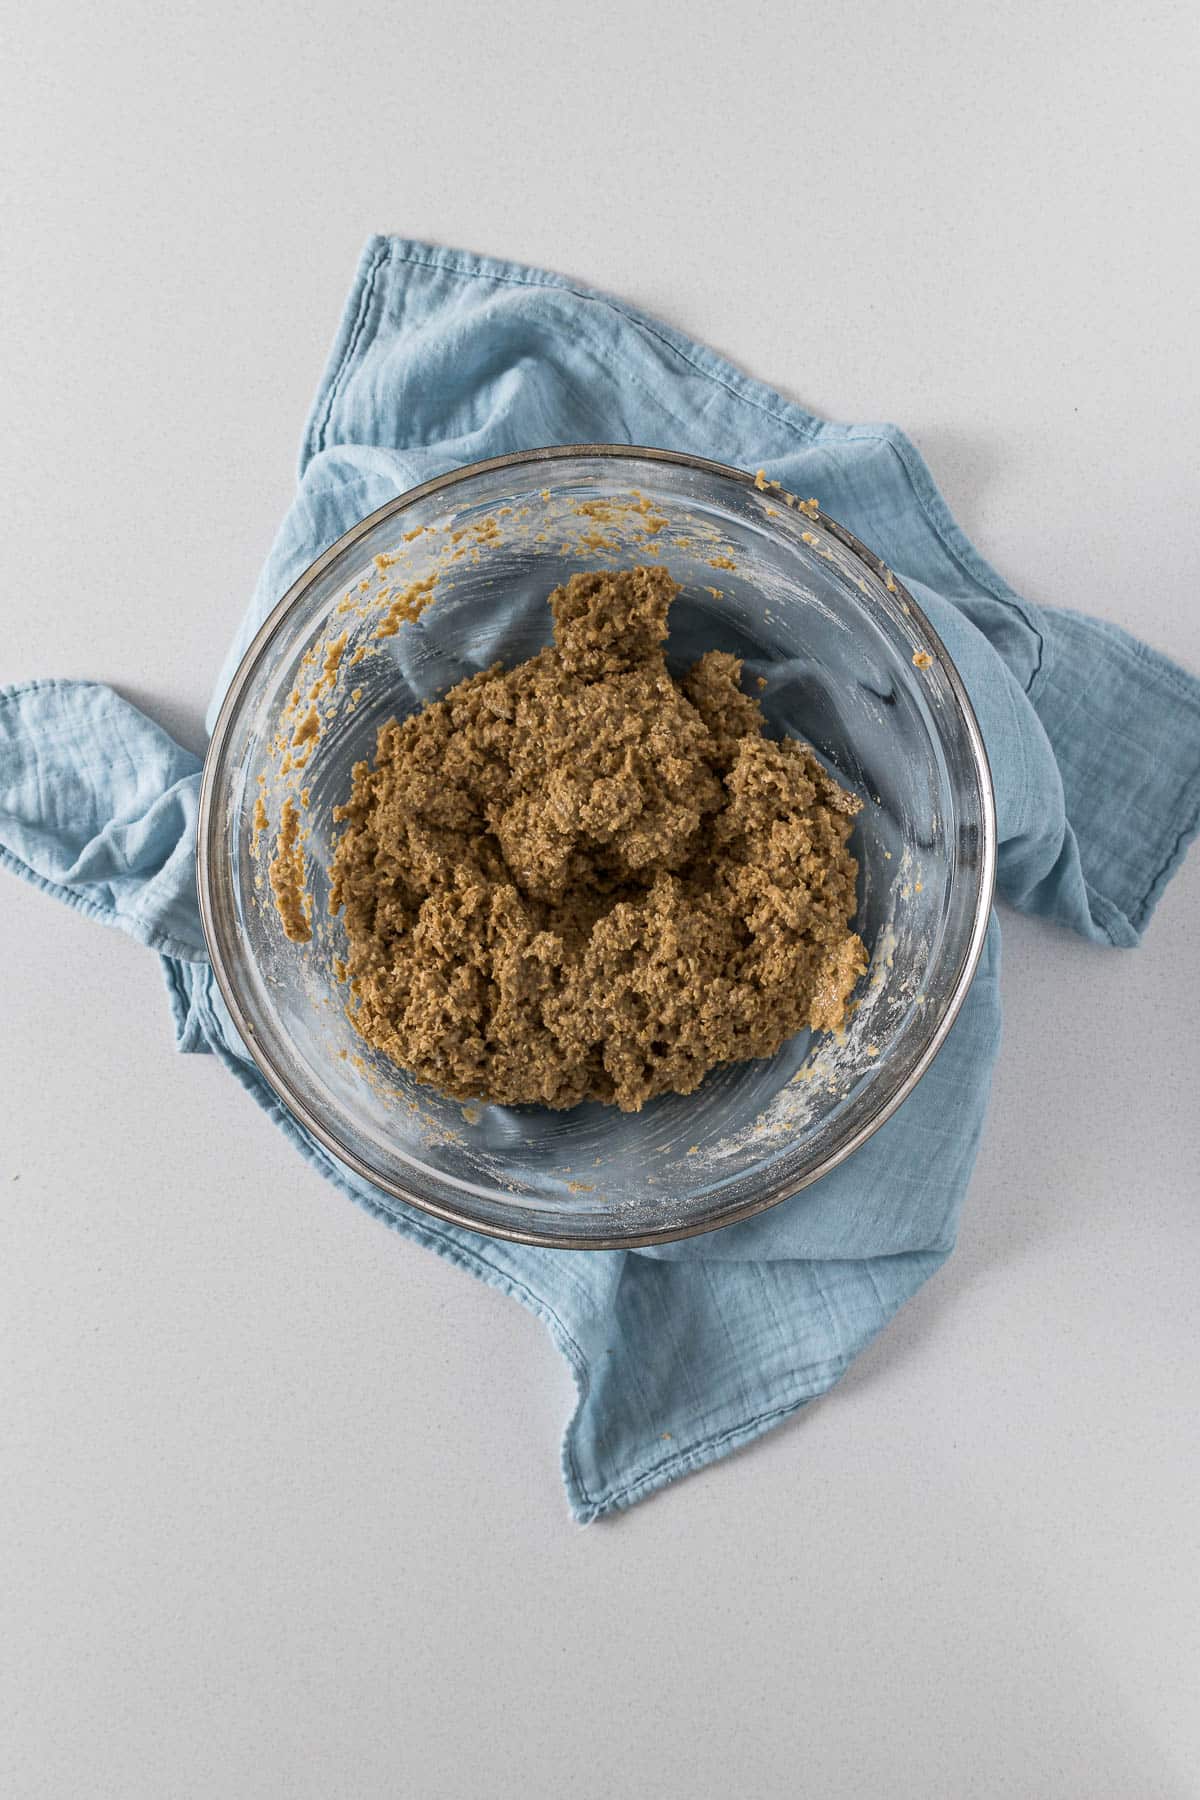
Step 4 - Pour the wet ingredients into the dry ingredients. Mix through until the flour mixture has just been combined with the wet ingredients.
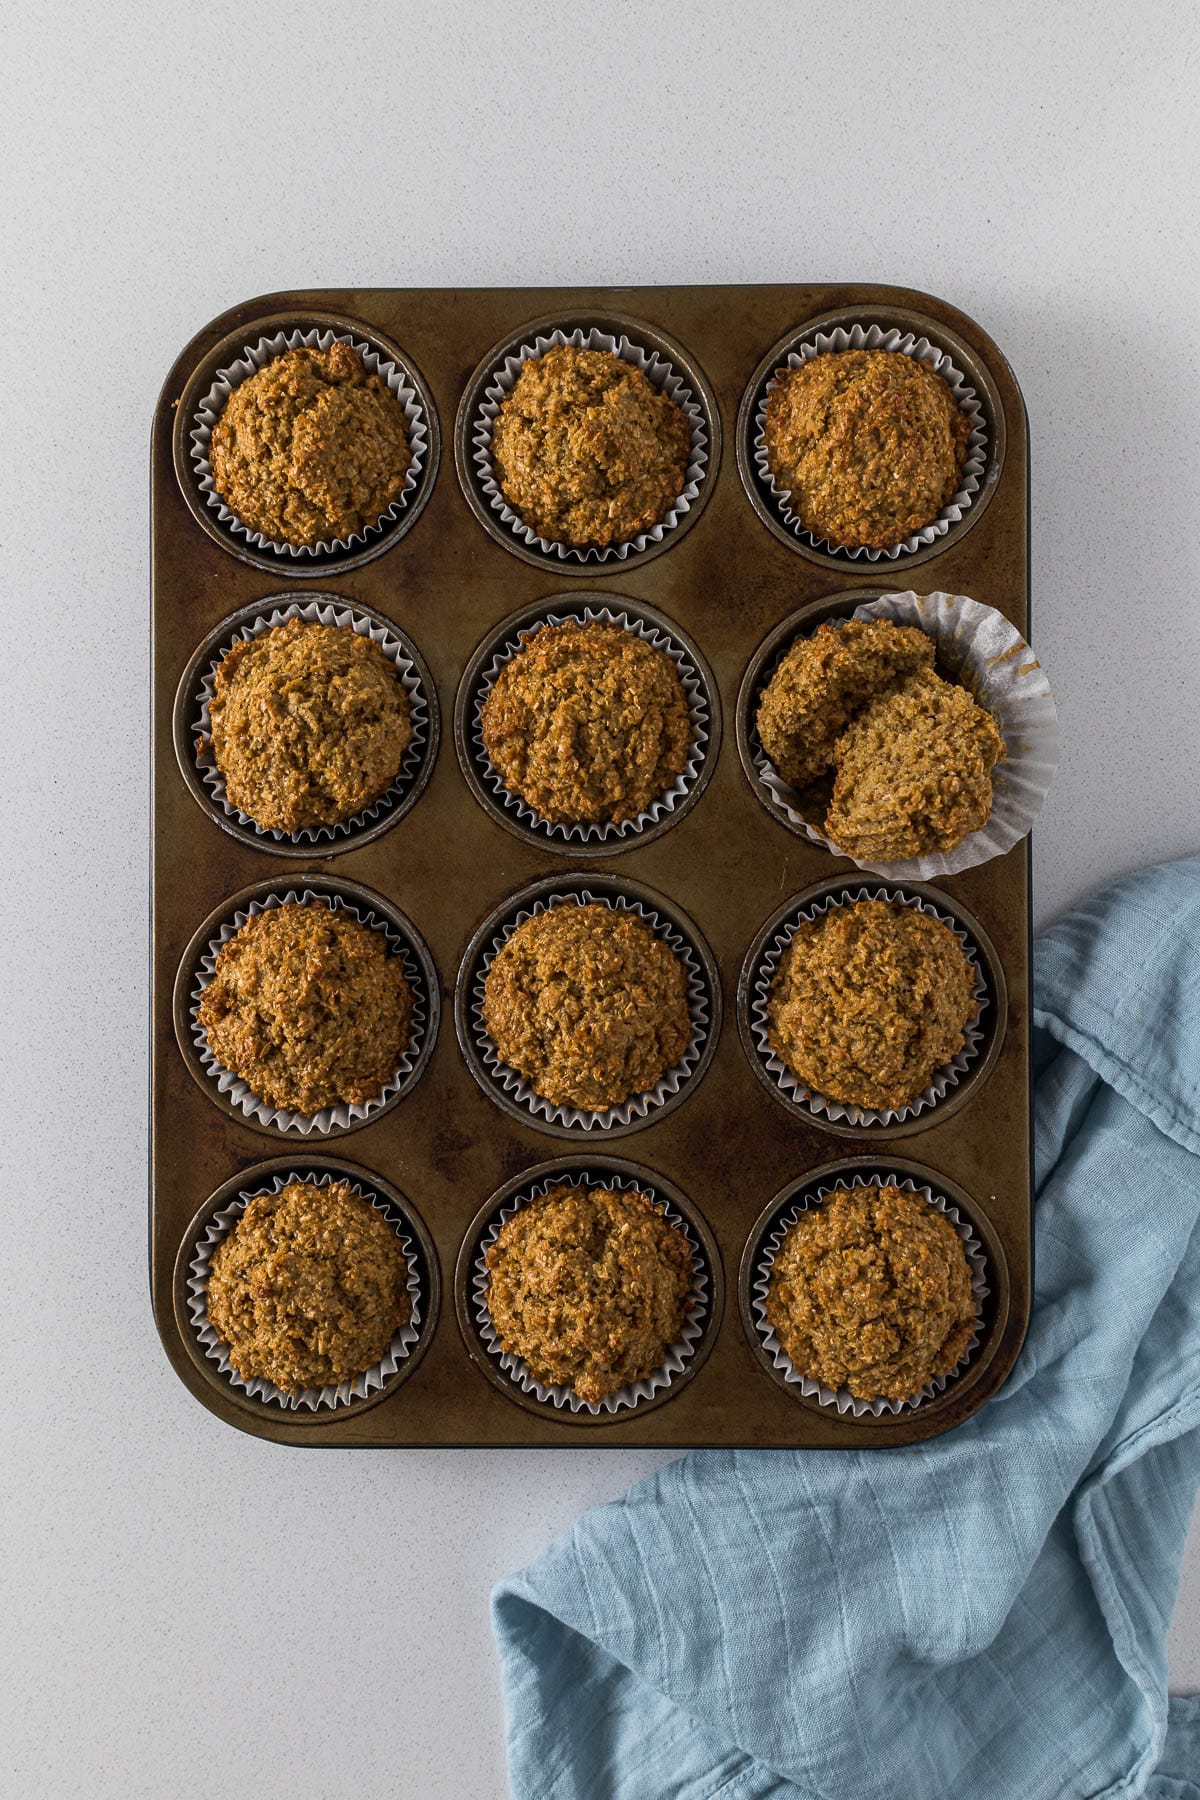
Step 5 - Divide the bran muffin batter evenly between the muffin cups. Bake for 20-25 minutes. The muffins are done with a cake tester or toothpick and come out mostly clean from the center.
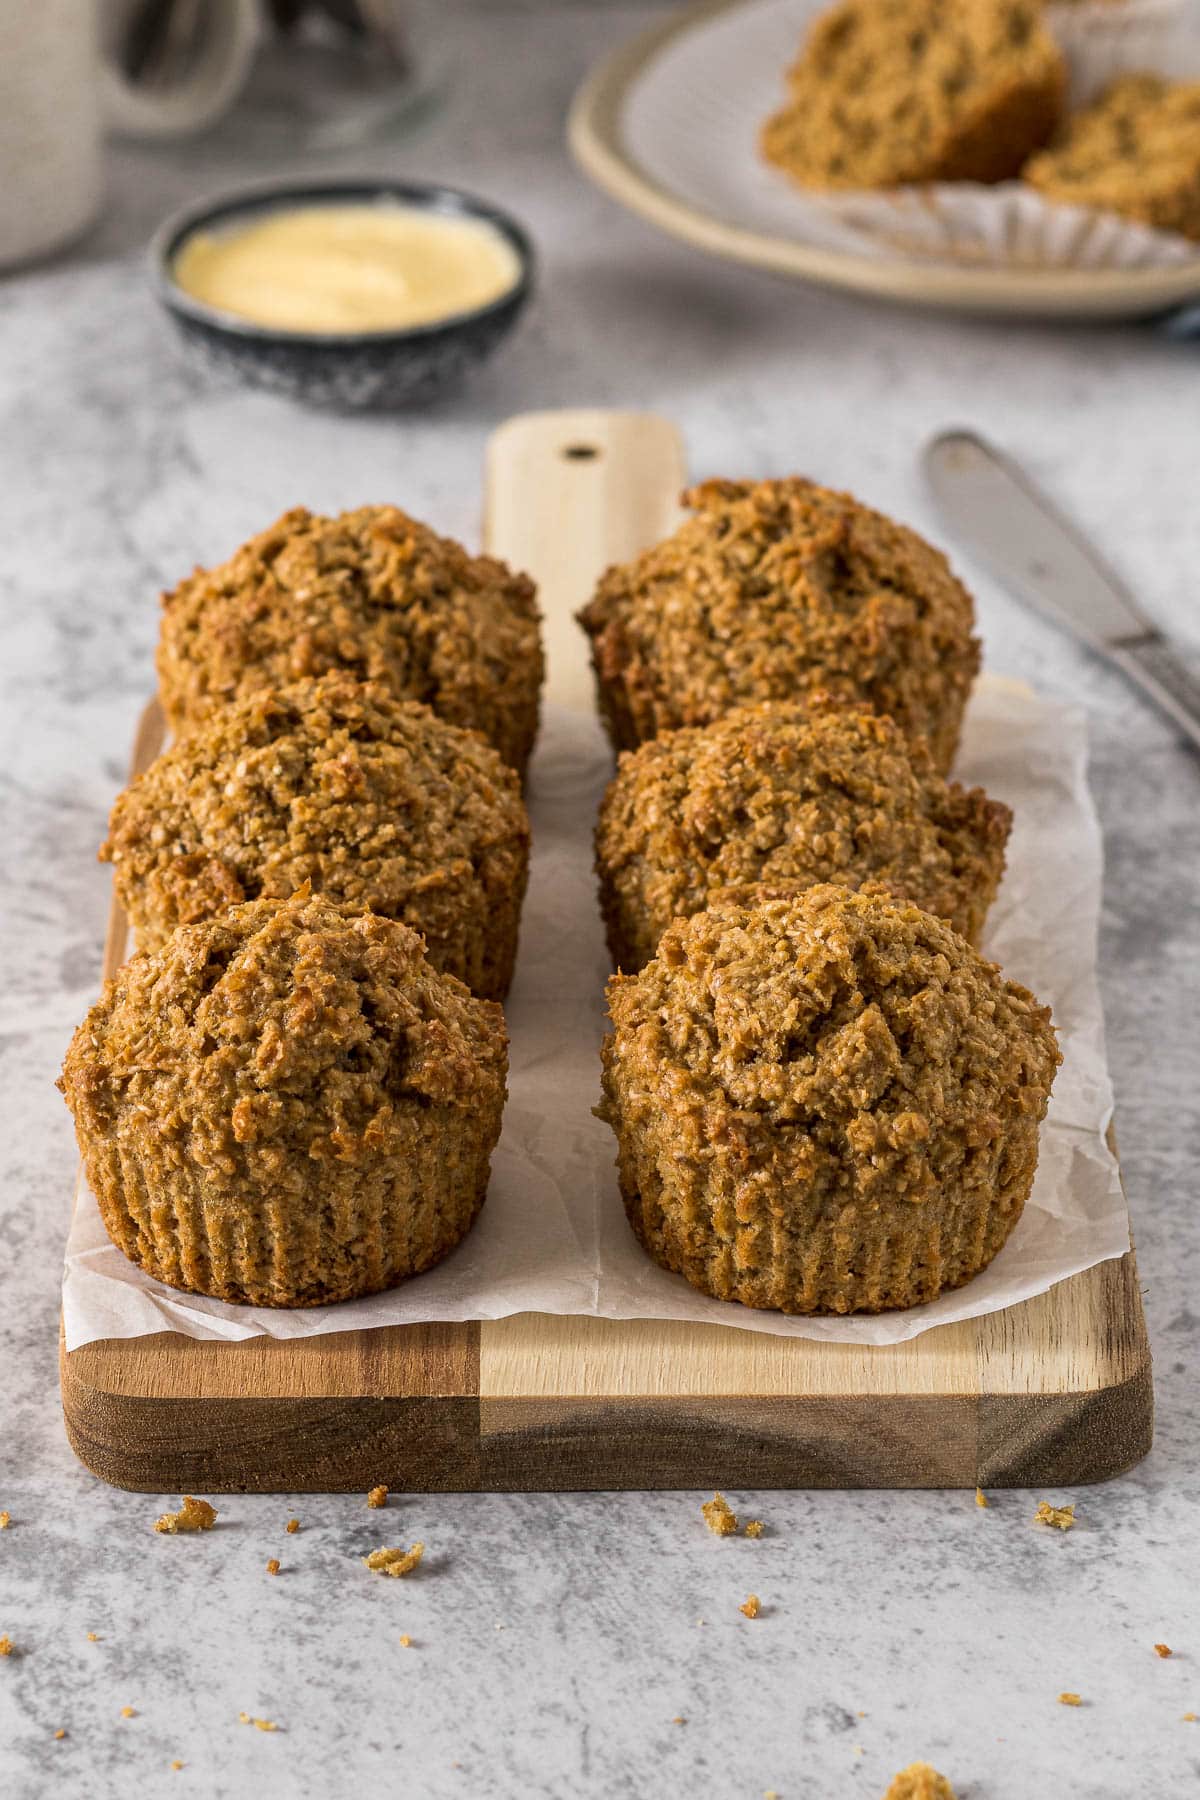
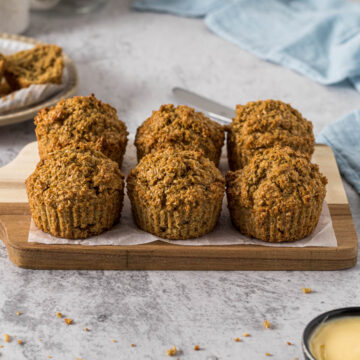
Step 6 - Allow the muffins to cool in the muffin tins for 5 minutes before turning them out on a wire cooling rack. Serve a warm muffin with butter, jam, or even a bit of cheese. These fresh muffins can also be enjoyed at room temperature.
Pro Tips for this Recipe
These muffins are done when you insert a cake tester or toothpick into the center of a muffin and they come out mostly clean. For moist muffins, do not overbake!
This is a super simple bran muffin recipe. For something a bit more exciting add in a cup of roughly chopped nuts, or a cup of raisins or grated carrots.
For moist muffins, try to not overbake. Check the muffins at 18 minutes.
Ovens & Air Fryers
The temperatures stated are for conventional ovens. For convection, fan-forced, fan-assisted, or air-fryers, the temperature must be reduced by 20°C/25°F.
For baking, make sure the oven is fully preheated, and that the rack is in the middle of the oven. Open the oven as little as possible. For best baking results use an oven thermometer.
Remember that all ovens work slightly differently and bake times may need to be adjusted for your specific oven.
Storage and Freezing
These homemade bran muffins can be stored in an airtight container at room temperature for 2 days. If you stick them in the fridge, for up to a week. To freshen up the muffins, pop them in the microwave for 10 seconds.
For longer storage, these delicious bran muffins can be individually frozen for up to 3 months, either wrapped in cling film or plastic wrap or in a ziploc bag. Allow to thaw in the fridge overnight before serving.
Bran Muffins FAQ
Yes. Wrap each muffin in foil and cling film. These can be kept in the freezer for up to 3 months. Thaw completely before serving. Perhaps even heat them up before serving.
The muffins can be stored at room temperature for up to 4 days.
I use wheat bran for this recipe. Specifically, I used Edmond's Wheat Bran, which is local to New Zealand.

Rate & Review!
If you made this recipe, please leave a star rating! It gives my readers and me helpful feedback. If you want more recipes, subscribe to my newsletter, and follow me on Instagram, Pinterest, and Facebook!
Recipe Card
Easy Bran Muffins
Equipment
- Regular Muffin Pan (12-Well)
Ingredients
- 150 grams plain flour (standard grade or all-purpose flour)
- 120 grams wheat bran
- ¼ teaspoon table salt
- 250 grams (mL) milk
- 100 grams light brown sugar
- 1 egg
- 1 teaspoon baking soda (bicarb/bread soda)
- 60 grams vegetable oil
Instructions
- Preheat the oven to 180°C/355F. Line a regular 12-well muffin pan with cupcake liners or muffin liners.
- In a large bowl, whisk together the flour, bran, salt, sugar and baking soda.150 grams plain flour, 120 grams wheat bran, 100 grams light brown sugar, 1 teaspoon baking soda, ¼ teaspoon table salt
- In a medium bowl or a jug, whisk together the egg, milk, and oil250 grams (mL) milk, 1 egg, 60 grams vegetable oil
- Pour the wet ingredients into the dry ingredients. Mix through until just combined.
- Divide the bran muffin batter evenly between the muffin cups. Bake for 20-25 minutes. The muffins are done with a cake tester or toothpick and come out mostly clean from the center.
- Allow the muffins to cool in the muffin tins for 5 minutes before turning them out on a wire cooling rack. Serve a warm muffin with butter, jam, or even a bit of cheese. These fresh muffins can also be enjoyed at room temperature.
Notes
Pro Tips for this Recipe
These muffins are done when you insert a cake tester or toothpick into the center of a muffin and they come out mostly clean. For moist muffins, do not overbake! This is a super simple bran muffin recipe. For something a bit more exciting add in a cup of roughly chopped nuts, or a cup of raisins or grated carrots, or even a cup of chocolate chips. For moist muffins, try to not overbake. Check the muffins at 18 minutes.Storage and Freezing
These homemade bran muffins can be stored in an airtight container at room temperature for 2 days. If you stick them in the fridge, for up to a week. To freshen up the muffins, pop them in the microwave for 10 seconds. For longer storage, these delicious bran muffins can be individually frozen for up to 3 months, either wrapped in cling film or plastic wrap or in a ziploc bag. Allow to thaw in the fridge overnight before serving.Nutrition
Nutrition information is an estimate. If scaling the recipe remember to scale your cook and bakeware accordingly. All temperatures stated are conventional, unless otherwise stated. Recipes tested in grams and at sea level.
Rhonda Kelly says
I so love this recipe. I sometimes add a banana. These are delicious and moist. Thank you so much!
Michelle says
These are the best bran muffins I’ve ever made. I definitely will use this recipe again. Thank you so much, with love from Canada
Amy says
I reduced the sugar by half and included a cup of golden raisins.
Margaret says
I can’t thank you enough for this recipe. I live in the States and have been buying the imported South African Snowflake bran muffin mix at quite an expense knowing that it couldn’t possibly be so complicated to make from scratch. I have tried many recipes found online, but these are the most like the South African ones! Thanks a million!
Mary-Lou says
Hi, thank you so much for this comment, it has made my day. Honestly. I am also so glad this recipe matches the Snowflake muffin mix. Now I need to crack the cappuccino/coffee flavor mix...which was another (non) guilty quick mix 🙂
Irina says
Thank you for this recipe! I made them for hungry crew of 60 and they were a hit!
Mary-Lou says
That's great to here! Thank you for letting me know, and I'm glad the hungry crew enjoyed them 🙂
Timothy says
Absolutely fabulous rexipes
Mary-Lou says
Thank you so much Timothy!
Angela says
They sound tasty, healthy, & super easy. Can I add in a cup of grated sweet apple, instead of Carrot, for extra moistness & flavor?
Mary-Lou says
Sure! They may just need a little extra baking time because of the added moisture, just be sure to check with a toothpick or cake tester.
Jane says
I've made this recipe a couple of times and really like it but I'm confused by the measurements for the liquid ingredients and worried that I'm getting it wrong. Is it 60 ml of oil or 60 grams (I'm not used to seeing liquid measured by weight...), and 250 ml of milk?
Mary-Lou says
Hi Jane,
You are doing perfectly fine.
I measure all my ingredients in grams, including liquids, mostly for accuracy. I have found that not all my measuring jugs have accurate measurements since they aren't laboratory-grade glassware. The same goes with my measuring cups, which I figured out a few years ago (circa 2016/2017) were marked as metric measurements but are actually closer to US standards.
But I also find that when I'm baking for myself, weighing out liquids also results in fewer dishes overall.
For this recipe - the milk is 250 grams/mL because 250mL weighs about 245 grams and it doesn't really make a difference. Which is a metric cup of milk, which is only 10mL (2 teaspoons) more than a US standard cup of milk.
As for the oil, I use 60 grams of oil, which is about a 1/4 cup or 60mL. So in the grand scheme of baking...it's all good!
But thank you for this comment, I have added the mL into brackets for the milk, so hopefully it's a bit clearer. And if you click on US standard, it will also bring up the cup measurements.
Have a great weekend!
Mary-Lou
Jane says
Thank you so much!