

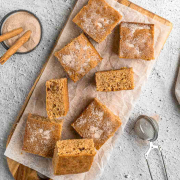
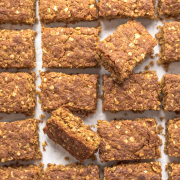


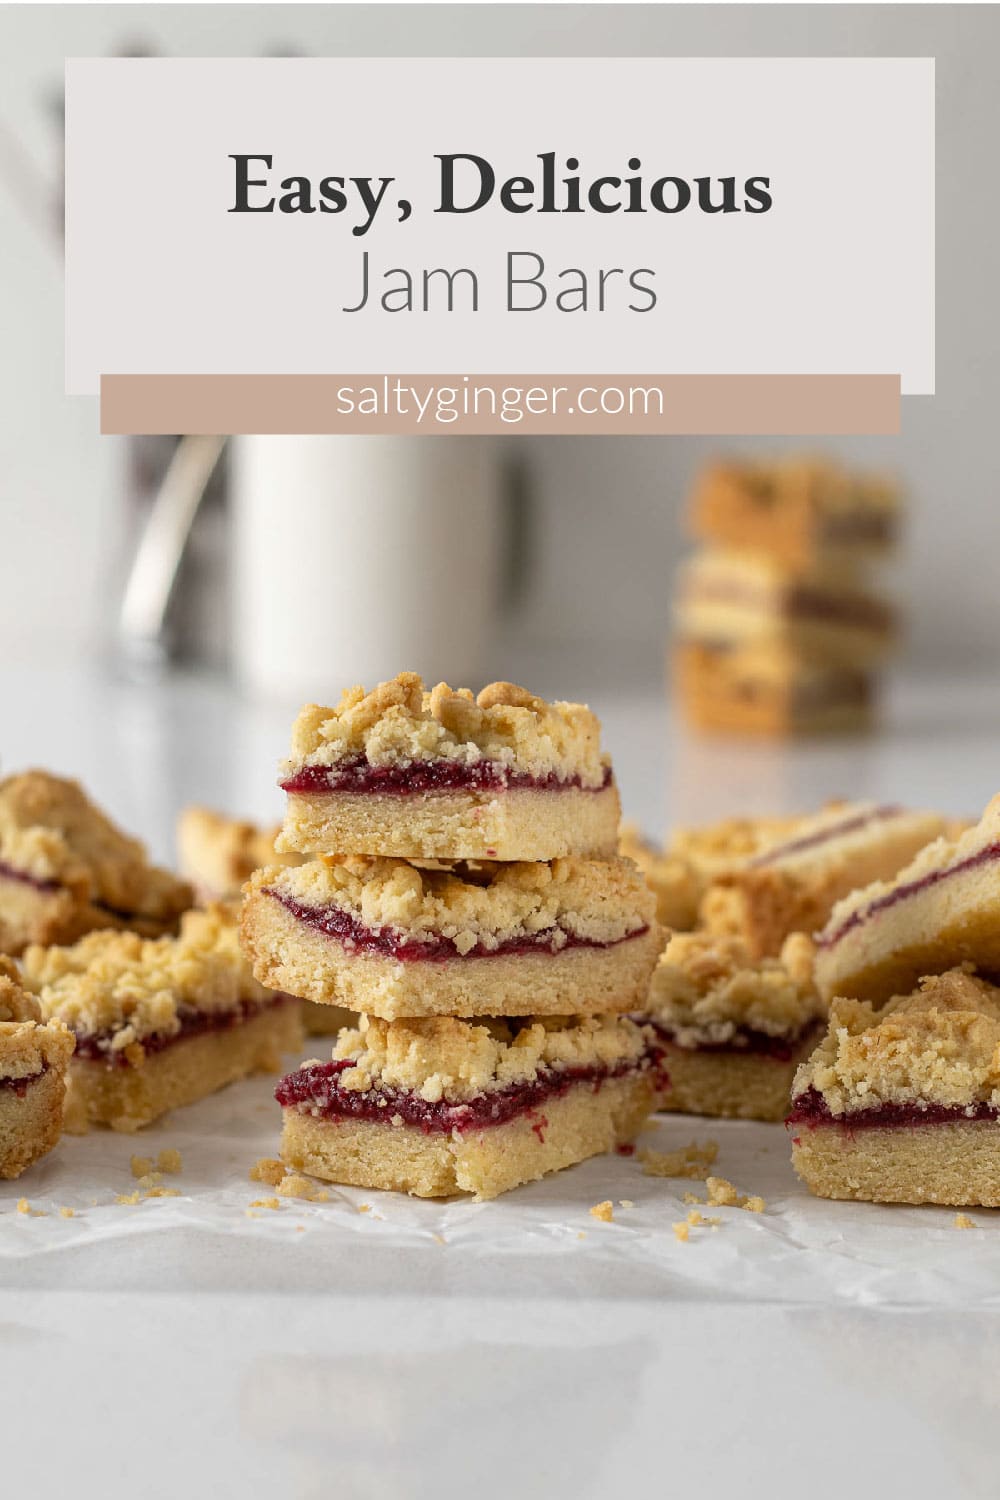
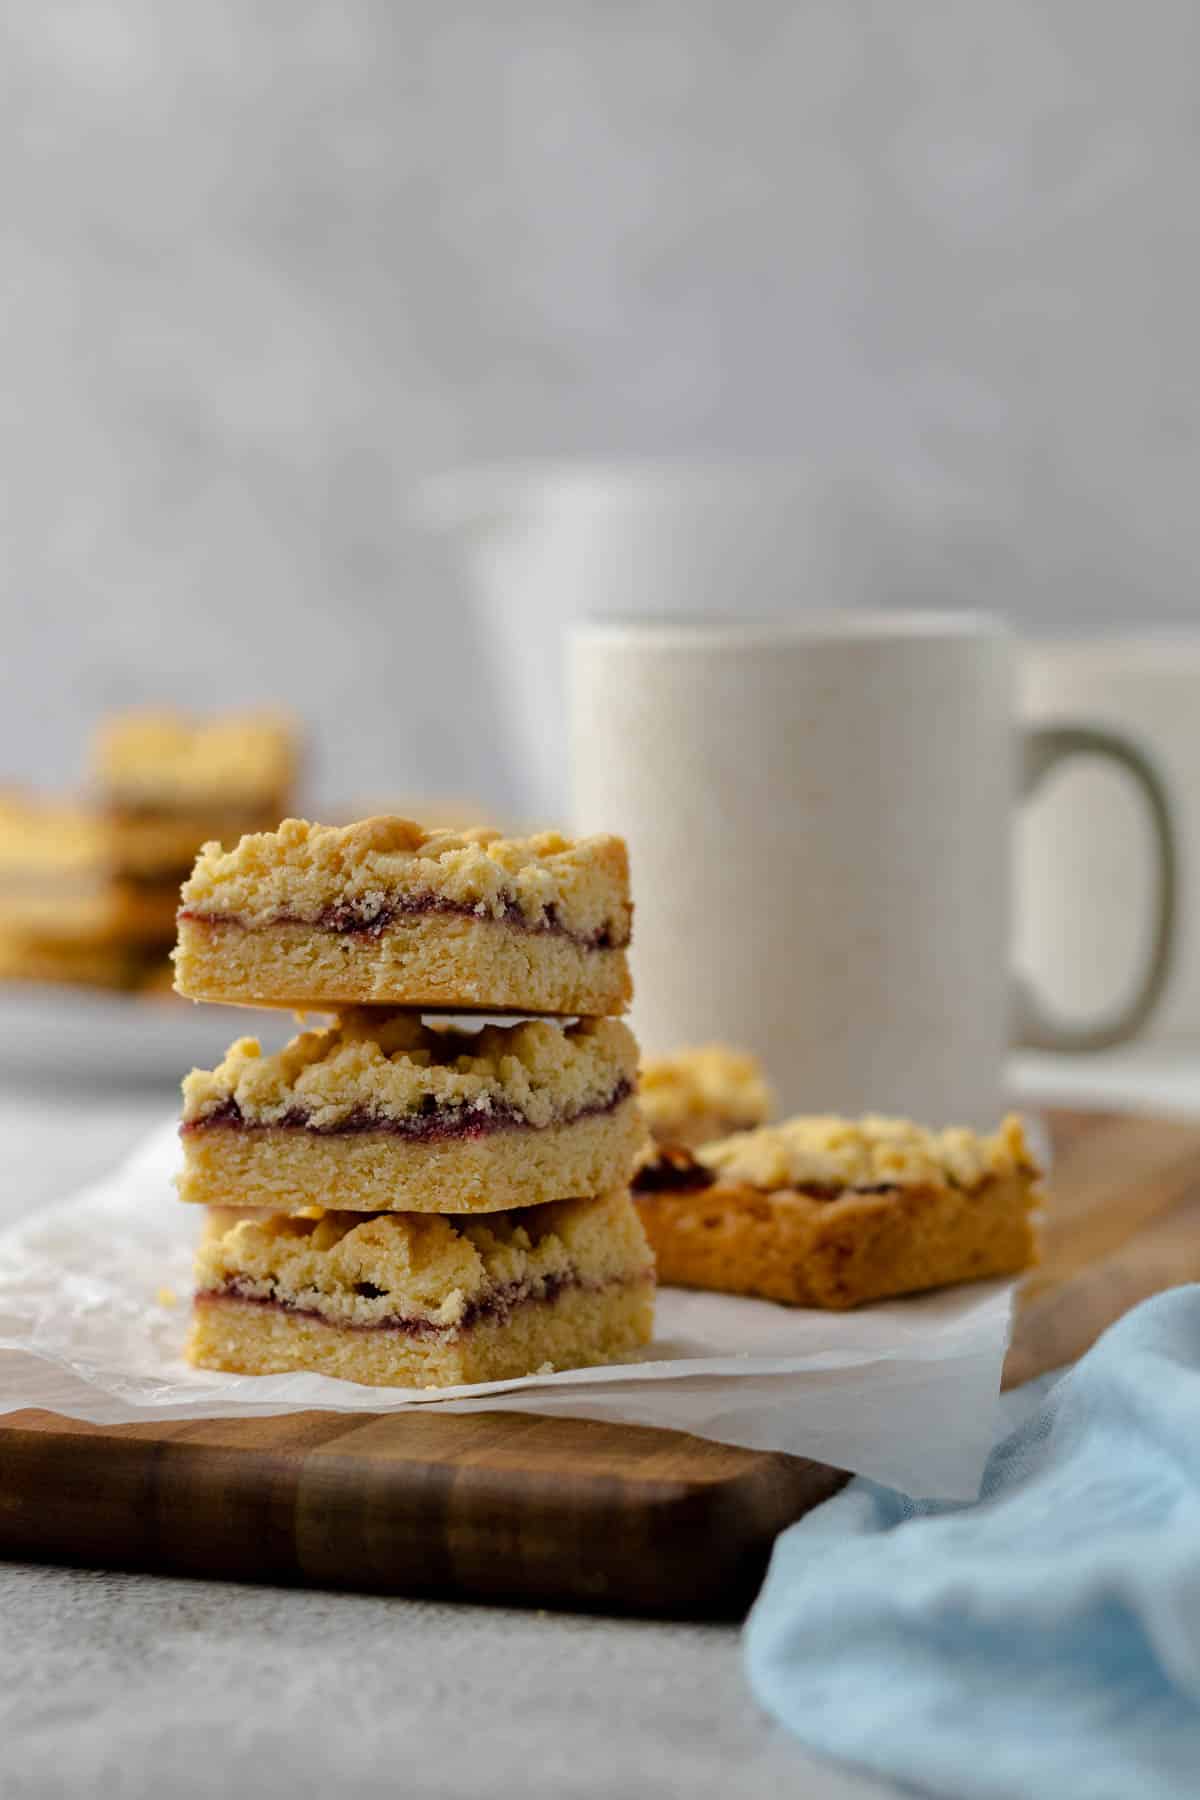
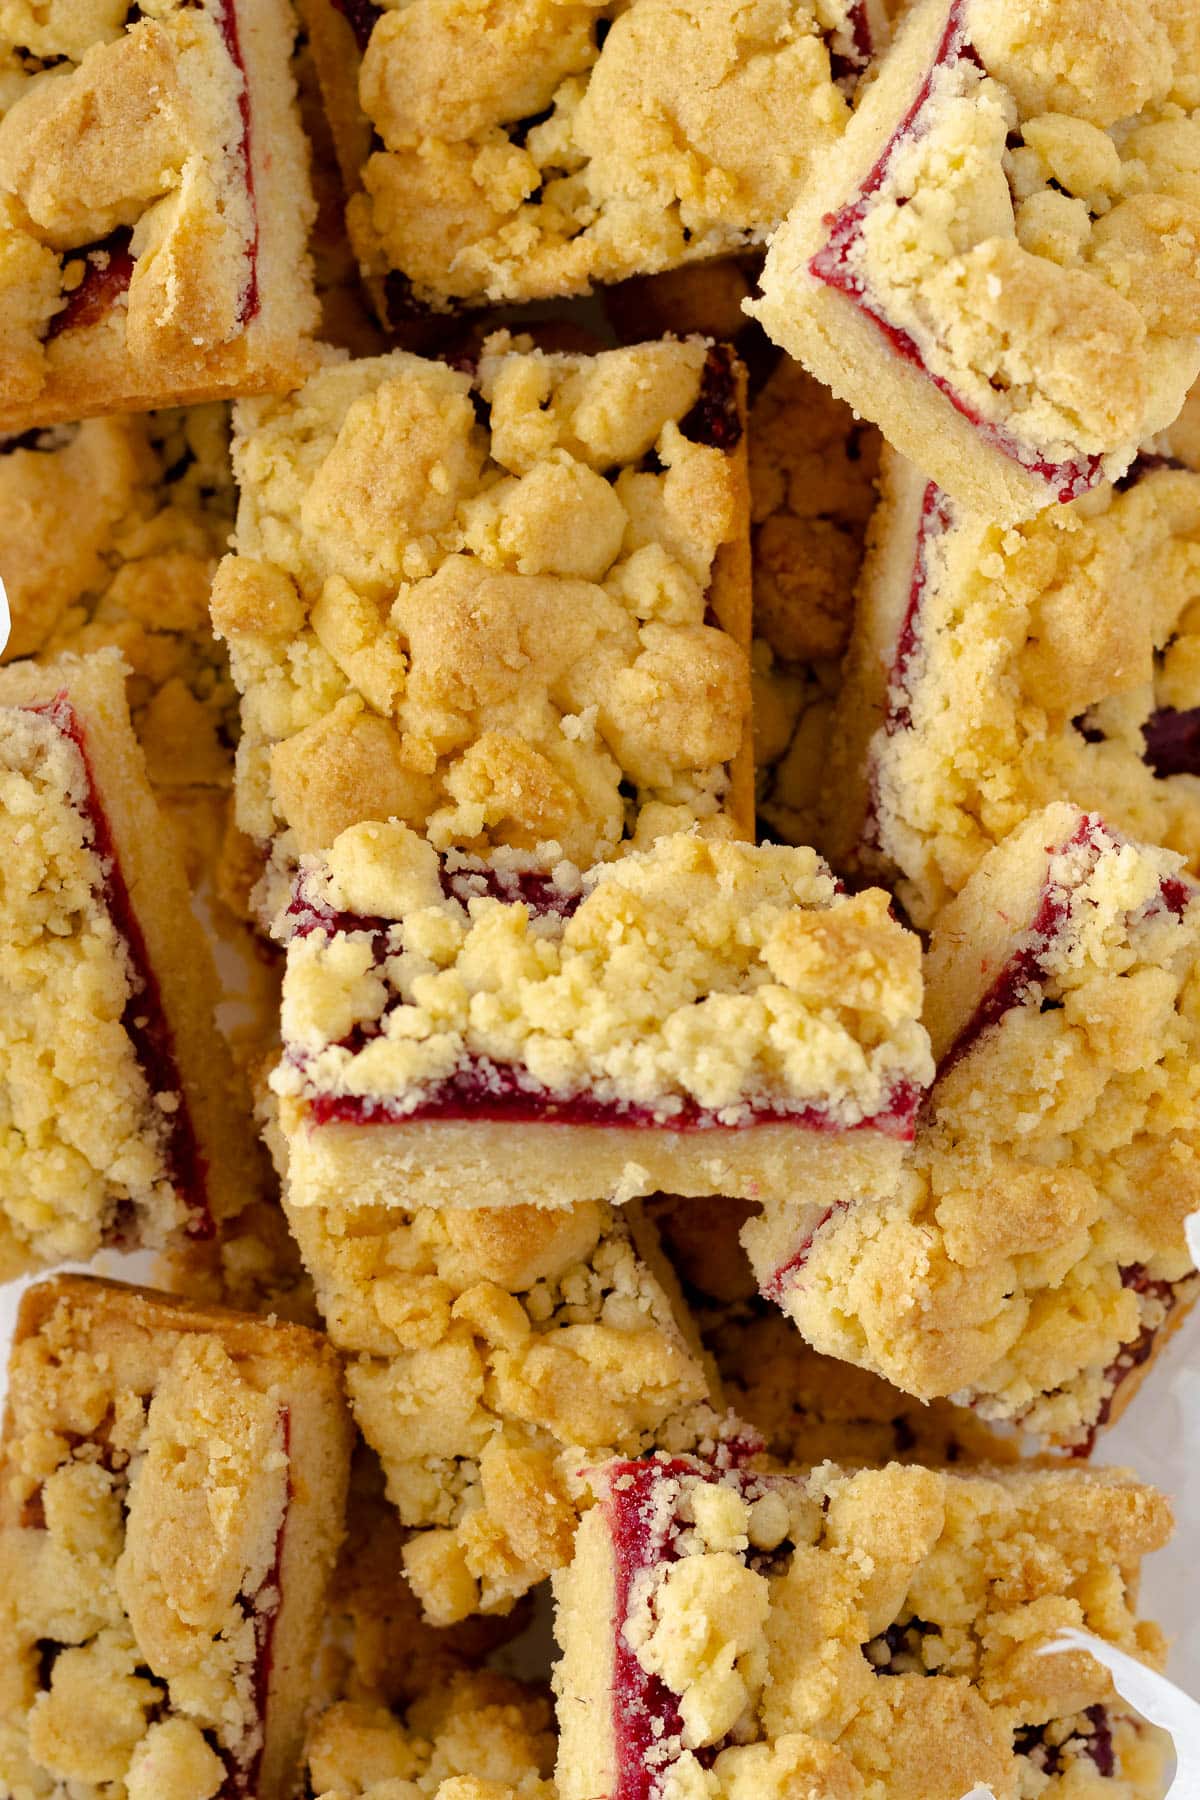
These super-simple, delicious, egg-free jam squares or bars whip up in 20 minutes from everyday pantry ingredients, with your choice of jam!
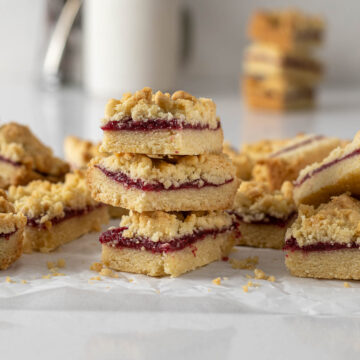
This jam slice recipe consists of a shortbread base with no eggs, that is topped with jam and then finished with a crumbled shortbread mixture. A true crowd-pleaser!
These jam squares or bars are made without oatmeal or eggs. The shortbread within these slices is a modified version of the shortbread in my caramel slice.

Jump to:
Recipe Development & Update Notes
These Jam squares are also known as Hungarian Tart or Krummel Tert in South Africa but have no known link to Hungarian cuisine. These recipes also usually contain eggs, so I decided an eggless shortbread base was the way to go for my recipe.
This recipe has largely remained the same, however, I have tweaked and tested the recipe with metric measures that correspond more easily with cups for my readers who largely rely on non-metric measurement. And I added the simple homemade jam recipe that I used in the jam squares in the photo at the beginning of the post.
Ingredients
Here are some notes on the ingredients used in this recipe. Refer to the recipe card for details.
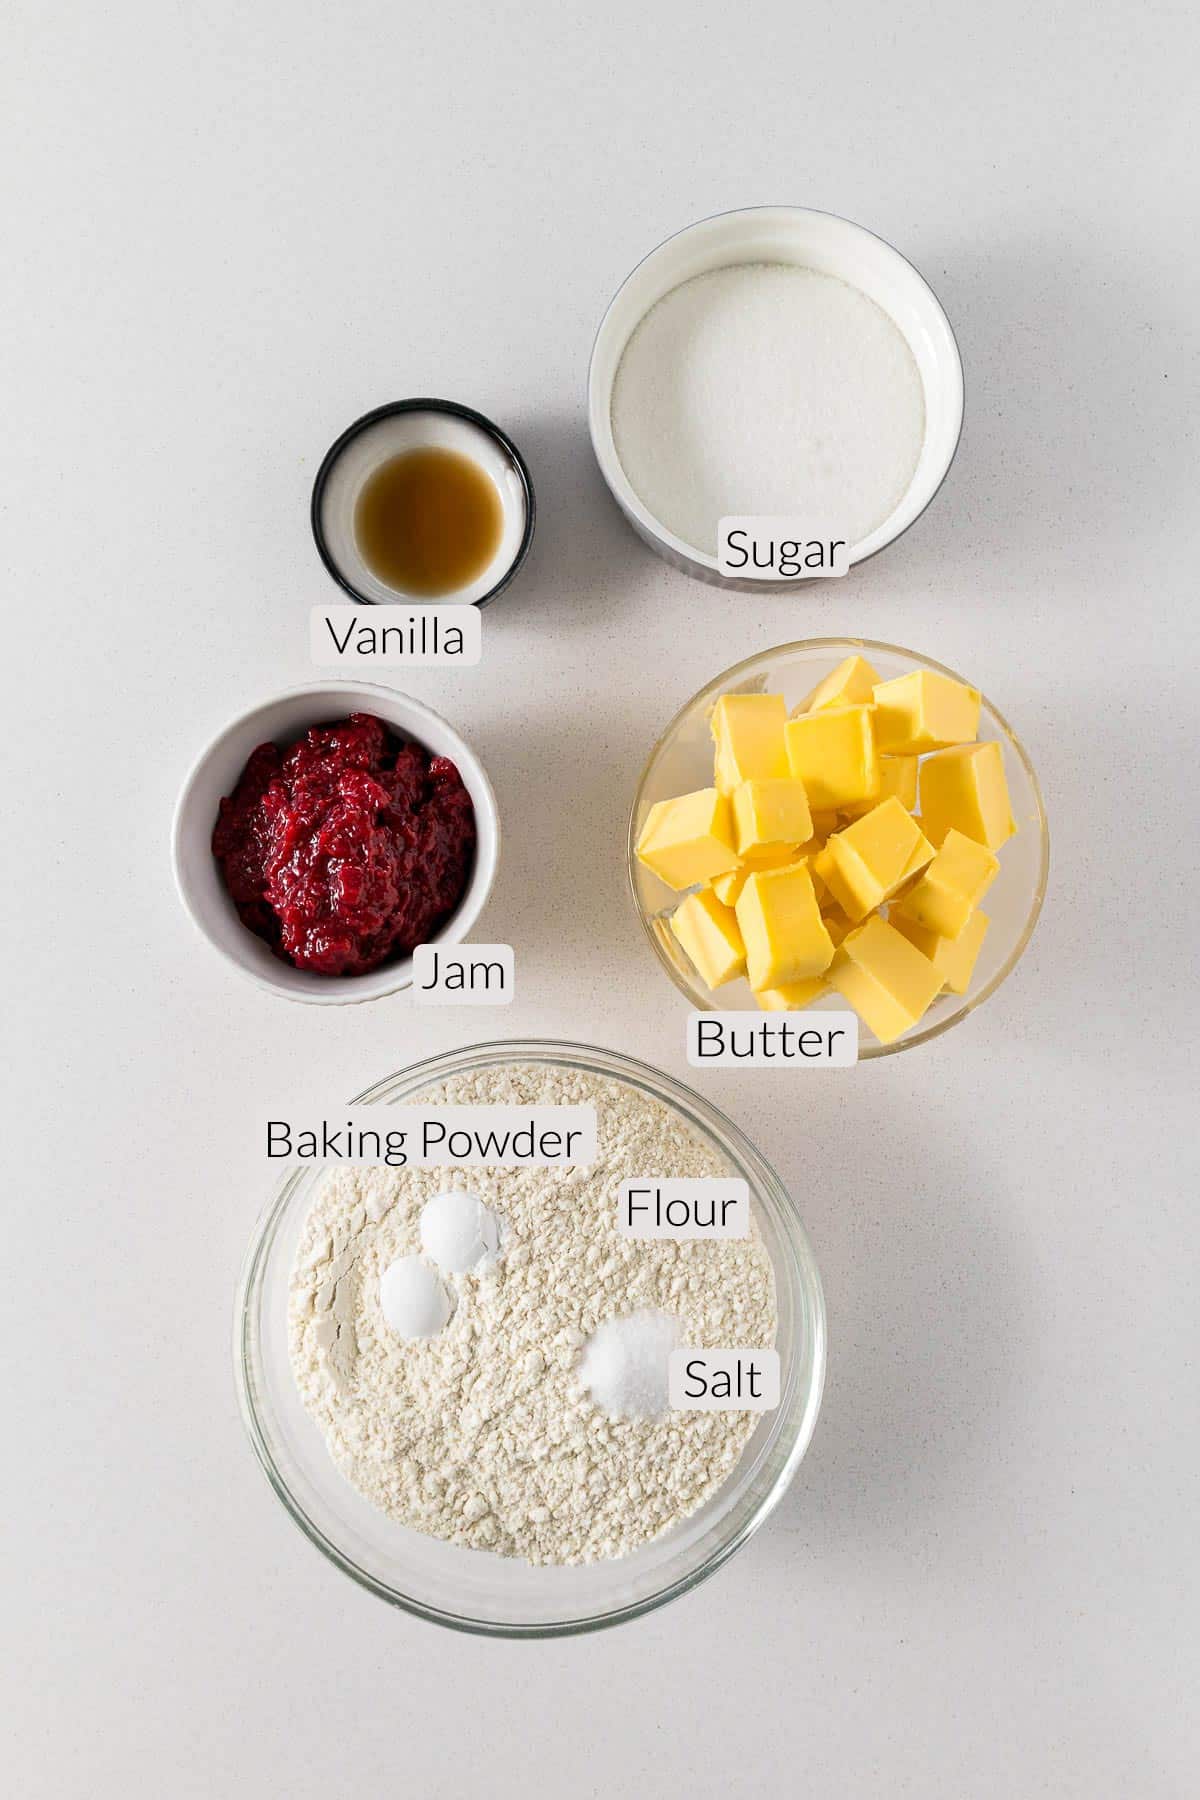
- Room Temperature Butter adds flavor, softness, moisture, and flavor to this super easy delicious jam slice. I use New Zealand butter in my recipes, which has approximately 82% butterfat and can be very yellow (similar to European or Irish butter). Butter can be substituted with baking margarine.
- To bring butter to room temperature quickly, cut the butter into cubes and zap it in the microwave at 20% power in 10-second intervals. Or place the cubes in a bowl over warm water (such as with a double boiler) over low heat for 1 minute!
- Salt is a crucial ingredient in all baked goods. I use table salt in all my recipes. One teaspoon of table salt equals 1.5 teaspoons of Morton Kosher Salt equals 2 teaspoons of Diamond Crystal. You can skip the salt if using salted butter.
- Vanilla extract to add some dimension to the shortbread biscuit.
- Jam - any fruit jam can be used in these jam squares (or jam bars or jam slices). Popular jams include apricot, strawberry, raspberry or even boysenberry jam, the choice is yours. The amount of jam within the jam slice ranges from ⅓ - ⅔ cup jam (this is dependent on how much jam you want in your jam slice, measure with your heart).
- Jam vs jelly - Jam is a preserve that is made from whole or cut-up fruit, while jelly is made from fruit juice alone. For this recipe, I'm fairly certain that jelly will work just fine. You can use any flavor jam you like - apricot, raspberry, boysenberry, mixed berry or strawberry.
- Sugar - I have used both granulated white sugar and caster sugar. Both work perfectly. This biscuit base does contain less sugar than that of my whipped shortbread simply because jam can be rather sweet. I would hesitate to use brown sugar, as it may compete with the jam flavouring.
How to Make Jam Squares
Step 1: Prep and Preheat
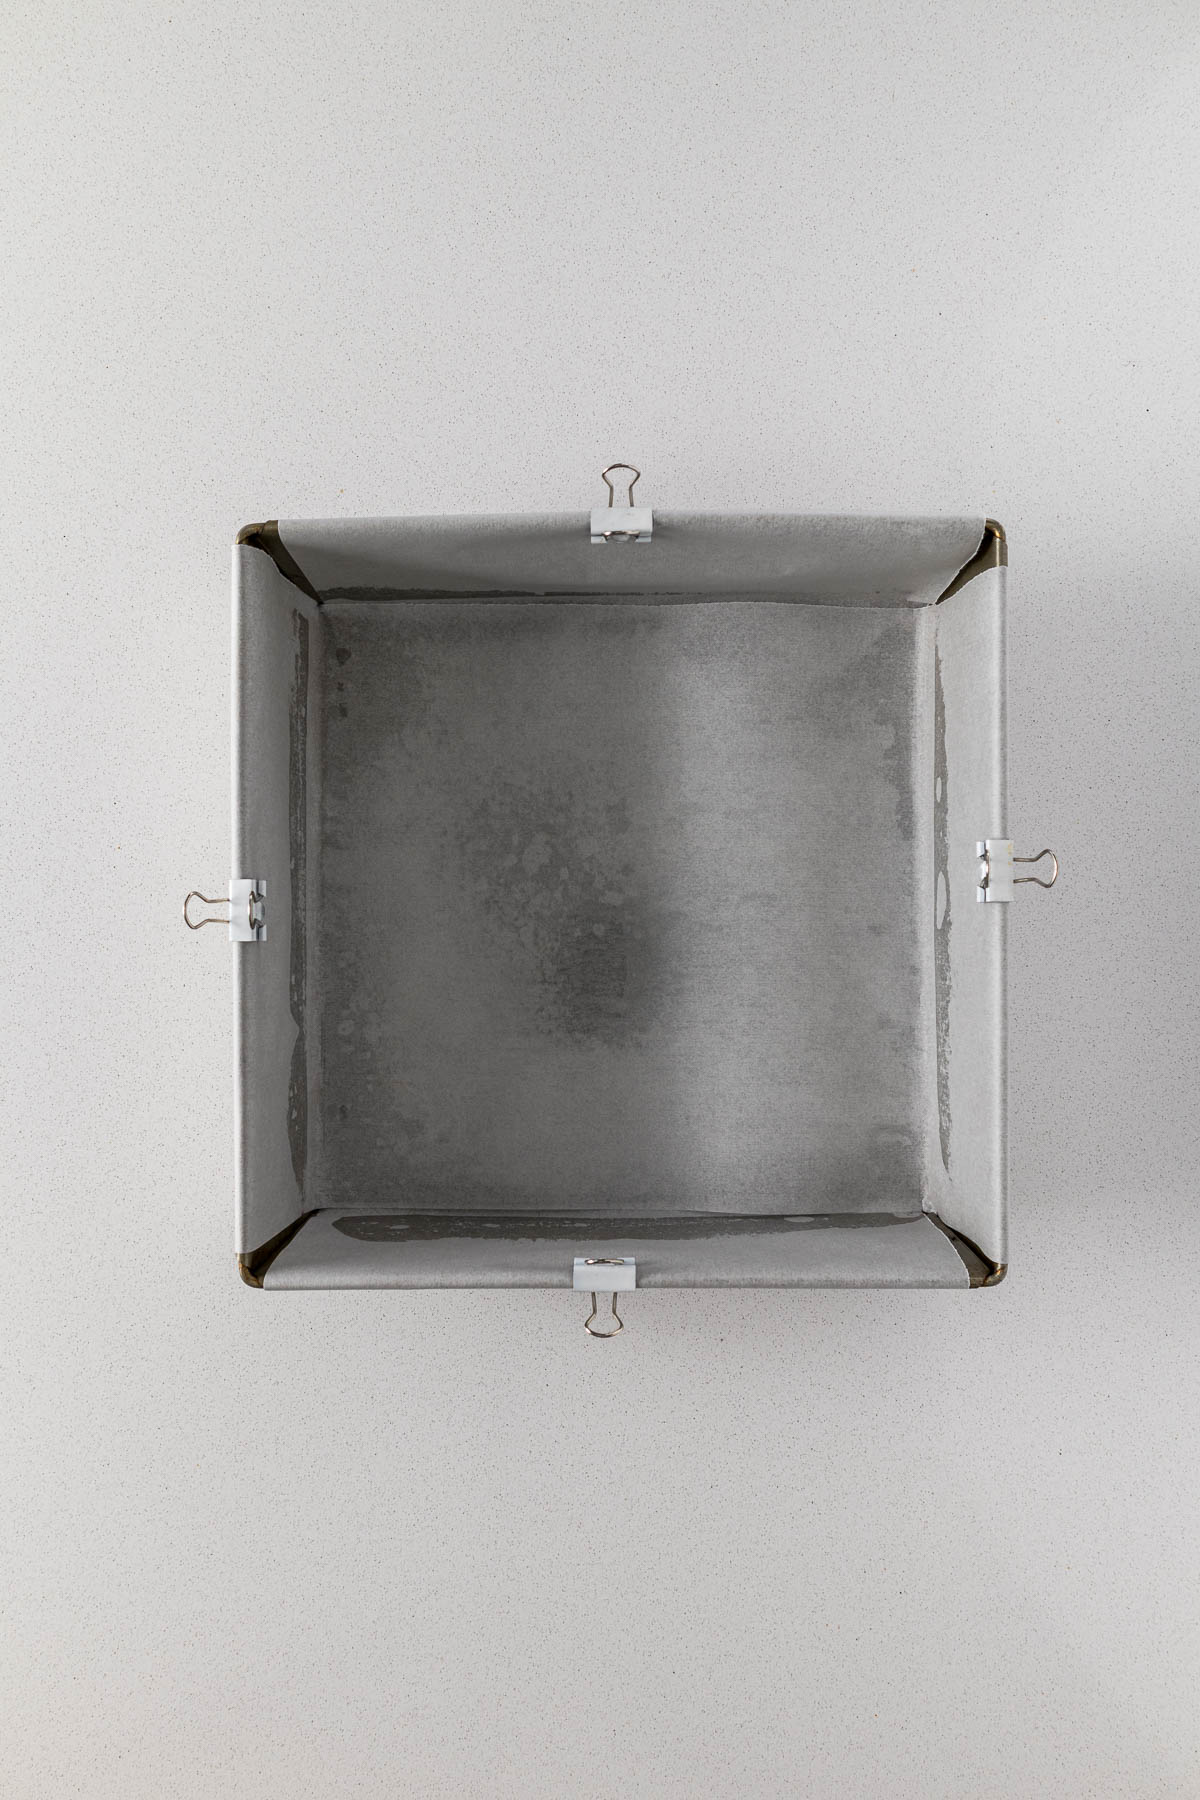
Grease and line a 9"x9" square cake tin with baking paper, leaving an overhang for easy removal of the slice. Preheat the oven to 170°C/340°F.
Step 2: Cream Butter & Sugar
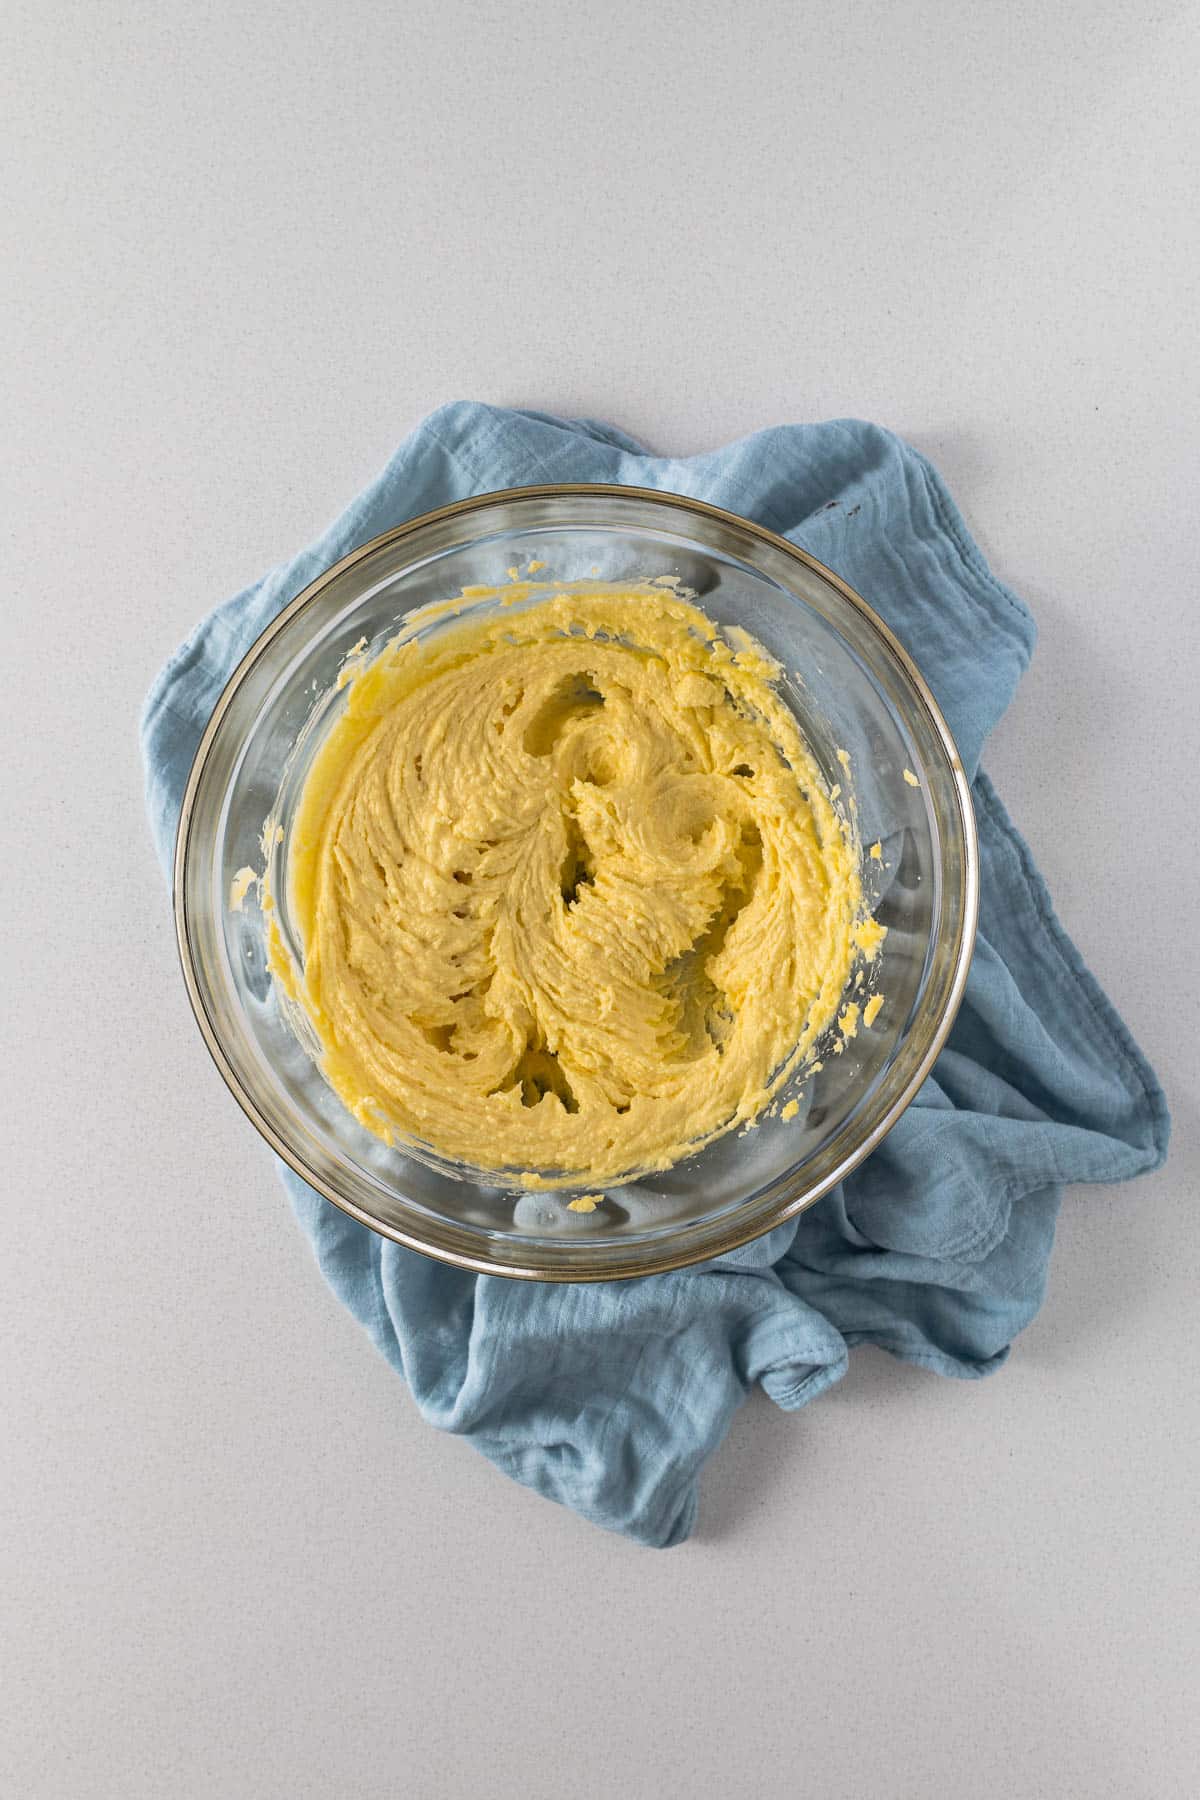
In a large mixing bowl, combine the butter, sugar and vanilla. Cream until the butter has lightened in colour (for about 2 minutes).
Tip: If the butter is too hard, microwave it in short intervals until soft enough to cream.
Step 3 - Mix the dry ingredients
Weigh out the flour, and add the baking powder and salt. Whisk together to evenly distribute the baking powder and salt through the flour.
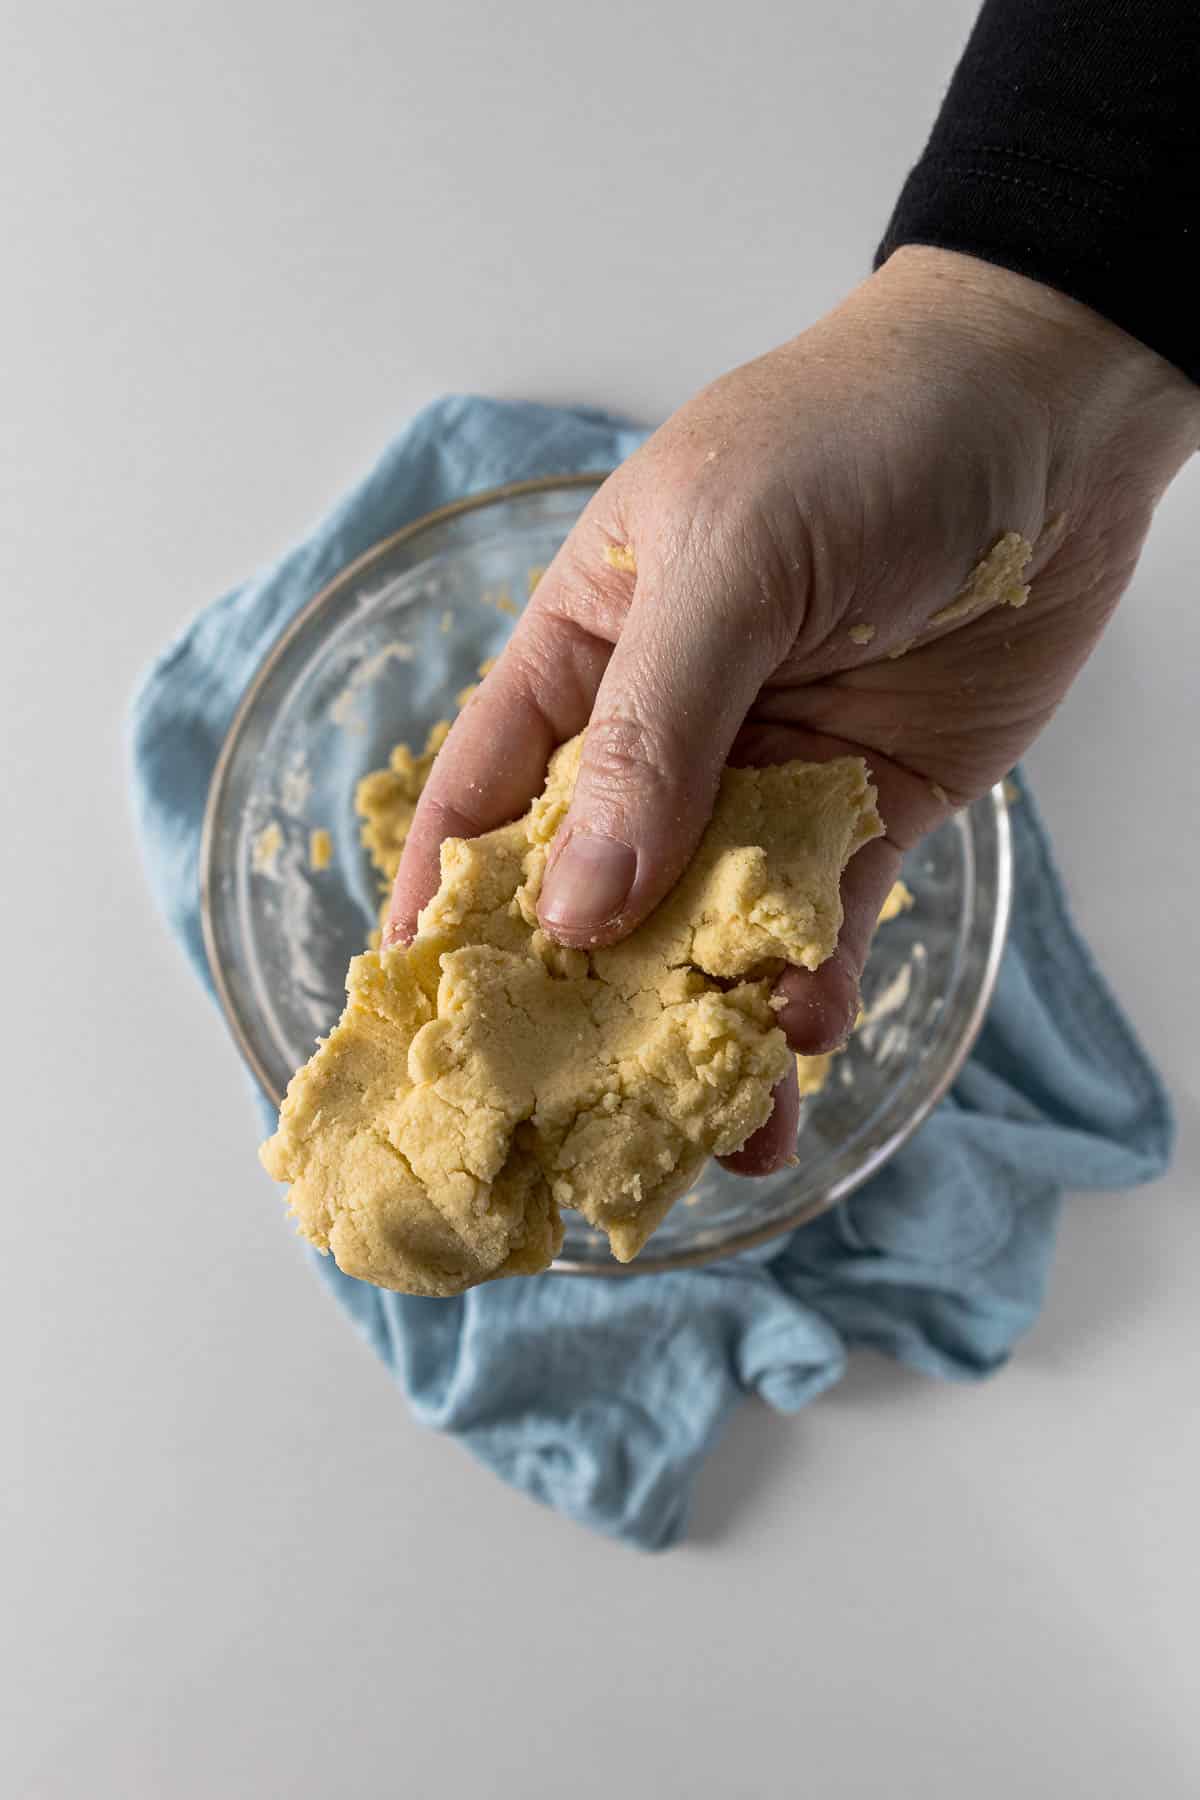
Step 4 - Make a soft pliable dough
Place half the flour into the butter mixture and mix through until just combined. Then add in the other half and mix until a soft pliable dough forms. Knead the dough a few times in the bowl until the dough comes together.
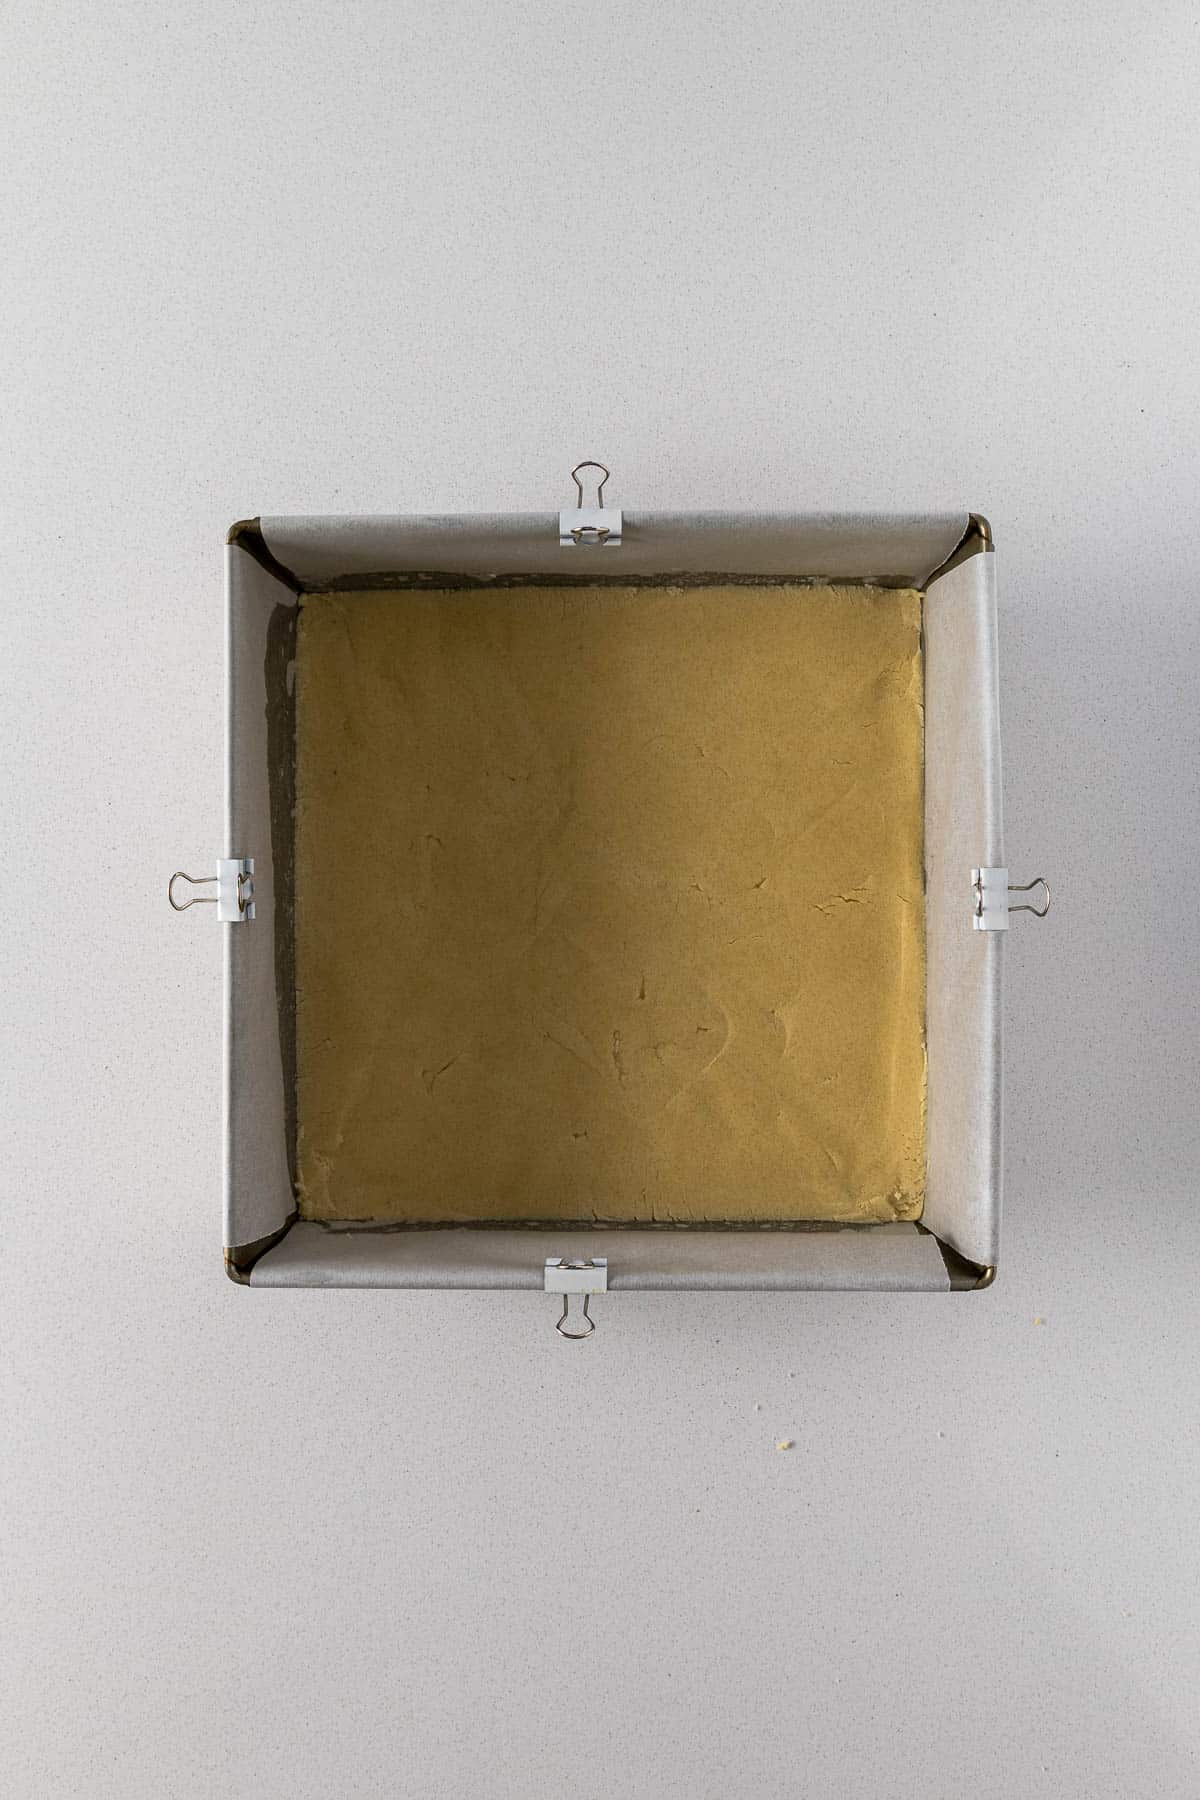
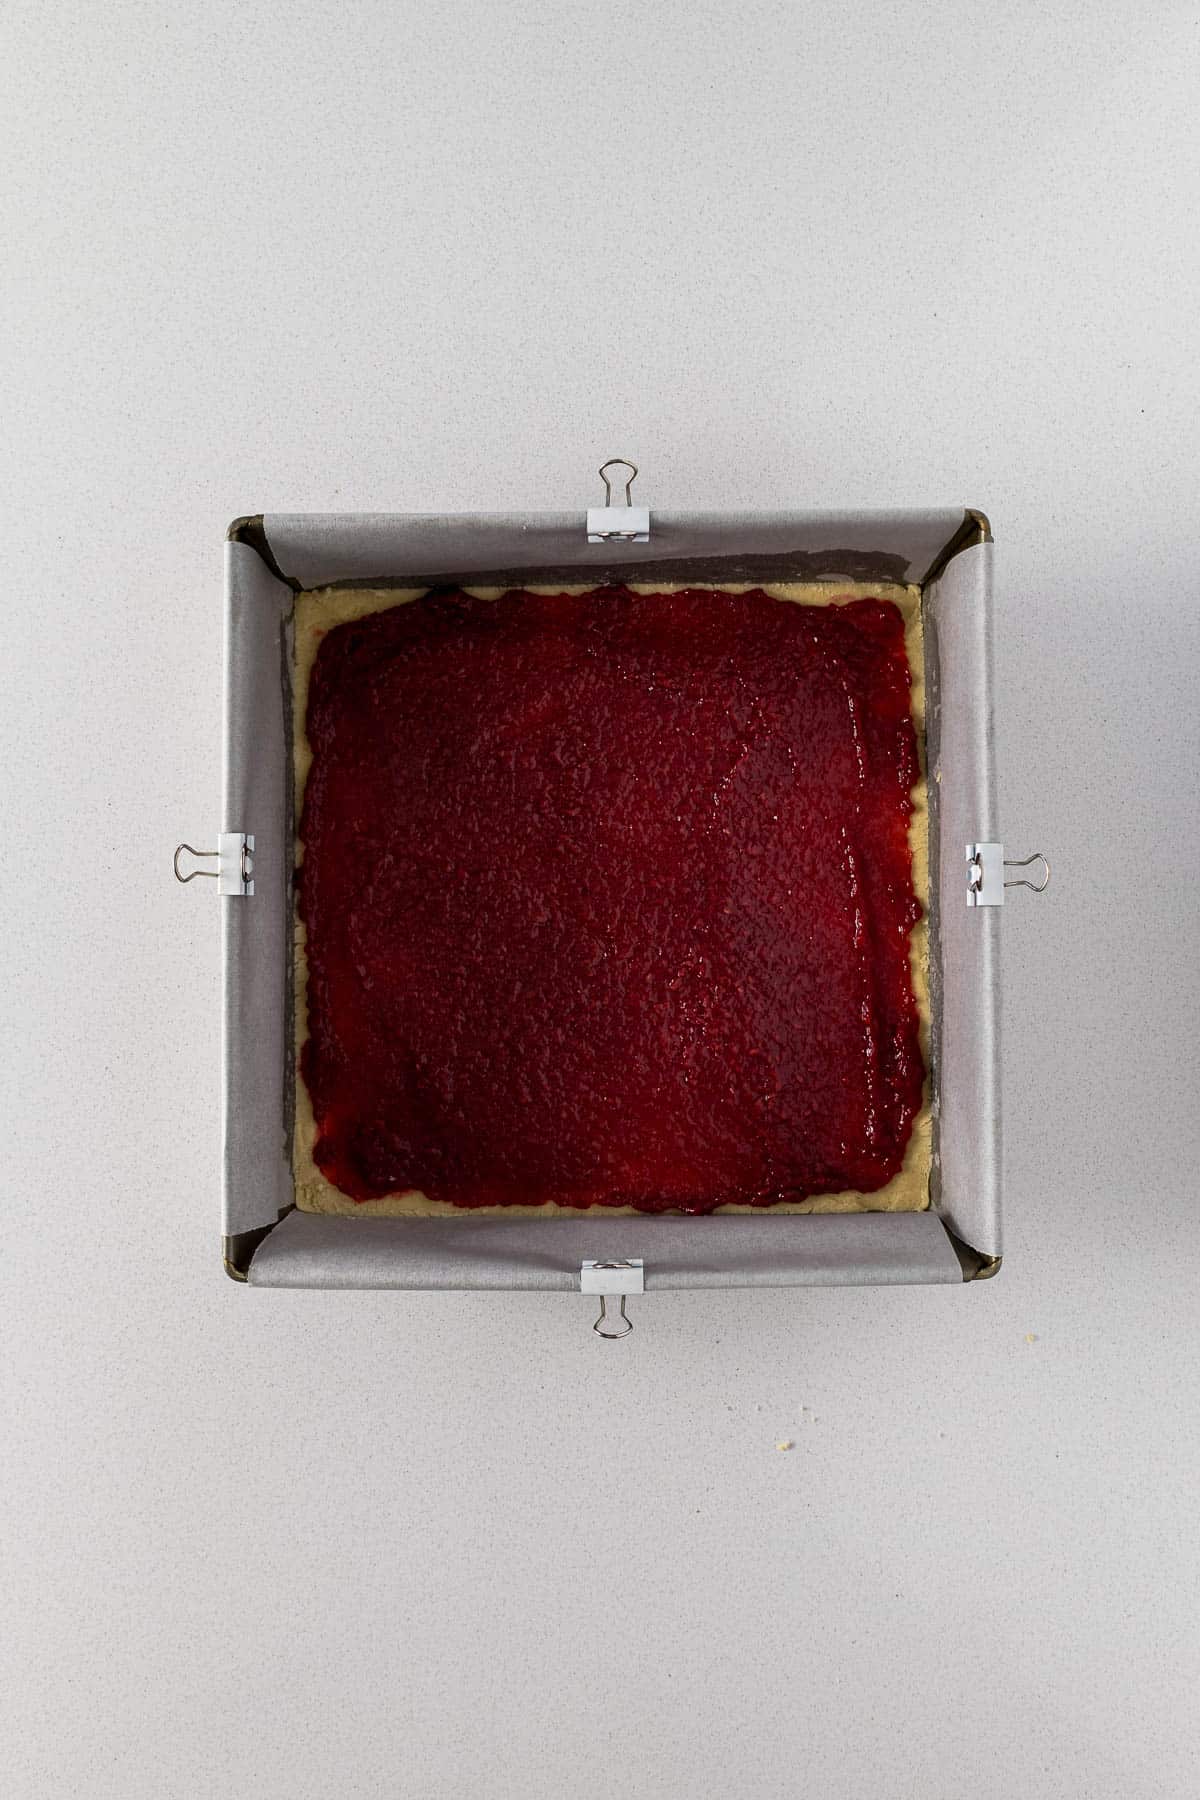
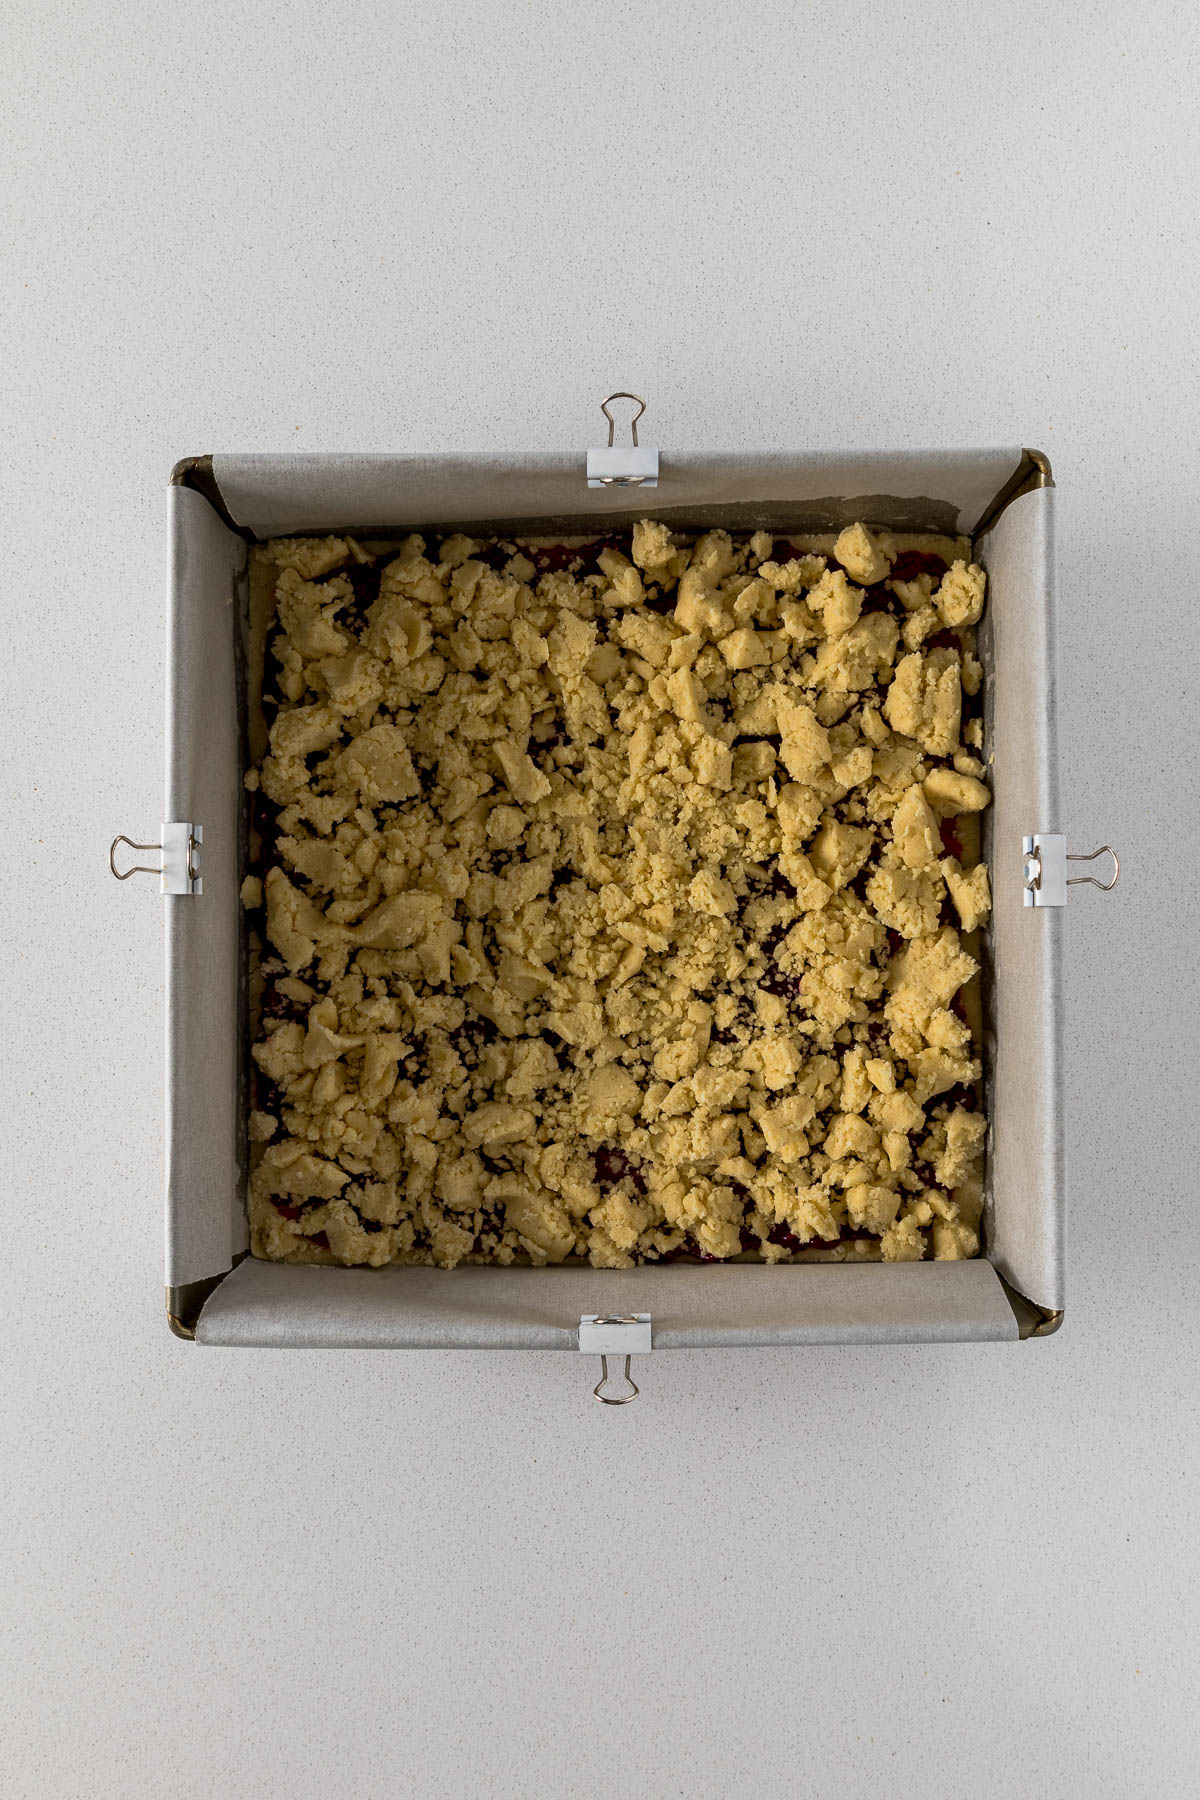
Step 5 - Assemble the jam slice
Press ⅔ of the dough into the bottom of the lined cake tin until it is evenly and smoothly pressed into the tin. Evenly spread the jam over the layer of biscuit dough. Then crumble the last ⅓ of the biscuit dough over the top of the jam.
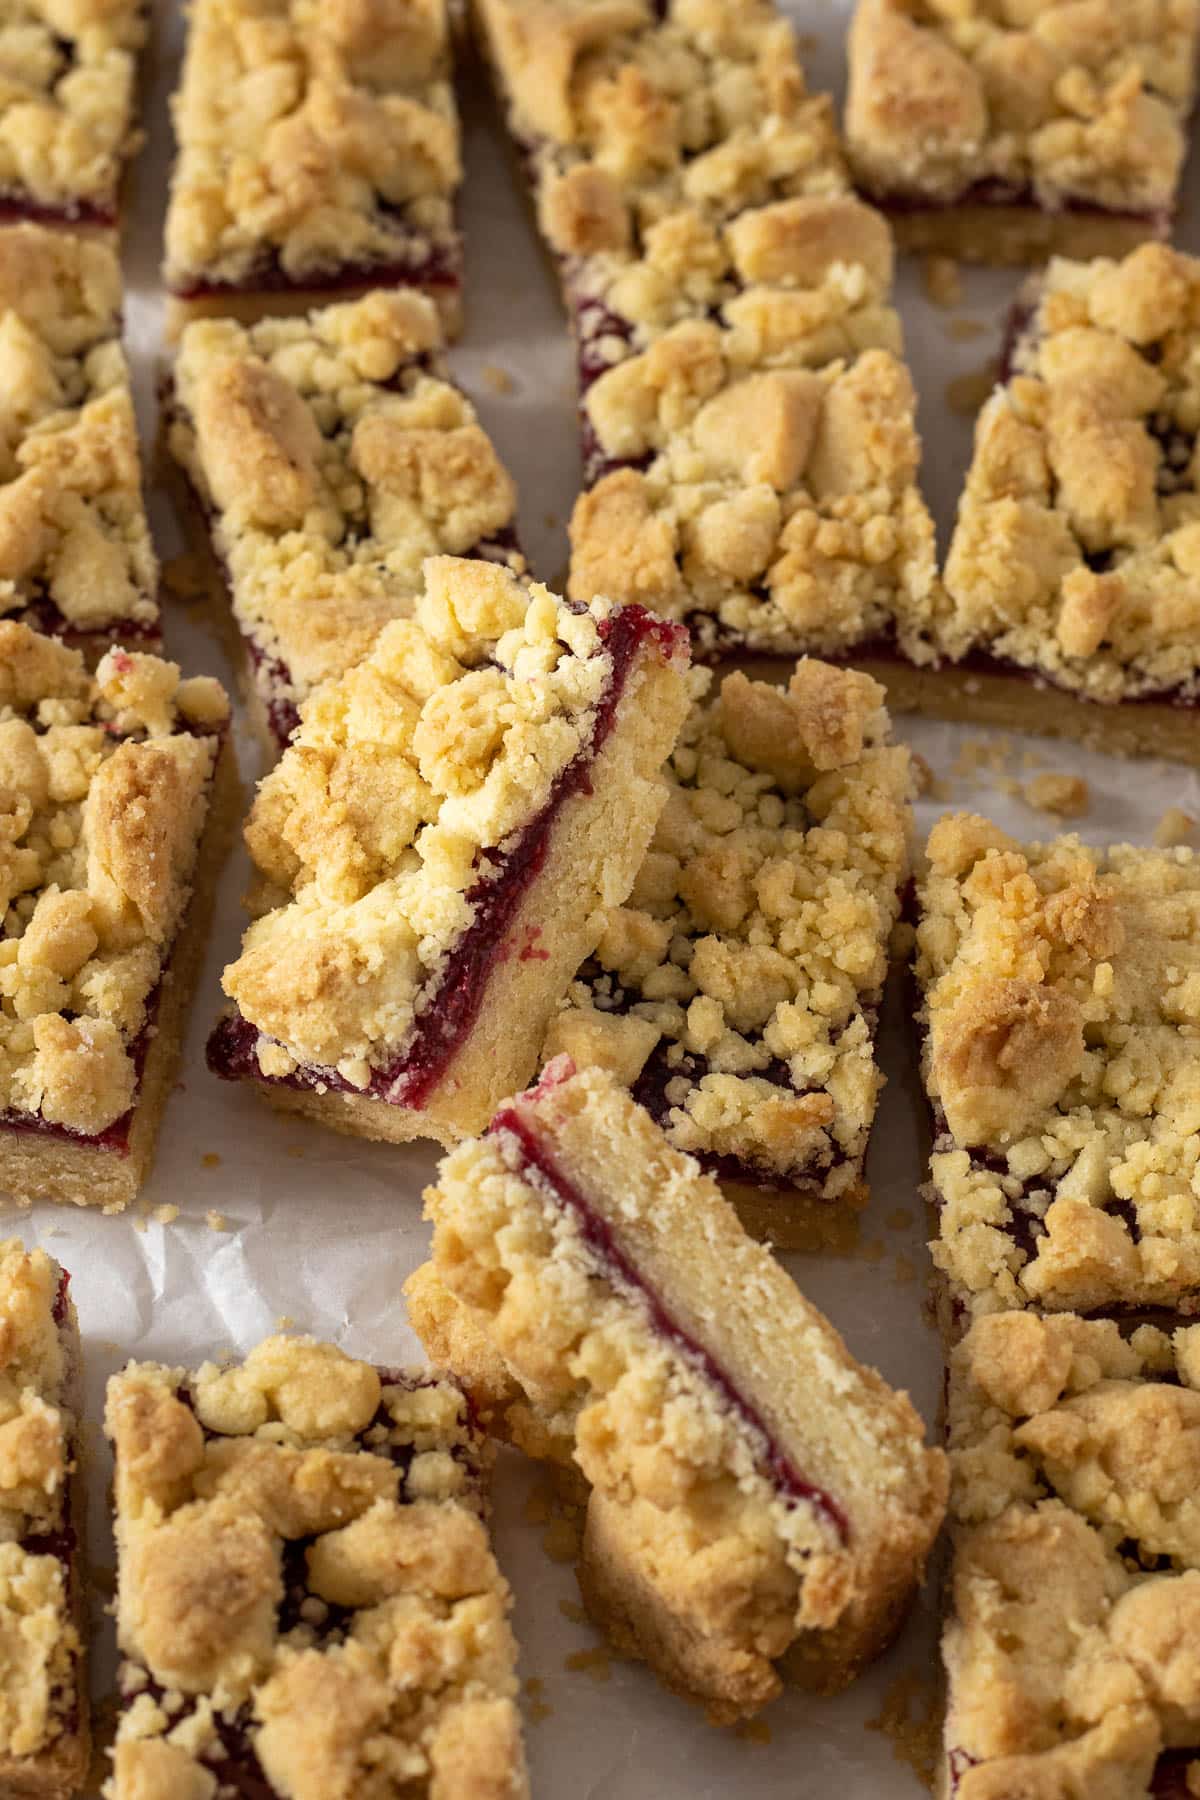
Step 6 - Bake, cool and slice
Bake the jam slice for 35 to 45 minutes or until the biscuit dough is beautifully golden brown. Remove from the oven and allow the squares to cool completely in the tin. When the jam squares are cool, remove them from the tin and slice them into 16 to 25 squares or bars.
Quick & Easy Homemade Jam Recipe
If you have some fresh raspberries or strawberries, they can easily be turned into a lower-sugar homemade jam for these jam squares.
You will need:
- 250 grams of raspberries (2 cups) - fresh or frozen
- 50 grams of white sugar (¼ cup)
- 1 tablespoon lemon juice (fresh or bottled)
- 1 tablespoon cornstarch
- 1 tablespoon water
Instructions:
- Place the berries into a small saucepan with the sugar and lemon juice. Mash the berries until soft. And cook on medium heat for about 20 minutes until the berries are soft and mashed.
- The berries are finished cooking when a rubber spatula can be dragged along the bottom of the saucepan to a distinct thick line in the jam without the jam running back into itself.
- Combine the cornstarch and water, then add to the berry mixture and cook until the jam is nice and thick (like a store-bought jam). Decant the jam into a heatproof container and allow it to cool completely before using it on the jam slices.
This recipe makes about ¾ of a cup of jam. I used the entire batch on these jam squares (pictured in the beginning of the post).
Note: Because this jam has a much lower sugar content than regular jam, and doesn't use jam-setting sugar, it requires cornstarch to allow it to set.
Note: This jam must be used within a week because of the low sugar content and lack of tartaric acid. Store the jam squares in the fridge.
Note: This is a fairly tart jam.
Note: This jam is not suitable for canning.
Small Batch Jam Squares
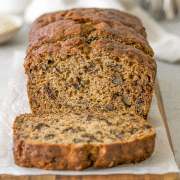
If you are looking to bake a smaller batch of these easy jam squares, simply click on the "½" button and bake this slice in a loaf tin.
Expert Tips for This Recipe
- When lining your slice tin, cake pan, or loaf tin (for a small batch), make sure the baking paper hangs over the sides of the tin (you can secure them with metal foldback clips/bulldog clips. This allows you to lift the slice out of the baking dish for cooling and slicing.
- If using a fan-assisted, convection or air-fryer, reduce the temperature by 20°C/25°F
- Make sure your oven is preheated fully before baking.
- Remember that all ovens work slightly differently and bake times may need to be adjusted for your specific oven.
- I recommend using an oven thermometer for increased accuracy.
- I prefer baking this in a metal cake pan or loaf pan, as the metal heats up and cools down more quickly.
Storage & Freezing
These jam squares can be stored in an airtight container for 3 to 4 days, or up to 2 months when frozen. Baked jam squares can be frozen in an airtight freezer-safe container once completely cooled. If layering the jam bars, separate them using a piece of baking paper. Allow the bars to defrost at room temperature before serving.
Jam Squares FAQ
Jam squares and jam bars are typically topped with a shortbread crumble or an oatmeal crumble topping. While jam slices (particularly in New Zealand) are topped with a meringue coconut instead of crumble).
Yes - use the jam you like to eat, and if this is a lower-sugar variety go for it. However, I am unsure how a chia seed jam
I use a 9"x9" or 23cmx23cm square cake tin. Using a slightly smaller cake tin may require an additional 5 to 10 minutes of baking.
Rate & Review!
If you made this recipe, please leave a star rating! It gives my readers and me helpful feedback. If you want more recipes, subscribe to my newsletter, and follow me on Instagram, Pinterest, and Facebook!
Recipe Card
Easy Jam Squares
Equipment
- 9x9 Inch (23x23cm) Square Cake Pan
Ingredients
- 225 grams butter
- 150 grams white granulated sugar (caster/granulated)
- 1 teaspoon vanilla extract
- 330 grams plain flour (all-purpose/standard grade)
- ½ teaspoon table salt
- 1 teaspoon baking powder
- ⅓ - ⅔ cup jam
Instructions
- Grease and line a 9"x9" square cake tin with baking paper, leaving an overhang for easy removal of the slice. Preheat the oven to 170°C/340°F.
- In a large mixing bowl, combine the butter, sugar and vanilla. Cream until the butter has lightened in colour (for about 2 minutes).225 grams butter, 150 grams white granulated sugar, 1 teaspoon vanilla extract
- Weigh out the flour, and add the baking powder and salt. Whisk together to evenly distribute the baking powder and salt through the flour.330 grams plain flour, ½ teaspoon table salt, 1 teaspoon baking powder
- Place half the flour into the butter mixture and mix through until just combined. Then add in the other half and mix until a soft pliable dough forms. Knead the dough a few times in the bowl until the dough comes together.
- Press ⅔ of the dough into the bottom of the lined cake tin until it is evenly and smoothly pressed into the tin. Evenly spread the jam over the layer of biscuit dough. Then crumble the last ⅓ of the biscuit dough over the top of the jam.⅓ - ⅔ cup jam
- Bake the jam slice for 35 to 45 minutes or until the biscuit dough is beautifully golden brown. Remove from the oven and allow the squares to cool completely in the tin. When the jam squares are cool, remove them from the tin and slice them into 16 to 25 squares or bars.
Notes
- If the butter is not soft enough to whisk, simply pop it into the microwave and soften in 10 seconds bursts, do not allow it to melt completely.
- Any fruit jam can be used in these jam squares (or jam bars or jam slices). Popular jams include apricot, strawberry, raspberry or even boysenberry jam, the choice is yours. The amount of jam within the jam slice ranges from ⅓ - ⅔ cup jam (this is dependent on how much jam you want in your jam slice, measure with your heart).
- Jam vs jelly - Jam is a preserve that is made from whole or cut-up fruit, while jelly is made from fruit juice alone. For this recipe, I'm fairly certain that jelly will work just fine.
- Knead the dough 3 to 5 times to bring the dough together.
- This pan is a line in a way that allows the slice to be lifted out of the tin with ease. The baking paper also reaches up both sides of the pan - this is to stop the jam from cooking onto the edges of the pan. My baking paper is wide enough to cover all 4 sides, however, you may need to double-sling the baking paper.
Storage & Freezing
These jam squares can be stored in an airtight container for 3 to 4 days, or up to 2 months when frozen. Baked jam squares can be frozen in an airtight freezer-safe container once completely cooled. If layering the jam bars, separate them using a piece of baking paper. Allow the bars to defrost at room temperature before serving.Nutrition
Nutrition information is an estimate. If scaling the recipe remember to scale your cook and bakeware accordingly. All temperatures stated are conventional, unless otherwise stated. Recipes tested in grams and at sea level.
Marilyn says
They look great. Haven't tasted them yet.
I grated the pastry in top instead of crumbling it.
Looked very professional
debbie says
Just wondering if half a batch will fit into a 20x20square pan, dont have a loaf pan
Thanks
Mary-Lou says
Hi,
I would do a full batch in the 20cmx20cm, but it may need 10-15 minutes extra bake time because it will be thicker than the 23x23cm (of 9x9inch).
Good luck!
Franci Du Toit says
Soek al n tydjie na n maklike en lekker resep vir “jam bars”. Het die 1/2 resep gemaak, wat my so 9 “bars” gegee het en was binne 24 uur op tussen 2 mense.
Ek het apricot jam gebruik , minder suiker in die die crust , en het nogsteeds baie soet uitgekom.
Dankie vir die maklike en lekker resep. Sal verseker weer gemaak word, dalk met strawberry jam die keer. 10/10
Mary-Lou says
Dankie baie!
I'm so glad you enjoyed them, they are one of my fave biscuits to bake. A half batch also goes down pretty well in this house 🙂
nel says
Great recipe! Results in the perfect jam square.
Vicky says
Made these with my grandson. First time baking with him (16 months). He even has his own special apron. Had him pushing down the dough in to the pan. Used homemade raspberry strawberry jam (70/30 ratio). Mixed some shredded coconut into the crumble top. Absolutely delicious.
Mary-Lou says
I hope your grandson enjoyed his first baking experience! It sounds like a very sweet bonding moment 🙂 I do think raspberry-strawberry jam is one of my favorite flavours as well, and I love the idea of shredded coconut in the crumble top! Thank you, ML
Marilyn says
Love this recipe! Reminds me of my Mom 🤗
Mary-Lou says
That's such a sweet memory! Thank you 🙂